In Sunstone proceed to Network-->VirtualNetworks and click on the green “+” and then on Create. The create dialog will pop up, with different tabs:
In the General tab type:
Name: Logical switch name
Description: Logical Switch Description
Cluster: Select the appropiate cluster
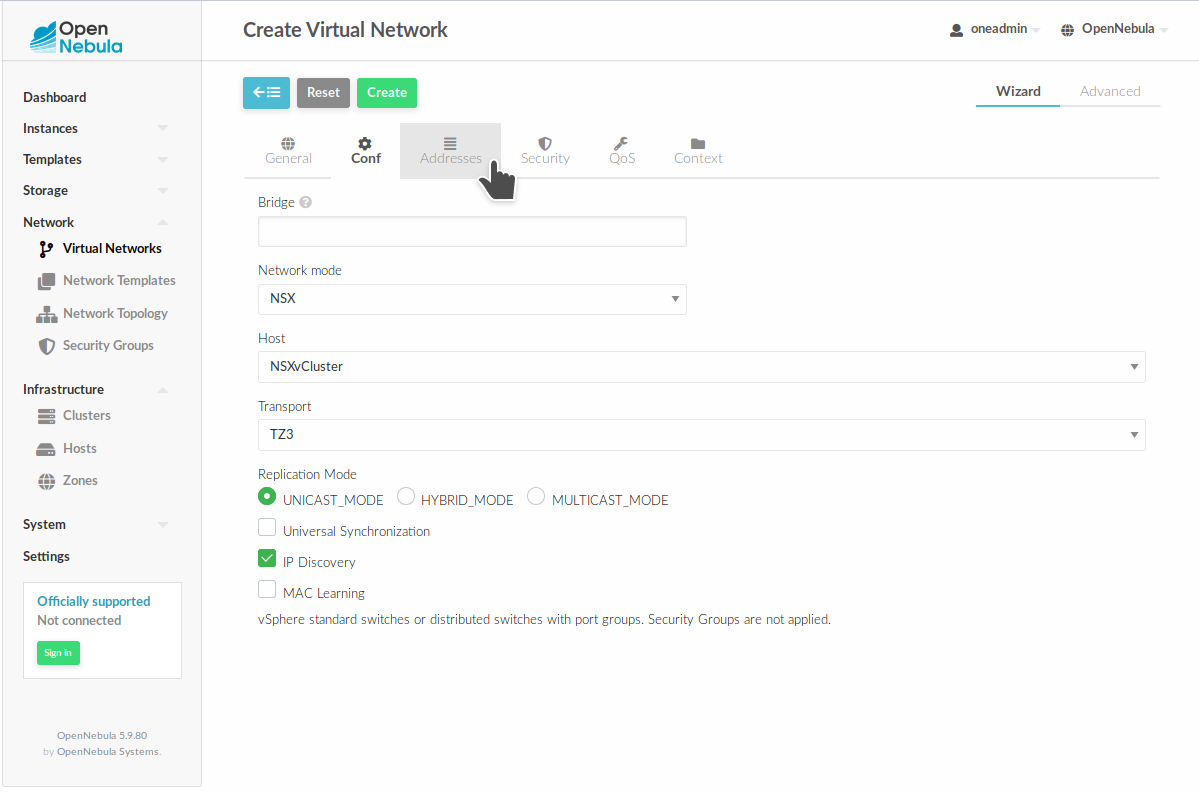
In the Conf tab select “NSX”, the OpenNebula Host representing the vCenter cluster where you want this logical switch to be available and the Transport Zone, and the other attributes that better suit your use case.
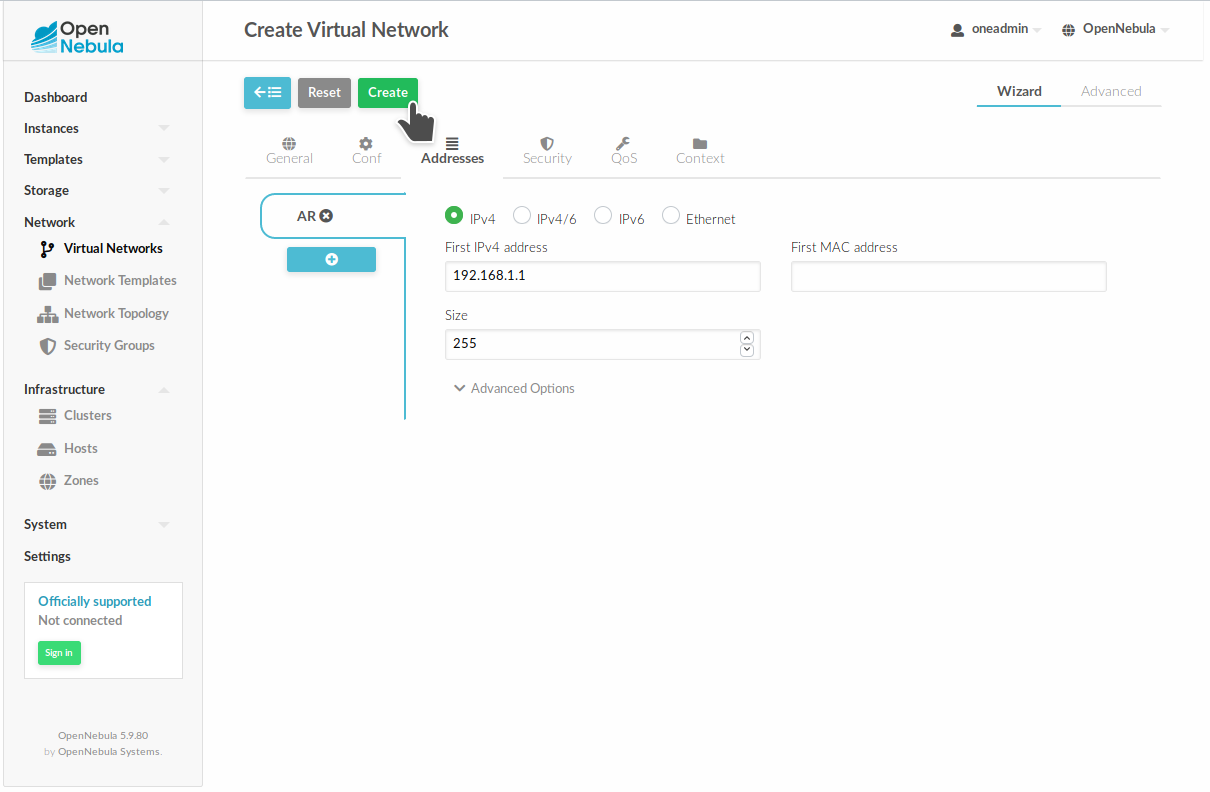
Click on Address tab and type an address range
Afterwards, click on create, and the network will be created. To check that the network was created correctly, the next attributes should have values:
VCENTER_NET_REF: network id on vcenter
VCENTER_PORTGROUP_TYPE: “Opaque Network” or “NSX-V”
NSX_ID: network id on NSX
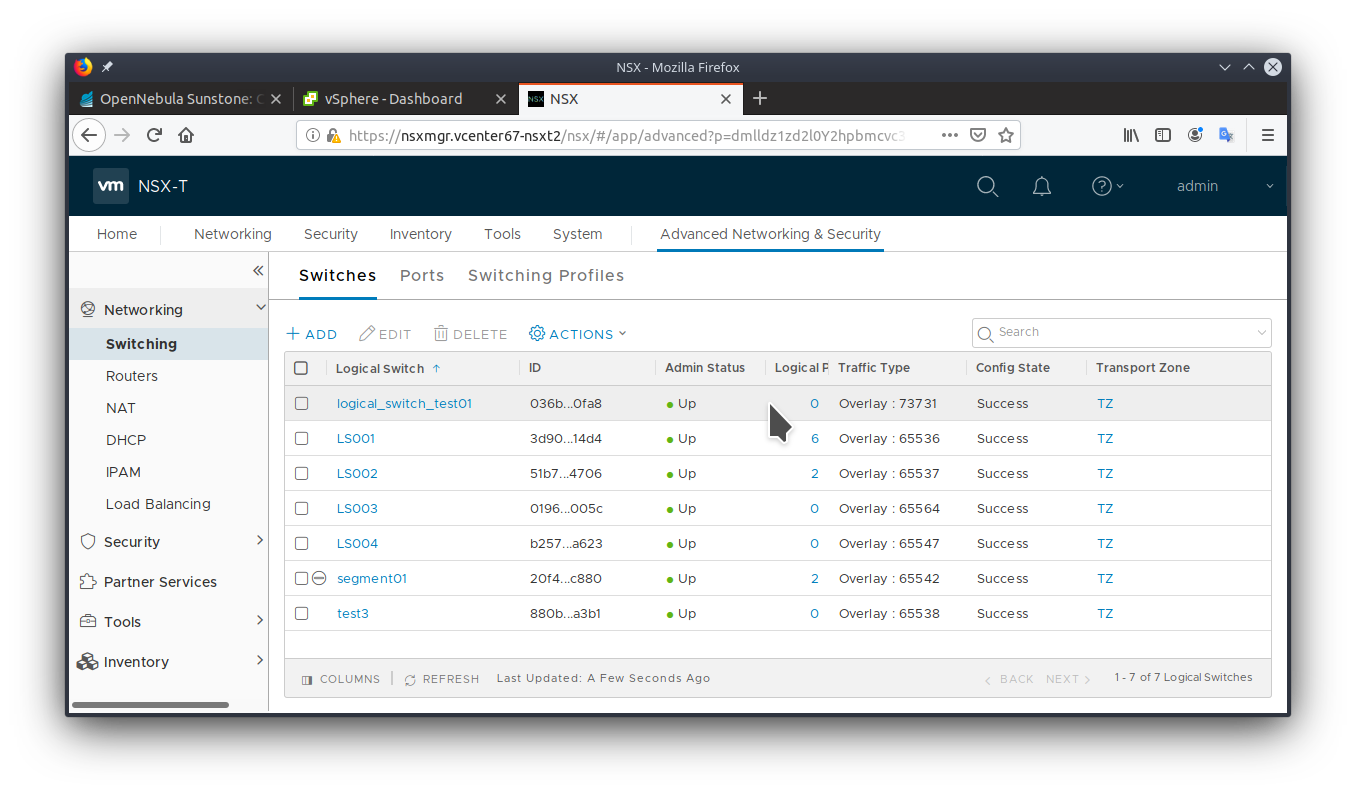
You can also verify into NSX, there is a network with the same id and the same name.
NSX-V, open vcenter server and go to Network&Security-->LogicalSwitches.
NSX-T open NSX Manager and go to AdvancedNetworking&Security-->Switching-->Switches.
In order to create a logical switch through the CLI you need a virtual network template.
Example template for NSX-T:
File:nsxt_vnet.tmpl----------------------------------------------------------------------------------------------------------------NAME="logical_switch_test01"DESCRIPTION="NSX Logical Switch created from OpenNebula CLI"BRIDGE="logical_switch_test01"BRIDGE_TYPE="vcenter_port_groups"VCENTER_INSTANCE_ID=<vcenter_instance_idofthehost>VCENTER_ONE_HOST_ID=<idofthehost>VCENTER_PORTGROUP_TYPE="Opaque Network”VN_MAD="vcenter"NSX_TZ_ID=<idofthetransportzone>AR=[TYPE="ETHER",SIZE=255]
Example template for NSX-V:
File: nsxv_vnet.tmpl
----------------------------------------------------------------------------------------------------------------
NAME="logical_switch_test01"
DESCRIPTION="NSX Logical Switch created from OpenNebula CLI"
BRIDGE="logical_switch_test01"
BRIDGE_TYPE="vcenter_port_groups"
VCENTER_INSTANCE_ID=<vcenter_instance_id of the host>
VCENTER_ONE_HOST_ID=<id of the host>
VCENTER_PORTGROUP_TYPE=“NSX-V”
VN_MAD="vcenter"
NSX_TZ_ID=<id of the transport zone>
AR = [
  TYPE="ETHER",
  SIZE=255
]
Once you have your virtual network template file you can run the command:
onevnetcreate<filevnettemplate>
Afterwards you can follow the steps defined above to check that the new logical switch was created successfully.
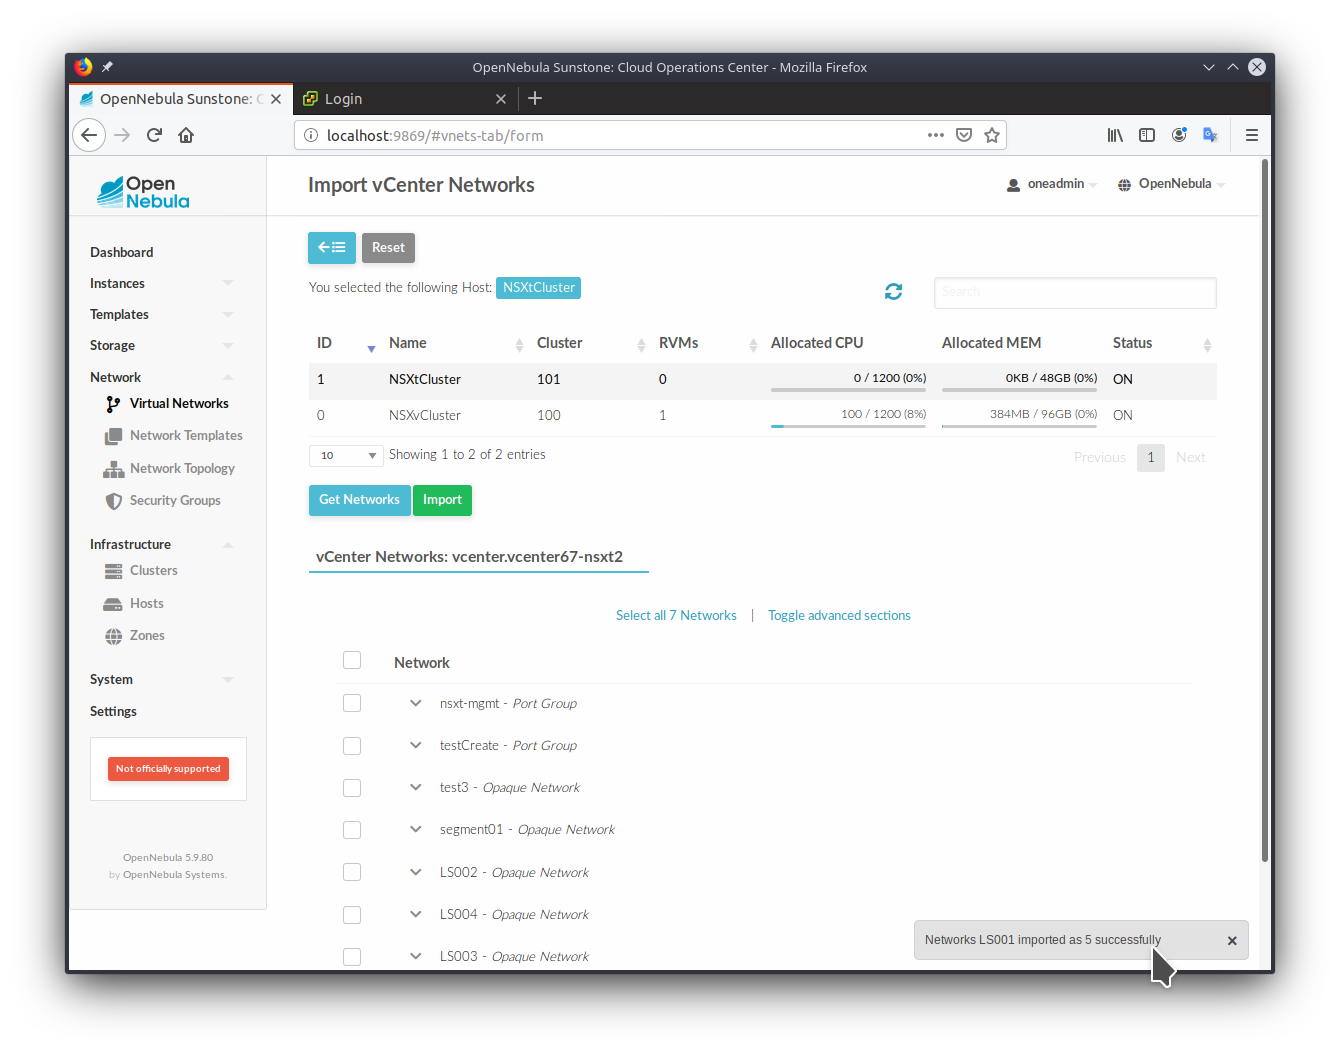
This section describes how to import existing logical switches in NSX Manager, for both NSX-T and NSX-V. The procedure is the same as other vCenter networks.
All NSX networks (represented in vCenter) can be listed using the following CLI command:
onevcenterlist_all-onetworks-h<host_id>
In the list of available networks to import, it will show NSX-V and NSX-T (Opaque networks).
OpenNebula automatically imports NSX networks attached to VMs.
If NSX credentails are defined, the imported network should have an NSX_ID attribute, allowing this network be able to use other NSX features as Security Groups.
If NSX credentials are not defined, the imported network won’t have a NSX_ID attribute, so other NSX features will not be available for these networks and it will be treated as a regular vCenter network.
Security Groups are supported only for NSX-T and NSX-V networks.
Note
NSX_STATUS as seen in the OpenNebula host must be OK before performs operations related to Security Groups.
Security Groups are made up of rules that are applied into Distributed Firewall as follows:
All rules are created under a section called “OpenNebula”.
The name pattern of the created rules is:
<sgID>-<sgName>-<vmID>-<vmDeployID>-<nicID>
sgID = OpenNebula Security Group ID
sgName = OpenNebula Security Group Name
vmID = OpenNebula instance ID
vmDeployID = vCenter vm-id
nicID = OpenNebula instance nic ID
The Security Groups rules are applied to a virtual machine logical port group.
All Security Groups rules are applied with action “ALLOW”
Warning
Modification of rules or sections created by OpenNebula using directly the NSX Manager interface is not supported, since the information won’t be synced back in OpenNebula.
OpenNebula cannot change IP discovery and MAC learning.
NSX-V creates a standard port group called “none” when creating an EDGE or DLR. This network has no host attached so OpenNebula will not be able to import it.
Imported NSX networks without NSX_ID must be manually updated to introduce this attribute or deleted and imported with NSX credentials.