Deploy an OpenNebula Front-end On-premises
In this tutorial, we’ll install an OpenNebula Front-end in under ten minutes, using miniONE, the installation script provided by OpenNebula.
This simple installation includes a single OpenNebula Front-end without any hypervisor nodes. You can perform the installation on any physical or virtual server that meets the system requirements. Later, you can use this Front-end to provision resources on cloud providers, for example as described in Provisioning an Edge Cluster.
miniONE is a simple Bash script. It automatically downloads, installs and configures an OpenNebula Front-end and all necessary components to manage and run virtual machines.
To install an OpenNebula Front-end using miniONE, we’ll need to complete the following high-level steps:
Ensure that the host server meets the installation requirements.
Download and run the miniONE script.
Verify the installation.
The cloud environment installed by miniONE is mainly intended for evaluation, development and testing. However, it can also serve as a base for larger short-lived deployments.
Important
In this tutorial, we will install a Front-end only, without a KVM hypervisor. While the miniONE script offers the option to install both a Front-end and a KVM hypervisor on the same server, that configuration does not allow you to provision remote resources, and is not covered in this tutorial.
Step 1: Ensure System Requirements
To run the miniONE script, you will need a physical or virtual server with a fresh installation of a supported operating system, with the latest software updates and without any customizations.
- Supported operating systems:
RHEL/AlmaLinux 8 or 9
Debian 11 or 12
Ubuntu 22.04 or 24.04
- Minimum hardware:
4 GiB RAM
80 GiB free disk space
- Configuration:
Access to the privileged user (root) account
A public IP address
An SSH server running on port 22
- Open ports:
22 (SSH)
80 (for the Ruby Sunstone GUI)
2616 (for the FireEdge GUI)
5030 (for the OneGate service)
Note that the server needs an internet connection to download software packages during installation.
Step 2: Download and Install miniONE
To download miniONE, please fill the required form.
After downloading, open a terminal and use the sudo to become the root user. For example, run:
sudo -i
Go to the folder where you downloaded the miniONE script, by using the cd command:
cd <path/to/folder>
Next, ensure that the minione file has execute permissions, by running:
chmod +x minione
To install miniONE, run:
bash minione --frontend
The miniONE script will begin the installation, logging output to the terminal. Installation usually takes between one and two minutes. When it’s finished, miniONE shows a report with connection parameters and login credentials:
### Report
OpenNebula 6.8 was installed
Sunstone is running on:
http://<omitted>/
FireEdge is running on:
http://<omitted>:2616/
Use following to login:
   user: oneadmin
   password: lCmPUb5Gwk
At this point, you have successfully installed miniONE. OpenNebula services should be running, and the system should be ready for your first login.
Important
In this configuration, the Ruby and FireEdge Sunstone endpoints, and the OneGate endpoint expose HTTP on a public network interface. miniONE is an evaluation tool, and this configuration should not be used in production environments.
Step 3: Verify the Installation
We will verify the installation by logging in to OpenNebula’s FireEdge Sunstone GUI.
Point your browser to the FireEdge IP and port provided by the miniONE output shown above, i.e. http://<public IP>:2616. (Alternatively, if you installed locally you can go to http://localhost:2616.) You should be greeted with the Sunstone login screen:
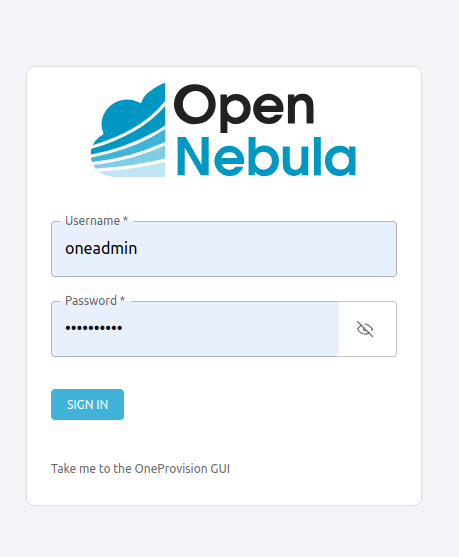
In the Username input field, type oneadmin. For Password, enter the password provided by miniONE at the end of the report (in this example, lCmPUb5Gwk) then press Enter or click SIGN IN.
The screen should display the Sunstone Dashboard:
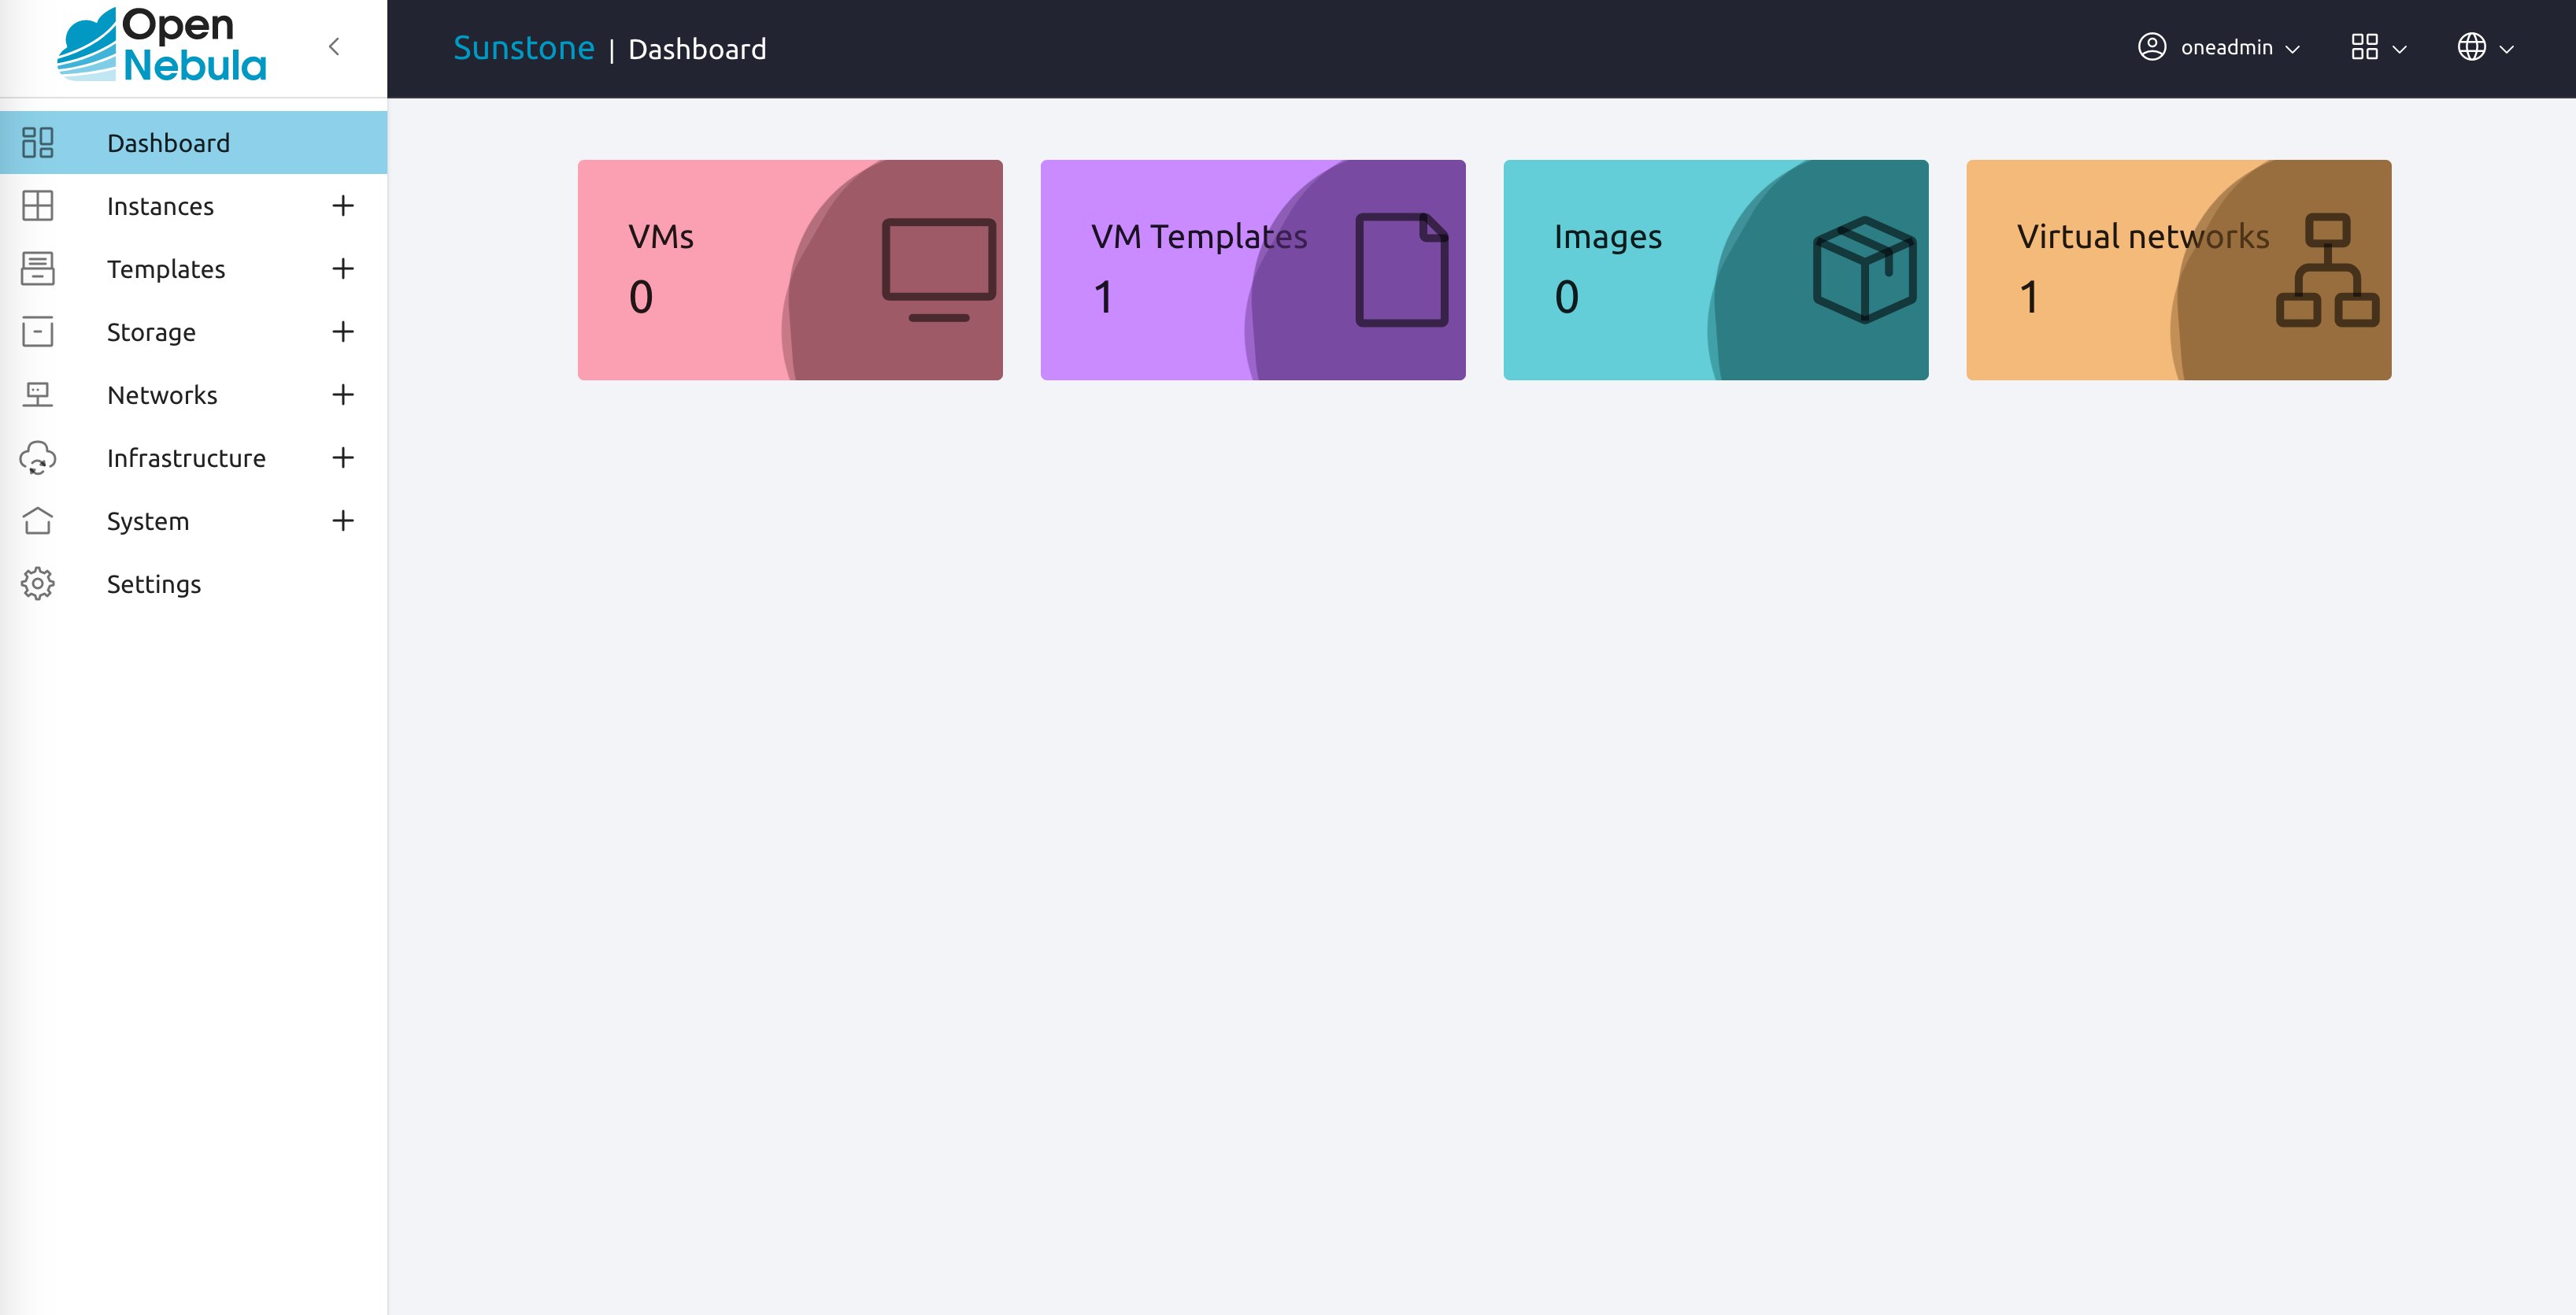
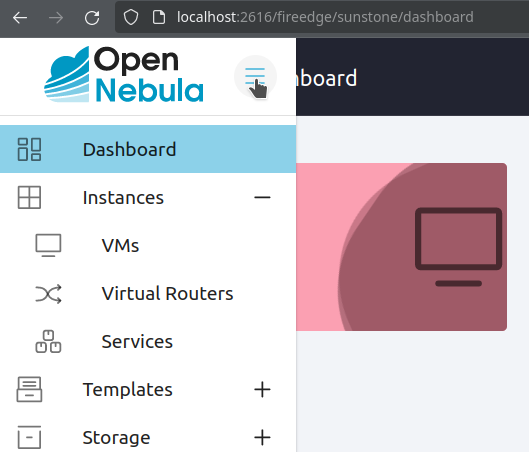
This is the default view for cloud administrators. From this view in Sunstone, you have complete control over your OpenNebula infrastructure. (The Cloud View interface is much simpler, intended for end users.) To explore what you can do in the GUI, open the left-hand panel by clicking on the hamburger icon on the top left:
Congratulations — you have deployed an OpenNebula Front-end node, which is ready to provision resources on cloud infrastructure.
Additional Installation Options
The miniONE script offers several options for installation, which you can check by passing the -h flag, e.g.:
bash minione -h
Options include setting parameters for the virtual network, passwords for new VMs, and others.
Tip
If you run miniONE without any options, it will install an OpenNebula Front-end and a KVM hypervisor node on the local machine. With this configuration you will be able to deploy VMs to the local machine, but you will not be able to provision remote resources, since this type of installation uses a private IP address for communicating with VMs.
Next Steps
The Operations Guide allows you to quickly and easily provision your cloud, by adding a remote Edge Cluster on AWS.