Provisioning an Edge Cluster
In the first tutorial of this Quick Start Guide, we installed an OpenNebula Front-end on AWS. In this tutorial, we’ll use that Front-end to provision an Edge Cluster on AWS, using the Sunstone GUI for the whole process, in just a few clicks.
The edge cluster we’ll create includes a KVM hypervisor. It’s a suitable platform for deploying both Virtual Machines and Kubernetes clusters, as described in the Usage Basics section.
To create the cluster, we’ll follow these high-level steps:
Configure AWS.
Create an AWS Provider in OpenNebula.
Provision a Metal Edge Cluster.
Validate the New Infrastructure.
Important
As mentioned above, in this tutorial we’ll deploy using the OpenNebula Front-end created and deployed on AWS previously in this Quick Start Guide. To complete this tutorial, you need the OpenNebula Front-end up and running, and access to its Sunstone web UI.
Brief Overview of the Provision
This section explains what OpenNebula creates behind the scenes when provisioning an Edge Cluster.
OpenNebula provides a ready-to-use specification for an Edge Cluster, which is comprised of resources in OpenNebula and their corresponding resources in AWS. Together, these resources provide the functionality for running with a minimal footprint at edge locations. During provisioning, OpenNebula creates all of the cluster’s resources in OpenNebula and, with the aid of Terraform, their corresponding objects on AWS.
The following resources are created in OpenNebula:
Cluster: each provision creates one cluster. There is a one-to-one relationship between the provision and the cluster, so each provision can only have one cluster.
Datastore: each provision deploys two datastores, for the system and the image. Datastores for edge clusters are based on OpenNebula’s Local Storage datastores; datastores for HCI clusters are based on Ceph.
Hosts: After provisioning, you can deploy as many as desired, to run VMs.
Virtual Networks: To ensure that VMs have public connectivity, the provision includes a pre-configured private network, and a public network that pre-allocates elastic IPs.
To create the OpenNebula hosts and ensure connectivity, OpenNebula creates the following resources in AWS:
A Virtual Private Cloud (VPC) to allocate AWS instances as OpenNebula hosts.
A CIDR block of IPs to assign secondary IPs to the hosts, and to allocate elastic IPs.
An Internet Gateway to provide internet access for the hosts and VMs.
A routing table for directing network traffic between these elements.
Note
Sunstone will request Elastic IPs for the public IPs you request. If you receive an error message about not being able to request more IPs when creating a provision, check the limits of your account in your zone.
In the following steps, we’ll use the Sunstone GUI to create a provider and provision a Metal Edge Cluster in AWS.
Step 1: Configure AWS
Important
Creating an AWS account is covered in the previous tutorial in this Quick Start Guide, on installing an OpenNebula Front-end on AWS. If you completed that tutorial, you should have your AWS account already configured and ready, and can skip to the next step. If you haven’t, we highly recommend you follow that tutorial before completing this one.
As a first step, if you don’t already have one, create an account in AWS. AWS publishes a complete guide: How do I create and activate a new AWS account?
After you have created your account, you’ll need to obtain the access_key and secret_key of a user with the necessary permissions to manage instances. The relevant AWS guide is Configure tool authentication with AWS.
Next, you need to choose the region where you want to deploy the new resources. You can check the available regions in AWS’s documentation: Regions, Availability Zones, and Local Zones.
Step 2: Create an AWS Provider in Sunstone
When you have your AWS account set up, it’s time to log in to Sunstone and create your AWS provider in OpenNebula. We will log in as user oneadmin.
Note
You can log in as any other OpenNebula user, as long as the user is part of the oneadmin group (if not, Sunstone will not display the providers).
To log in, point your browser to the OneProvision address:
https://<FRONT-END IP>:2616/fireedge/provision
In the log-in screen, enter the credentials for user oneadmin.
Sunstone will display the OneProvision screen:

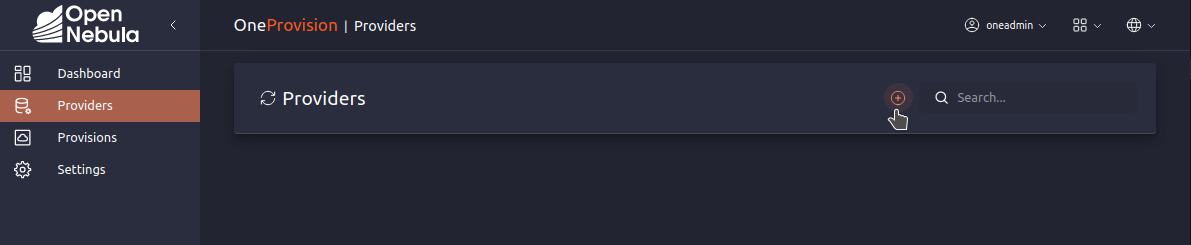
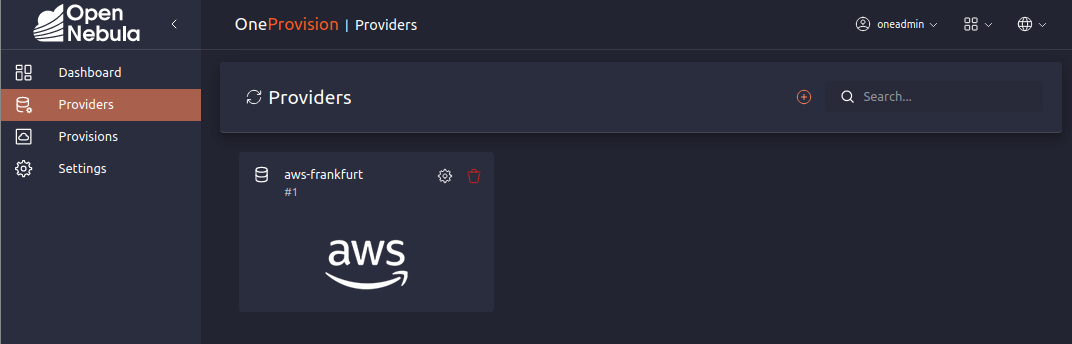
To create a provider in AWS, open the left-hand pane (by hovering the mouse over the icons to the left of the screen), then click Providers. Sunstone will display the Providers screen:

To add a new provider, click the Plus icon  on the right:
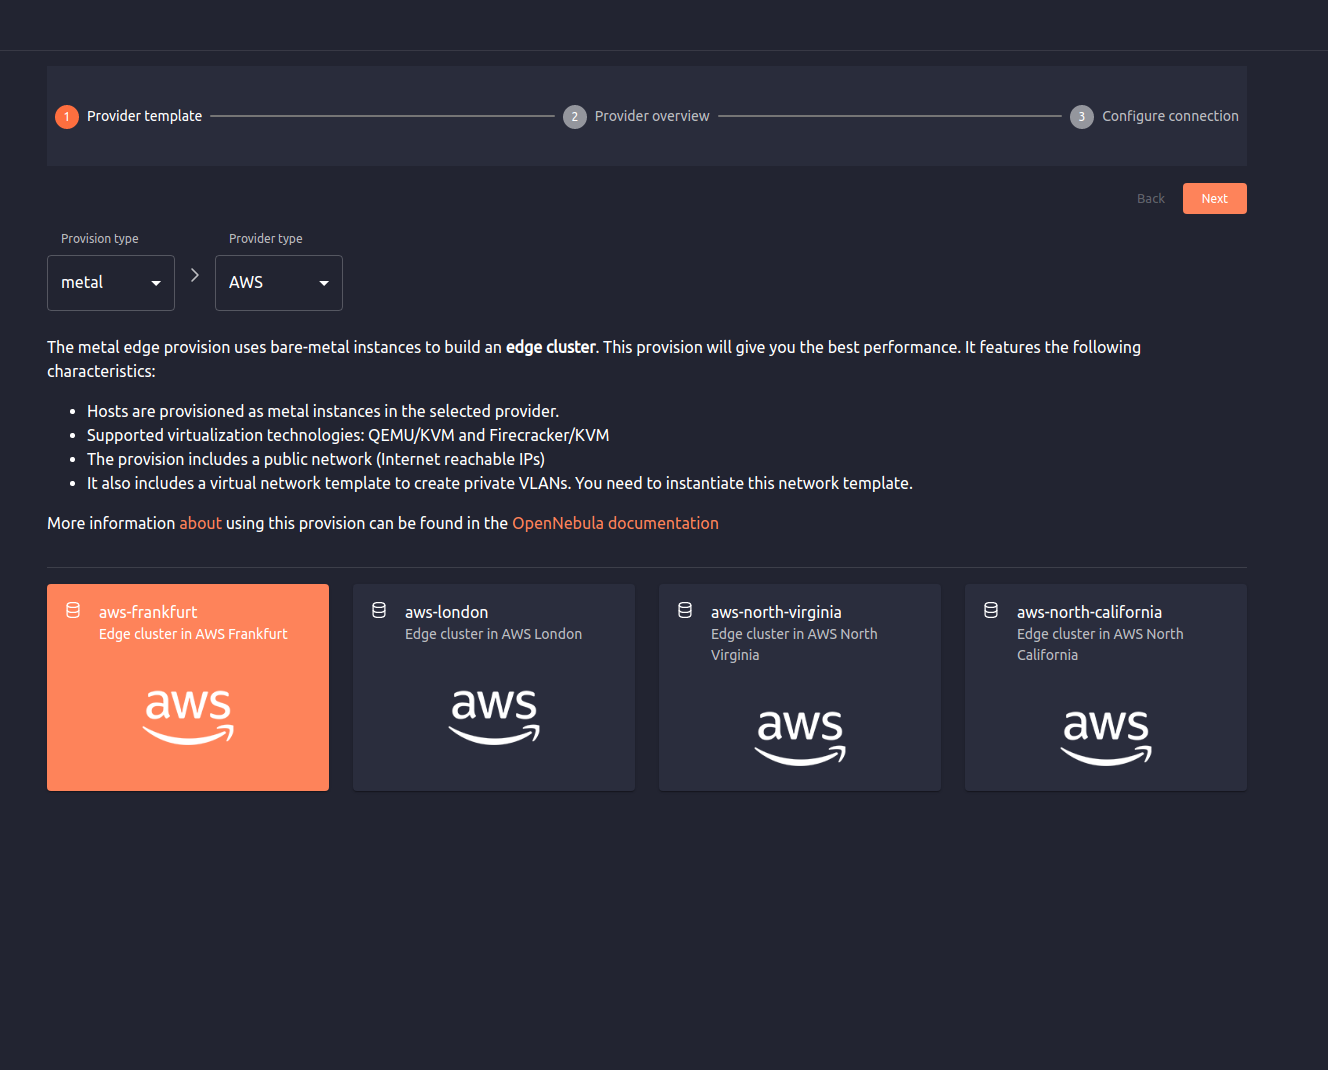
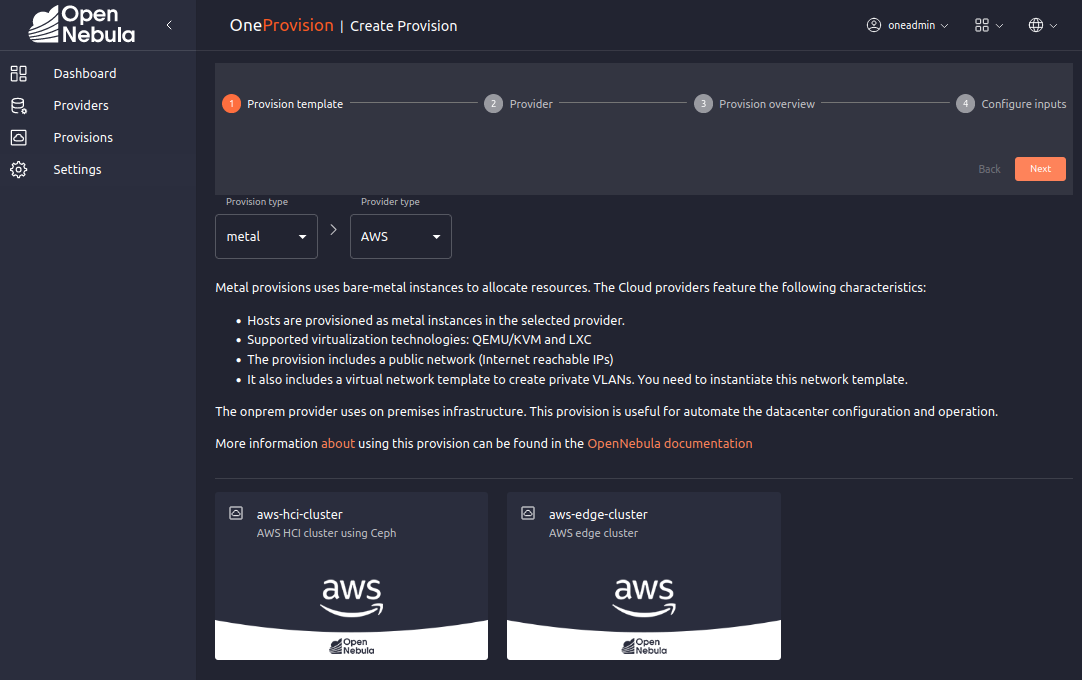
Sunstone displays the Provider template screen, showing the Provision type and Provider type drop-down menus as well as additional information. Leave the Provision type drop-down on metal. For Provider type, select AWS. Then, click the box that displays the desired location for your provision, for example aws-frankfurt, as shown below.
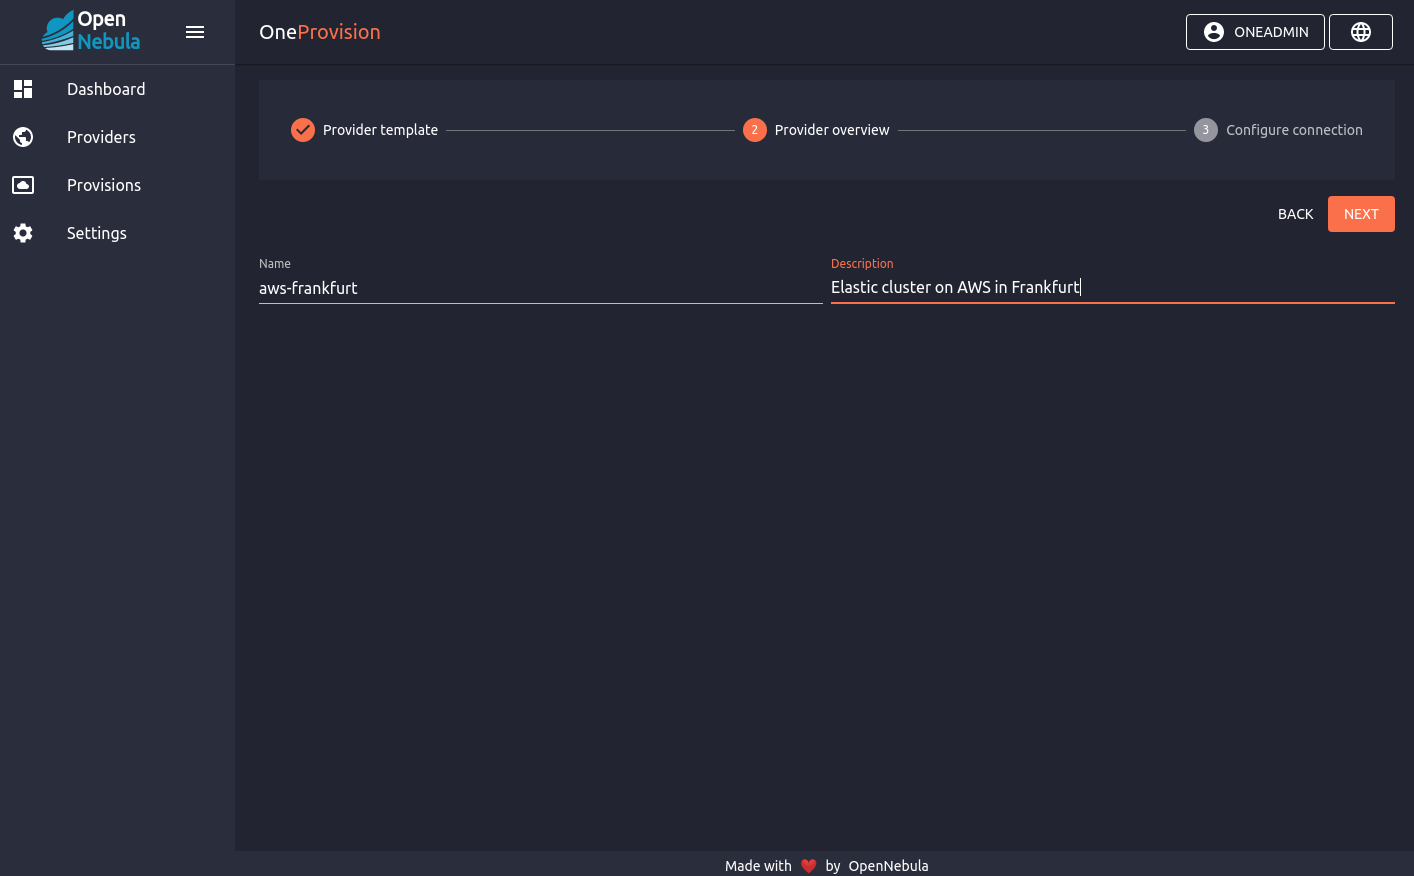
Click Next. In the next screen, you can enter a description for your provider:
Click Next. In the final screen, you will need to provide your AWS access key and secret key:
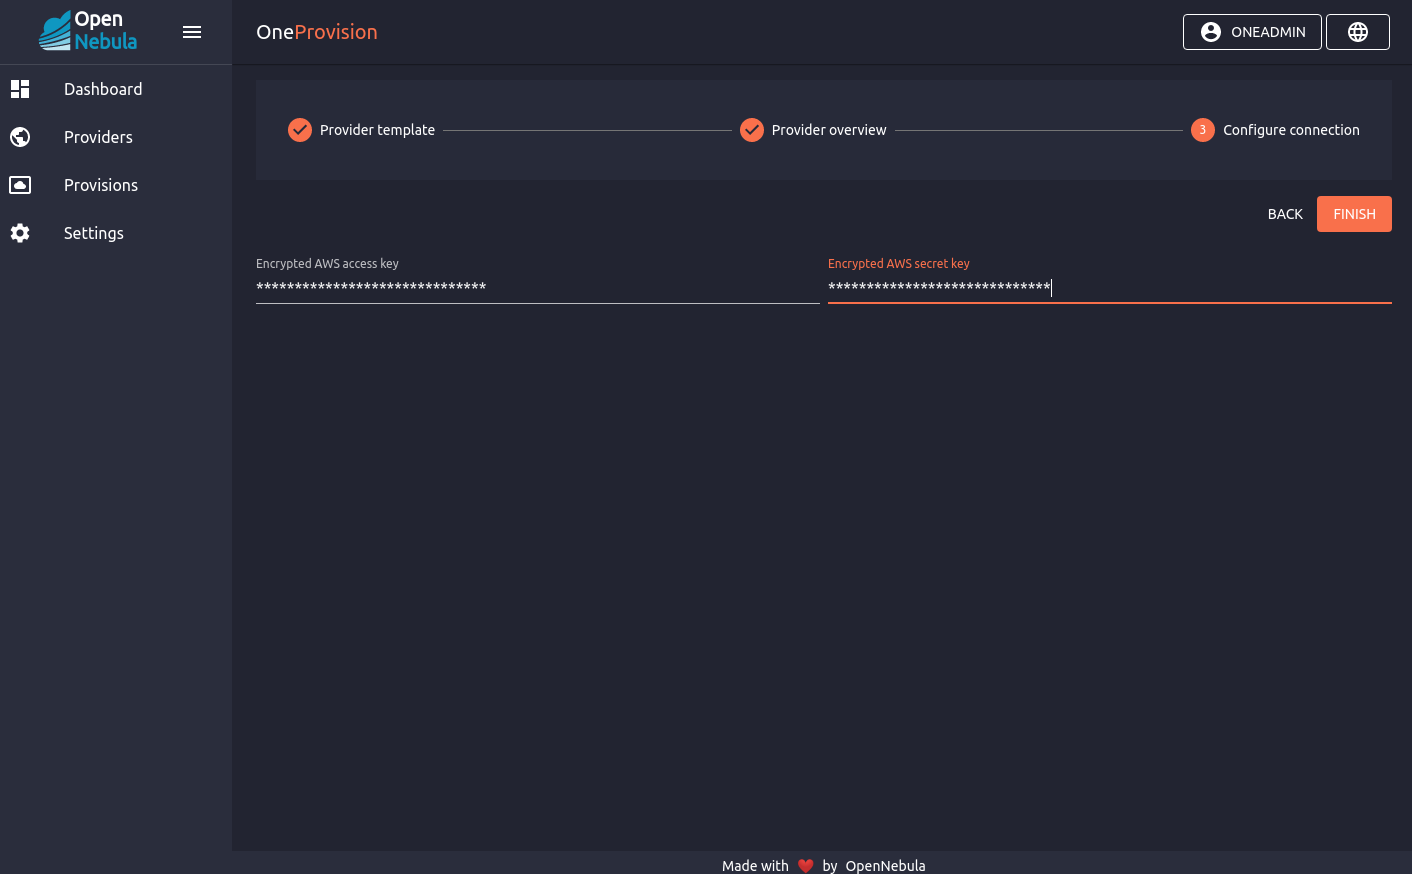
Click FINISH. Sunstone should now display the Providers screen, showing your new provider:
At this point, you have registered AWS as a new provider on your OpenNebula cloud. In the next step, we will provision an edge cluster on this provider.
Step 3: Provision a Metal Edge Cluster
To provision the cluster, open the left-hand pane, select Provisions, and click the Plus icon on the right:

Sunstone displays the Create Provision screen. Here you can select provision and provider type, and choose between the provision templates available for a particular provider. In this case, the AWS provider offers two provision templates: aws-hci-cluster and aws-edge-cluster:
Click the aws-edge-cluster box, then click Next.
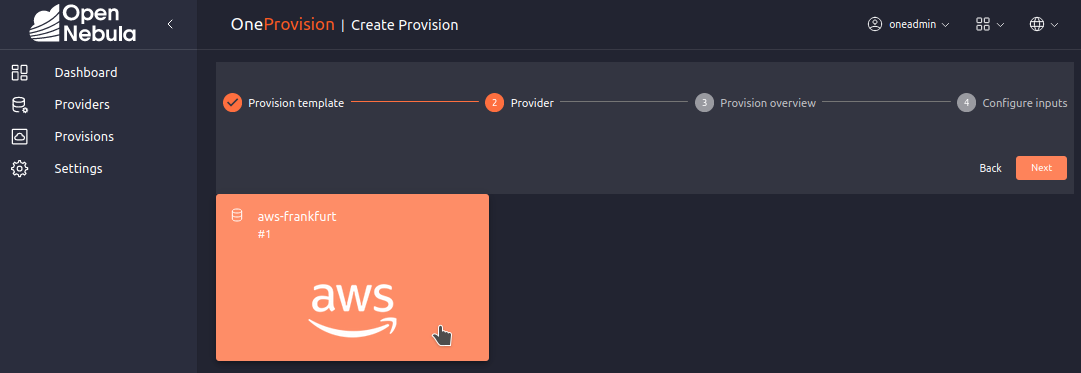
OneProvision now displays the Provider screen showing the available providers (in this case, the AWS provider we previously created). Click the AWS box to select it, then click Next.
In the next screen, you can enter a description for your cluster, if desired:
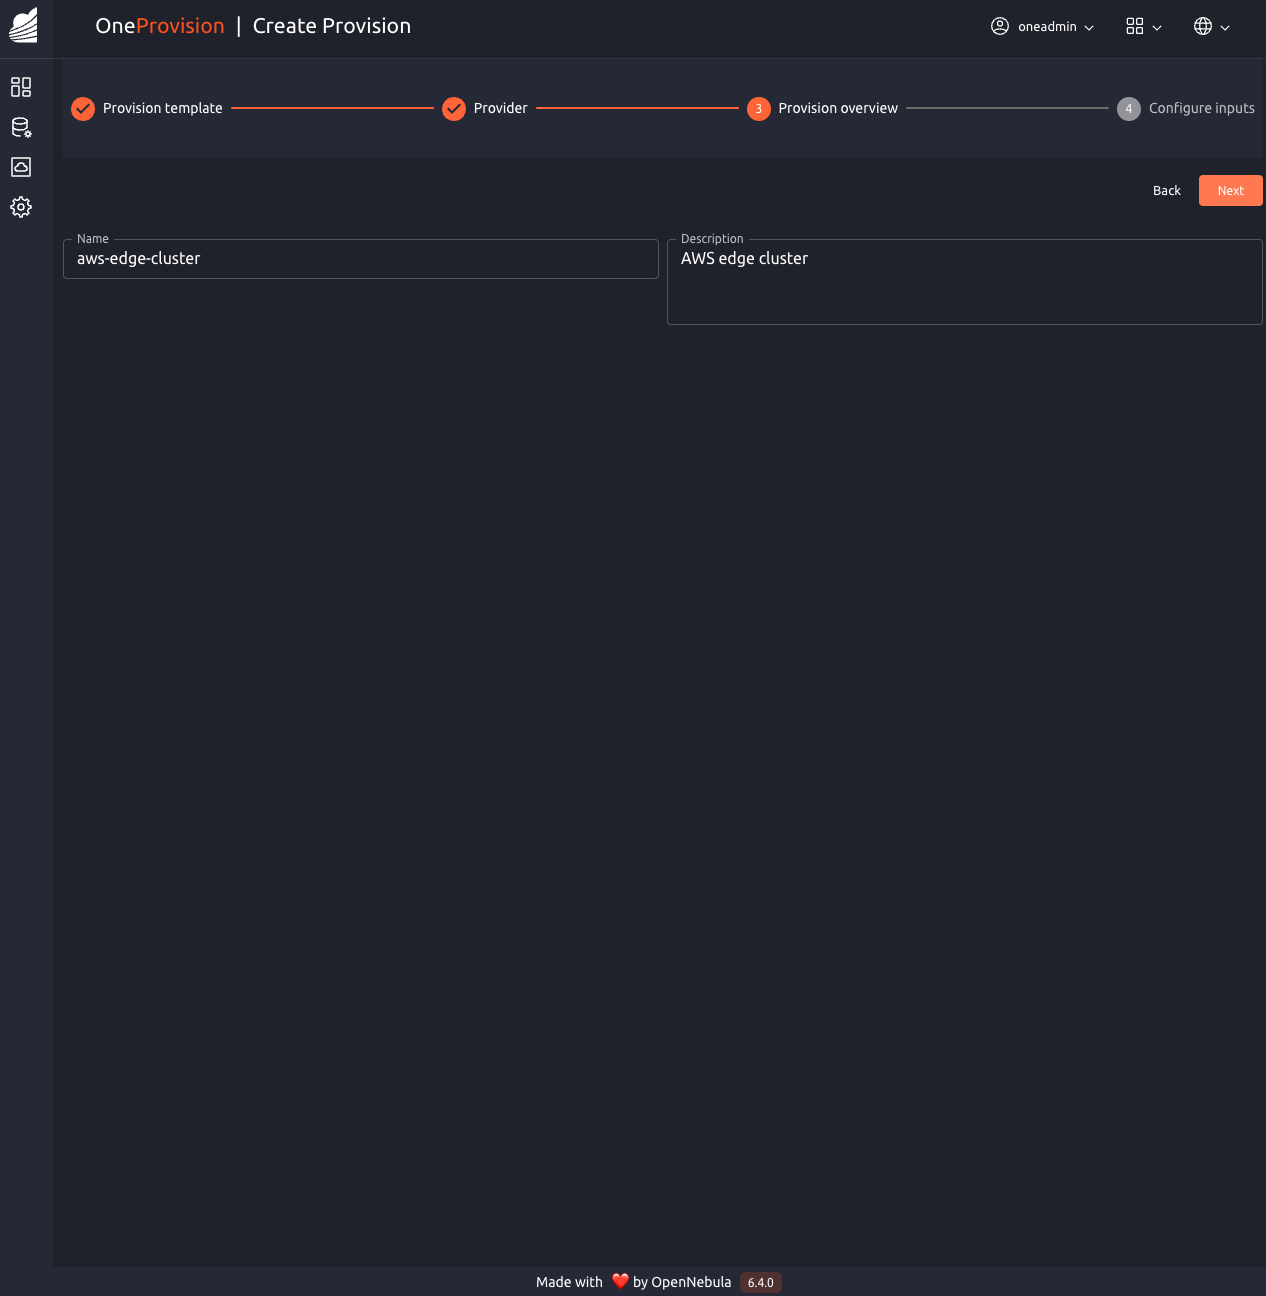
Click Next. The final screen displays the default values for the edge cluster provision, as shown below:
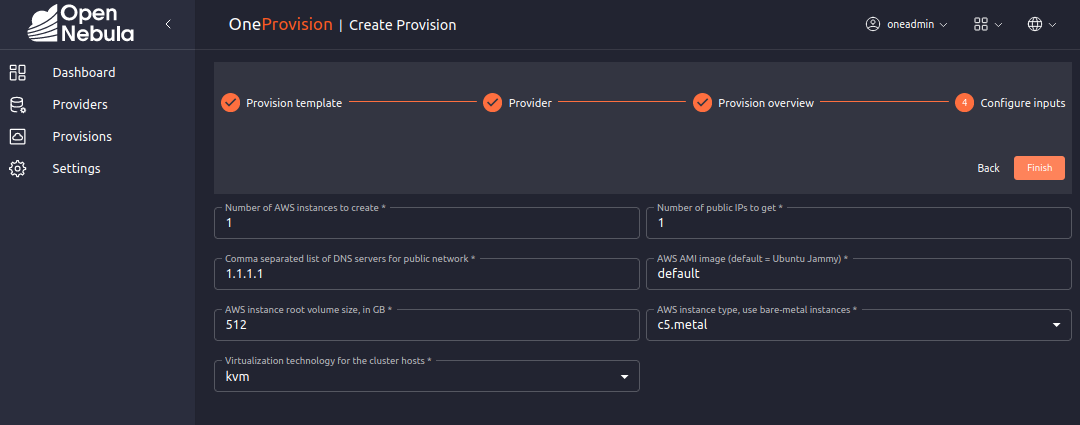
The input field Number of public IPs to get determines how many public IPs will be made available to the edge cluster. Make sure to set this number to at least 2.
Important
Make sure to specify at least two public IPs for the edge cluster, or you will not be able to deploy VMs or Kubernetes on the cluster.
You can leave the other values at their defaults:
Number of AWS instances to create:
1Comma-separated list of DNS servers for public network:
1.1.1.1AWS instance root volume size, in GB:
512Virtualization technology for the cluster hosts:
kvmAWS AMI image:
defaultAWS instance type, user bare-metal instances:
c5.metal
To provision the cluster, click Finish. OneProvision will launch the provisioning process in the background. The cluster should appear in the Provisions tab:
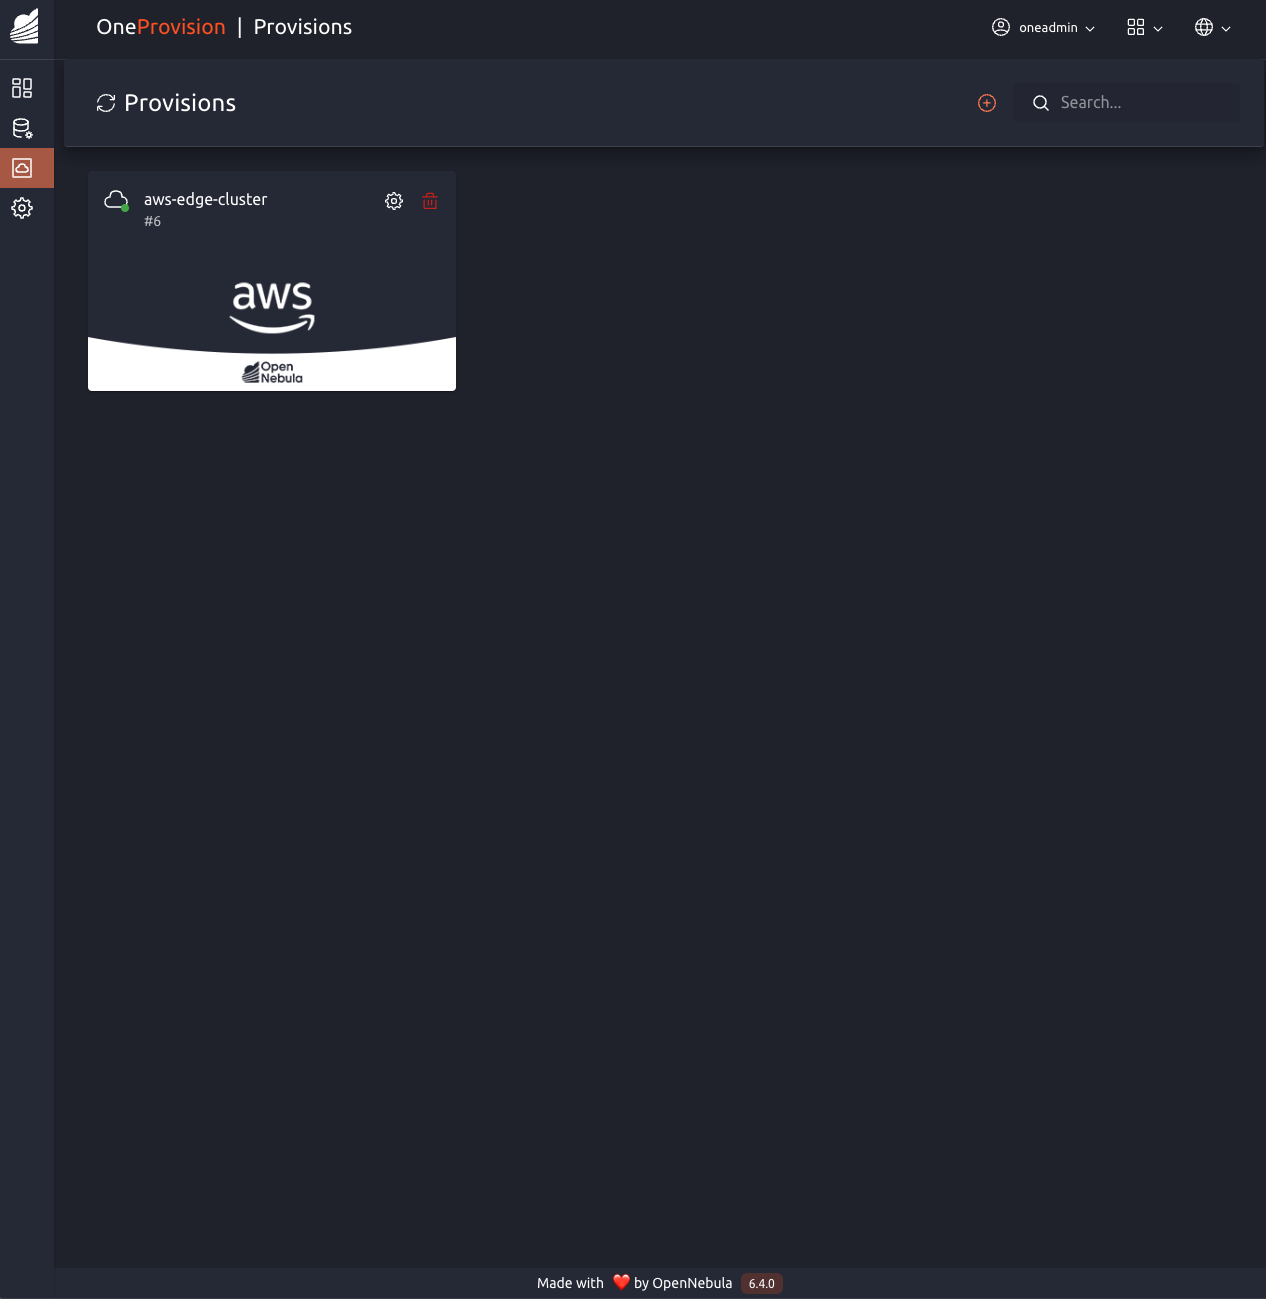
To see detailed information, click the provision box:
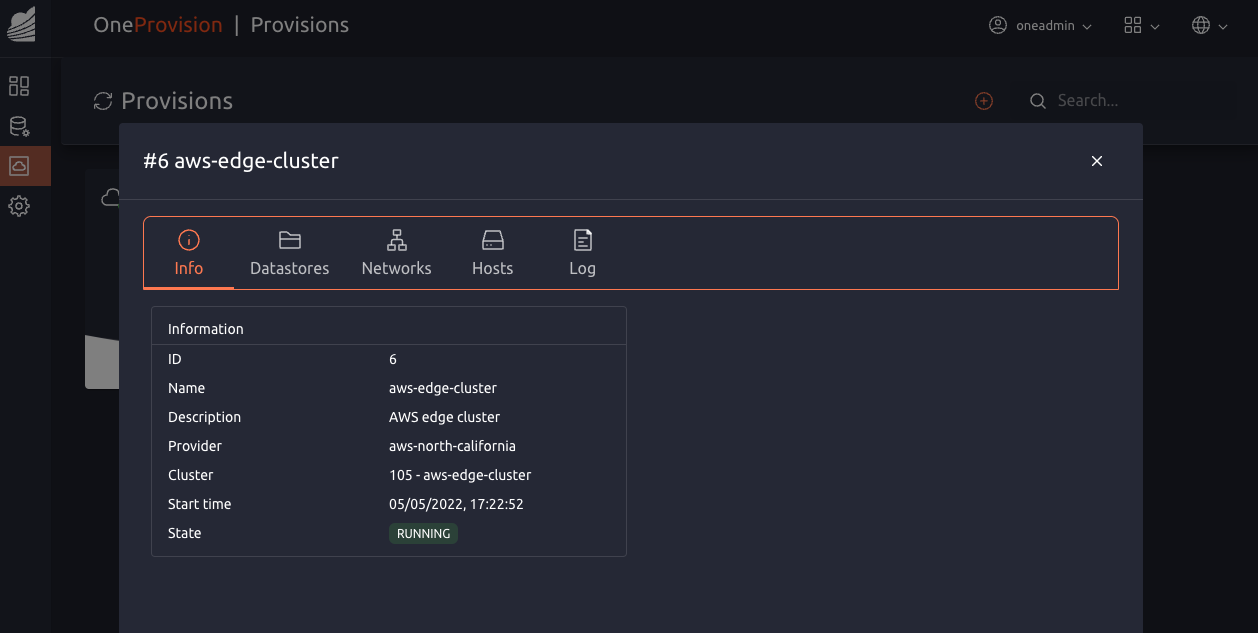
To see a running log of the provision, click Log:
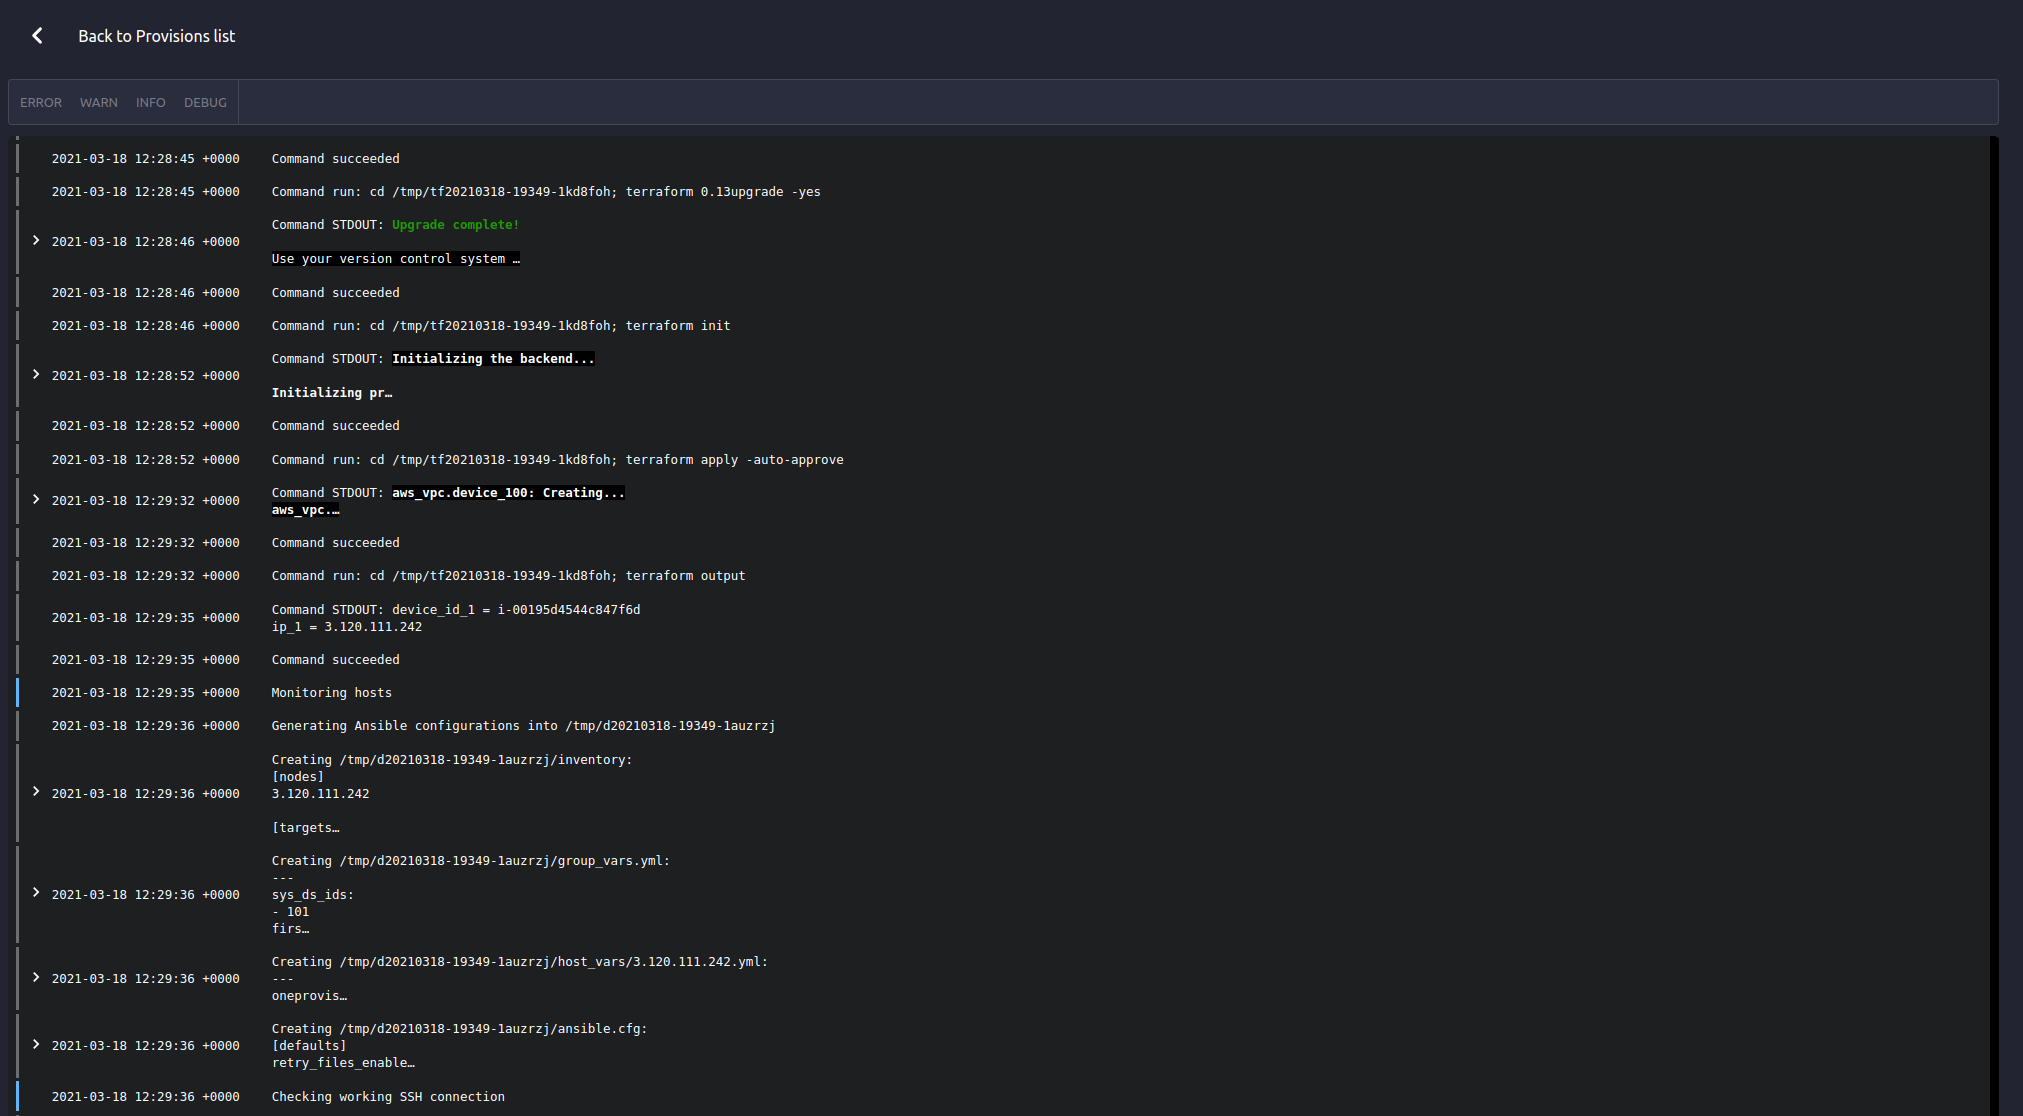
Provisioning will take a few minutes. When it’s finished, the log will display the message Provision successfully created, followed by the provision’s ID.
At this point, the Edge Cluster has been created and is up and running. In the next step, we’ll verify that all of the specified resources for the provision (the host, datastore, network, and the cluster itself) have been correctly created and registered with OpenNebula.
Step 4: Validate the New Infrastructure
To see that all objects in the provision have been correctly created, we’ll run the oneprovision command on the Front-end node. This command should be run either as the Linux user oneadmin, or as root.
First, log in to the Front-end node.
Tip
If you installed the Front-end by following the Quickstart with miniONE on AWS tutorial, to log into the Front-end you will need to use the key stored in the PEM file that you obtained from AWS. For details, see Step 1.1. Log in to the EC2 VM in that tutorial.
On the Front-end node, use the oneprovision command to perform the following actions:
List clusters in the provision: oneprovision cluster list.
oneprovision cluster list
ID NAME HOSTS VNETS DATASTORES
100 aws-cluster 1 1 4
List hosts: oneprovision host list.
oneprovision host list
 ID NAME            CLUSTER    TVM      ALLOCATED_CPU      ALLOCATED_MEM STAT
  1 3.120.111.242   aws-cluste   0      0 / 7200 (0%)   0K / 503.5G (0%) on
List datastores: oneprovision datastore list.
oneprovision datastore list
 ID NAME         SIZE AVA CLUSTERS IMAGES TYPE DS      TM      STAT
101 aws-cluste      - -   100           0 sys  -       ssh     on
100 aws-cluste  71.4G 90% 100           0 img  fs      ssh     o
List networks: oneprovision network list.
oneprovision network list
 ID USER     GROUP    NAME            CLUSTERS   BRIDGE   LEASES
  1 oneadmin oneadmin aws-cluster-pub 100        br0           0
Tip
If you want to explore further options for the command, run oneprovision --help.
Connecting to the Edge Cluster
Currently, it is not possible to access VMs deployed on an edge cluster through the normal Sunstone mechanisms. To connect to the cluster, you will need to use SSH.
You can easily connect to the cluster from the Front-end node, as Linux user oneadmin or as Linux user ubuntu, which has access to the root account via the sudo command.
To connect to the cluster, you will need to supply the user’s identity file, which is stored on the Front-end node in the following locations:
For
oneadmin:/var/lib/one/.ssh/id_rsaFor
ubuntu:/var/lib/one/.ssh-provision/id_rsa
To log in to the edge cluster, you can use this command:
ssh -i <location of private key file> -l <user> <edge cluster public IP>
For example:
ssh -i /var/lib/one/.ssh-provision/id_rsa -l ubuntu <edge cluster public IP>
Tip
If you want root access to the edge cluster, log in as user ubuntu, then sudo to root.
Next Steps
To see all of the resources created with your new edge cluster, and how they are displayed in Sunstone, see Operating an Edge Cluster.