Sunstone Views
The OpenNebula Sunstone Views can be grouped into two different layouts. On one hand, the classic Sunstone layout exposes a complete view of the cloud, allowing administrators and advanced users to have full control of any physical or virtual resource of the cloud. On the other hand, the cloud layout exposes a simplified version of the cloud, where end-users will be able to manage any virtual resource of the cloud without taking care of physical resource management.
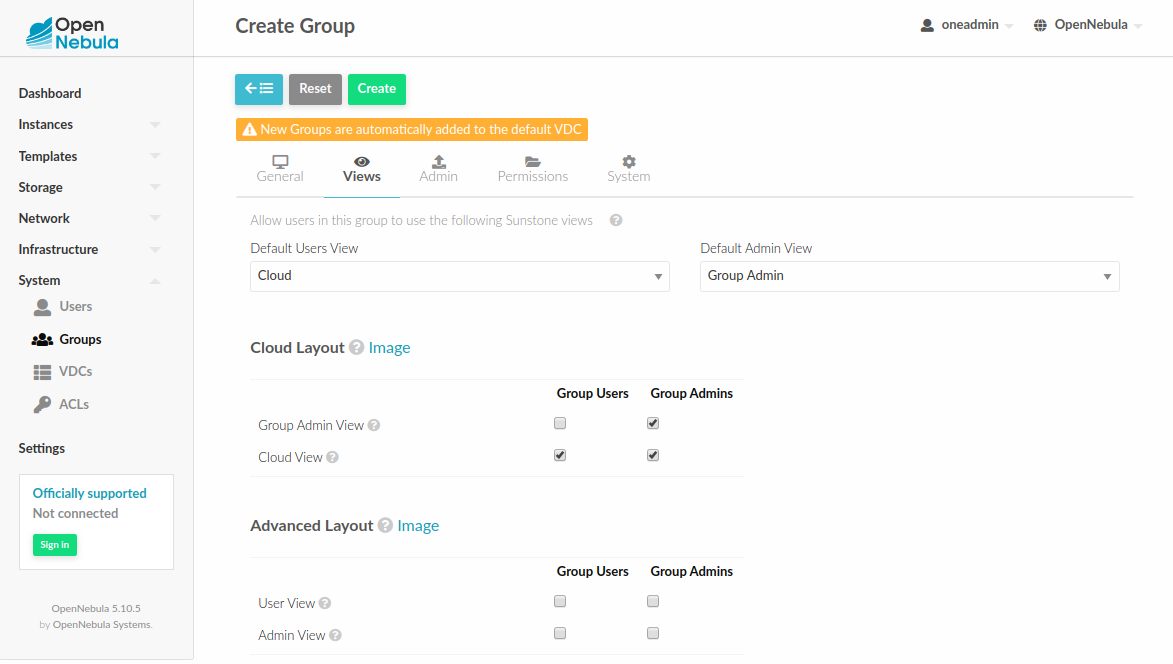
Using the OpenNebula Sunstone Views you will be able to provide a simplified UI aimed at end-users of an OpenNebula cloud. The OpenNebula Sunstone Views are fully customizable, so you can easily enable or disable specific information tabs or action buttons. You can define multiple views for different user groups. You can define multiple views for different user groups. Each view defines a set of UI components, so each user just accesses and views the relevant parts of the cloud for her role. Default views:
These views are in 3 directories kvm, vcenter and mixed that Opennebula proposes by default:
/etc/one/sunstone-views/kvmfor KVM hypervisor./etc/one/sunstone-views/vcenterfor vCenter hypervisor./etc/one/sunstone-views/mixedto manage both hypervisors in the same view.
To choose the views, you just have to change the configuration parameter mode in sunstone-server.conf.
# Default views directory
:mode: 'mixed'
The mixed directory includes the views explained above with all the functionality of KVM and vCenter together.
Default Views
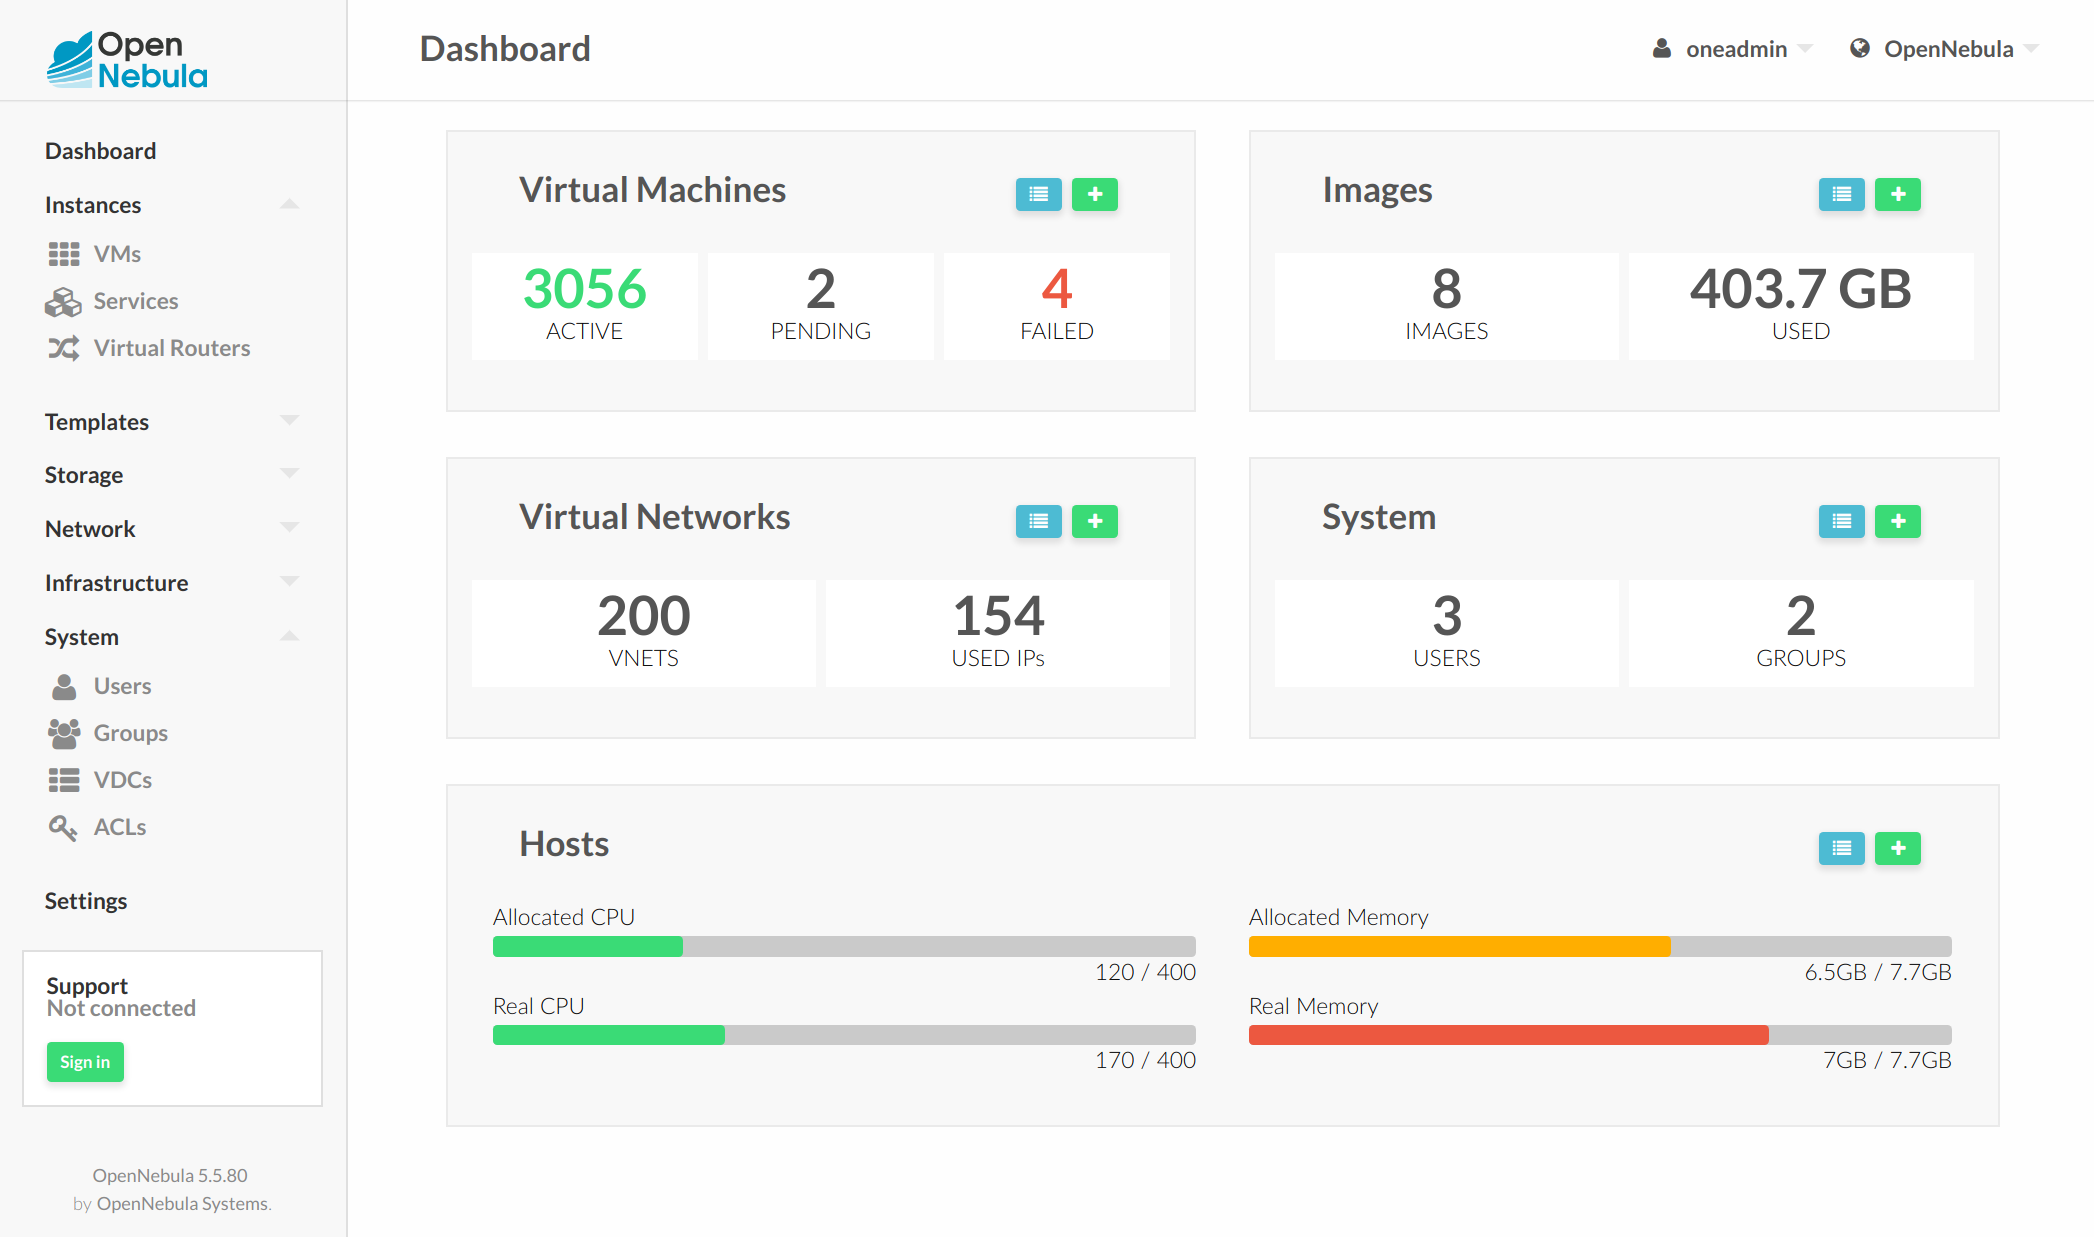
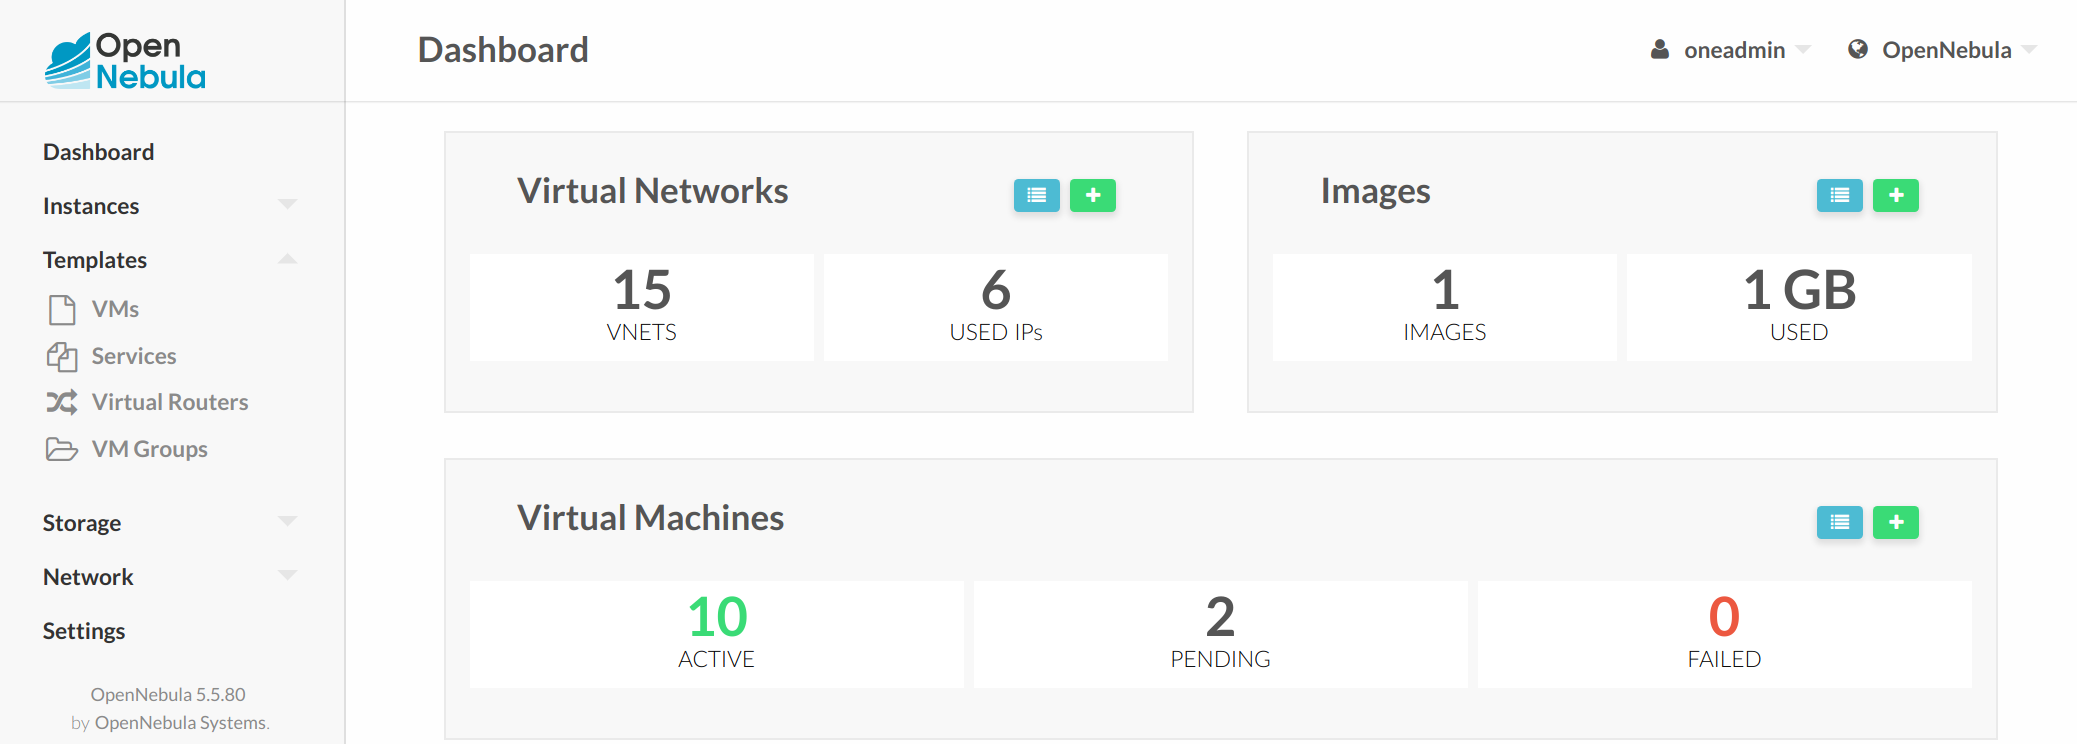
Admin View
This view provides full control of the cloud. Details can be configured in the /etc/one/sunstone-views/*/admin.yaml file.
Group Admin View
Based on the Admin View. It provides control of all the resources belonging to a group, but with no access to resources outside that group, that is, restricted to the physical and virtual resources of the group. This view features the ability to create new users within the group as well as set and keep track of user quotas. For more information on how to configure this scenario see this section
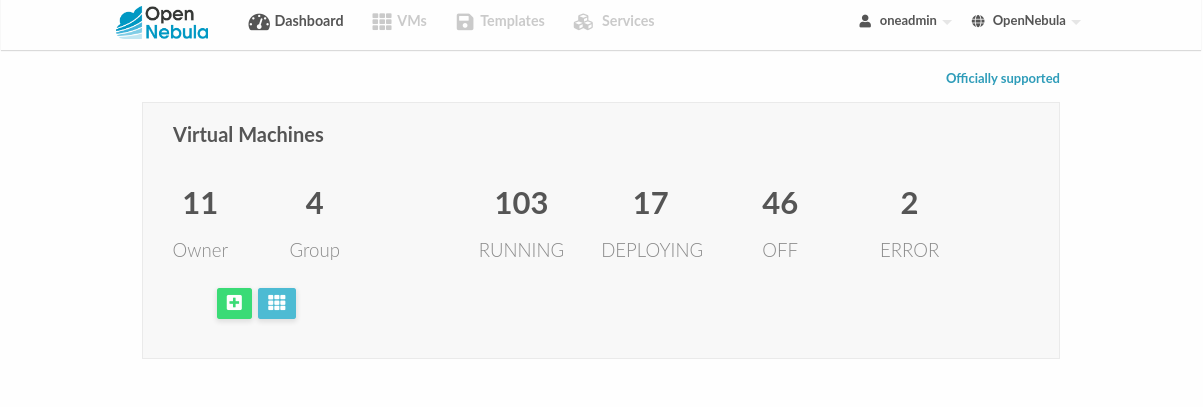
Cloud View
This is a simplified view, mainly intended for end-users that just require a portal where they can provision new virtual machines easily from pre-defined Templates. For more information about this view, please check the /etc/one/sunstone-views/*/cloud.yaml file.
In this scenario the cloud administrator must prepare a set of templates and images and make them available to the cloud users. These Templates must be ready to be instantiated. Before using them, users can optionally customize the VM capacity, add new network interfaces, and provide values required by the template. Thereby, the user doesn’t have to know any details of the infrastructure, such as networking or storage. For more information on how to configure this scenario see this section
User View
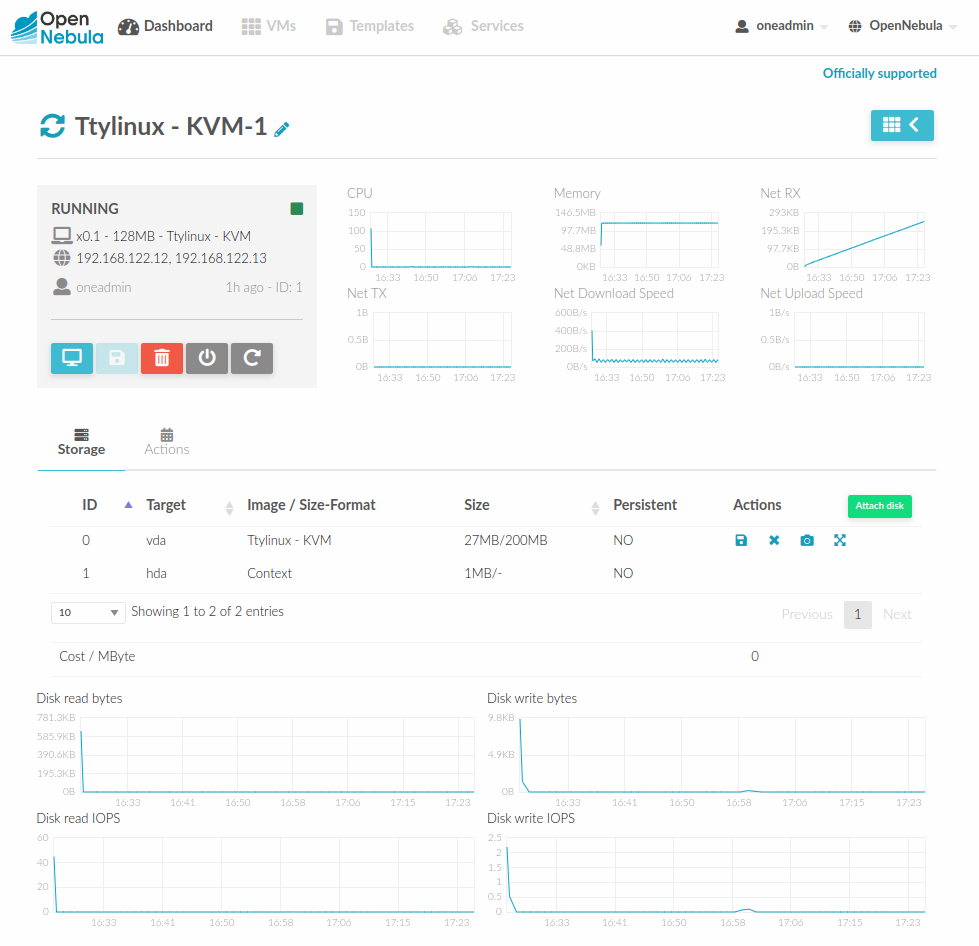
Based on the Admin View; it is an advanced user view. It is intended for users that need access to more actions than the limited set available in the cloud view. Users will not be able to manage nor retrieve the hosts and clusters of the cloud. They will be able to see Datastores and Virtual Networks in order to use them when creating a new Image or Virtual Machine, but they will not be able to create new ones. Details can be configured in the /etc/one/sunstone-views/*/user.yaml file.
Configuring Access to the Views
By default, the admin view is only available to the oneadmin group. New users will be included in the users group and will use the default cloud view. The views assigned to a given group can be defined in the group creation form or by updating an existing group to implement different OpenNebula models. For more information on the different OpenNebula models please check the Understanding OpenNebula documentation.
Usage
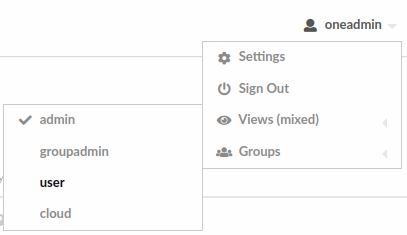
Sunstone users can change their current view from the top-right drop-down menu:
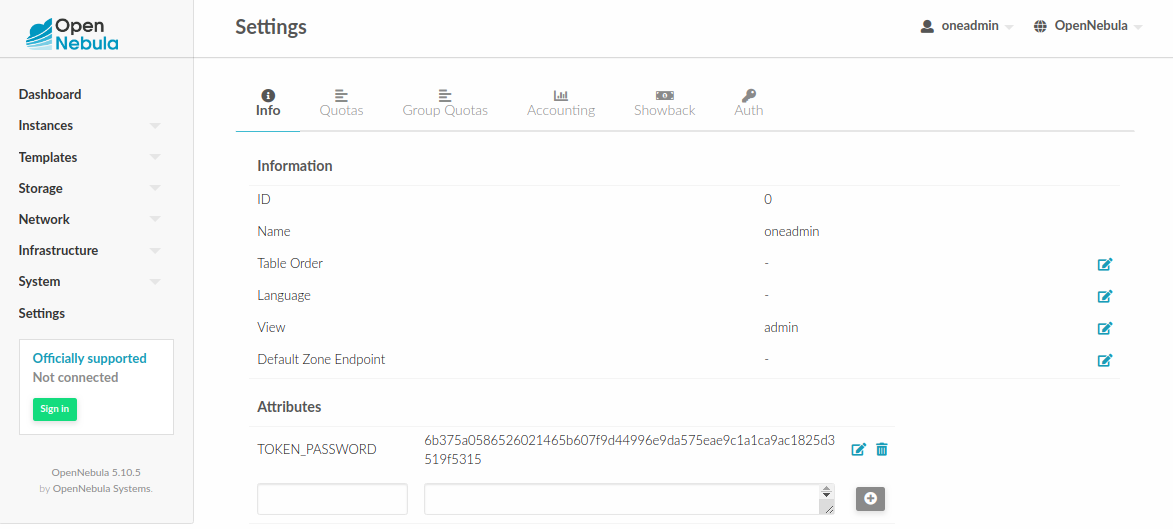
They can also configure several options from the settings tab:
Views: change between the different available views.
Language: select the language that they want to use for the UI.
Use secure websockets for VNC: Try to connect using secure websockets when starting VNC sessions.
Display Name: If the user wishes to customize the username that is shown in Sunstone, it is possible to so by adding a special parameter named
SUNSTONE/DISPLAY_NAMEwith the desired value. It is worth noting that Cloud Administrators may want to automate this with a hook on user create in order to fetch the user name from outside OpenNebula.
These options are saved in the user template, as well as other hidden settings, like for instance the attribute that lets Sunstone remember the number of items displayed in the datatables per user. If not defined, defaults from /etc/one/sunstone-server.conf are taken.
Defining a New OpenNebula Sunstone View or Customizing an Existing one
View definitions are placed in the /etc/one/sunstone-views/* directory. Each view is defined by a configuration file, in the form:
<view_name>.yaml
The name of the view will be the filename without the yaml extension.
/etc/one/
...
|-- sunstone-views/
|   |-- mixed/
|   |   |-- admin.yaml       <--- the admin view
|   |   `-- cloud.yaml       <--- the cloud view
|   |-- kvm/
|   |   |-- admin.yaml       <--- the admin view
|   |   `-- cloud.yaml       <--- the cloud view
|   |-- vcenter/
|   |   |-- admin.yaml       <--- the admin view
|   |   `-- cloud.yaml       <--- the cloud view
`-- sunstone-views.yaml
...
Note
The easiest way to create a custom view is to copy the admin.yaml or cloud.yaml file and modify it as needed.
Admin View Customization
The contents of a view file specifies the logos, links, confirm actions, group filter, enabled features, visible tabs, and enabled actions.
small_logo: Image path to customize the Sunstone logo in admin views. By default, the OpenNebula logo.
provision_logo: Image path to customize the Sunstone logo in user views. By default, the OpenNebula logo.
link_logo: External URL below the logo.
text_link_logo: Text link for link_logo.
confirm_vms: If true, the user will need to confirm the actions on a VM.
filter_view: If false, hides the group name by which it’s filtering.
For the dashboard, the following widgets can be configured:
# The following widgets can be used inside any of the '_per_row' settings
# below. As the name suggests, the widgets will be scaled to fit one,
# two, or three per row. The footer uses the widgets at full size, i.e.
# one per row.
#
# - storage
# - users
# - network
# - hosts
# - vms
# - groupquotas
# - quotas
panel_tabs:
actions:
    Dashboard.refresh: false
    Sunstone.toggle_top: false
widgets_one_per_row:
    - hosts
widgets_three_per_row:
widgets_two_per_row:
    - vms
    - users
    - storage
    - network
widgets_one_footer:
Inside features there are settings:
showback: When this is false, all Showback features are hidden. The monthly report tables, and the cost for new VMs in the create VM wizard.secgroups: If true, the create VM wizard will allow adding security groups to each network interface.instantiate_hide_cpu: If true, hide the CPU setting in the VM creation dialog.instantiate_cpu_factor: False to not scale the CPU from VCPU. Number [0, 1] to scale.instantiate_persistent: True to show the option to make an instance persistent.vcenter_vm_folder: True to show an input to specify the VMs and Template path/folder where a vCenter VM will be deployed.show_ds_instantiate: True to show the datastore datatable to instantiate the VM.show_vmgroup_instantiate: True to show the vmgroup datatable to instantiate the VM.show_vnet_instantiate: True to show the vnet datatable to instantiate the VM.show_host_instantiate: True to show the host datatable to instantiate the VM.show_monitoring_info: True to show monitoring info (VM & VRouters).show_attributes_info: True to show attributes info (VM & VRouters).show_vnet_instantiate_flow: True to show the network configuration to instantiate service template.resize_enforce: If set to True, the host capacity will be checked. This will only affect oneadmin requests; limits on regular users’ resize requests will always be enforced.deploy_enforce: If set to True, the host capacity will be checked. This will only affect oneadmin requests; limits on regular users’ resize requests will always be enforced.migrate_enforce: If set to True, the host capacity will be checked. This will only affect oneadmin requests; limits on regular users’ resize requests will always be enforced.show_sched_actions_instantiate: If set to False, the section “Schedule actions for VM” will disapear from this view.show_boot_order: If set to False, the section “OS Booting” will disapear from this view.
features:
    # True to show showback monthly reports, and VM cost
    showback: true

    # Allows to change the security groups for each network interface
    # on the VM creation dialog
    secgroups: true
This file also defines the tabs available in the view. (Note: the tabs is one of the main sections of the UI, those in the left-side menu.) Each tab can be enabled or disabled by updating the enabled_tabs: attribute. For example to disable the Clusters tab, comment out the clusters-tab entry:
enabled_tabs:
    - dashboard-tab
    - instances-top-tab
    - vms-tab
    - oneflow-services-tab
    - templates-top-tab
    - templates-tab
    - oneflow-templates-tab
    - storage-top-tab
    - datastores-tab
    - images-tab
    - files-tab
    - marketplaces-tab
    - marketplaceapps-tab
    - network-top-tab
    - vnets-tab
    - vrouters-tab
    - vnets-topology-tab
    - secgroups-tab
    - infrastructure-top-tab
    #- clusters-tab
    - hosts-tab
    - zones-tab
    - system-top-tab
    - users-tab
    - groups-tab
    - vdcs-tab
    - acls-tab
    - settings-tab
Each tab can be tuned by selecting:
The individual resource tabs available (
panel_tabs:attribute) in the tab; these are the tabs activated when an object is selected (e.g. the information, or capacity tabs in the Virtual Machines tab).The columns shown in the main information table (
table_columns:attribute).The action buttons available to the view (
actions:attribute).
The attributes in each of the above sections should be self-explanatory. As an example, the following section defines a simplified datastore tab, without the info panel tab and no action buttons:
datastores-tab:
    panel_tabs:
        datastore_info_tab: false
        datastore_image_tab: true
        datastore_clusters_tab: false
    table_columns:
        - 0         # Checkbox
        - 1         # ID
        - 2         # Owner
        - 3         # Group
        - 4         # Name
        - 5         # Capacity
        - 6         # Cluster
        #- 7         # Basepath
        #- 8         # TM
        #- 9         # DS
        - 10        # Type
        - 11        # Status
        #- 12        # Labels
    actions:
        Datastore.refresh: true
        Datastore.create_dialog: false
        Datastore.import_dialog: false
        Datastore.addtocluster: false
        Datastore.rename: false
        Datastore.chown: false
        Datastore.chgrp: false
        Datastore.chmod: false
        Datastore.delete: false
        Datastore.enable: false
        Datastore.disable: false
Cloud View Customization
The cloud layout can also be customized by changing the corresponding /etc/one/sunstone-views/ yaml files. In this file you can customize the options available when instantiating a new template, the dashboard setup, or the resources available for cloud users.
Features
showback: When this is false, all Showback features are hidden: the monthly report tables, and the cost for new VMs in the create VM wizard.secgroups: If true, the create VM wizard will allow adding security groups to each network interface.instantiate_hide_cpu: If true, hide the CPU setting in the VM creation dialog.instantiate_cpu_factor: False to not scale the CPU from VCPU. Number [0, 1] to scale.instantiate_persistent: True to show the option to make an instance persistent.cloud_vm_create: True to allow creating machines by cloud users.show_monitoring_info: True to show the monitoring info (VM & VRouters).show_attributes_info: True to show the attributes info (VM & VRouters).show_attach_disk_advanced: True to show advanced options in the attach disk dialog.show_attach_nic_advanced: True to show advanced options in the attach NIC dialog.show_vnet_instantiate_flow: True to show the network configuration to instantiate service template.show_sched_actions_instantiate: If set to False, the section “Schedule actions for VM” will disapear from this view.show_boot_order: If set to False, the section “OS Booting” will disapear from this view.
features:
    # True to show showback monthly reports, and VM cost
    showback: true

    # Allows changing the security groups for each network interface
    # on the VM creation dialog
    secgroups: true
Resources
The list of VMs is always visible. The list of VM Templates and OneFlow Services can be hidden with the provision_tabs setting.
tabs:
    provision-tab:
        provision_tabs:
            flows: true
            templates: true
Dashboard
The dashboard can be configured to show users’ quotas, group quotas, overview of user VMs, and an overview of group VMs.
tabs:
    dashboard:
        # Connected user's quotas
        quotas: true
        # Overview of connected user's VMs
        vms: true
        # Group's quotas
        vdcquotas: false
        # Overview of group's VMs
        vdcvms: false
Create VM Wizard
The create VM wizard can be configured with the following options:
tabs:
    create_vm:
        # True to allow capacity (CPU, MEMORY, VCPU) customization
        capacity_select: true
        # True to allow NIC customization
        network_select: true
        # True to allow DISK size customization
        disk_resize: true
Actions
The actions available for a given VM can be customized and extended by modifying the yaml file. You can even insert VM panels from the admin view into this view, for example to use the disk snapshots or scheduled actions.
Hiding the delete button
tabs:
    provision-tab:
        ...
        actions: &provisionactions
            ...
            VM.shutdown_hard: false
            VM.delete: false
Using undeploy instead of power off
tabs:
    provision-tab:
        ...
        actions: &provisionactions
            ...
            VM.poweroff: false
            VM.poweroff_hard: false
            VM.undeploy: true
            VM.undeploy_hard: true
Adding panels from the admin view, for example the disk snapshots tab
tabs:
    provision-tab:
        panel_tabs:
            ...
            vm_snapshot_tab: true
            ...
        ...
        actions: &provisionactions
            ...
            VM.disk_snapshot_create: true
            VM.disk_snapshot_revert: true
            VM.disk_snapshot_delete: true