WHMCS Tenants Module Install/Update
The install and update process are essentially identical. The Module files can be found in /usr/share/one/whmcs after you have installed the opennebula-whmcs-tenants package via your package manager. You will just need to merge the modules directory to the main WHMCS directory on the server hosting WHMCS. When updating the module just copy the files on top of the existing files and overwrite them. An example command for copying the files:
cp -rf /usr/share/one/whmcs/modules /path/to/web/root/whmcs/.
Note
Make sure you download the updated package from the EE repository before doing either an install or an update.
WHMCS Tenants Module Configuration
In this chapter we will go over adding a server, creating the group for it, and configuring a product.
Adding a Server
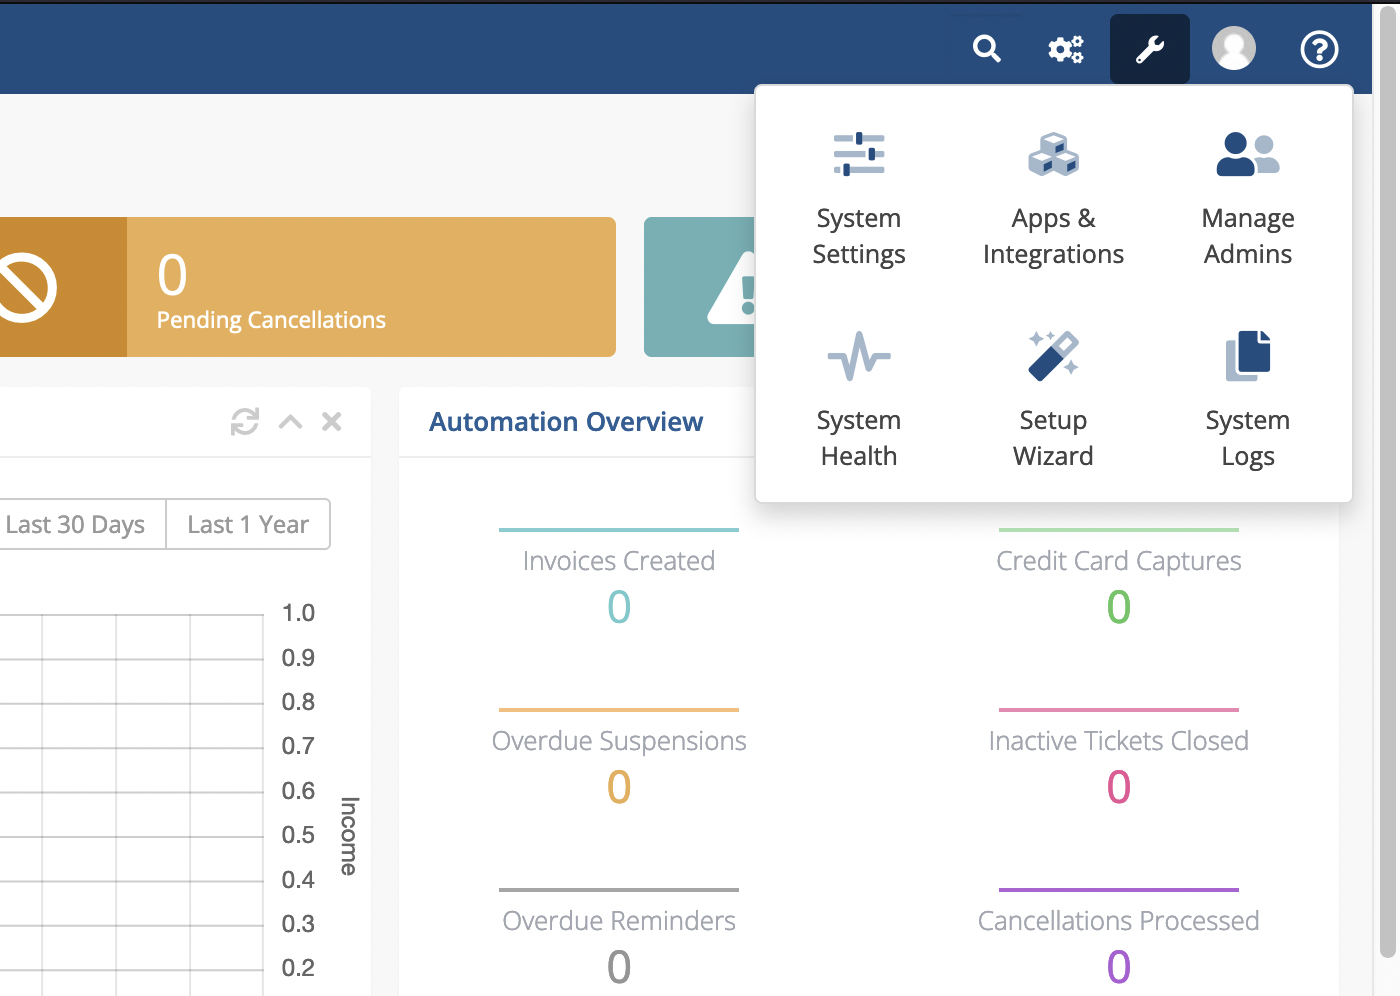
To configure your WHMCS Tenants Module, first log in to your WHMCS admin area and navigate to System Settings -> Servers and click on the button Add New Server.
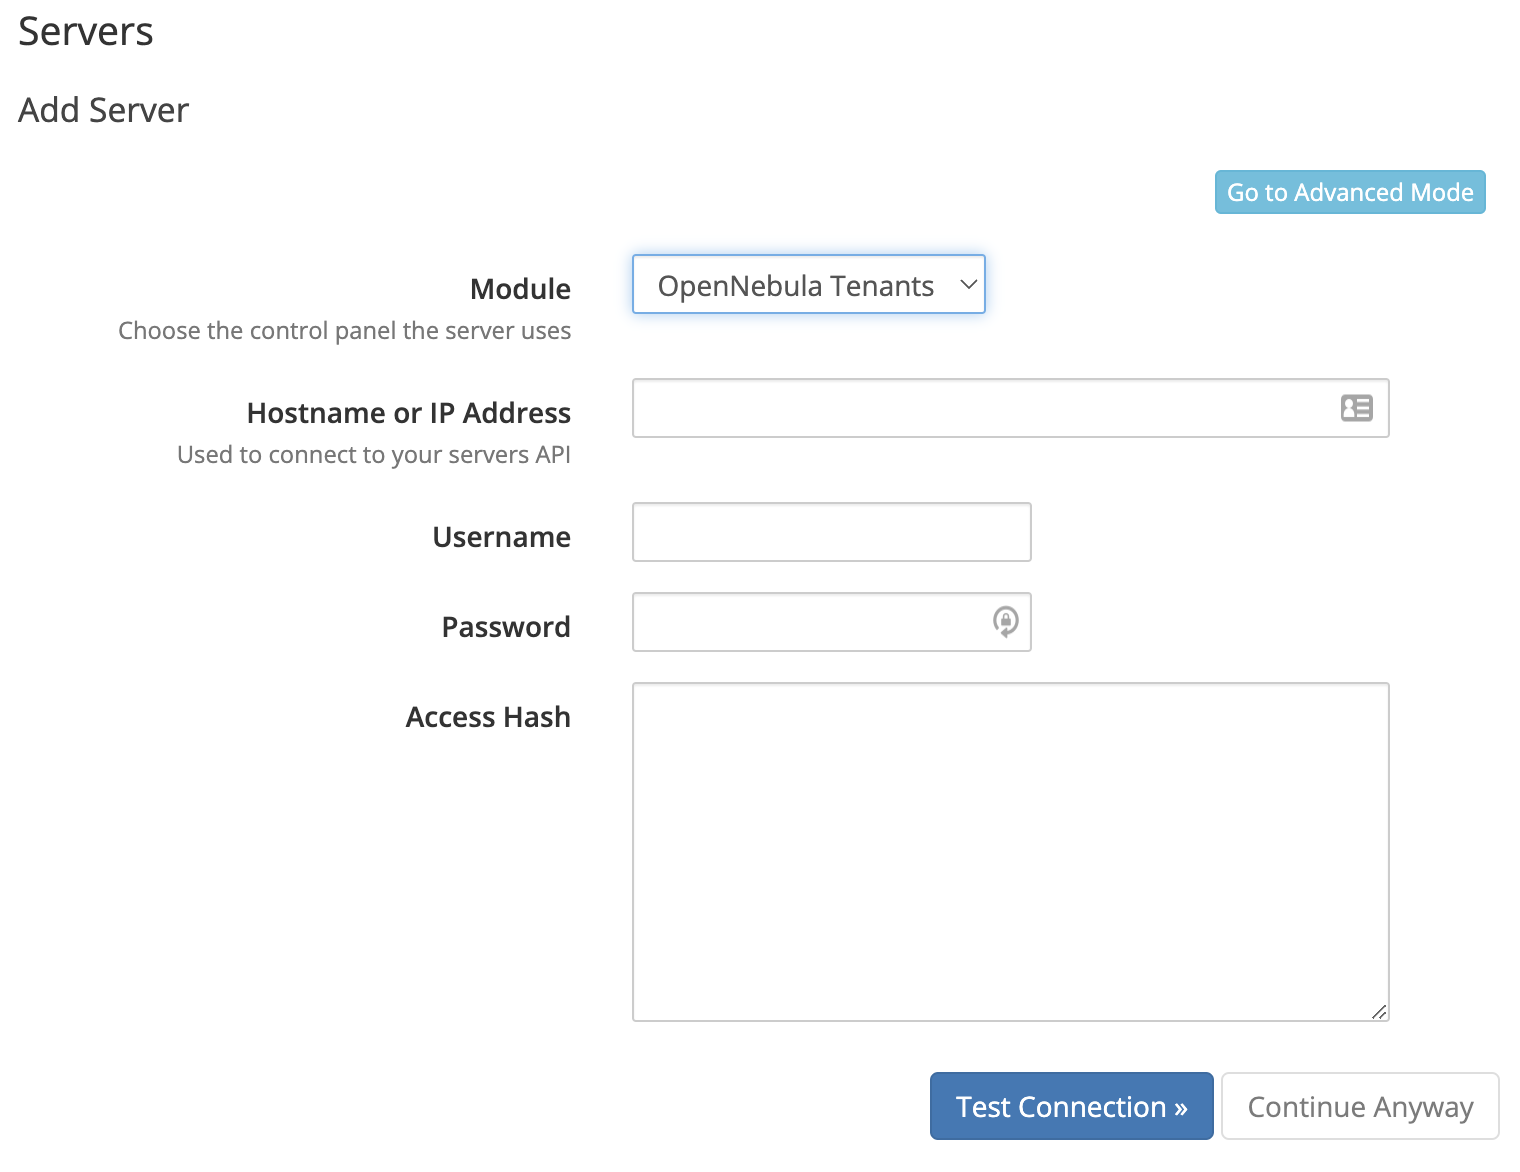
Fill in the Hostname for your OpenNebula Server. Under the Server Details section select OpenNebula Tenants as the Module and fill in the Username and Password with a user in the oneadmin group in your OpenNebula installation.
Now click the button on top labelled Go to Advanced Mode. This will open a larger form, so fill in a Name for the server and scroll down to the bottom to verify that the port and SSL settings are correct. By default, the XML-RPC traffic is not encrypted with SSL so you may need to disable that unelss you’ve set up SSL for XML-RPC.
Once these are filled out, click the Test Connection button to verify the module can authenticate with your OpenNebula server.
Do not forget to hit the Save Changes button once this is verified in order to complete adding the server.
Creating a Server Group
After the server is added it should return you to the list of Servers. Here you can click the Create New Group button to make a server group to contain your OpenNebula Server(s).
Fill in the Name of your Server Group, then highlight your OpenNebula Server and click Add to add it to your new group. Once this is done, click Save Changes.