On-premises AI Factory Deployment
Machine Learning (ML) training and inference are resource-intensive tasks that often require the full power of a dedicated GPU. PCI passthrough allows a Virtual Machine (VM) to have exclusive access to a physical GPU, delivering bare-metal performance for the most demanding AI workloads.
In this guide you will find the details to deploy and configure an AI-ready OpenNebula cloud using the OneDeploy tool. It covers the general process of preparing an environment for demanding AI workloads by leveraging PCI passthrough for GPUs such as the NVIDIA H100 and L40S.
Prerequisites
Before you begin, ensure your environment meets the following prerequisites.
Hardware Requirements
The virtualization Hosts (hypervisors) must support I/O MMU virtualization:
- Intel CPUs: Must support VT-d.
- AMD CPUs: Must support AMD-Vi.
You must enable this feature in your server’s BIOS/UEFI. Refer to your hardware vendor’s documentation for instructions.
Kernel Configuration (Manual Step)
The OneDeploy tool automates many aspects of the configuration, but you must manually enable IOMMU support in the kernel on each hypervisor node. This is a critical step that OneDeploy does not perform automatically.
Before modifying the kernel parameters, check if IOMMU is already active by inspecting the /sys/kernel/iommu_groups/ directory on the hypervisor.
ls /sys/kernel/iommu_groups/
If this directory exists and contains subdirectories (e.g., 0/, 1/, etc.), IOMMU is likely active. An empty directory or a non-existent directory indicates that IOMMU is not correctly enabled in your kernel or BIOS/UEFI.
If IOMMU is not active, add the appropriate parameter to the kernel’s boot command line:
- For Intel CPUs:
intel_iommu=on - For AMD CPUs:
amd_iommu=on
For a detailed guide on how to perform this kernel configuration, refer to the NVIDIA GPU Passthrough documentation.
Hypervisor Preparation
For a correct performance of the PCI passthrough with NVIDIA GPUs, start with a clean state on the hypervisor nodes regarding NVIDIA drivers.
Avoid pre-installing NVIDIA drivers on the hypervisor nodes before running the OneDeploy playbook. An active proprietary NVIDIA driver will claim the GPU and prevent other drivers, like vfio-pci, from binding to the device. This will block the PCI passthrough configuration from succeeding.
Setting Up OneDeploy
The OneDeploy tool is a collection of Ansible playbooks that streamline the installation of OpenNebula. Before running this collection, prepare your control node which is the machine where you will execute the Ansible commands.
Clone the repository:
Switch to the root user:
sudo -iClone the OneDeploy repository:
git clone https://github.com/OpenNebula/one-deploy.git
cd one-deploy
Install dependencies: OneDeploy requires Ansible and a few other Python libraries. For detailed system requirements and setup instructions, consult the Platform Notes in the official wiki. Run the following commands as the root user:
Install PIPx:
apt update
apt install pipx
Install Ansible:
pipx install 'ansible-core<2.16'Install Hatch:
pipx install hatch==1.16.5
pipx ensurepath
source ~/.bashrc
From within the one-deploy directory install the requirements:
apt install make
make requirements
To inspect the new virtual environment run:
hatch env showSpawn a new shell in the virtual environment:
hatch shellAfter activating the virtual environment, your terminal prompt should begin with
(one-deploy):(one-deploy) root@vgpu1:~/one-deploy#You should run the AI Factory deployment in the following step in a terminal with this virtual environment activated.
For guidance on how to execute the playbooks in different cloud architectures, consult the Playbook Usage Guide.
AI Factory Deployment
Once the prerequisites including configurations and dependencies are met, proceed to deploy your AI Factory with OneDeploy.
Configure a Network Bridge for the VMs
The following AI Factory deployment examples assume the configuration of a bridge for the VMs to attach to. You will normally find the network configuration of your server in /etc/netplan/ named something like 50-cloud-init.yaml. You may need to update this file.
The following example configures a Linux bridge named br0 on the OpenNebula Host. The physical interface enp33s0f0np0 is enslaved to the bridge, and the Host IP address is assigned to br0 rather than directly to the physical NIC. OpenNebula bridged Virtual Networks attach VM NICs to this Host bridge, allowing VMs to communicate through the underlying physical network.
network:
  version: 2
  ethernets:
    enp33s0f0np0:
      dhcp4: false
    enp33s0f1np1:
      dhcp4: true
      dhcp4-overrides:
        use-routes: false
    enp33s0f2np2:
      dhcp4: true
      dhcp4-overrides:
        use-routes: false

  bridges:
    br0:
      interfaces:
        - enp33s0f0np0
      addresses:
        - 10.0.1.18/24
      nameservers:
        addresses:
          - 10.0.1.1
          - 1.1.1.1
      routes:
        - to: default
          via: 10.0.1.1
      parameters:
        stp: false
        forward-delay: 0
Update the following parameters with values corresponding to your setup:
enp33s0f0np0: Physical NIC connected to the network to be used by OpenNebula VMs.br0: Linux bridge name. This must match the BRIDGE value used in the following OneDeploy inventories.10.0.1.18/24: Static IP address of the OpenNebula Host.10.0.1.1: Default gateway for that subnet.10.0.1.1and1.1.1.1: Example DNS resolvers.enp33s0f1np1/enp33s0f2np2: These are additional network interfaces of the Host used in this example that are not utilized by OpenNebula.
After adjusting the Netplan configuration run the following command to update the network:
sudo netplan apply
netplan apply, improper configuration could break your network connectivity and render the server inaccessible through SSH. Revise the updated configuration carefully before applying it and ensure you have alternative access to the server (e.g. through IPMI or physical access to the server) in case of errors.The necessity of a bridge depends upon your network topology. Consult the OpenNebula Networking System Documentation for details or ask your system administrator for advice.
Configure the Inventory for PCI Passthrough
Use a dedicated inventory file to define the general cloud architecture, where you specify PCI devices for passthrough. The following example corresponds to a topology with the OpenNebula Front-end and GPU nodes on separate physical Hosts. If you wish to deploy the OpenNebula Front-end and GPU nodes on the same Host, see Single Node Deployment below.
Below is an example inventory file, which you can adapt for your environment. This example is based on the inventory/pci_passthrough.yml file found in the one-deploy repository. For more details on the PCI passthrough roles, refer to the PCI Passthrough wiki page.
The inventory file shown below is a basic example, and you should adjust it to match your specific cloud architecture, including your frontend and node IP addresses, network configuration (vn), and datastore setup (ds). For more detailed information on configuring OneDeploy for different architectures like shared or Ceph-based storage, refer to the official OneDeploy Wiki.
---
all:
  vars:
    ansible_user: root
    one_version: '7.4'
    one_pass: opennebulapass
    ds:
      mode: ssh
    vn:
      admin_net:
        managed: true
        template:
          VN_MAD: bridge
          BRIDGE: br0
          AR:
            TYPE: IP4
            IP: 192.168.122.100
            SIZE: 48
          NETWORK_ADDRESS: 192.168.122.0
          NETWORK_MASK: 255.255.255.0
          GATEWAY: 192.168.122.1
          DNS: 1.1.1.1

frontend:
  hosts:
    f1: { ansible_host: 192.168.122.2 }

node:
  hosts:
    h100-node:
      ansible_host: 192.168.122.3
      pci_devices:
        - address: "0000:09:00.0" # NVIDIA H100 GPU
    l40s-node:
      ansible_host: 192.168.122.4
      pci_devices:
        - address: "0000:0a:00.0" # NVIDIA L40S GPU
    standard-node:
      ansible_host: 192.168.122.5
Key configuration parameters to setup:
ansible_host: The IP address of each server used for either the Front-end or GPU nodes.pci_devices: This is a list of PCI devices to be configured for passthrough on that node.address: The full PCI address of the device (e.g.,"0000:09:00.0"). Note that you must provide the full address, as short addresses are not supported by this OneDeploy feature.
To find the address of the GPU on each node you can use the following command:
lspci -nn | grep -i nvidia
This command should output something similar to the following:
c1:00.0 3D controller [0302]: NVIDIA Corporation AD102GL [L40S] [10de:26b9] (rev a1)
The relevant address for the inventory file in this case is "0000.c1:00.0". You may need to prepend 0000..
Single Host Deployment
The above inventory example outlines a topology with 2 separate GPU nodes deployed on different physical Hosts to the OpenNebula Front-end. If you have a single bare-metal server and wish to deploy the OpenNebula Front-end and a KVM hypervisor node with GPU-passthrough on the same Host, the following inventory example can be used as reference:
---
all:
  vars:
    ansible_user: root
    one_version: '7.4'
    one_pass: opennebulapass
    ds:
      mode: ssh
    vn:
      admin_net:
        managed: true
        template:
          VN_MAD: bridge
          BRIDGE: br0
          AR:
            TYPE: IP4
            IP: 10.0.1.100
            SIZE: 48
          NETWORK_ADDRESS: 10.0.1.0
          NETWORK_MASK: 255.255.255.0
          GATEWAY: 10.0.1.1
          DNS: 1.1.1.1

frontend:
  hosts:
    ai-server: { ansible_host: 10.0.1.18 }

node:
  hosts:
    ai-server:
      ansible_host: 10.0.1.18
      pci_devices:
        - address: "0000:c1:00.0" # NVIDIA L40S GPU
        - address: "0000:01:00.0" # NVIDIA L40S GPU
This inventory outlines a topology with the OpenNebula Front-end and a KVM hypervisor node deployed on the same physical Host with PCI passthrough to 2 separate GPU devices. Adjust the inventory according to your topology.
In order to successfully deploy the above inventory example with OneDeploy on a single Host, it is necessary to configure local root SSH access. As the root user (sudo -i), run the following commands prior to commencing the OneDeploy deployment:
ssh-keygen -t ed25519 -f /root/.ssh/id_ed25519 -N "" -q
# If your root user already has an SSH key, omit the above command
# and adjust the public key file location below accordingly
cat /root/.ssh/id_ed25519.pub >> /root/.ssh/authorized_keys
Run the Deployment
Once your inventory file is ready (e.g. saved as inventory/ai_factory.yml), run OneDeploy to provision your OpenNebula cloud (remember to activate the virtual environment):
make I=inventory/ai_factory.yml
When you enable the PCI passthrough feature in your inventory, OneDeploy handles all the necessary configuration steps. On each hypervisor node, OneDeploy prepares the specified GPUs for passthrough by binding them to the required vfio-pci driver. It also ensures the correct permissions are set so that OpenNebula manages the devices.
Simultaneously, on the OpenNebula Front-end, OneDeploy configures the monitoring system to recognize these GPUs and intelligently updates each Host’s template. This ensures that the GPUs are always correctly identified by OpenNebula, even if hardware addresses change, providing a stable and reliable passthrough setup.
Post-Deployment Verification
After the deployment is complete, verify that the GPUs are correctly configured and available to OpenNebula by checking the Host information in Sunstone:
- Log in to your OpenNebula Sunstone GUI (normally accessible at <FRONTEND_IP>:2616), with the password you set in the above inventory
- Navigate to Infrastructure -> Hosts
- Select one of the hypervisors you configured for passthrough (e.g.
h100-nodeor10.0.1.18) - Go to the PCI tab
- You will see your GPU(s) listed as an available PCI device (you may need to wait 2-3 minutes for them to appear):
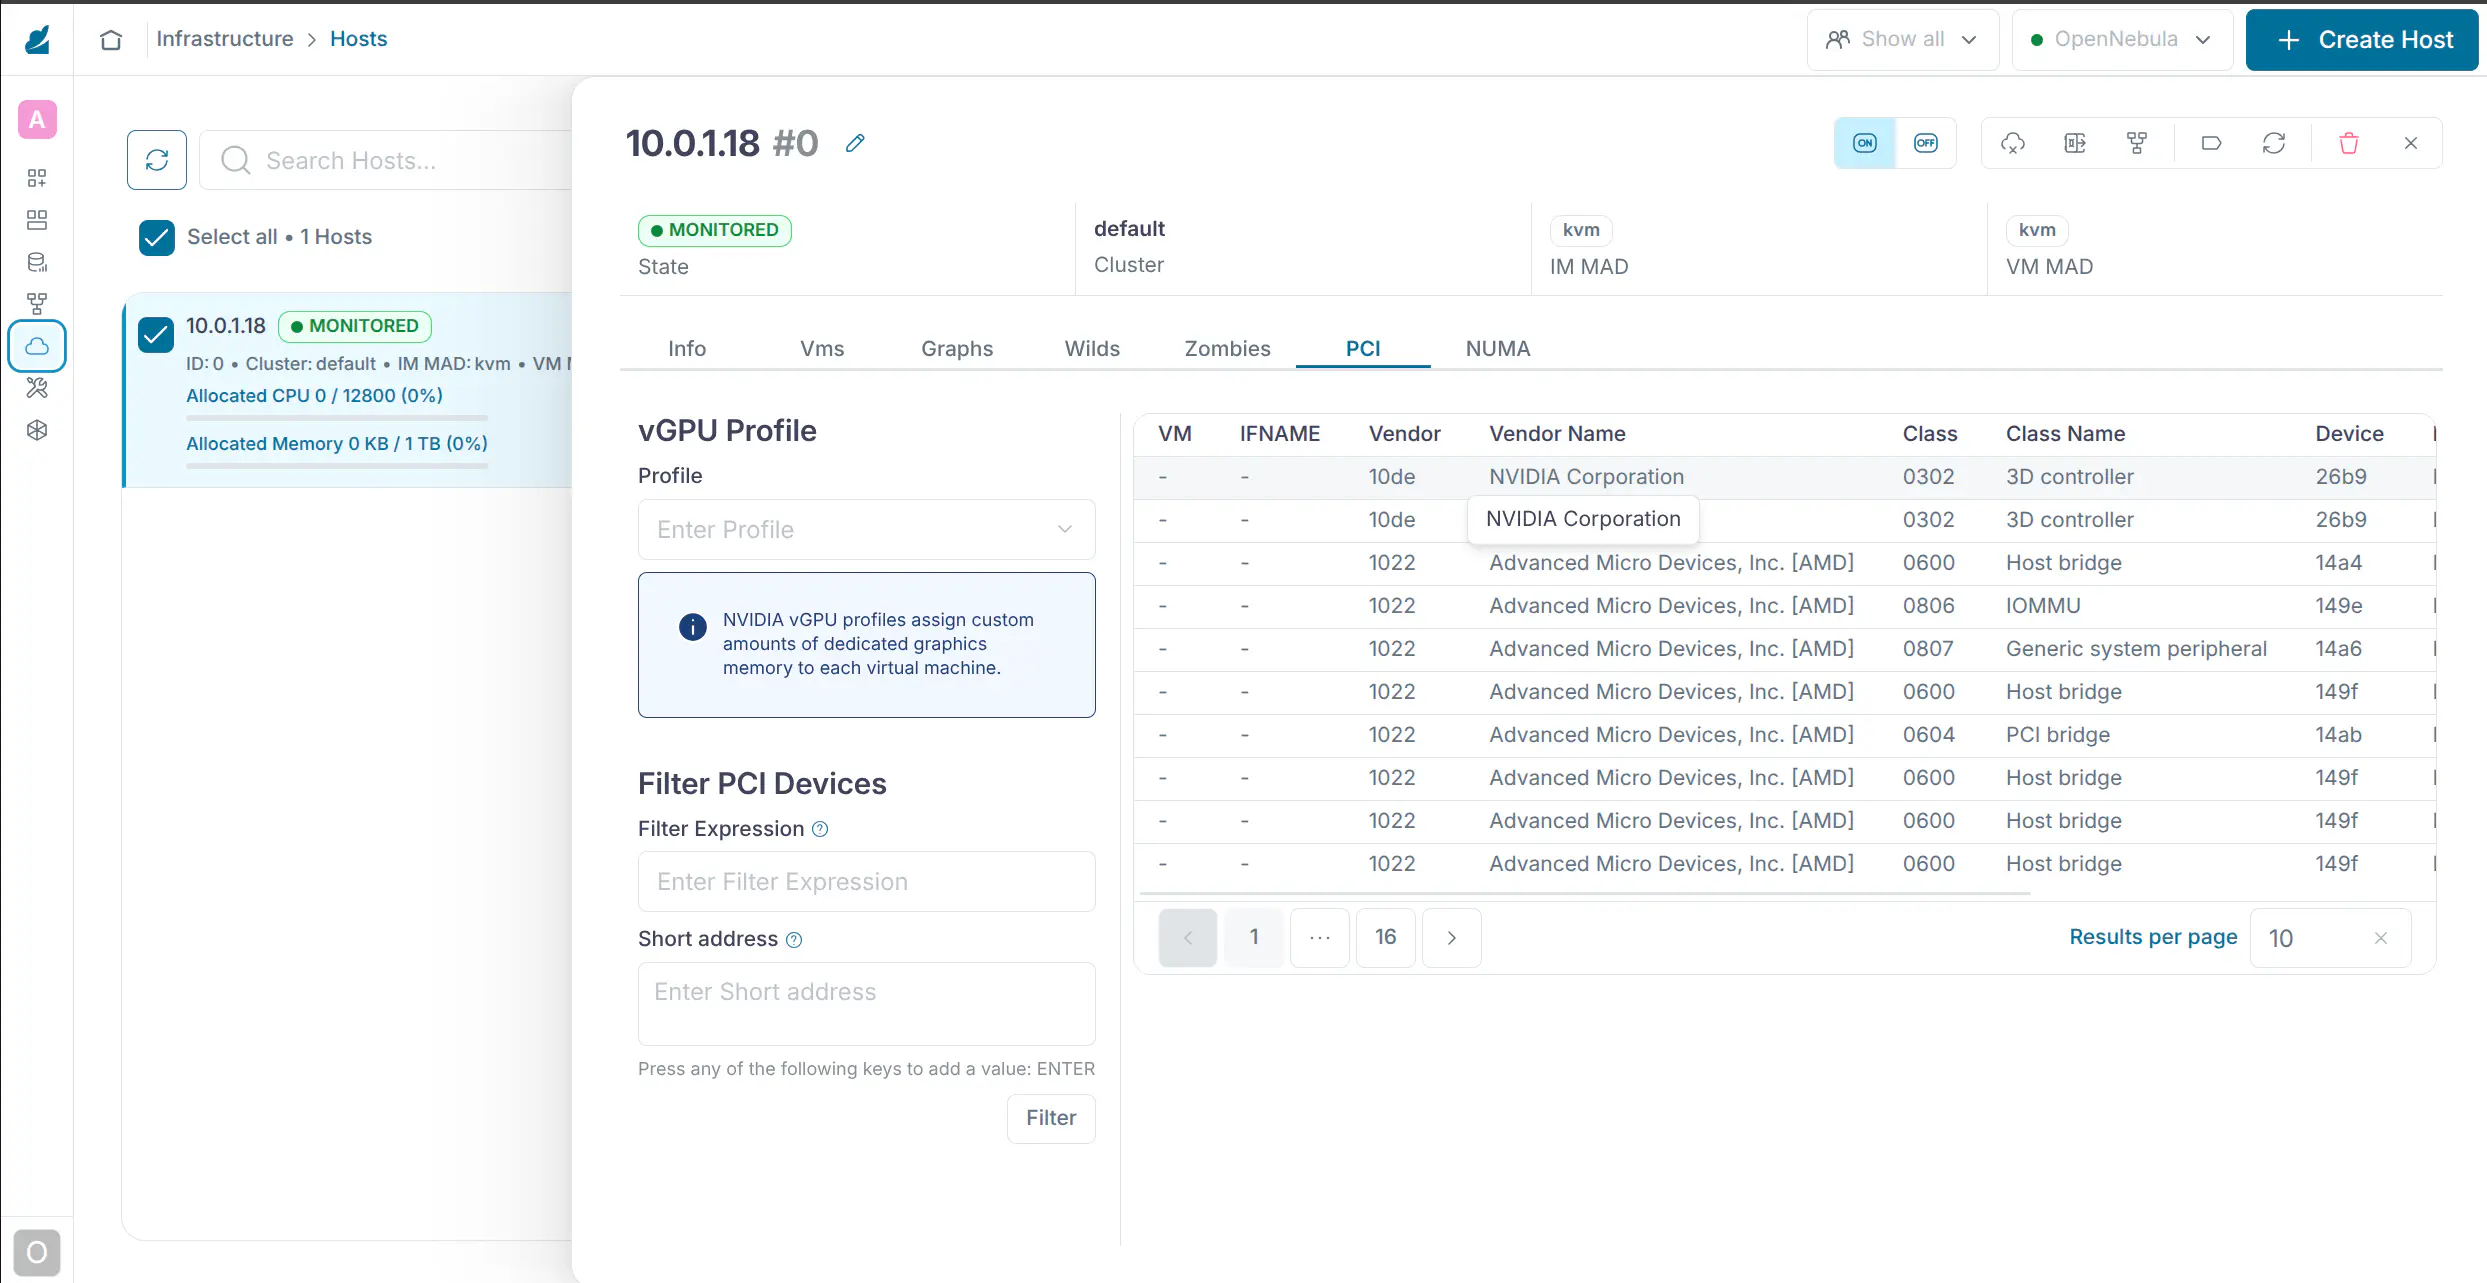
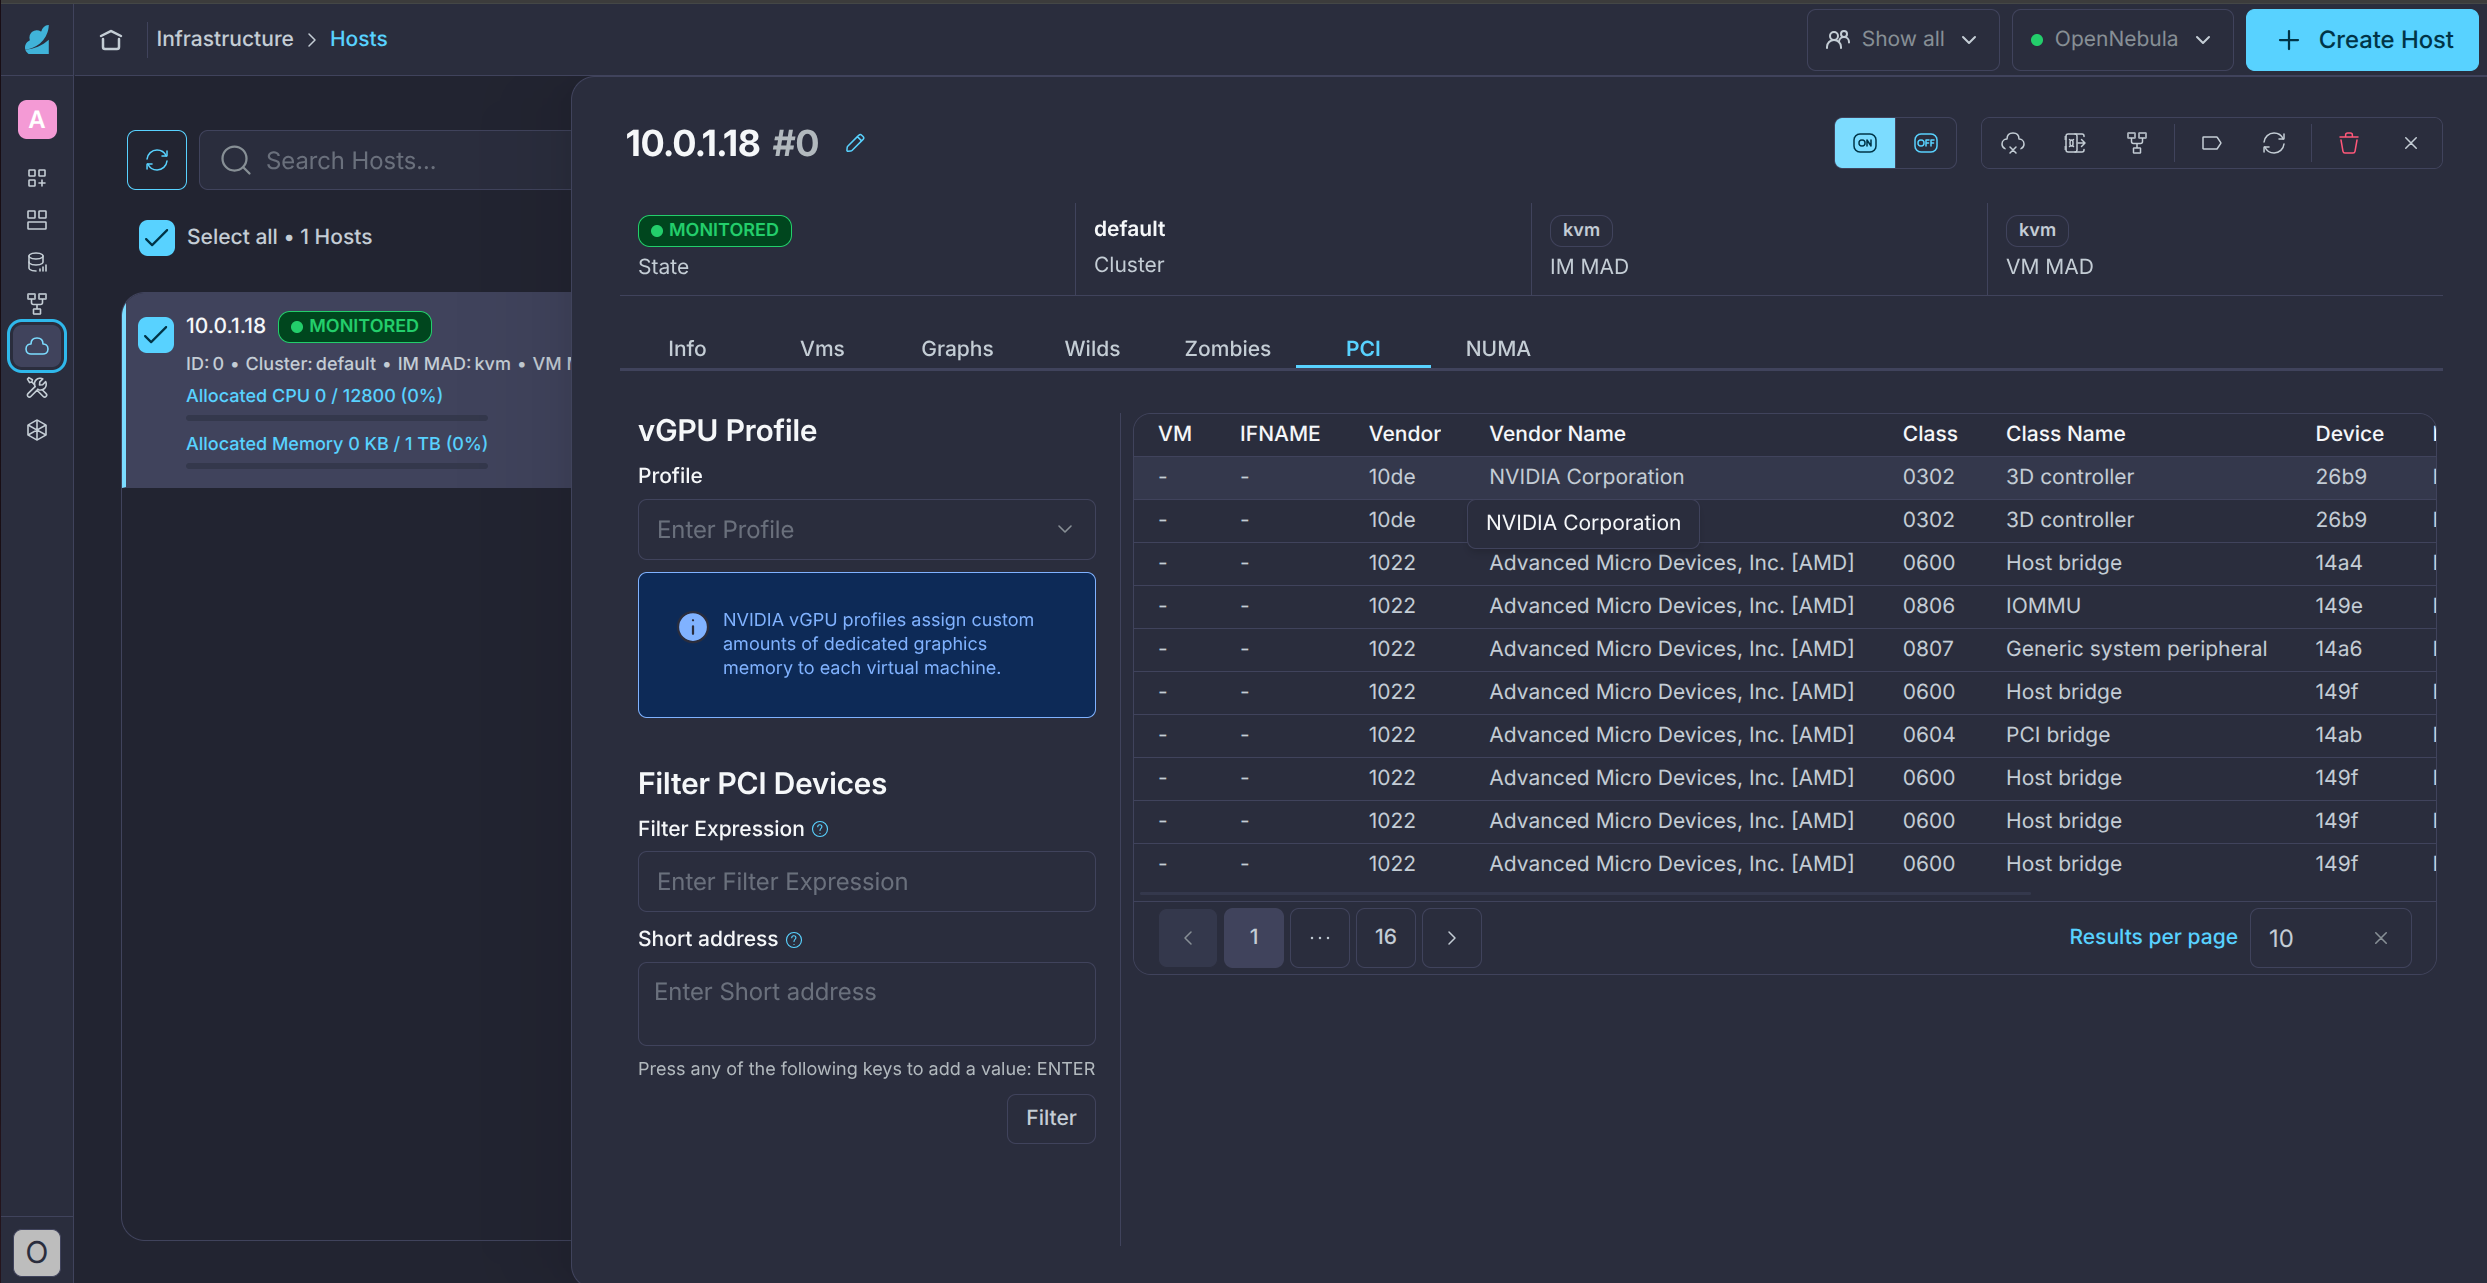
If the device is visible here, your AI-ready OpenNebula cloud is correctly configured. The H100 and/or L40S GPUs are now ready to be passed through to Virtual Machines for high-performance AI and ML tasks.
Next Steps
After completing the above steps to launch your AI-ready OpenNebula cloud with OneDeploy, validate your deployment one of the one of the following options:
GIVE FEEDBACK
Was this resource helpful?
Glad to hear it
Sorry to hear that