Deployment of AI-ready Kubernetes
Tools like Kubernetes provide robust orchestration for deploying AI workloads at scale, capable of managing isolation between Cluster workloads and GPU resources for AI inference tasks. With the use of the NVIDIA GPU Operator, you can perform the provision of the necessary NVIDIA drivers and libraries for making GPU resources available to containers.
Kubernetes embraces multi-tenancy, supporting different isolated namespaces where the access from different teams or users are managed with Role Based Access Control (RBAC) and network policies. As an administrator, you can also enforce limits on the GPU usage or other resources consumed per namespace, ensuring fair resource allocation.
Additionally, running Kubernetes Clusters on top of OpenNebula-provisioned Virtual Machines (VMs) provides several advantages, such as hardware-level isolation, physically secure multi-tenancy. This also provides an additional layer of resource isolation for performance-sensitive workloads, multi-cloud architectures, flexibility as well as lifecycle management, and resource efficiency.
OneKS, the OpenNebula Managed Kubernetes Service, enables straightforward deployment of AI-ready Kubernetes Clusters on OpenNebula-managed infrastructure.
In this guide you will learn how to provision a secure, robust and scalable containerized solution for AI workloads using OpenNebula’s powerful Kubernetes capabilities.
Before Starting
OpenNebula AI Factory Installation
Before starting this tutorial, you must complete the AI-factory deployment with either on-premises resources or cloud resources. Please complete one of the following guides relevant to your available resources:
OneKS Configuration
You must also complete the installation and configuration of OneKS. Complete all the steps in the Basic Configuration Guide for OneKS. After completing the basic configuration guide, run the OneKS readiness check tool on the command line of your OpenNebula Front-end to ensure your deployment is properly configured for OneKS provisioning:
oneks check --opennebula-cluster <CLUSTER_ID> --public-network <PUBLIC_NET_ID> --private-network <PRIVATE_NET_ID>
Enter the CLUSTER_ID of the OpenNebula Cluster where you intend to deploy your K8s Cluster, and the IDs of the public and private Virtual Networks you intend to use for the K8s Cluster. The public network must facilitate connection to the internet. If the diagnostic check fails, please refer to the OneKS Troubleshooting Guide.
Validated Environment
The AI-ready Kubernetes deployment in the guides in this section was tested with the following validation environment:
| Component | Specification |
|---|---|
| CPU | AMD EPYC 9124 16-Core Processor |
| RAM | 377 GiB (OS-reported) Samsung 32 GB DDR5-4800 ECC RDIMM |
| GPU | 1 NVIDIA L40S |
| Disk | 1 3.5 TiB NVMe |
Architecture
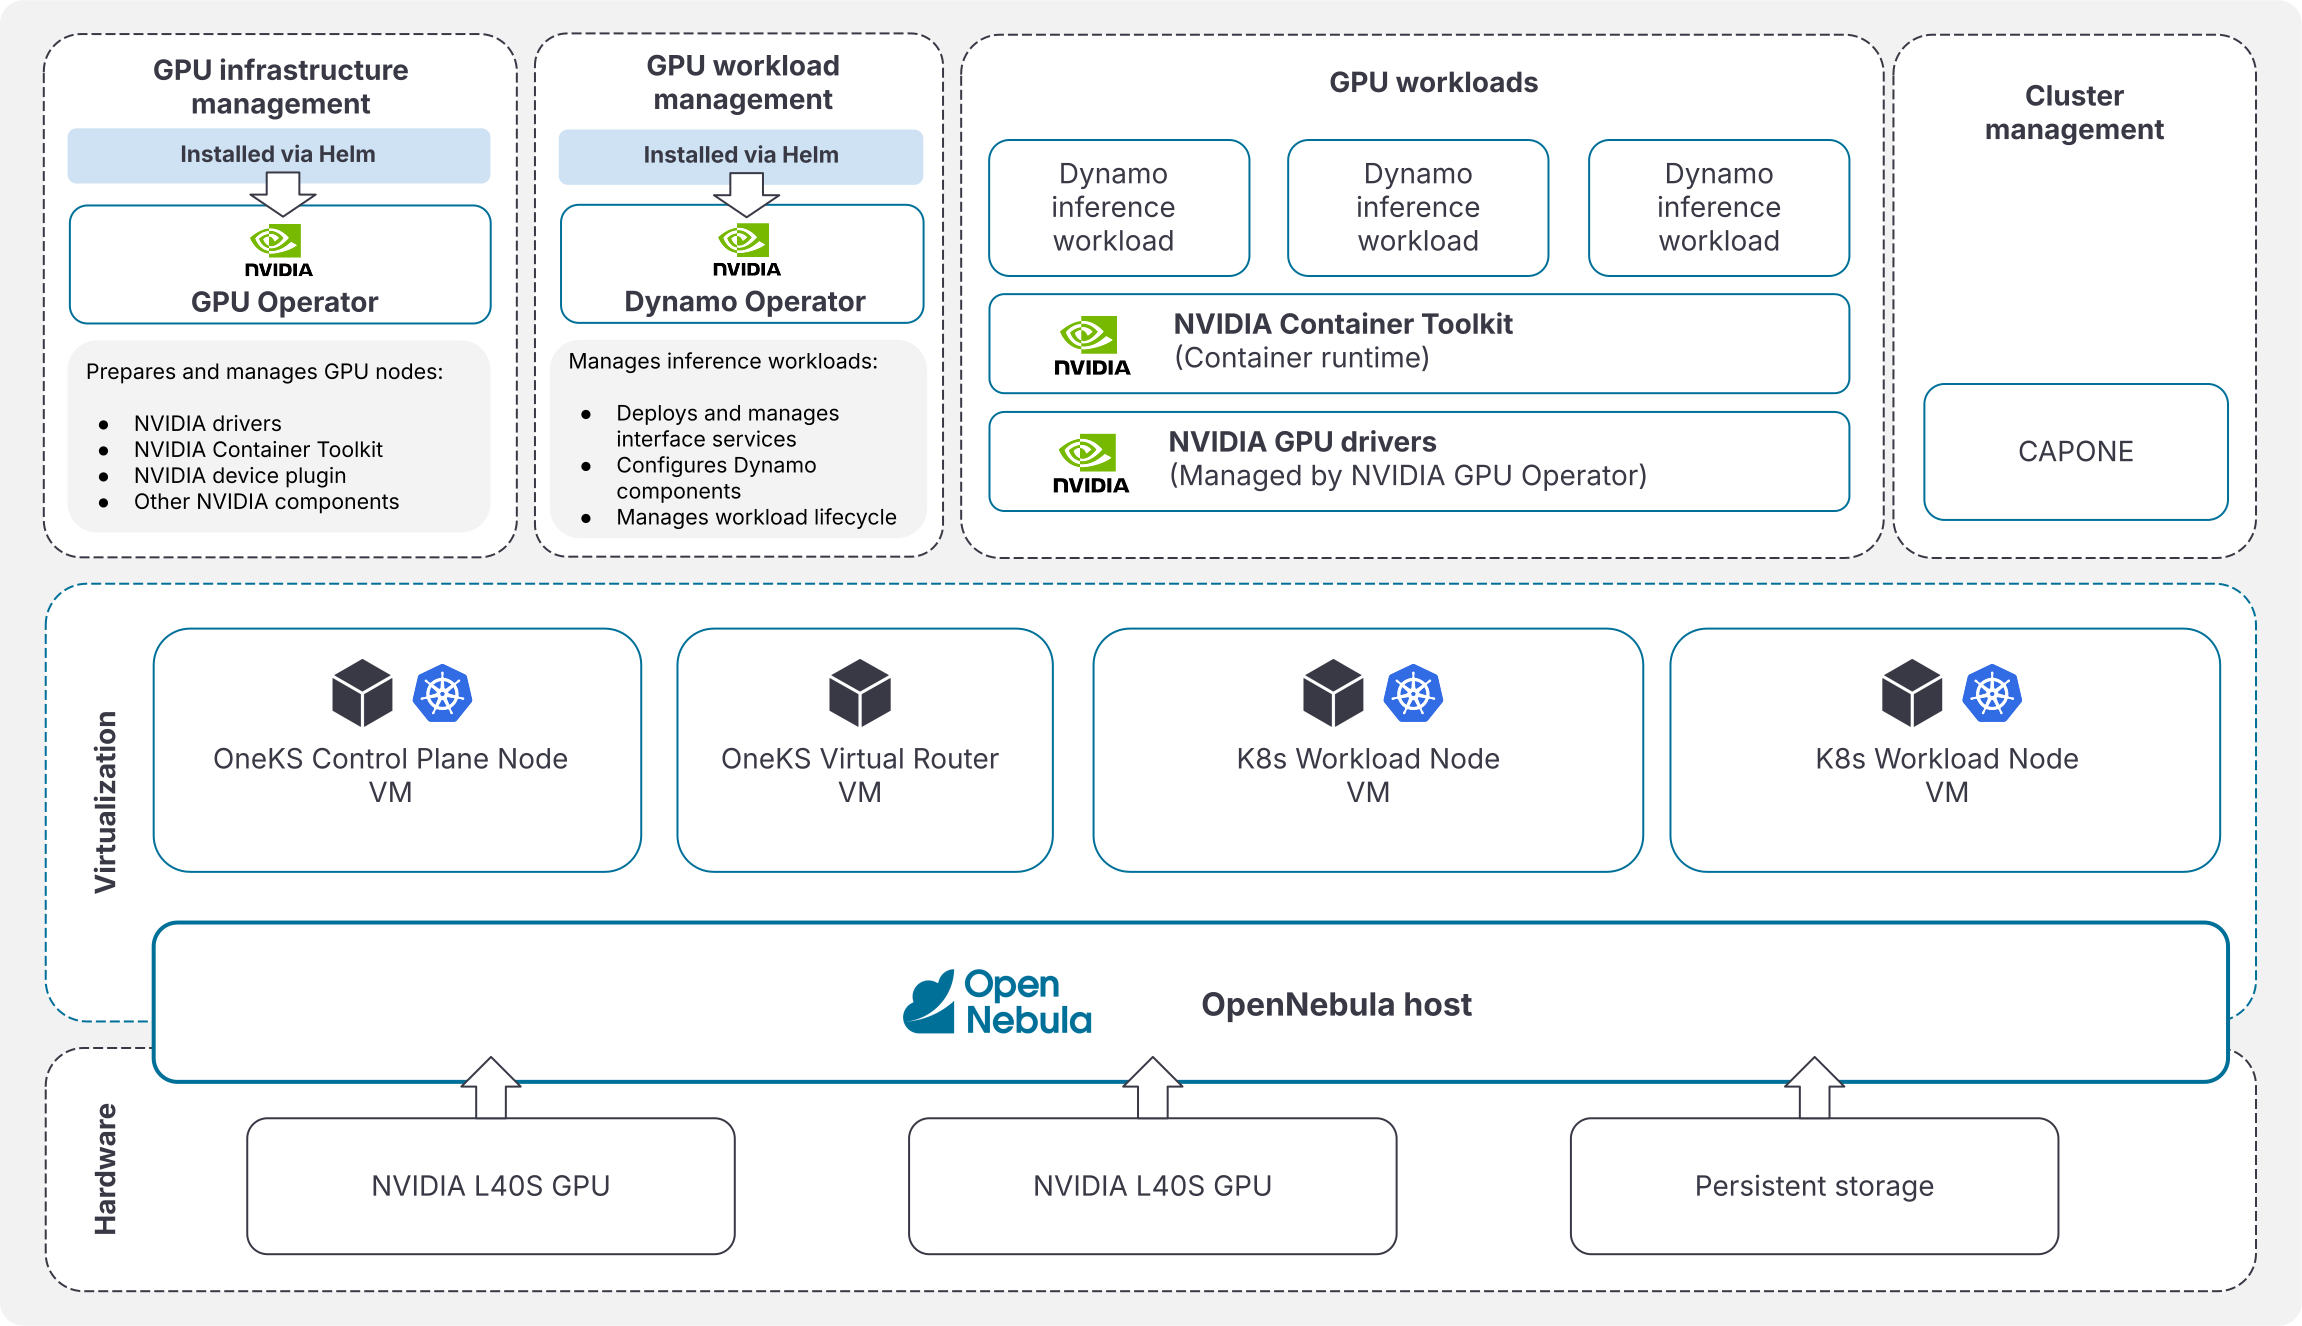
The diagram below depicts the top-level architecture of the NVIDIA Dynamo framework setup in an OpenNebula deployment. The OpenNebula Front-end Host contains one or two NVIDIA L40S GPU PCI cards which operate as the Host server for the K8s Cluster VMs. For this reference setup, the VMs share a simple bridged network.
Step 1: Configure the OneKS NodeGroup Template to Use the GPU
For OneKS worker nodes to access the GPU, it is necessary to adjust the default node group template with the details of the GPU. Firstly, on the command line of the OpenNebula Front-end, run the following command to retrieve the GPU parameters:
lspci -nn | grep -i nvidia
The output will appear similar to the following:
c1:00.0 3D controller [0302]: NVIDIA Corporation AD102GL [L40S] [10de:26b9] (rev a1)
The key details in this example are:
- Class: 0302
- Device: 26b9
- Vendor: 10de
After taking a note of these values from your GPU, open the node group template at the following location with a text or code editor:
/var/lib/one/oneks/nodegroups/general/templates/node.erb
Add the following lines to the template with details matching your device:
CPU_MODEL = [
    MODEL = "host-passthrough"
]
PCI=[
  CLASS="0302",
  DEVICE="26b9",
  VENDOR="10de" ]
Restart the OneKS service to register the template changes:
sudo systemctl restart opennebula-ks.service
Step 2: Install kubectl and Helm
If you haven’t already installed kubectl during the OneKS setup, download it:
curl -LO "https://dl.k8s.io/release/$(curl -L -s \
https://dl.k8s.io/release/stable.txt)/bin/linux/amd64/kubectl"
curl -LO "https://dl.k8s.io/release/$(curl -L -s \
https://dl.k8s.io/release/stable.txt)/bin/linux/arm64/kubectl"
Then install kubectl:
sudo install -o root -g root -m 0755 kubectl /usr/local/bin/kubectl
Install Helm version 4:
curl -fsSL https://raw.githubusercontent.com/helm/helm/main/scripts/get-helm-4 | bash
Step 3: Launch the K8s Cluster
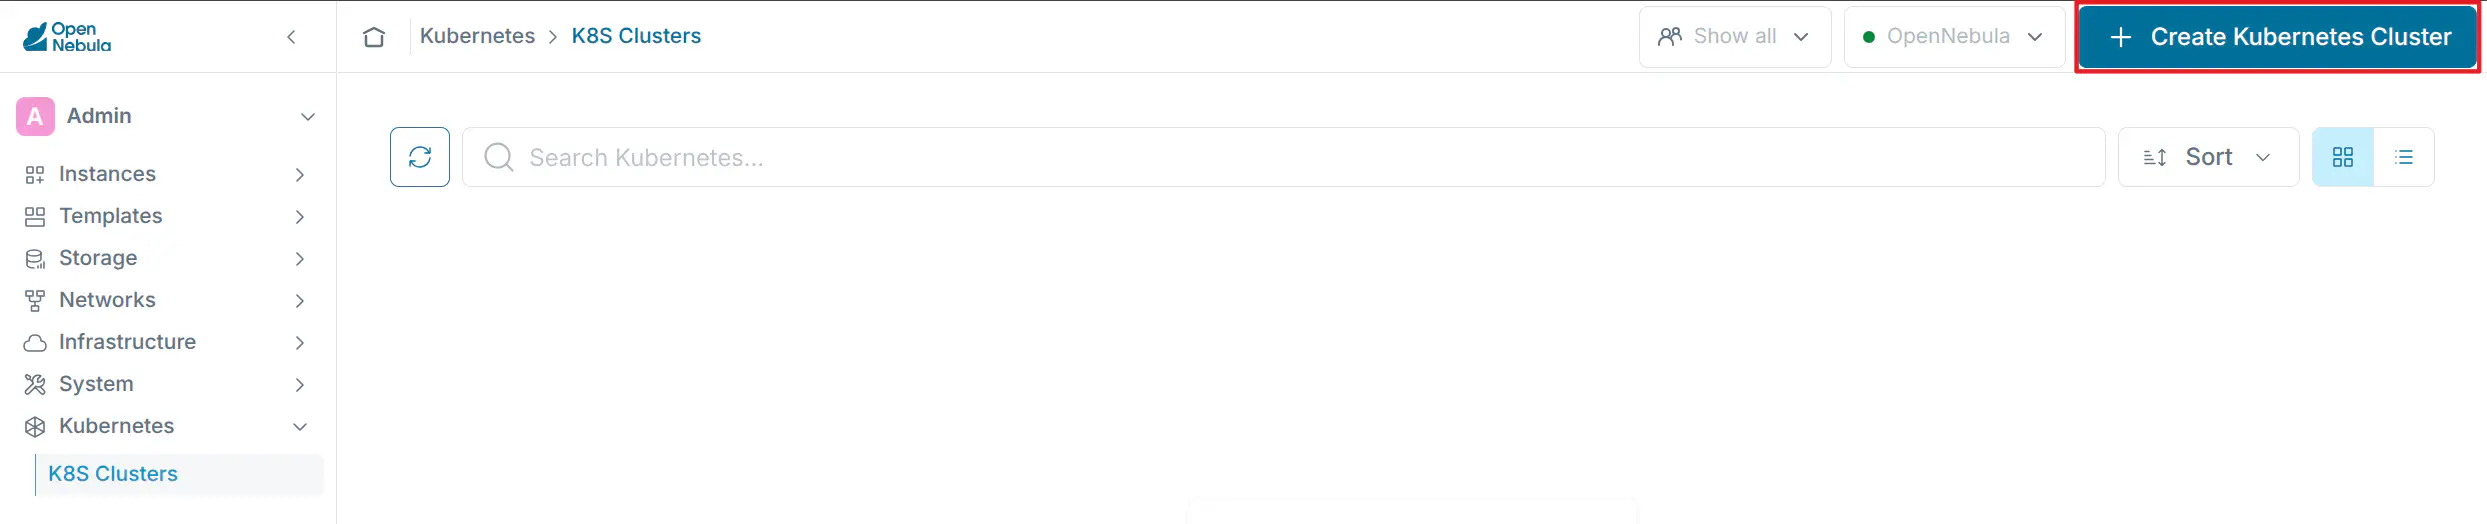
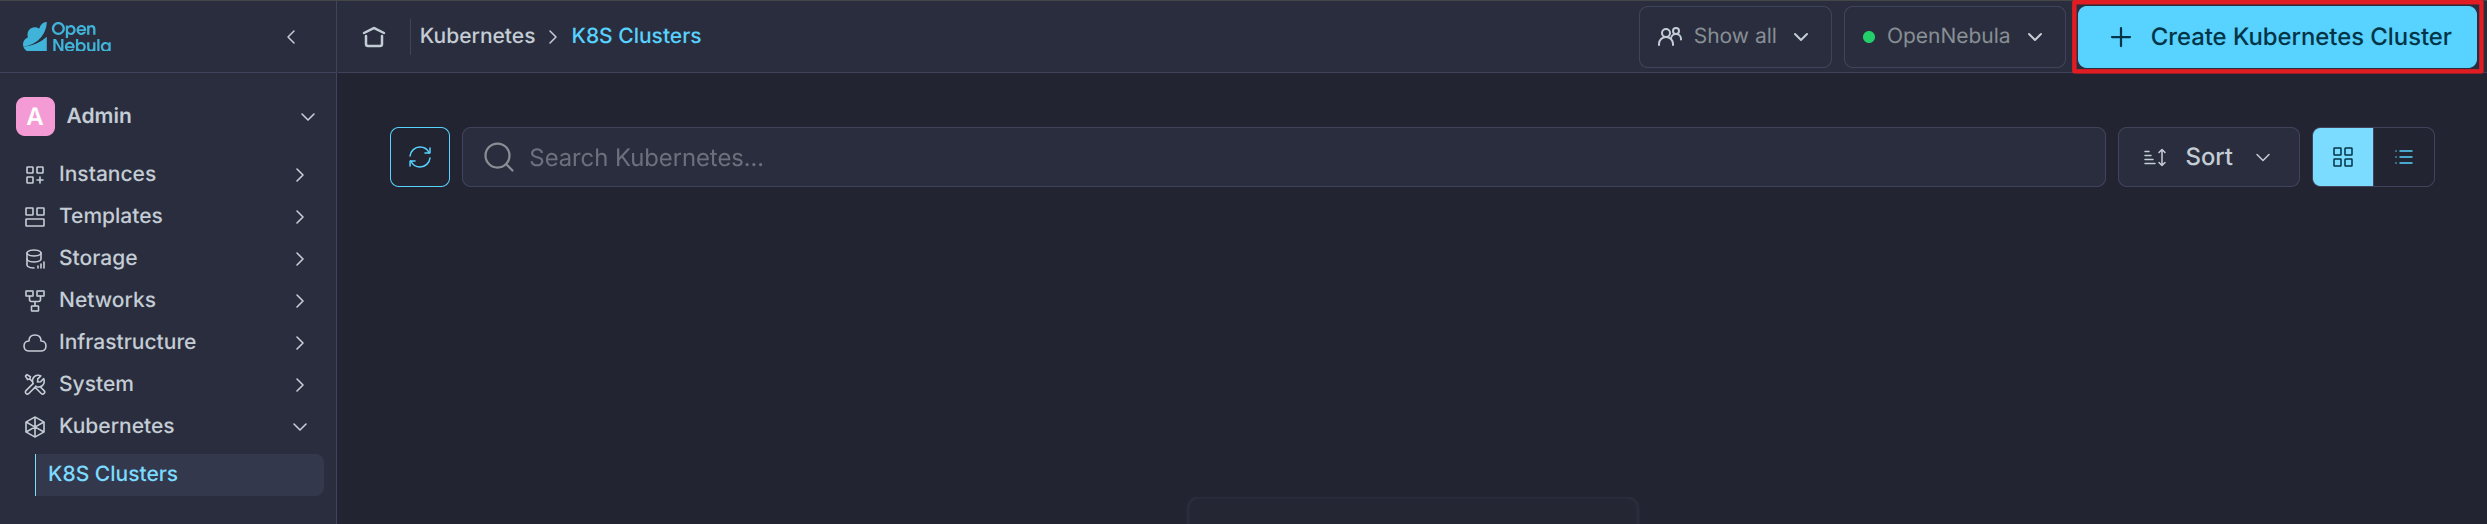
In Sunstone, go to Kubernetes -> K8s Clusters and select + Create Kubernetes Cluster:
Then follow the steps of the Create Kubernetes Cluster wizard:
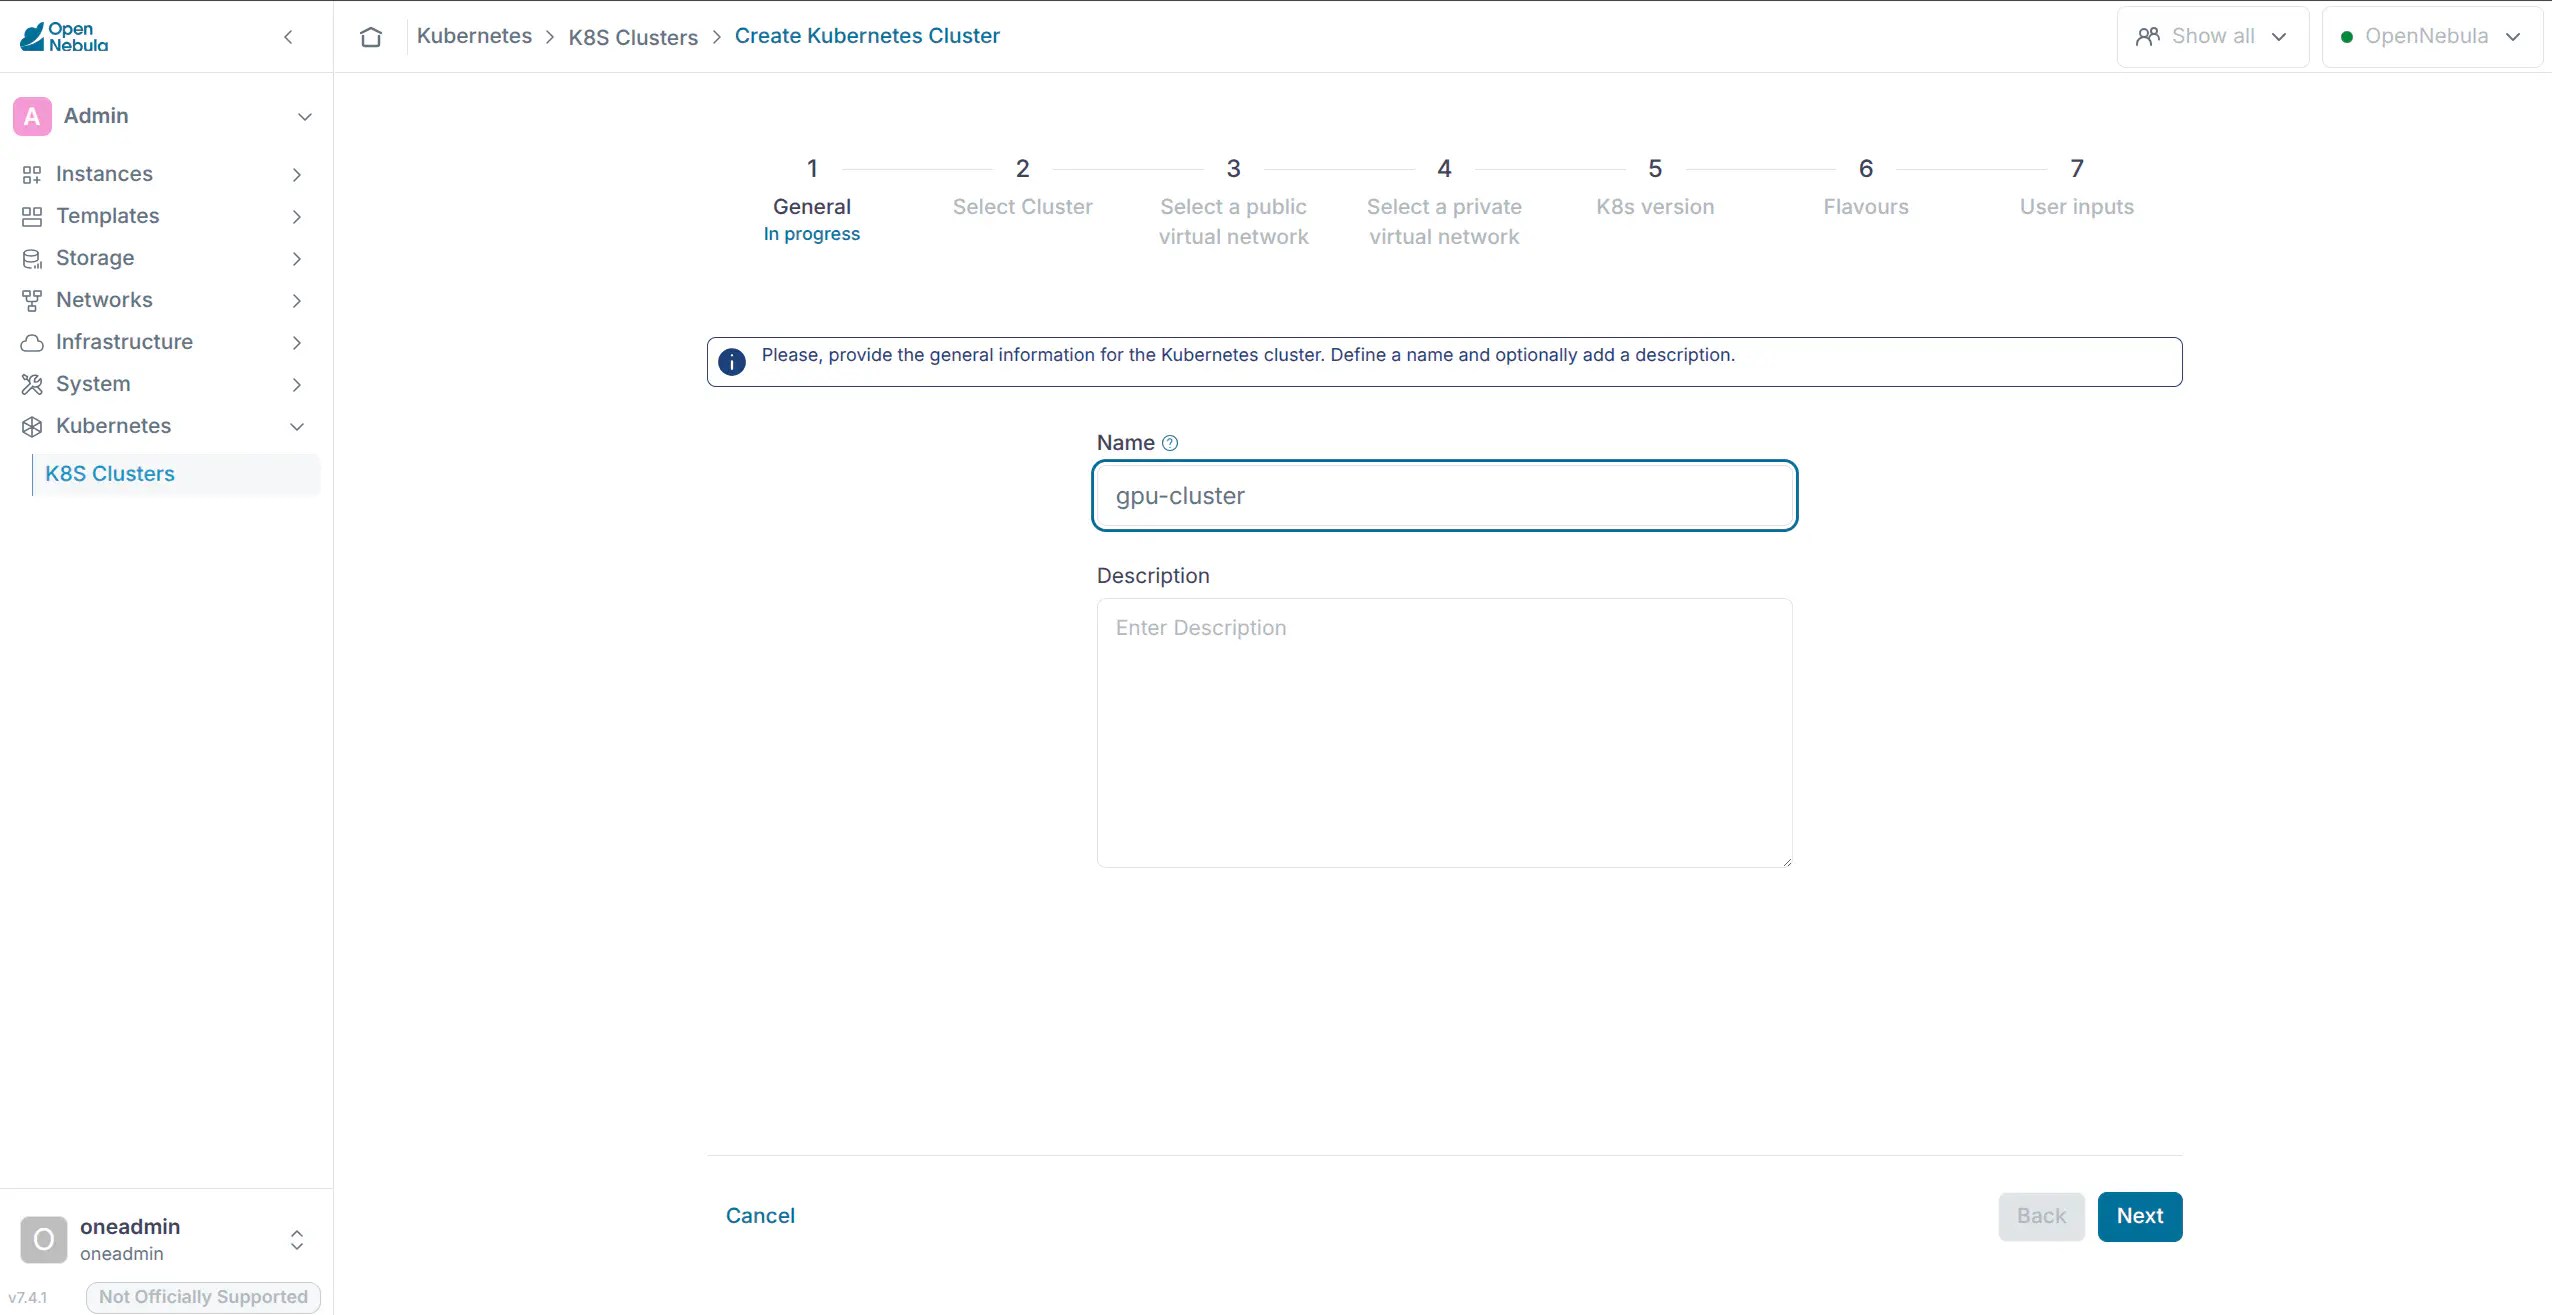
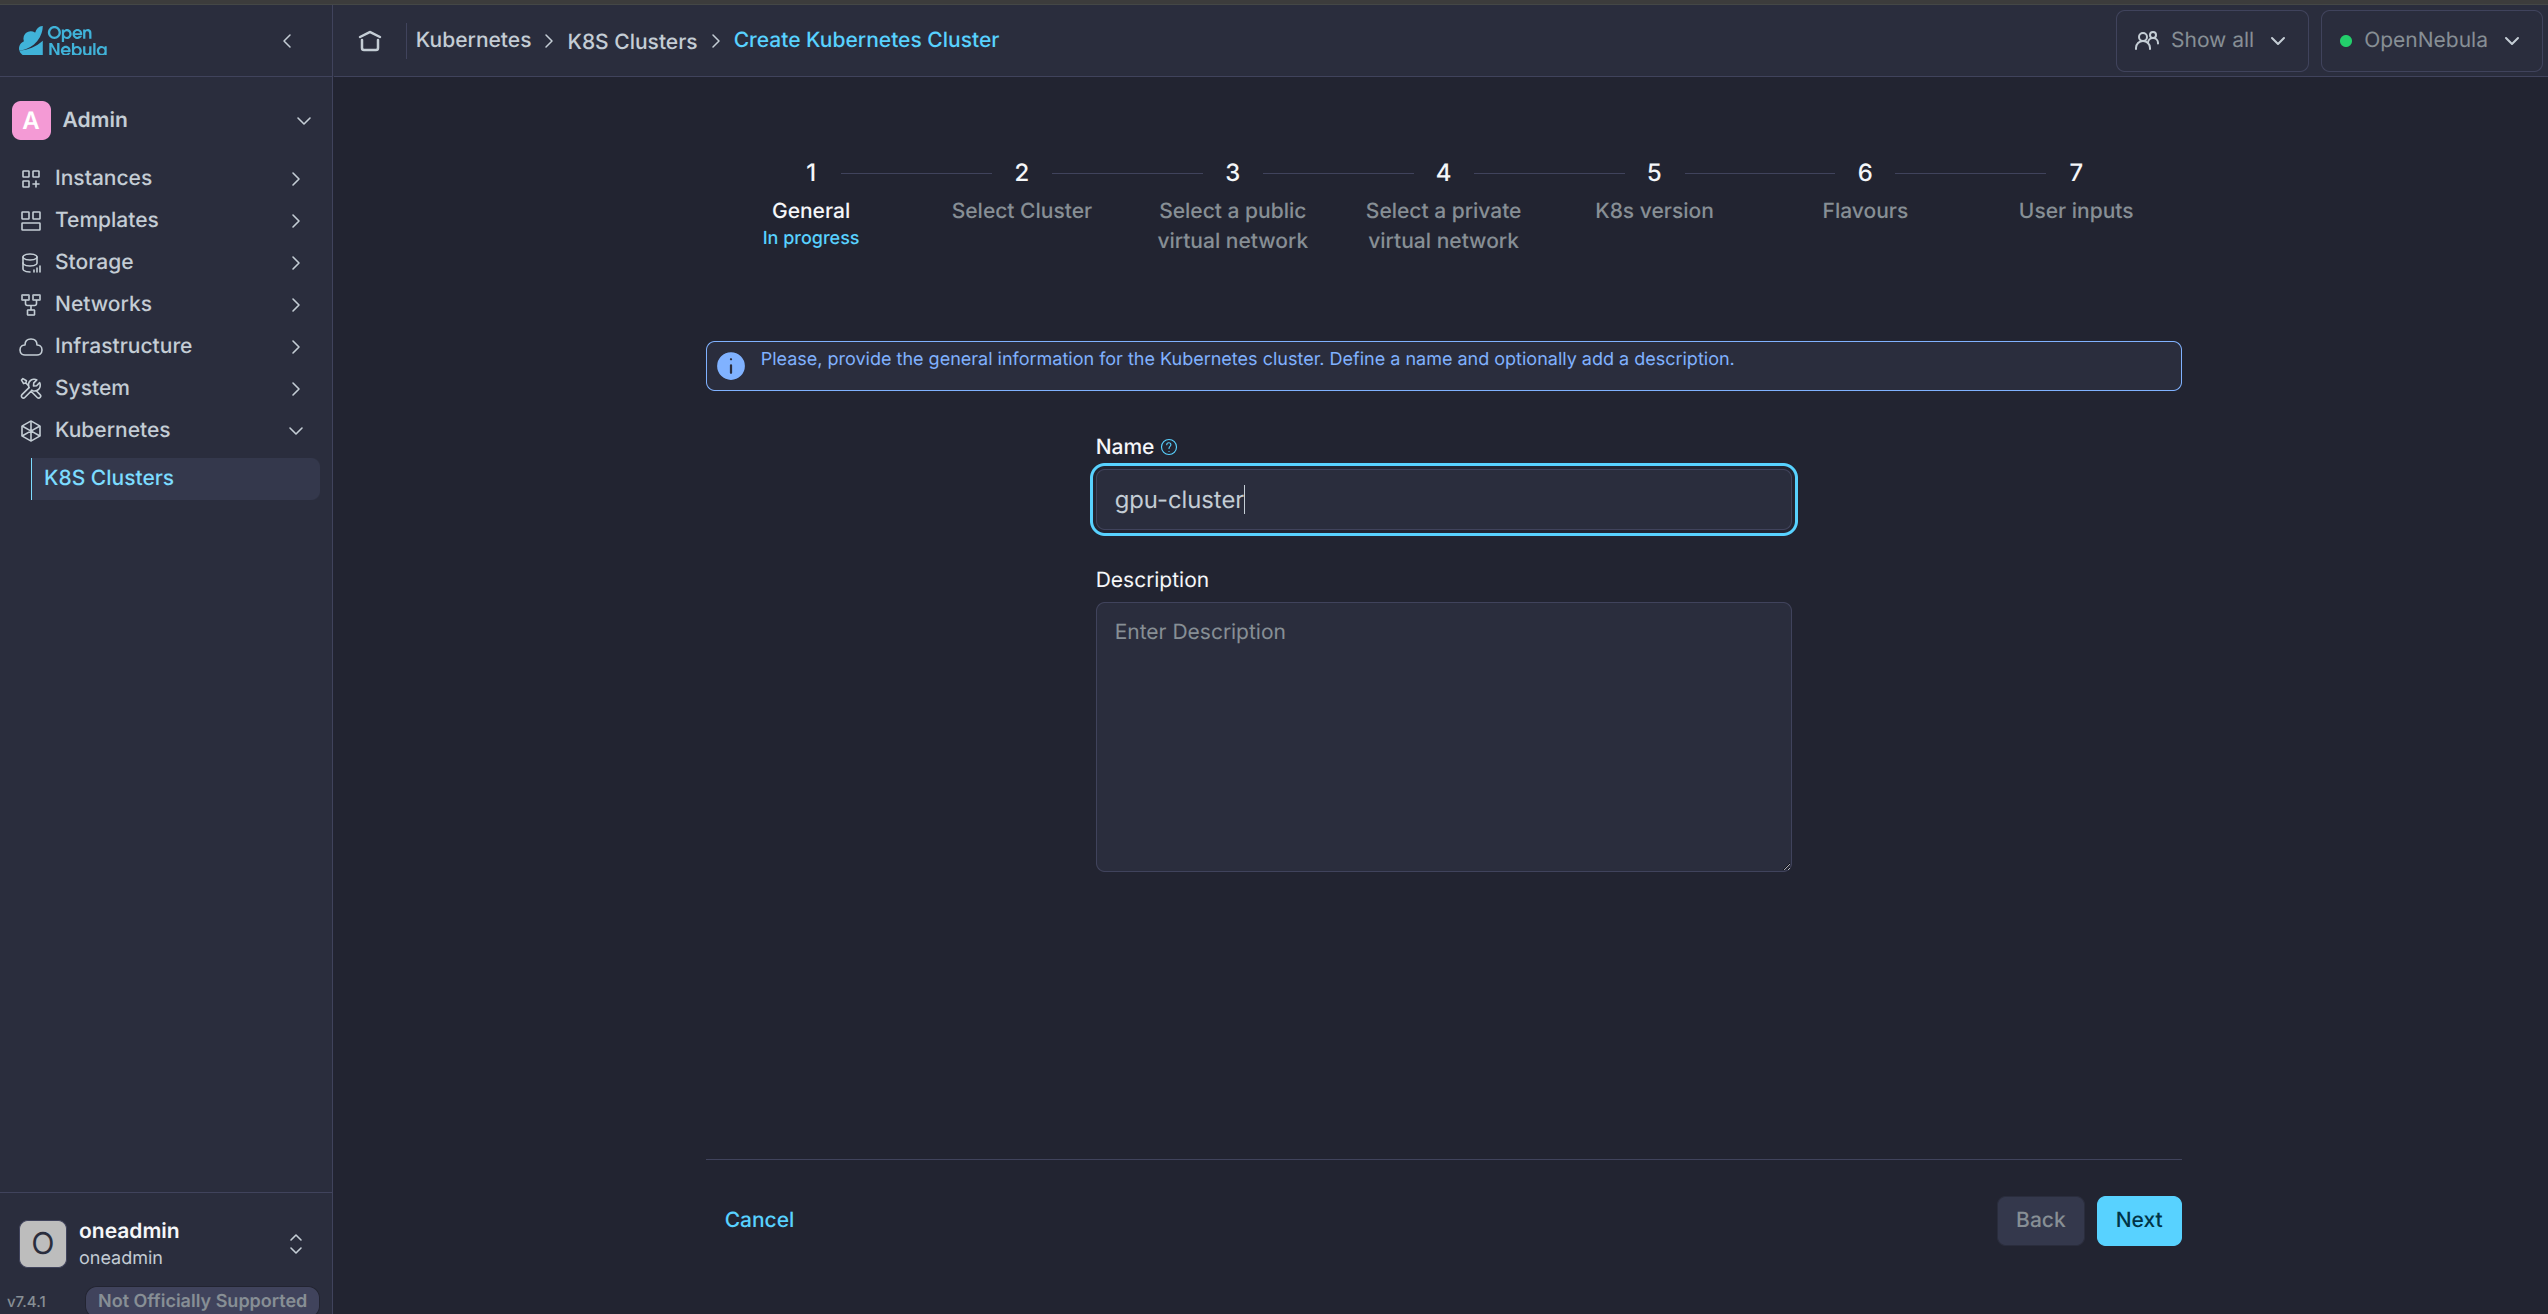
- General: Name the Cluster, e.g.
gpu-cluster - Select Cluster: Select the OpenNebula Cluster to host your K8s Cluster (
0 defaultif you have followed the standard installation) - Select a public virtual network: Select the public Virtual Network you previously created (must have internet access)
- Select a private virtual network: Select the private Virtual Network you previously created
- K8s version: Select version 1.35.0
- Flavours: Select Single-Node Control Plane
- User inputs: Review, no changes required
Click Finish to start provisioning the K8s Cluster, you will see the progress in the Logs view. If any errors occur during provisioning refer to the OneKS Troubleshooting Guide.
Step 4: Scale the K8s Cluster
Once the K8s Cluster has entered the RUNNING state, select the K8s Cluster in the list to open its details panel and select the Node Groups tab, click + Create Node Group:
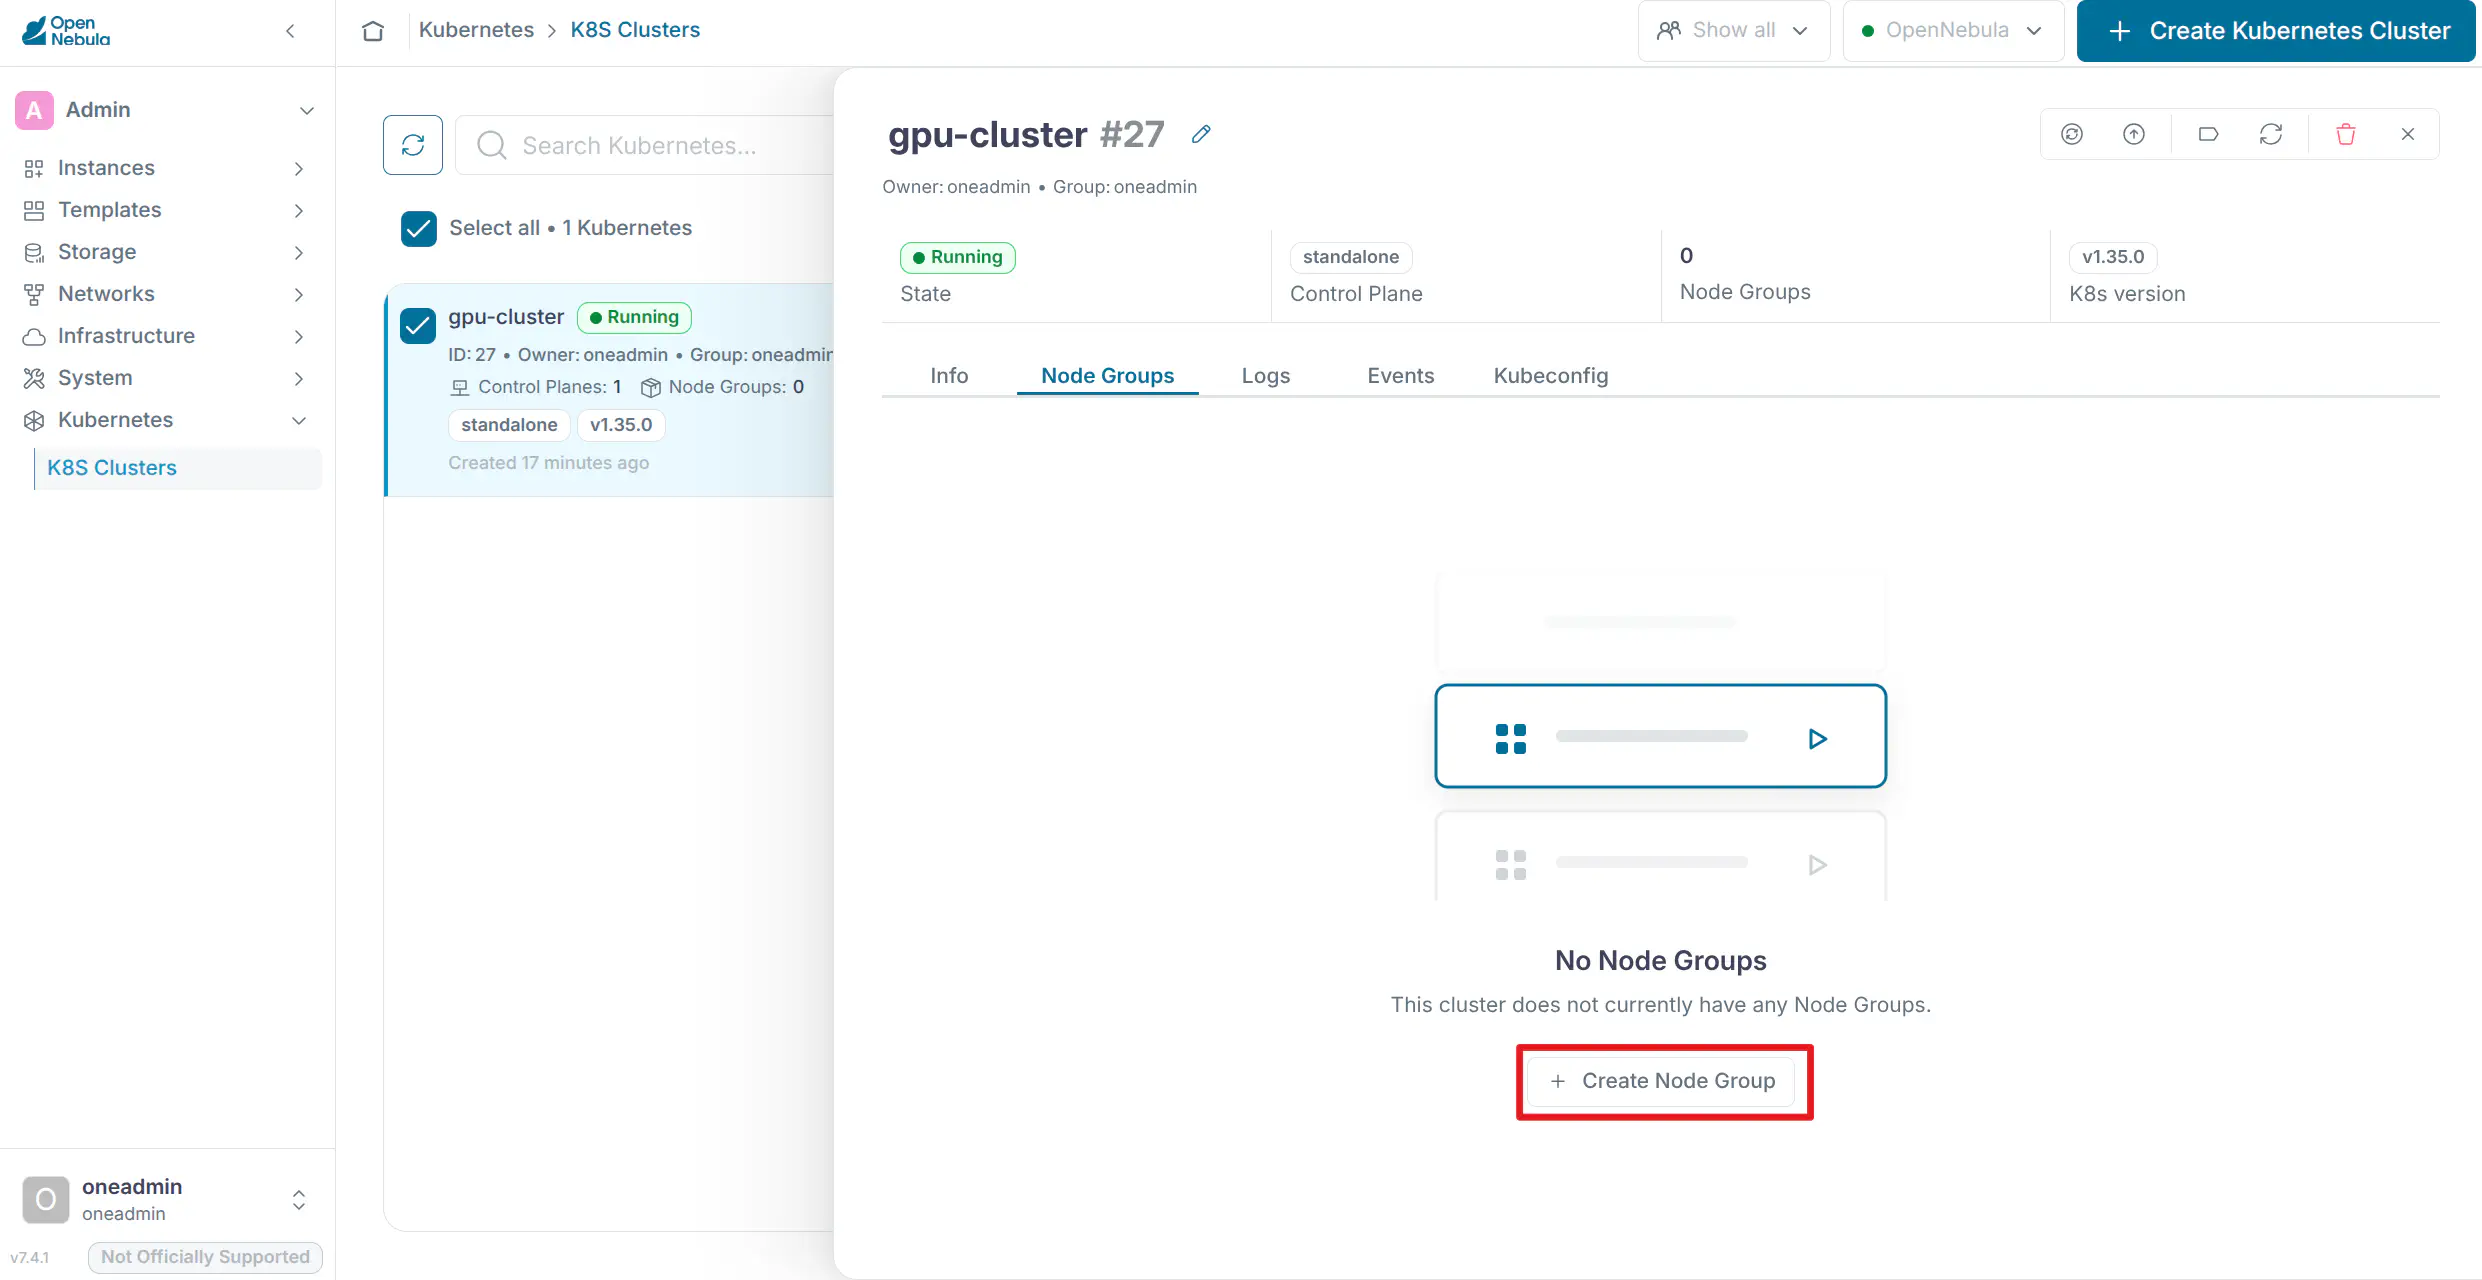
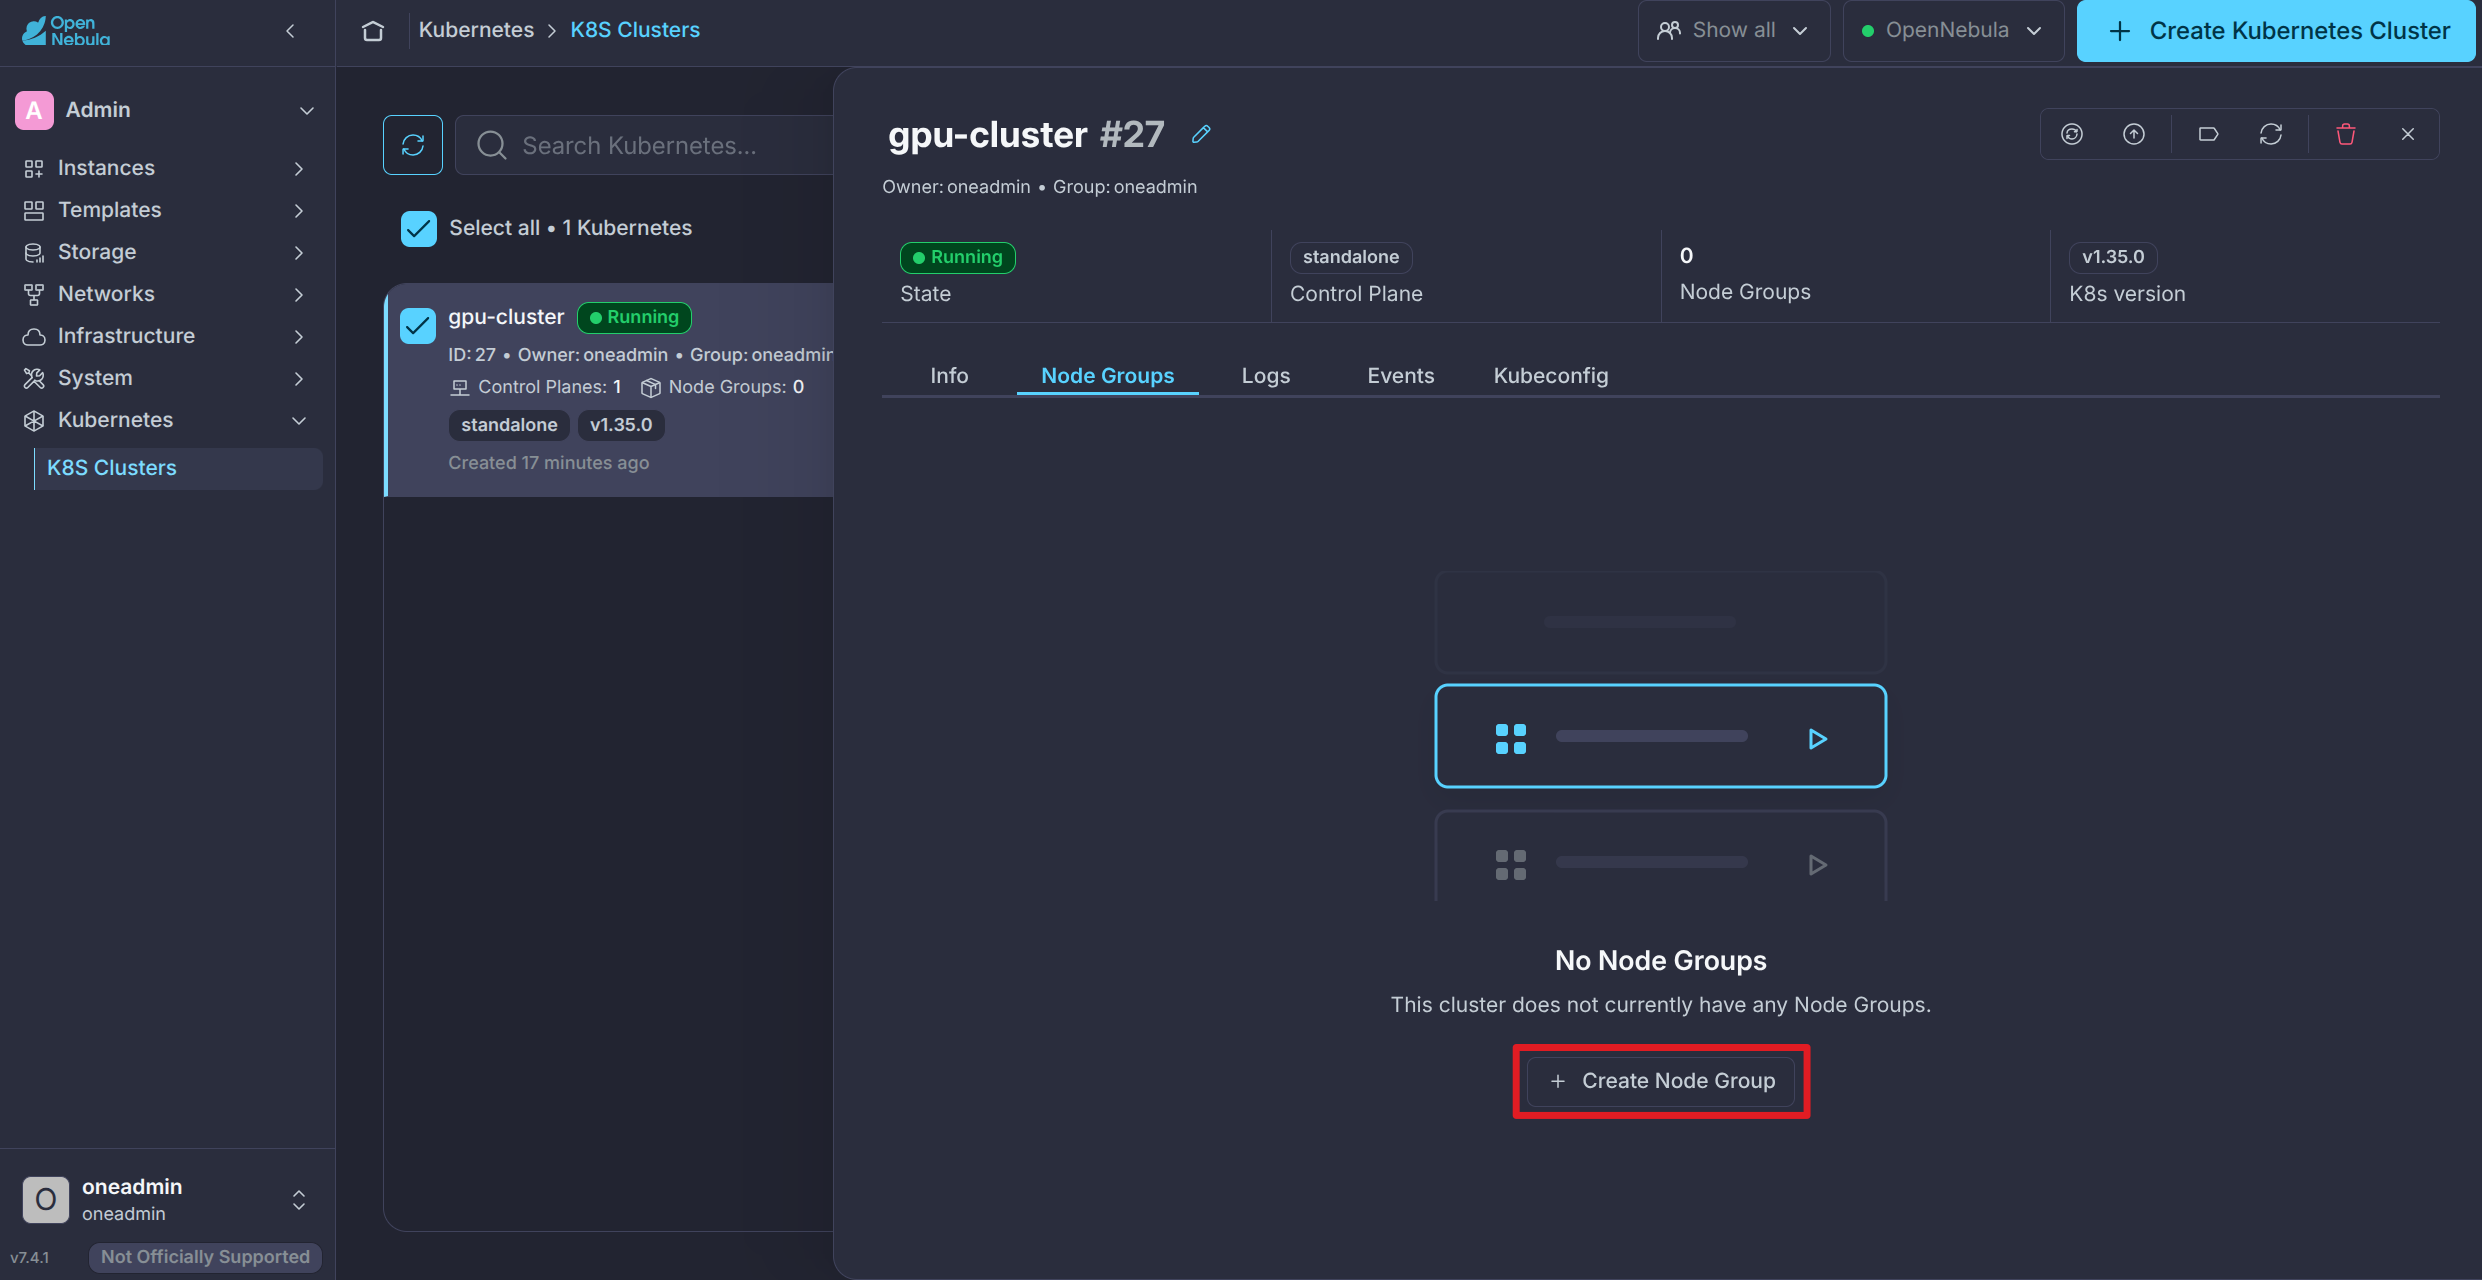
- In the General step enter a name, e.g.
gpu-worker - In the Flavours step choose the Large Worker Nodes flavour
- In the User inputs step set the Count as 1
Click Finish and you will see the progress in the Logs view.
Ensure the GPU is Attached
Once the new node group enters the RUNNING state, select the K8s Cluster, in the Node Groups tab, select the new node group in the node group list and click on the node itself in the node list:
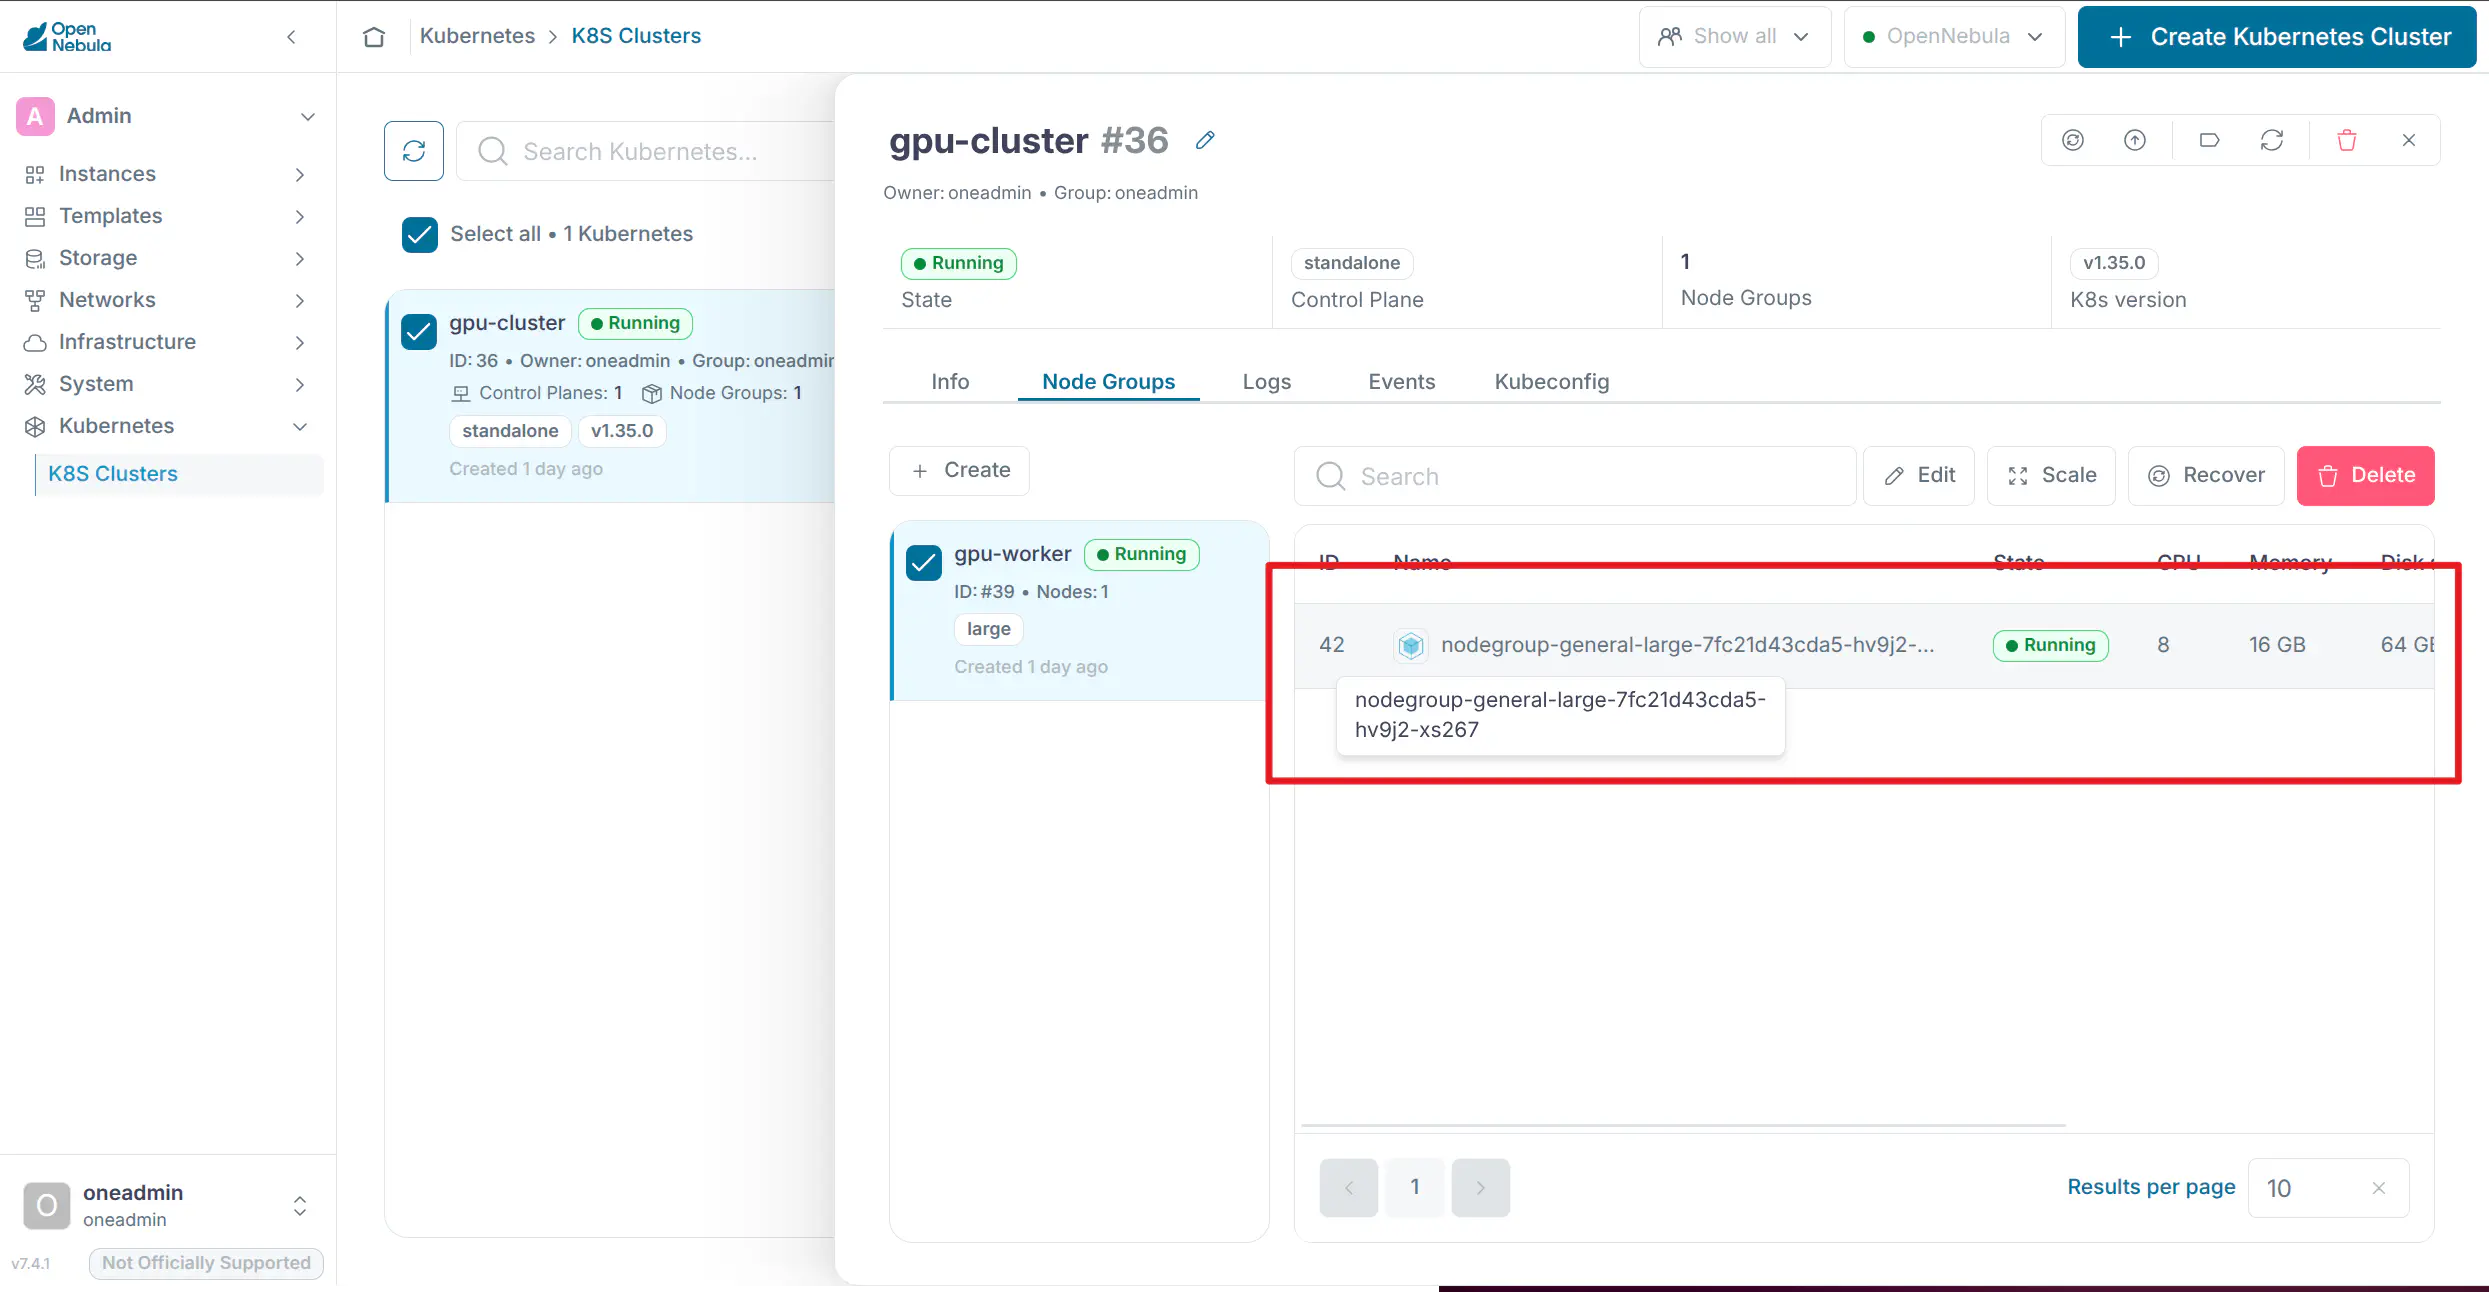
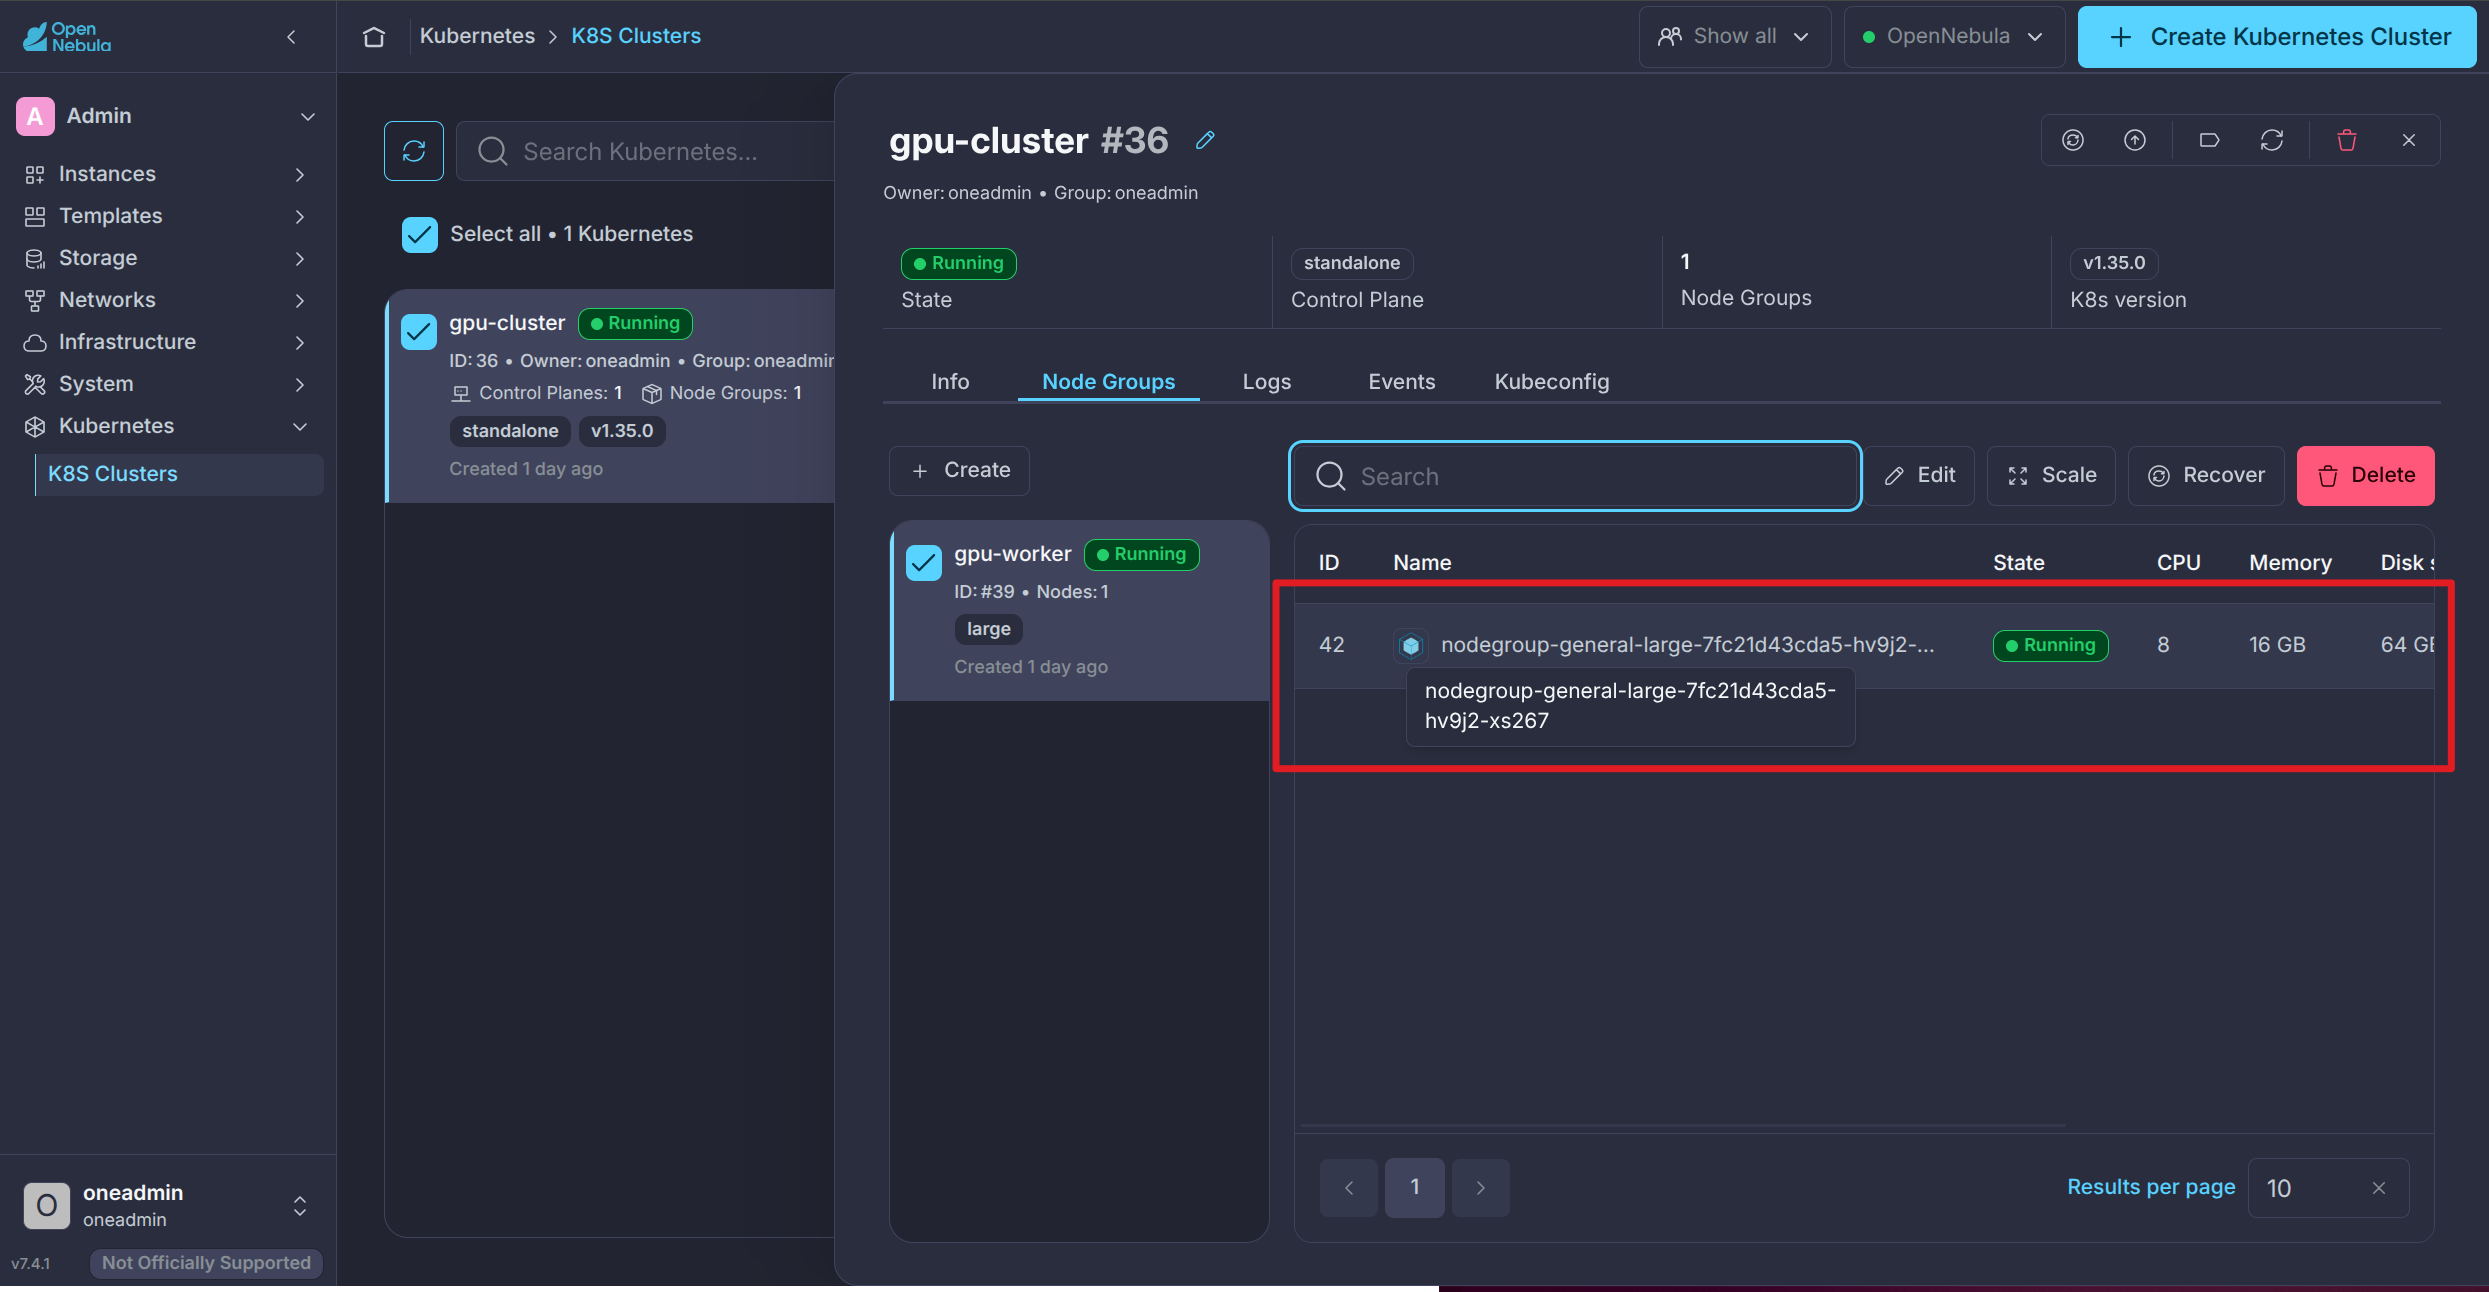
This will open the node details view. In the PCI tab, you should see the GPU listed in the PCI devices:
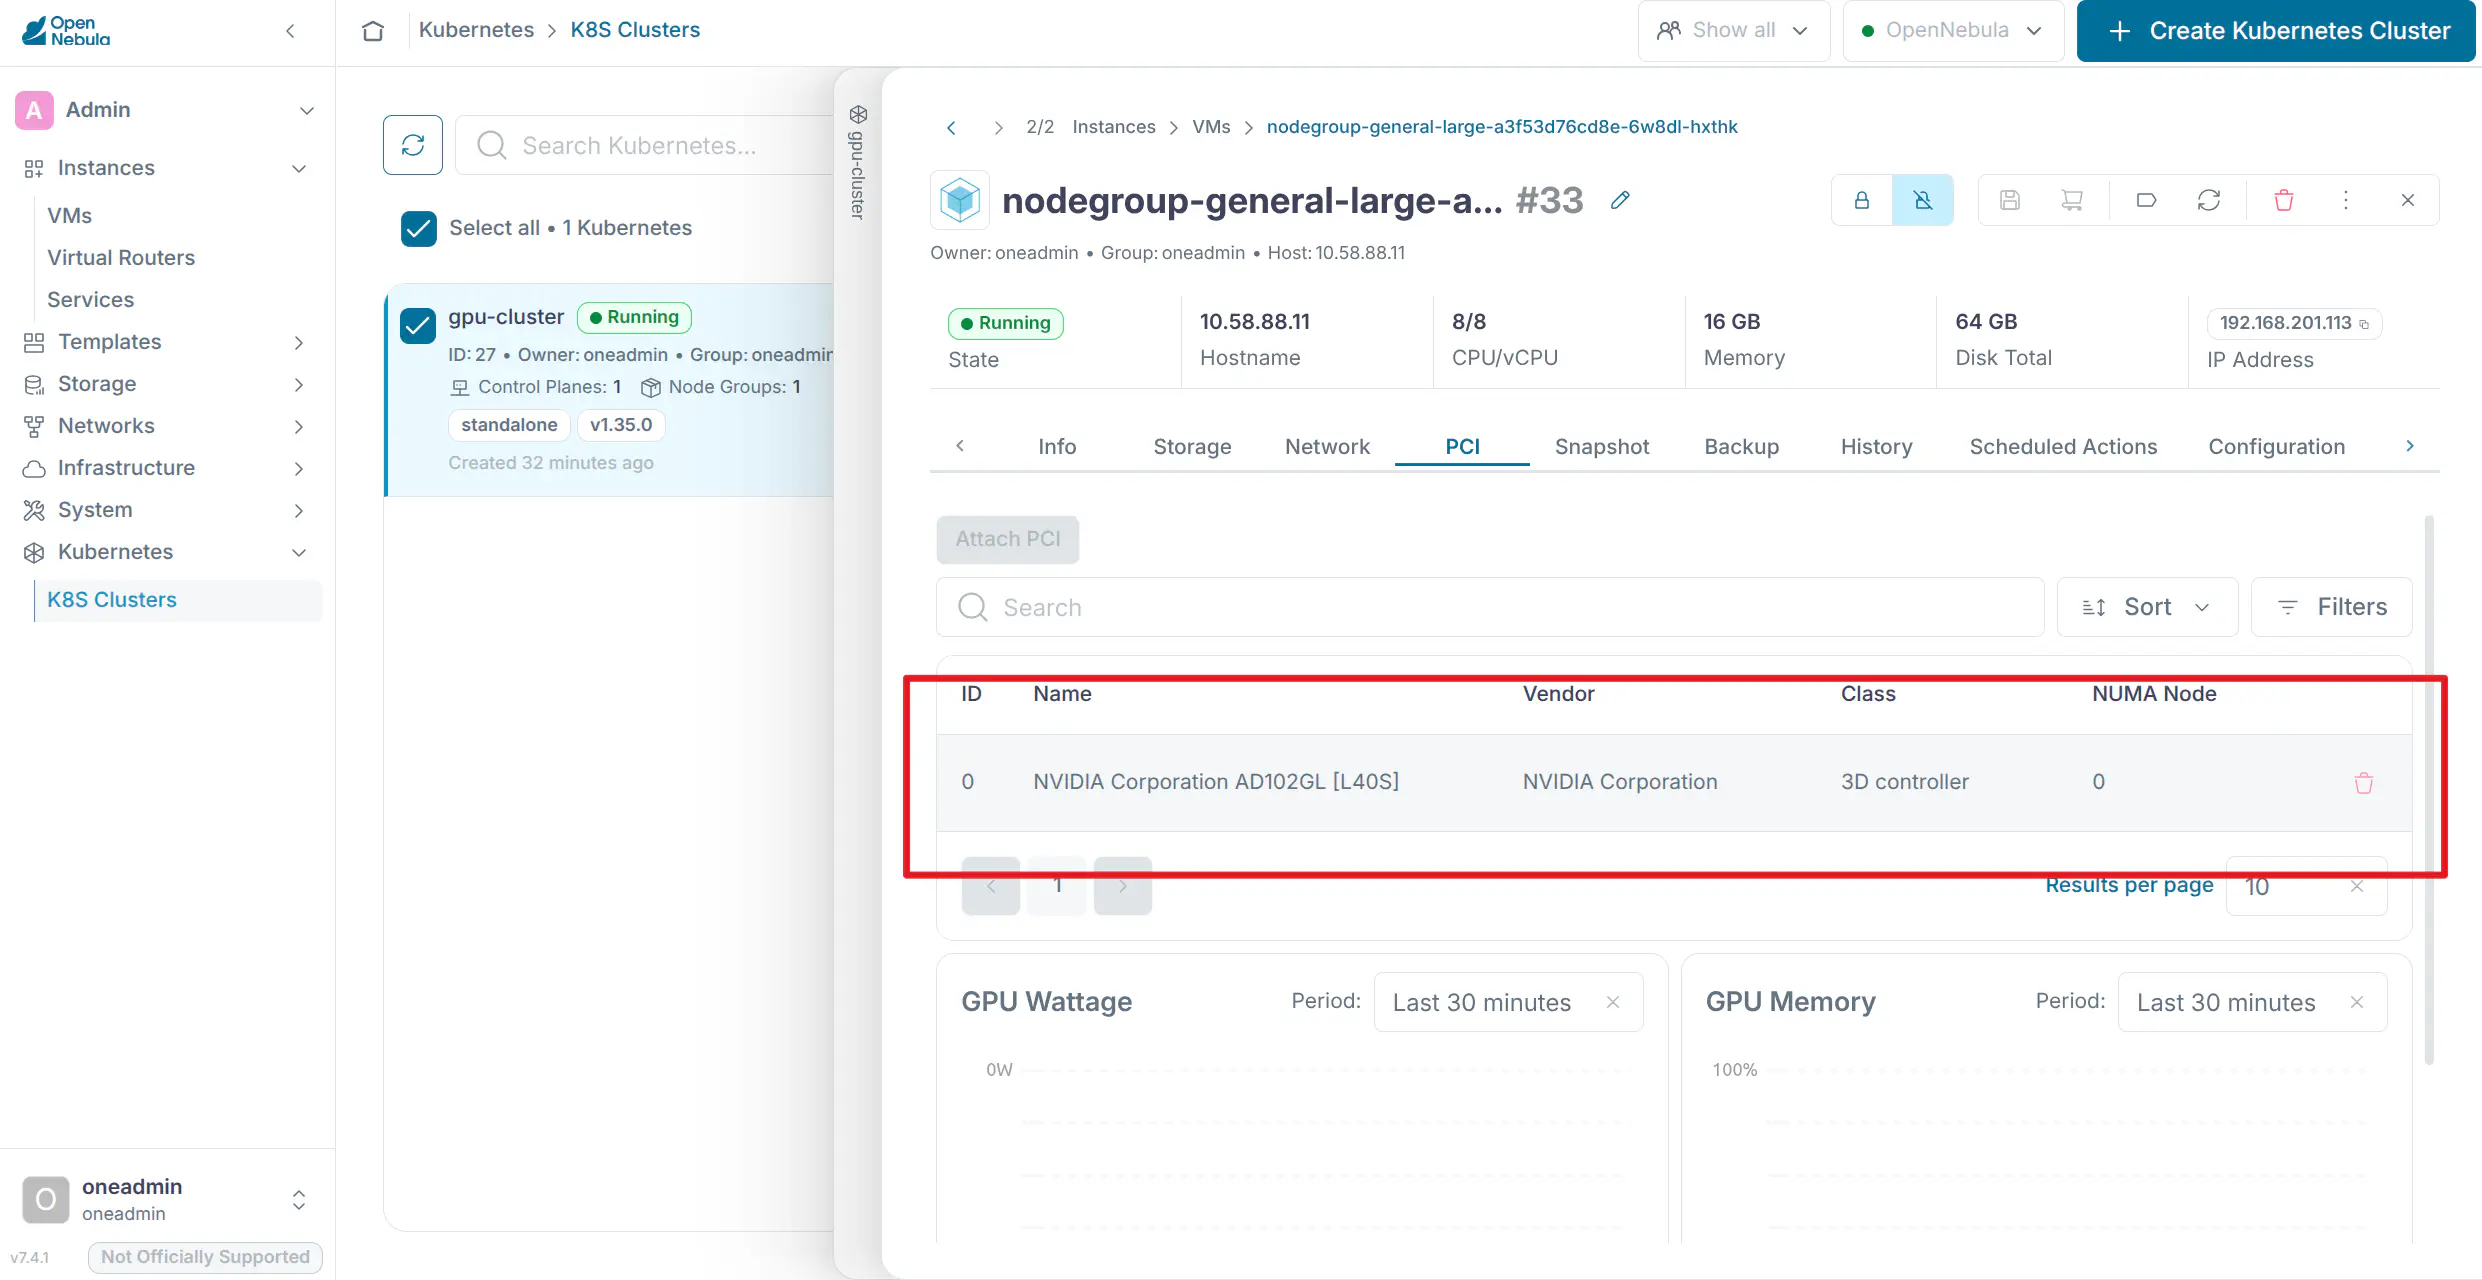
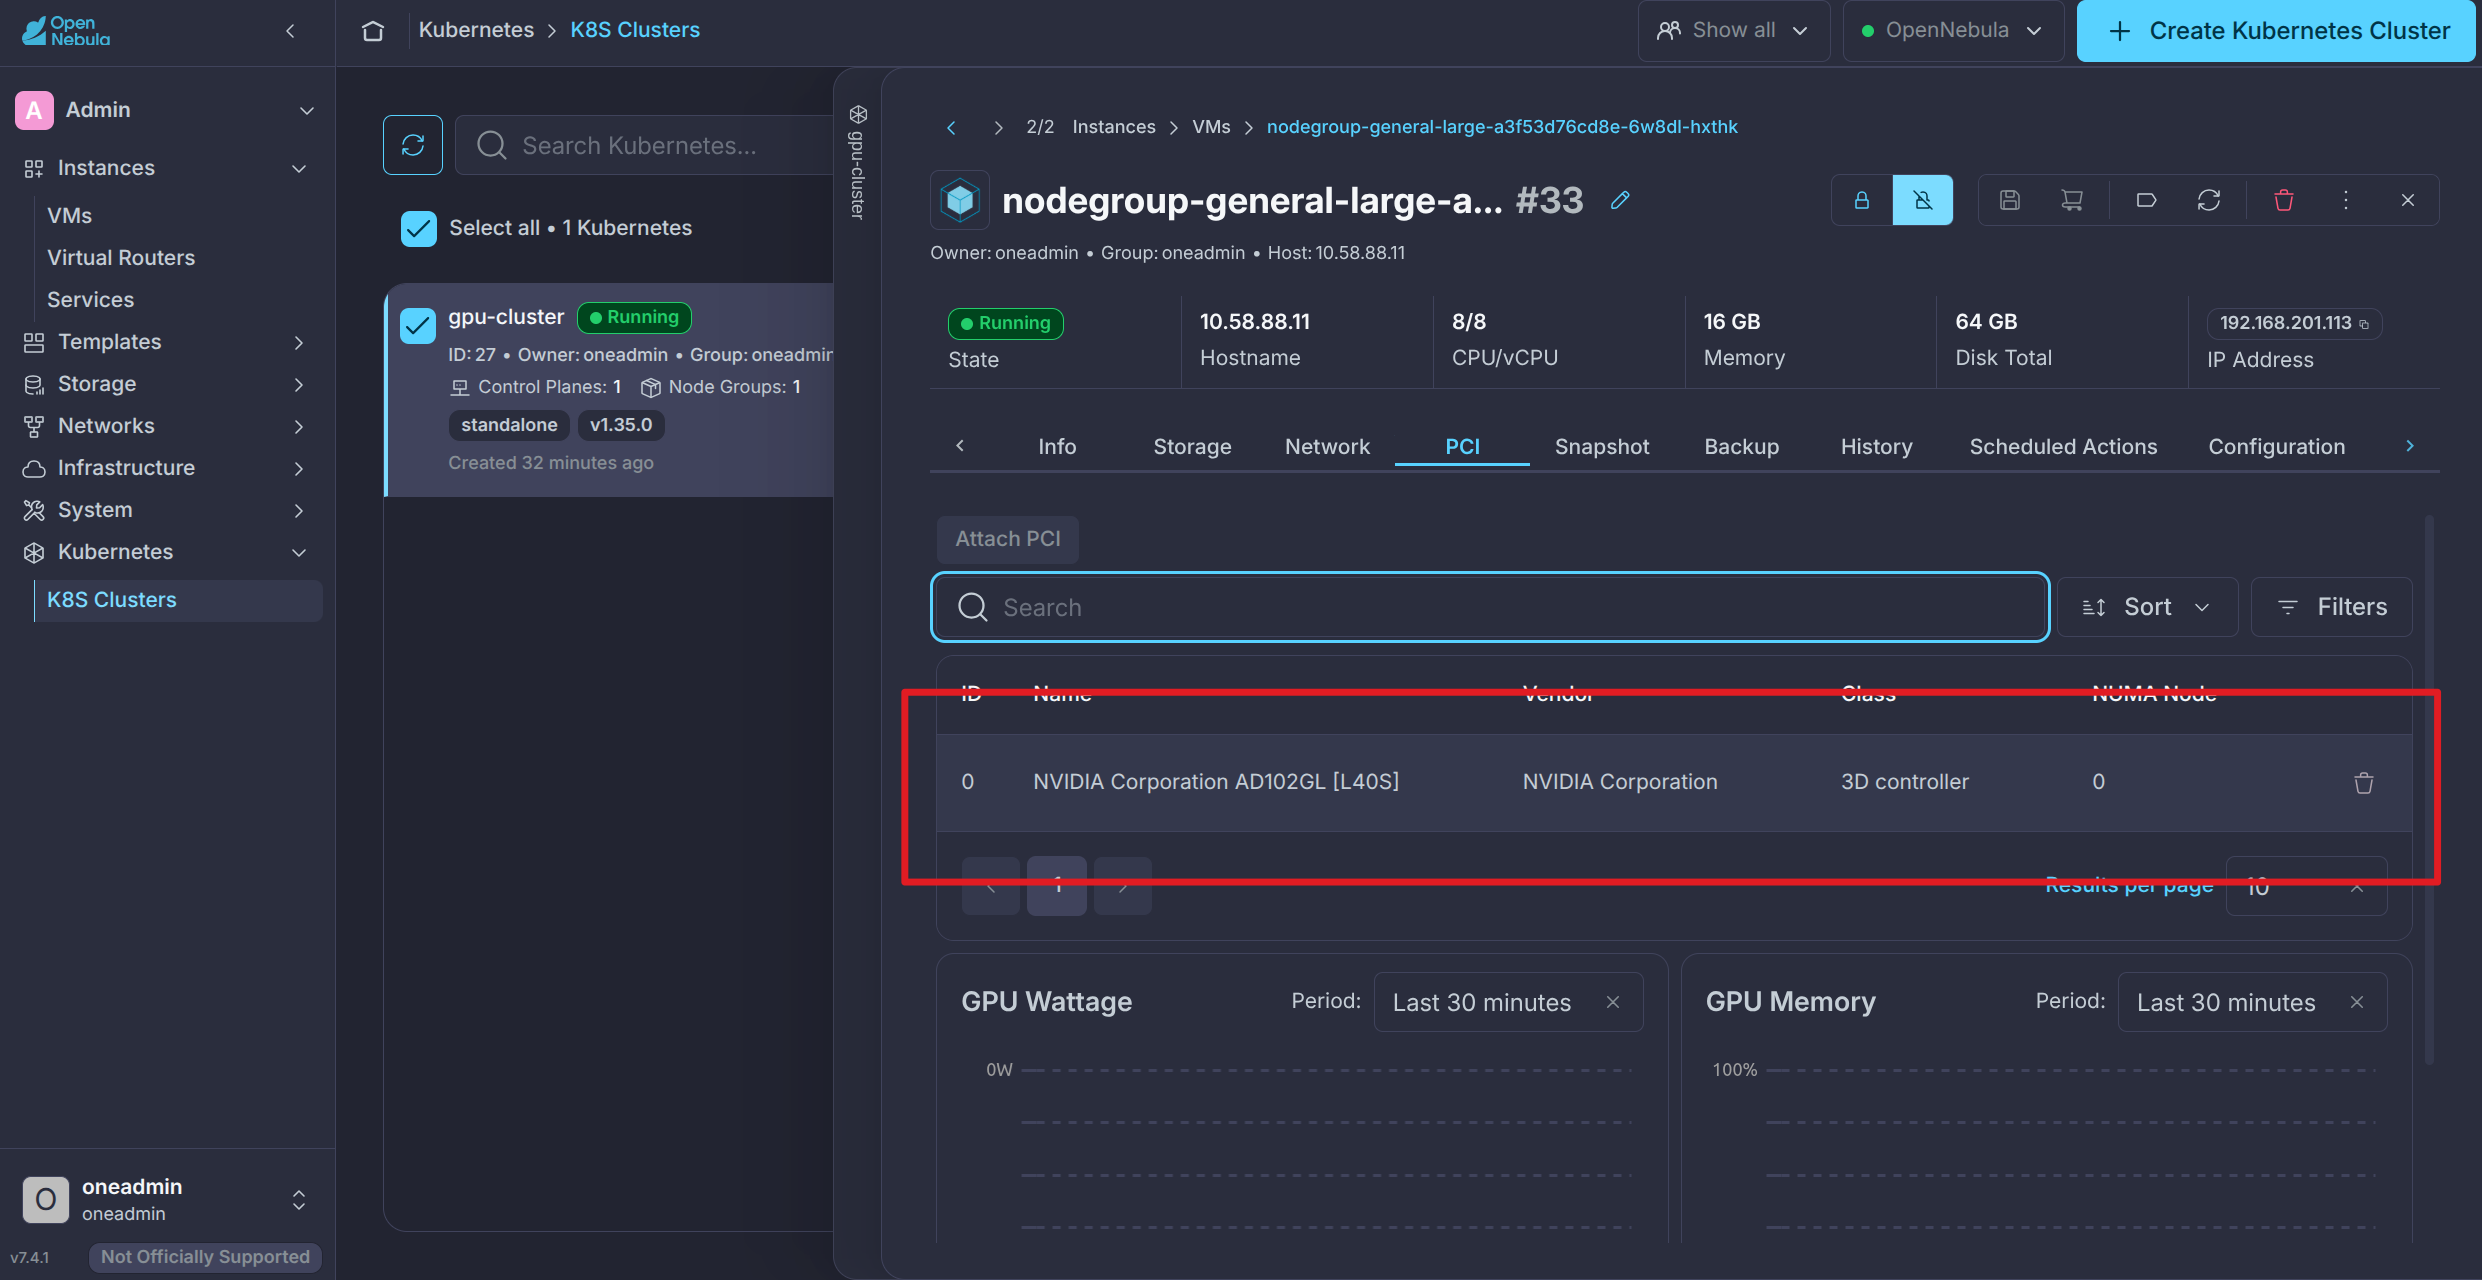
If you see your GPU in this list, your K8s worker node has successfully attached to the GPU.
Step 5: Copy the kubeconfig
Close the details panel of the node group and go to the Kubeconfig tab. Copy and save the kubeconfig details into a file locally (on the Front-end command line) with a text editor. The kubeconfig contains the details and credentials of the K8s Cluster you have just created, it is necessary to interact with the Cluster through kubectl.
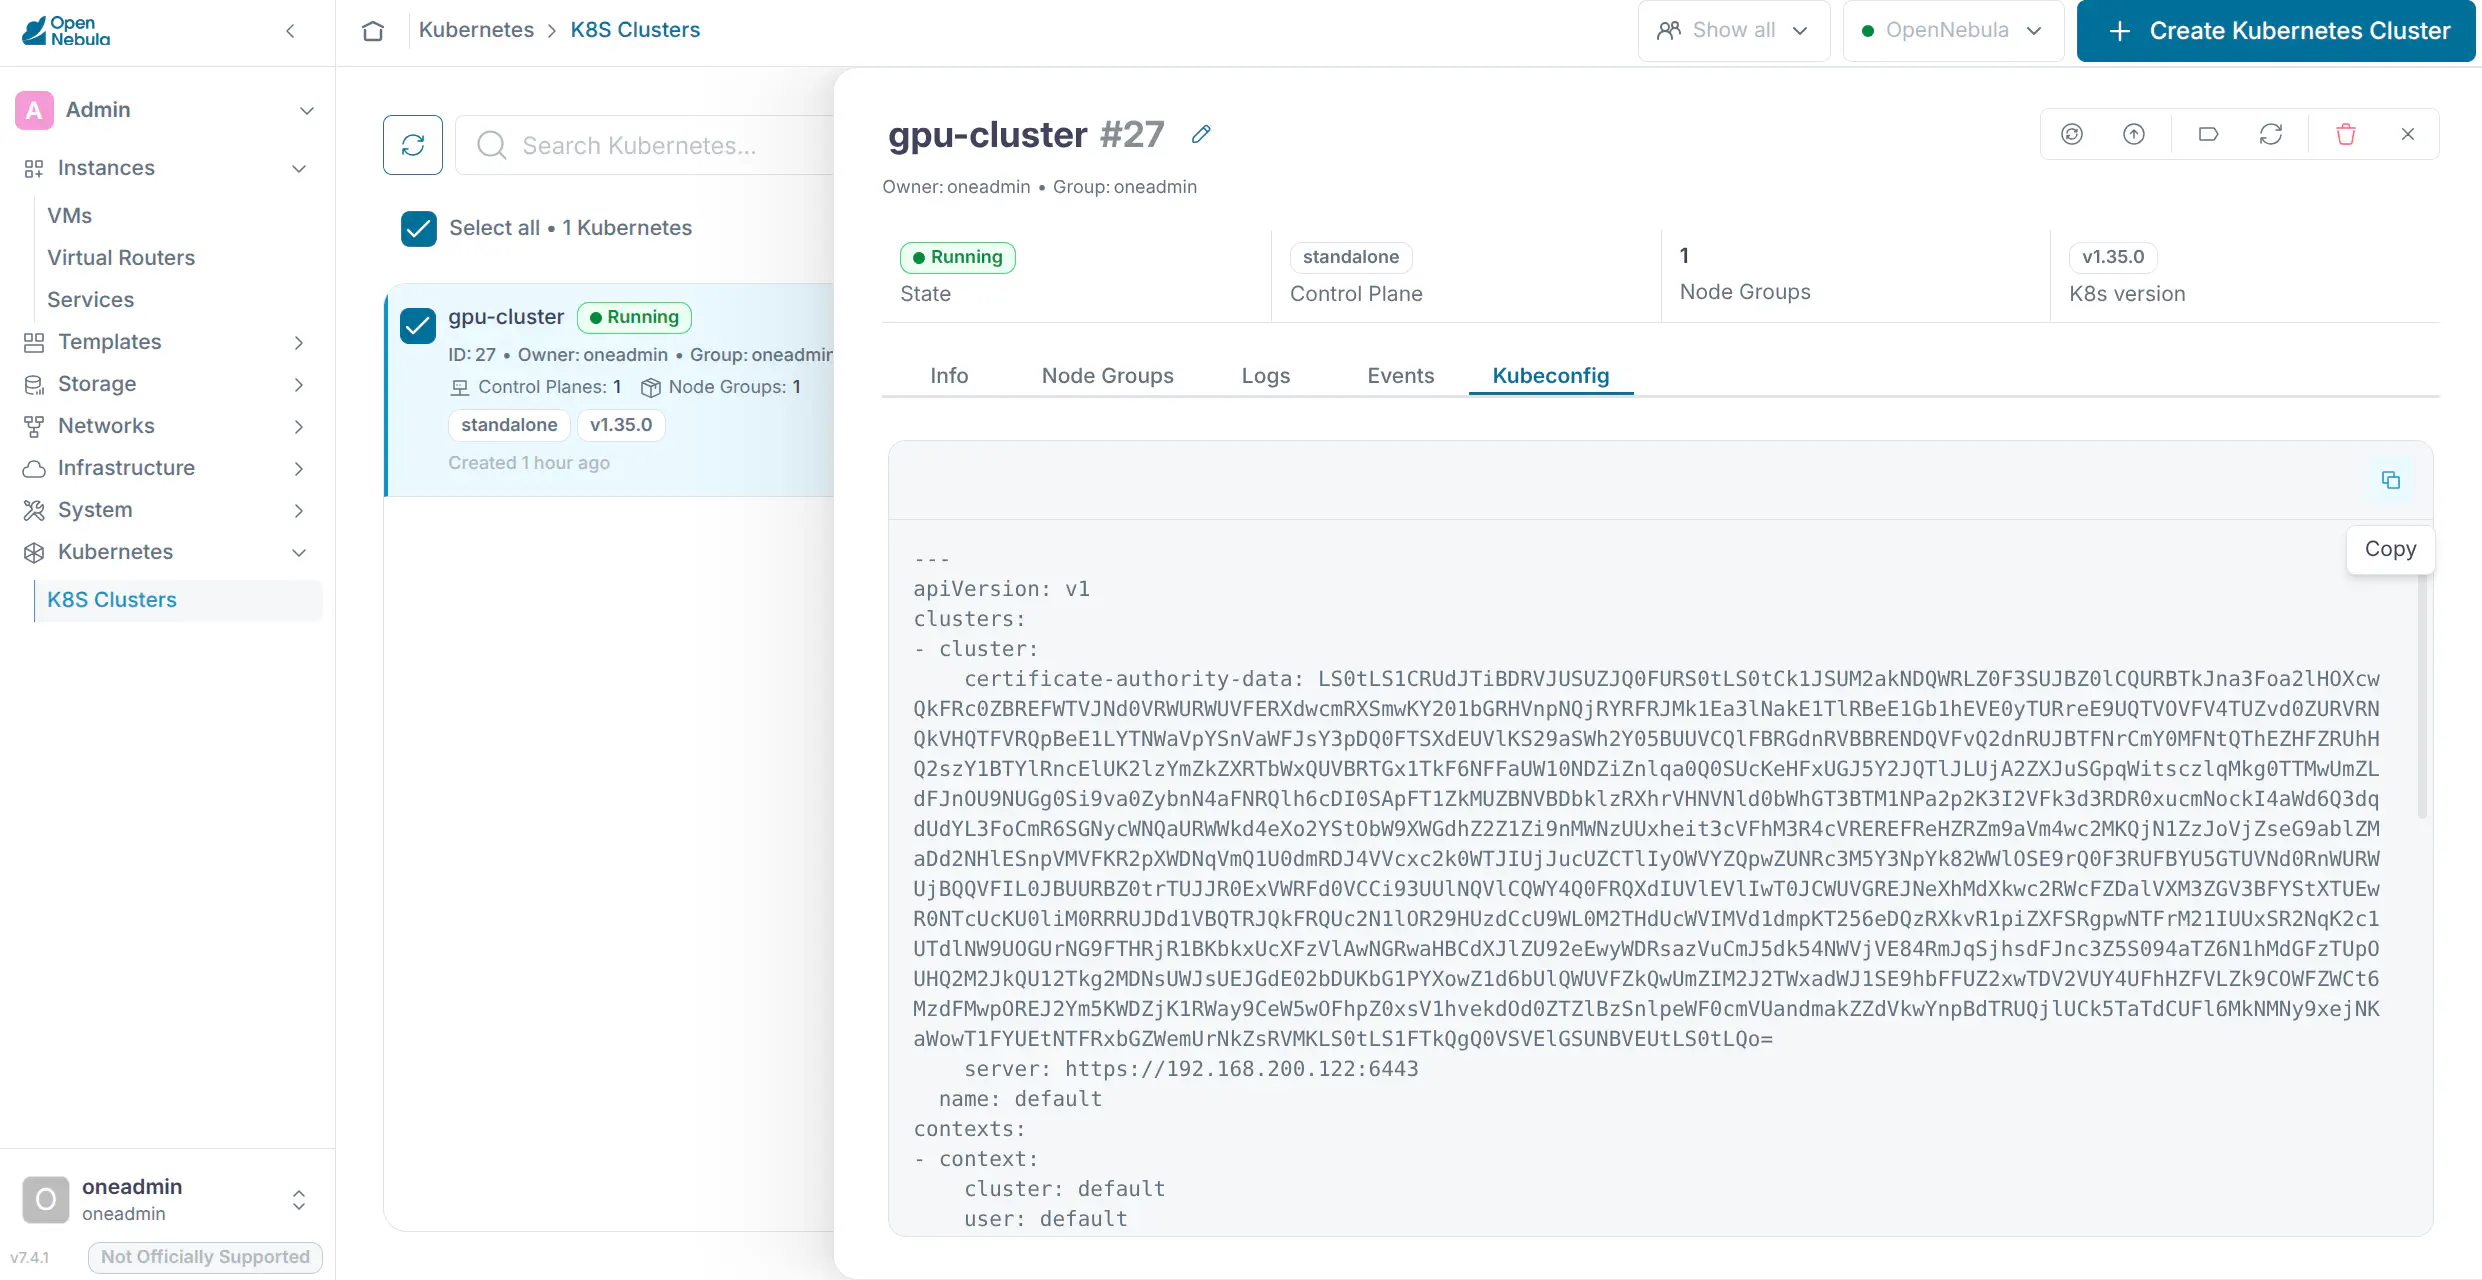
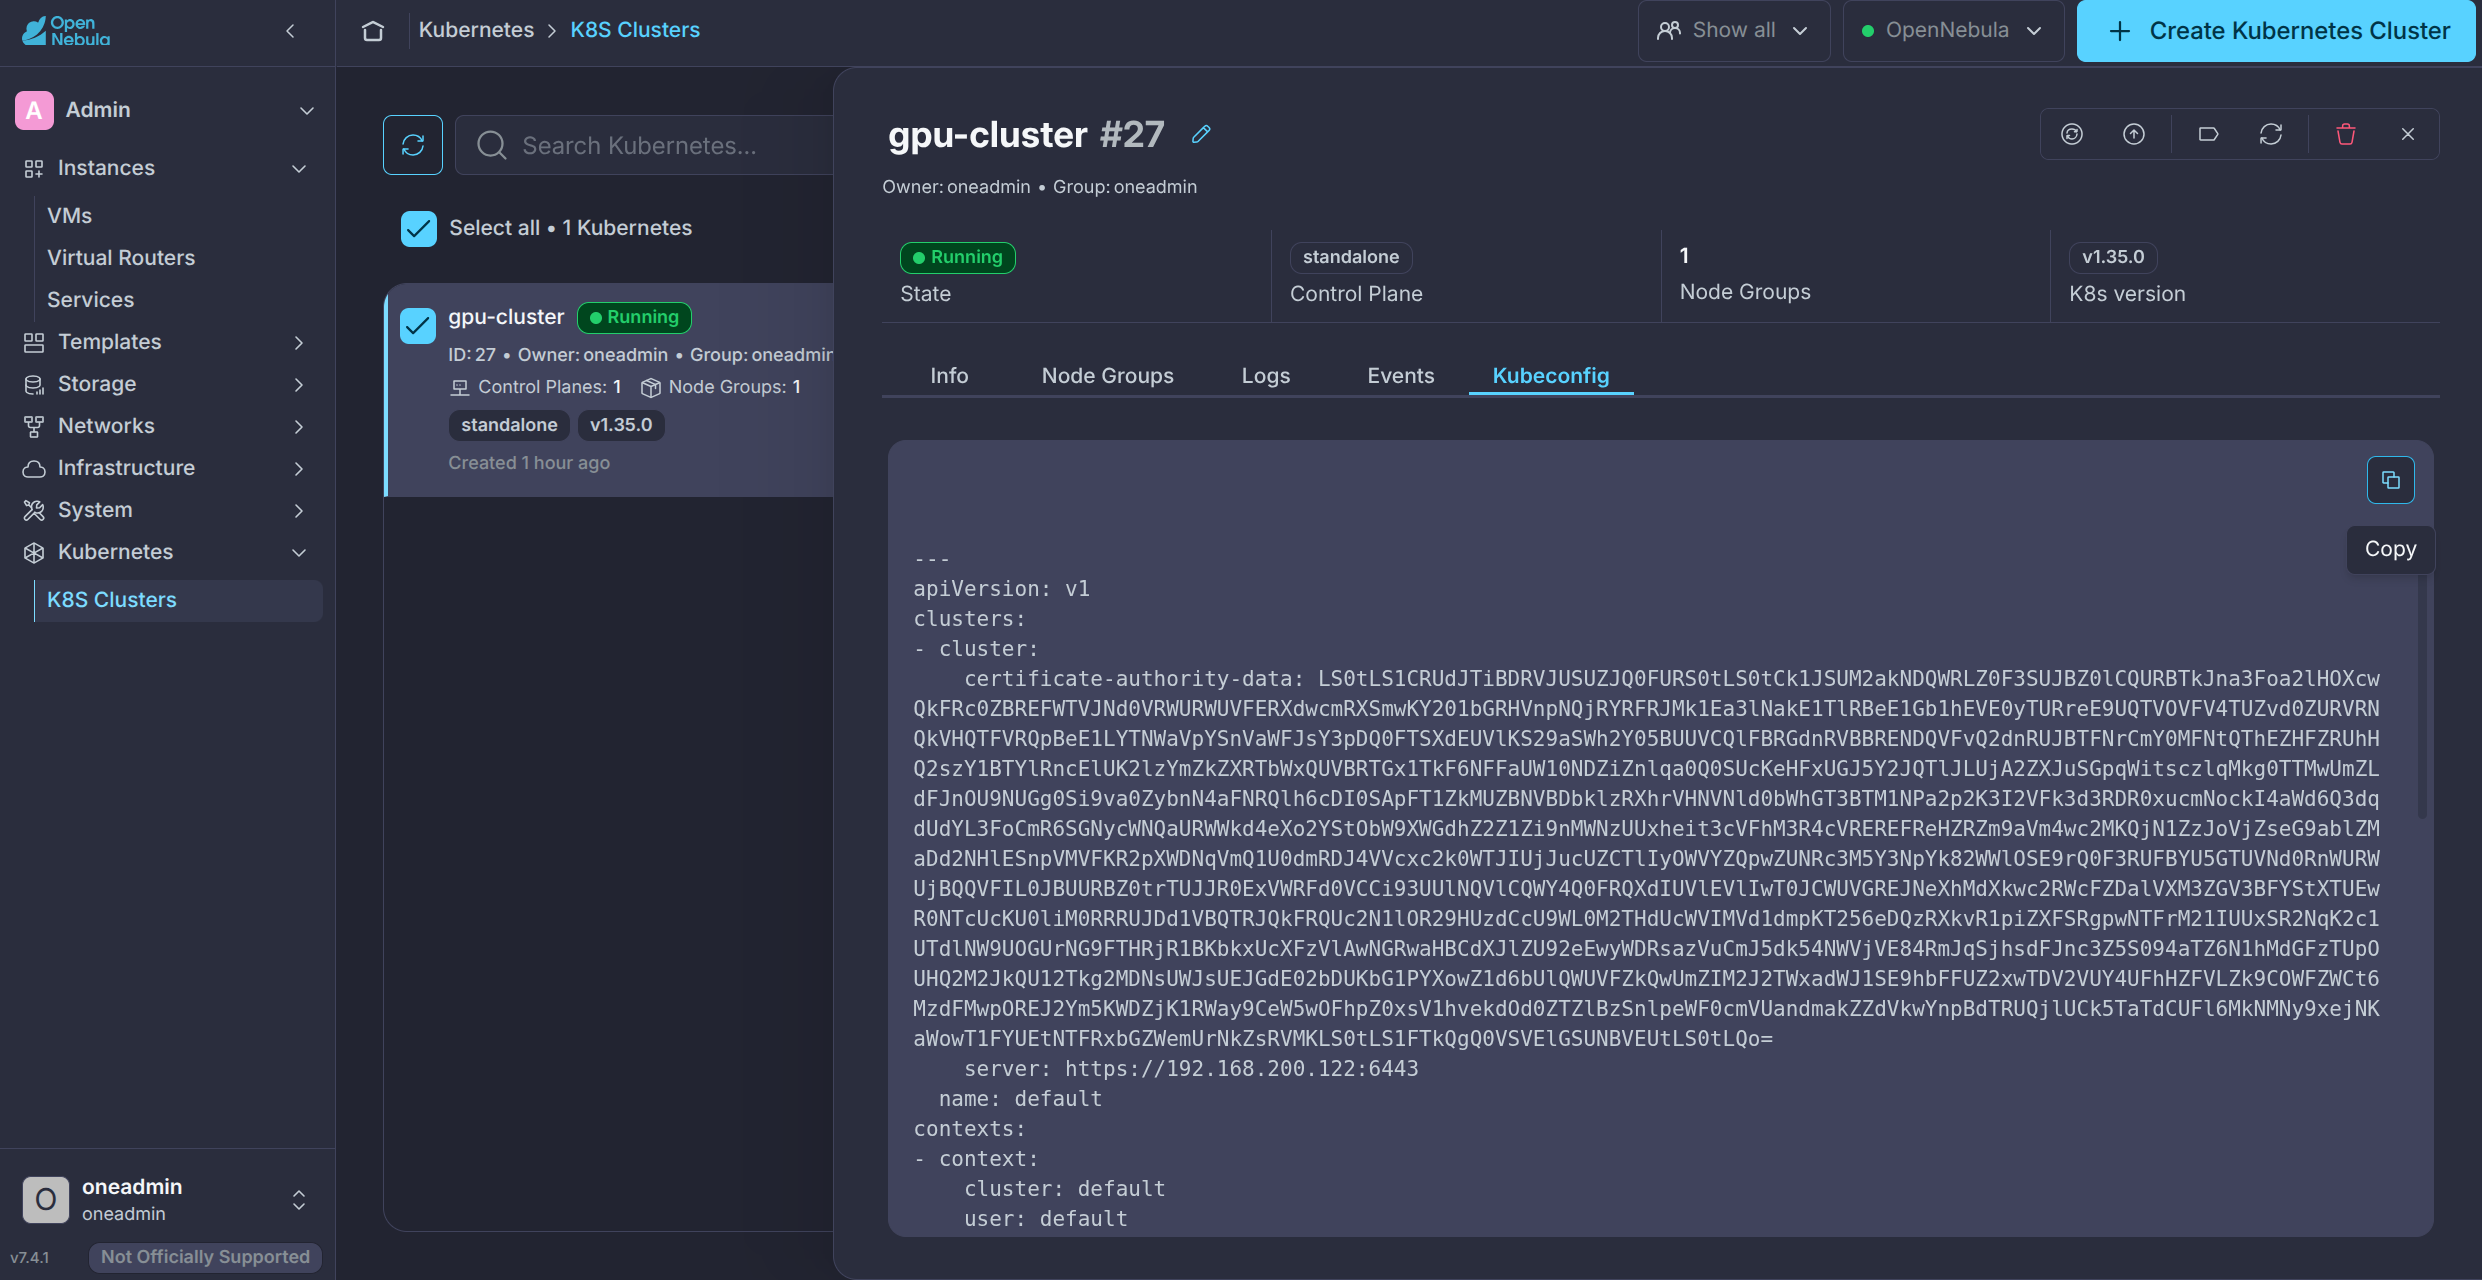
Export the KUBECONFIG environment variable in the terminal at the beginning of any kubectl session:
export KUBECONFIG="$PWD/kubeconfig"
Check that kubectl can access the Cluster:
kubectl get nodes
The output should look similar to the following:
NAME                                                 STATUS   ROLES                AGE   VERSION
controlplane-general-standalone-44c7fcc86fd3-kbkb4   Ready    control-plane,etcd   22m   v1.35.0+rke2r1
nodegroup-general-large-7fc21d43cda5-hv9j2-xs267     Ready    <none>               15m   v1.35.0+rke2r1
This confirms that the K8s Cluster is operating properly and kubectl can access it.
Step 6: Install the GPU Operator
Add the NVIDIA Helm repo:
helm repo add nvidia https://helm.ngc.nvidia.com/nvidia \
&& helm repo update
Install the NVIDIA GPU Operator, this command may require a few minutes:
# create gpu-operator namespace
kubectl create ns gpu-operator

# allow the privileged workloads required by GPU Operator
kubectl label --overwrite ns gpu-operator \
    pod-security.kubernetes.io/enforce=privileged

# install NVIDIA GPU Operator
helm install --wait --generate-name \
    -n gpu-operator \
    nvidia/gpu-operator \
    --version=v26.7.0 \
    --set cdi.nriPluginEnabled=true
After a few minutes you should receive output like this:
NAME: gpu-operator-1790086490
LAST DEPLOYED: Tue Sep 22 14:14:51 2026
NAMESPACE: gpu-operator
STATUS: deployed
REVISION: 1
DESCRIPTION: Install complete
TEST SUITE: None
The previous output confirms that the NVIDIA GPU Operator installed correctly. Now check gpu-operator pods:
kubectl get pods -n gpu-operator
Expected output:
NAME                                                              READY   STATUS      RESTARTS   AGE
gpu-feature-discovery-9jfmt                                       1/1     Running     0          7m33s
gpu-operator-1790086490-node-feature-discovery-gc-5575668f29f7n   1/1     Running     0          7m47s
gpu-operator-1790086490-node-feature-discovery-master-d45bq87r7   1/1     Running     0          7m47s
gpu-operator-1790086490-node-feature-discovery-worker-m94bc       1/1     Running     0          7m47s
gpu-operator-1790086490-node-feature-discovery-worker-zv5lc       1/1     Running     0          7m47s
gpu-operator-558cc5d94f-hjvp2                                     1/1     Running     0          7m47s
nvidia-container-toolkit-daemonset-s7jb9                          1/1     Running     0          7m35s
nvidia-cuda-validator-6895r                                       0/1     Completed   0          4m37s
nvidia-dcgm-exporter-n6bsg                                        1/1     Running     0          7m33s
nvidia-device-plugin-daemonset-r4lkl                              1/1     Running     0          7m34s
nvidia-driver-daemonset-bxbz9                                     1/1     Running     0          7m35s
nvidia-operator-validator-hzsrc                                   1/1     Running     0          7m34s
Check the worker node, first identify the node name with kubectl get nodes as above then describe the node:
kubectl describe node <kubernetes_workload_node_name>
In this example the node is named nodegroup-general-large-7fc21d43cda5-hv9j2-xs267 so the command would look like this:
kubectl describe node nodegroup-general-large-7fc21d43cda5-hv9j2-xs267
The output of kubectl describe node will be verbose. Scroll through the output and you should see lines similar to the below example with details matching the model and specs of your GPU:
...
nvidia.com/gpu.machine=Ubuntu-24.04-PC-Q35-ICH9-2009
nvidia.com/gpu.memory=46068
nvidia.com/gpu.mode=compute
nvidia.com/gpu.present=true
nvidia.com/gpu.product=NVIDIA-L40S
nvidia.com/gpu.replicas=1
nvidia.com/gpu.sharing-strategy=none
nvidia.com/mig.capable=false
nvidia.com/mig.strategy=single
nvidia.com/mps.capable=false
nvidia.com/vgpu.present=false
...
Step 7: Validate with VectorAdd
Deploy a simple CUDA vector-addition workload to verify that Kubernetes can schedule a workload onto the GPU worker and execute CUDA kernels on the attached GPU. The workload copies vectors to GPU memory, performs the addition using a CUDA kernel, copies the result back to the container, and verifies the result.
Create vector-add.yaml
apiVersion: batch/v1
kind: Job
metadata:
  name: cuda-vectoradd
spec:
  template:
    spec:
      containers:
        - name: cuda-vectoradd
          image: nvcr.io/nvidia/k8s/cuda-sample:vectoradd-cuda12.5.0-ubuntu22.04
          resources:
            limits:
              nvidia.com/gpu: 1
      restartPolicy: Never
  backoffLimit: 0
Then apply and watch:
kubectl apply -f vector-add.yaml & kubectl get pods -l job-name=cuda-vectoradd -w
cuda-vectoradd-m4bnc   0/1     Pending   0          0s
cuda-vectoradd-m4bnc   0/1     ContainerCreating   0          0s
cuda-vectoradd-m4bnc   1/1     Running             0          1s
cuda-vectoradd-m4bnc   0/1     Completed           0          2s
Exit with Ctrl-C then check the logs:
kubectl logs job/cuda-vectoradd
Expected output:
[Vector addition of 50000 elements]
Copy input data from the host memory to the CUDA device
CUDA kernel launch with 196 blocks of 256 threads
Copy output data from the CUDA device to the host memory
Test PASSED
Done
The Test PASSED response shows that your K8s Cluster is properly configured and ready to deploy workloads on the GPU.
Clean up by deleting the VectorAdd validation job:
kubectl delete -f vector-add.yaml
Next Steps
After completing all the steps in this guide, you have successfully deployed an AI-ready K8s Cluster with a worker node attached to a GPU. You can now proceed to deploy AI workloads. Continue with the following AI Factory guides:
These guides are independent and do not need to be followed in any specific order.
Optional: Undeploy the NVIDIA GPU Operator
If you have finished testing and no longer need GPU workloads on this Cluster, you can uninstall the GPU Operator. Keep it installed if you intend to continue with the Dynamo or KAI Scheduler guides.
First, undeploy any GPU workloads, including Dynamo inference graphs and KAI workloads and their GPU reservation pods, using the cleanup instructions in the corresponding guides. Wait for those pods to terminate before removing the GPU Operator.
The installation in Step 6 uses an automatically generated Helm release name. Find the name of the gpu-operator release:
helm list --namespace gpu-operator
Replace <gpu_operator_release_name> below with the value from the NAME column, for example gpu-operator-1790086490:
helm uninstall <gpu_operator_release_name> \
  --namespace gpu-operator --wait --timeout 10m
Check that the Operator’s pods have been removed:
kubectl get pods --namespace gpu-operator
Once the namespace contains no remaining workloads, delete it:
kubectl delete namespace gpu-operator
Helm retains the Operator’s CustomResourceDefinitions (CRDs) by default. They can remain for a later reinstall. NVIDIA driver modules may also remain loaded on the worker after uninstalling the Operator; if you need to unload them completely, reboot the worker during a suitable maintenance window. For additional cleanup options, see NVIDIA’s GPU Operator v26.7 uninstallation guide.
This procedure leaves the OneKS Cluster and its GPU passthrough configuration in place. Reinstall the GPU Operator before running GPU workloads again.
GIVE FEEDBACK
Was this resource helpful?
Glad to hear it
Sorry to hear that