Quick Start
This guide deploys the portal from Sunstone in the following steps:
- Import the appliance.
- Start the wizard.
- Fill in the user inputs.
- Attach the network of the Clusters.
- Check that the portal is ready.
Step 1: Import the Appliance
In Sunstone:
- Go to Storage -> Apps.
- Search for Open OnDemand and select it.
- Click Import and choose the image datastore.
Or, with the CLI on the Front-end:
onemarketapp export "Open OnDemand" "Open OnDemand" --datastore default
This imports an image and a VM template, both called Open OnDemand.
Step 2: Start the Wizard
- Go to Templates -> VM Templates.
- Select the Open OnDemand template and click Instantiate.
- Enter a name for the VM and click Next.
Step 3: Fill in the User Inputs
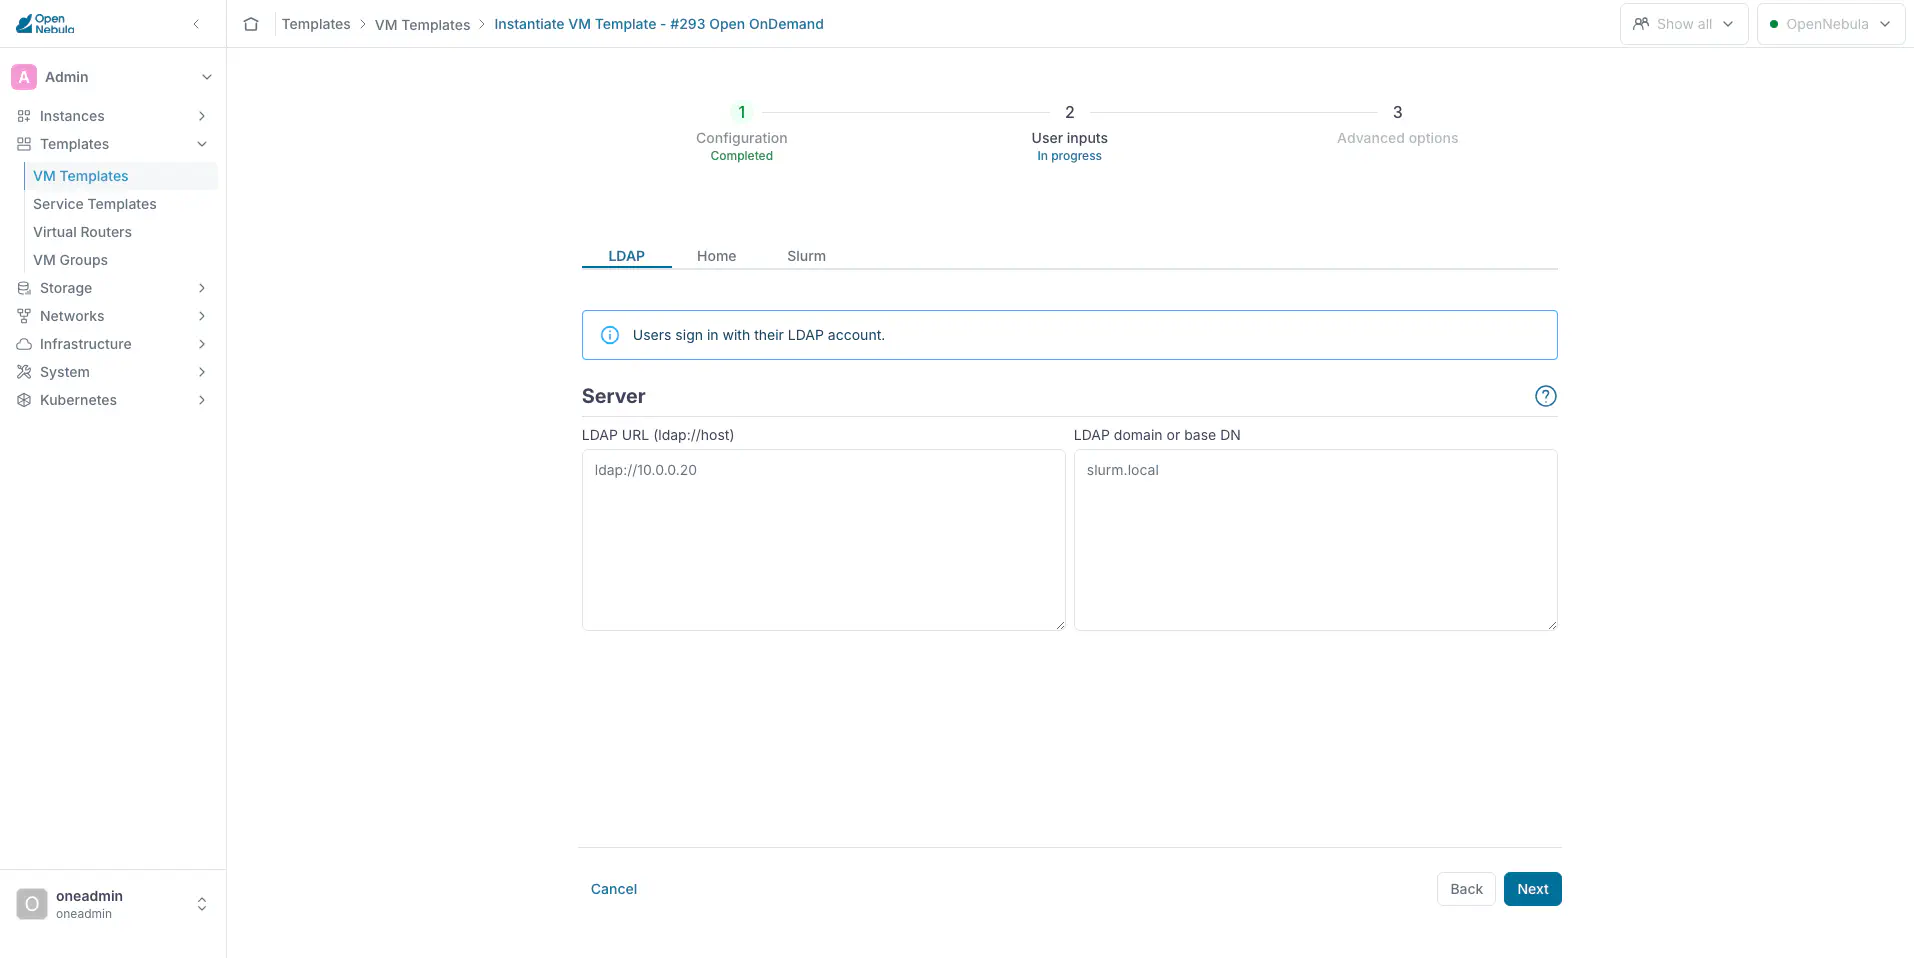
The wizard has three tabs: LDAP, Home and Slurm.
LDAP Tab
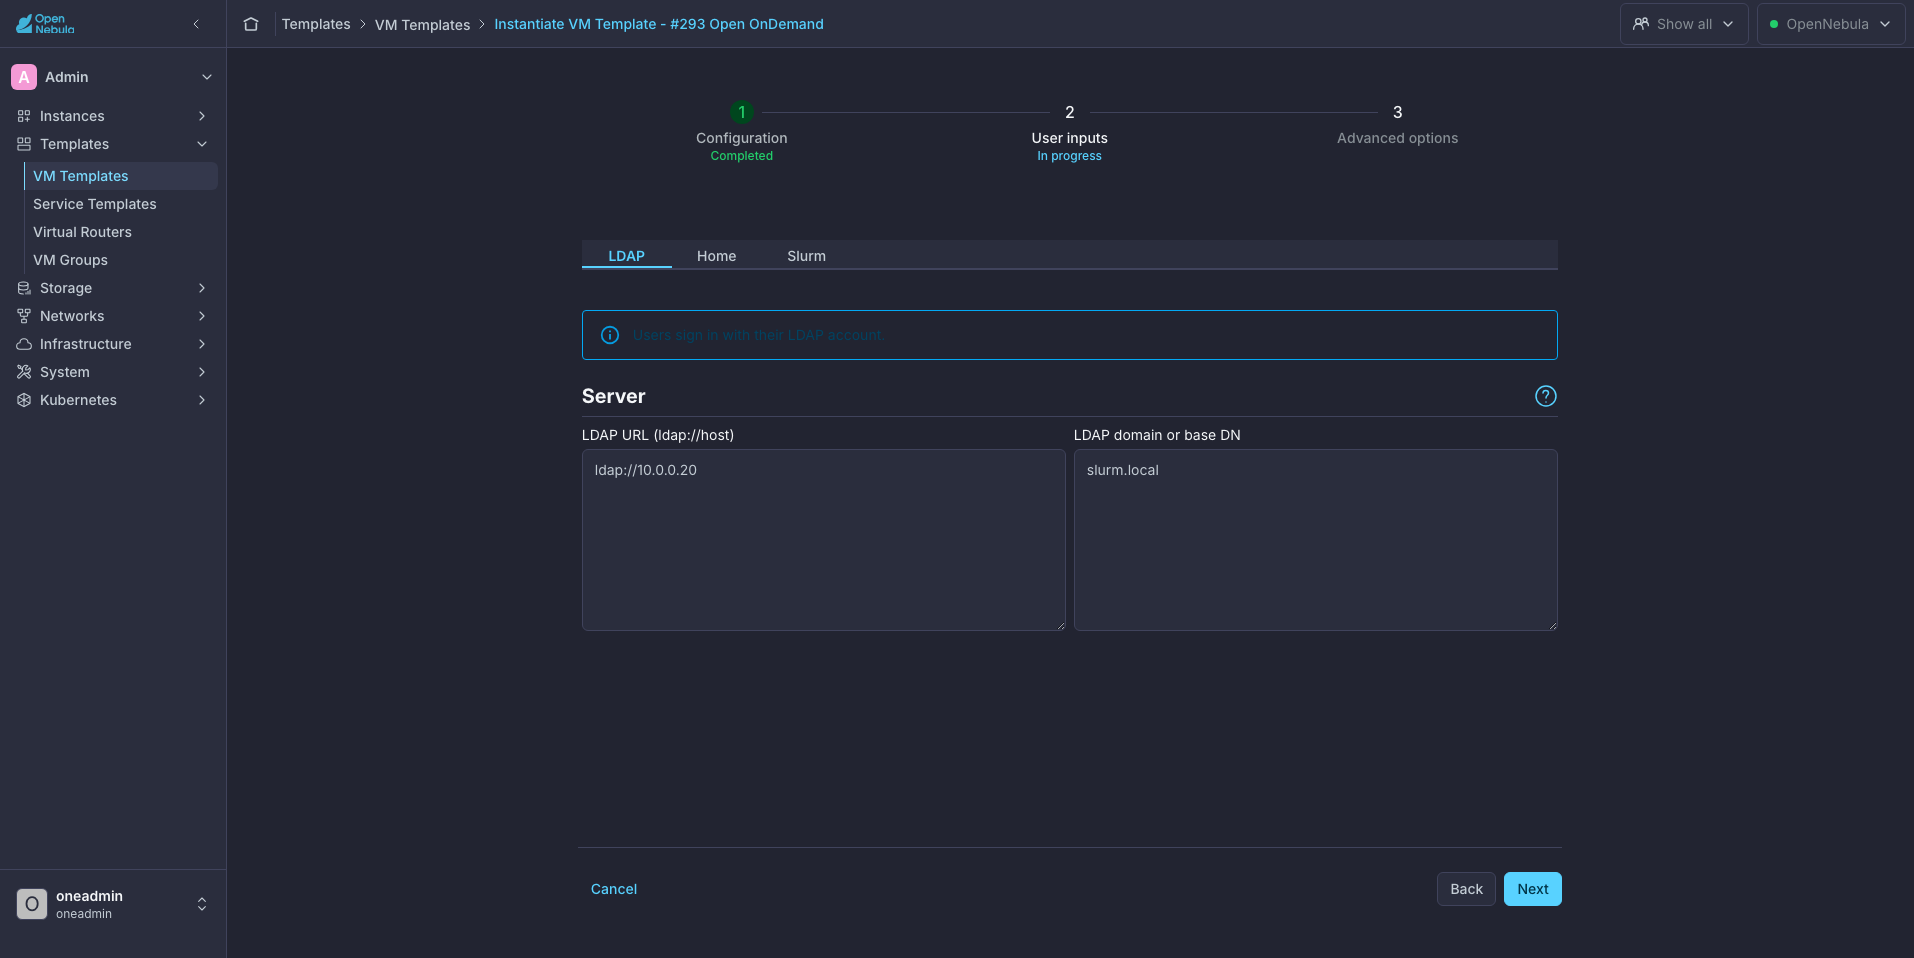
- In LDAP URL, enter the LDAP server of the Clusters, for example
ldap://10.0.0.20. - In LDAP domain or base DN, keep
slurm.local, the default of OneSlurm, or enter the domain of your LDAP server. The base DN is the root of the directory. A domain such asslurm.localbecomes the base DNdc=slurm,dc=local, and the portal looks for users underou=Peopleof that base DN.
Home Tab
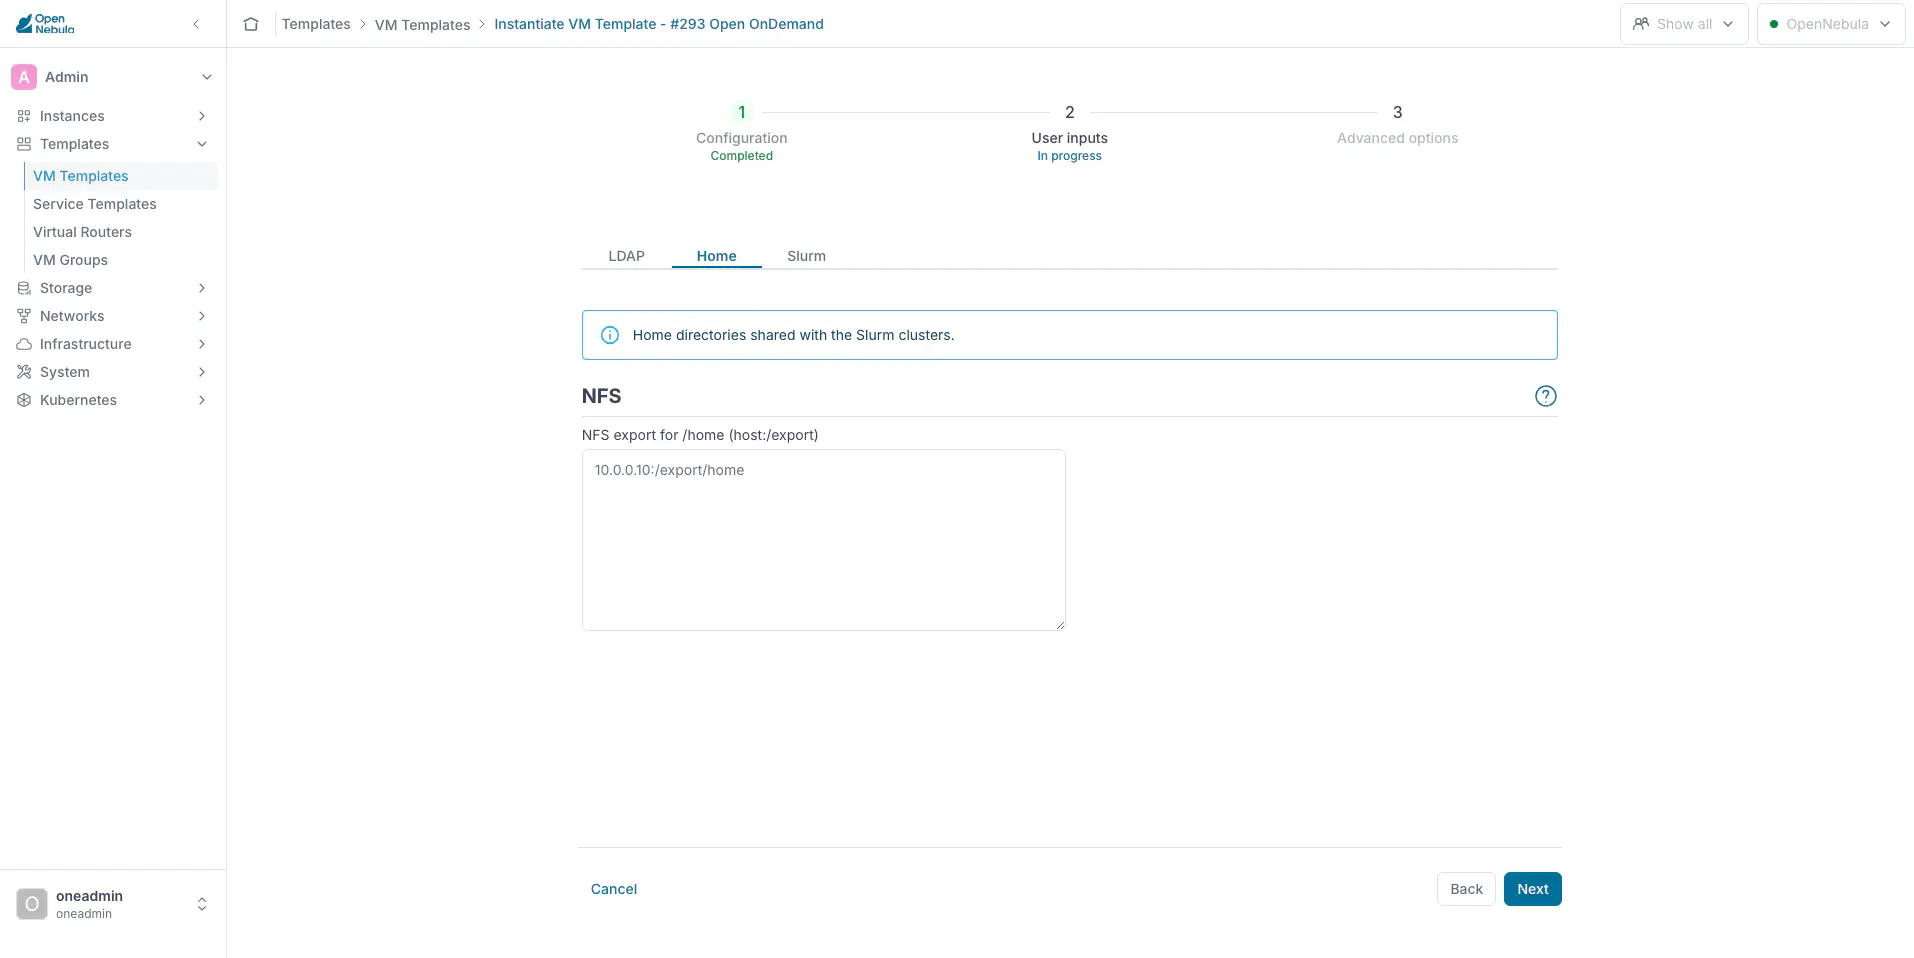
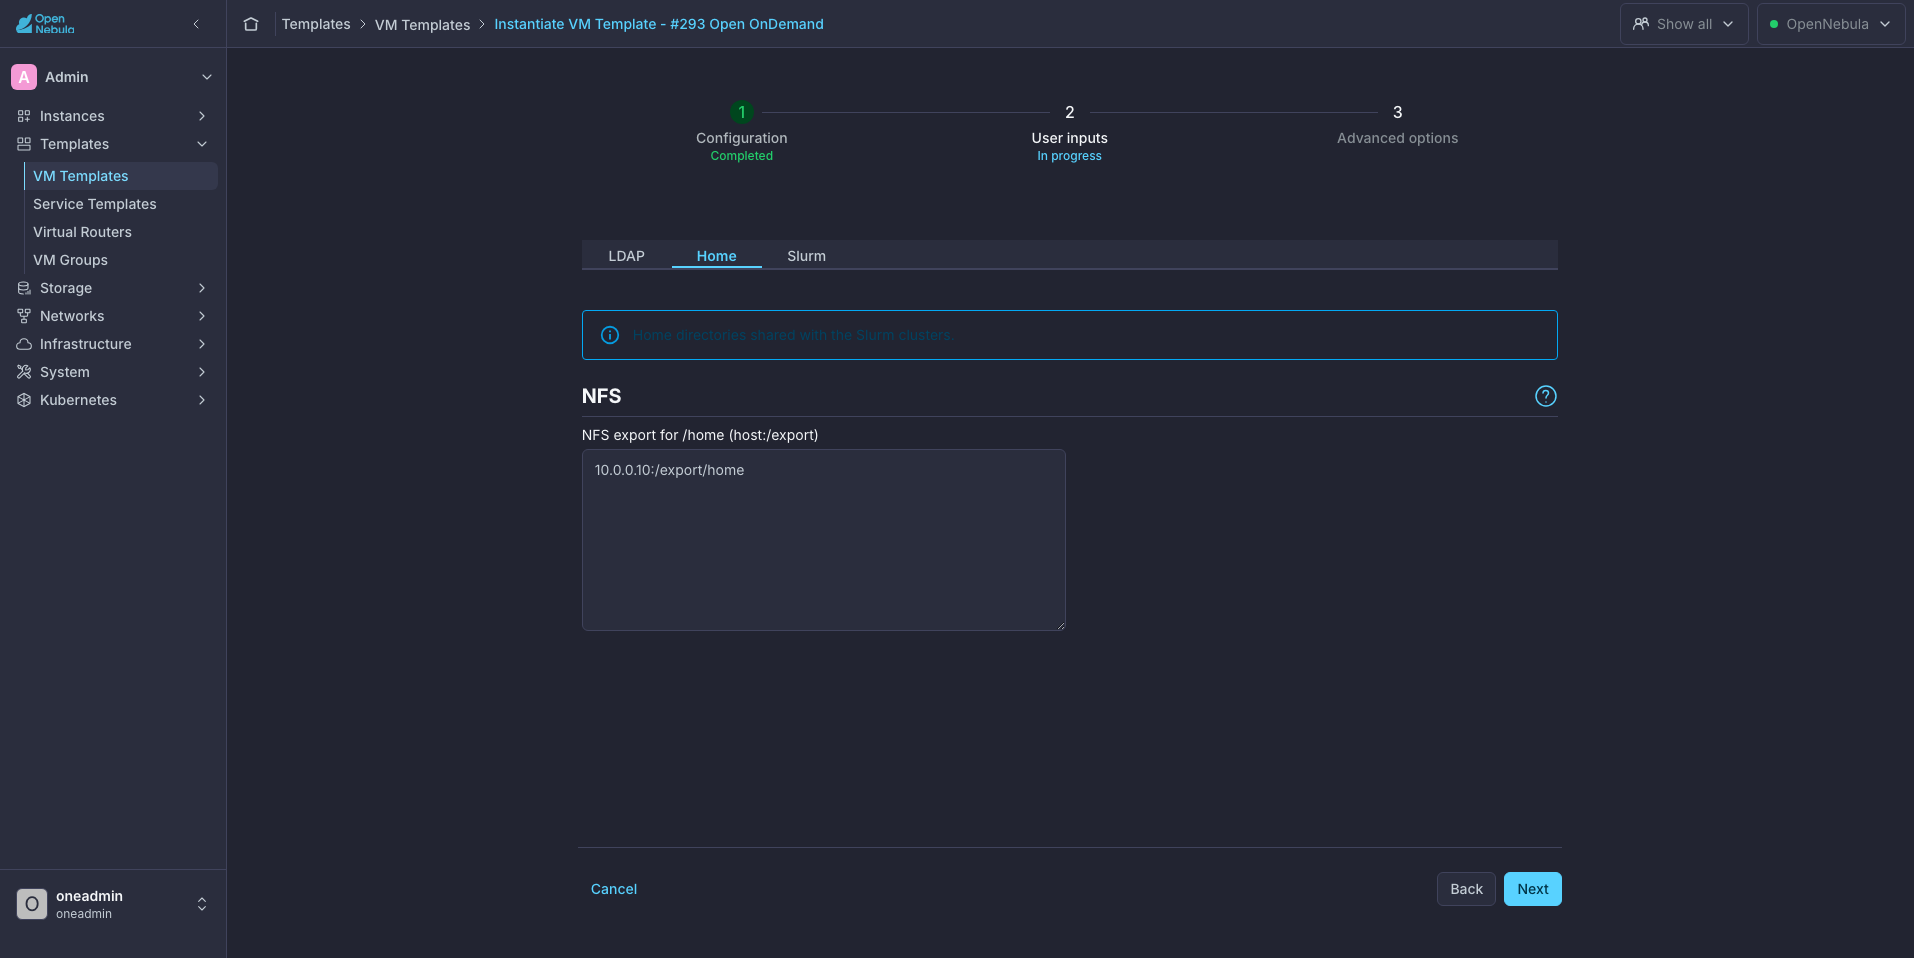
- In NFS export for /home, enter the export with the home directory of the users, for example
10.0.0.10:/export/home.
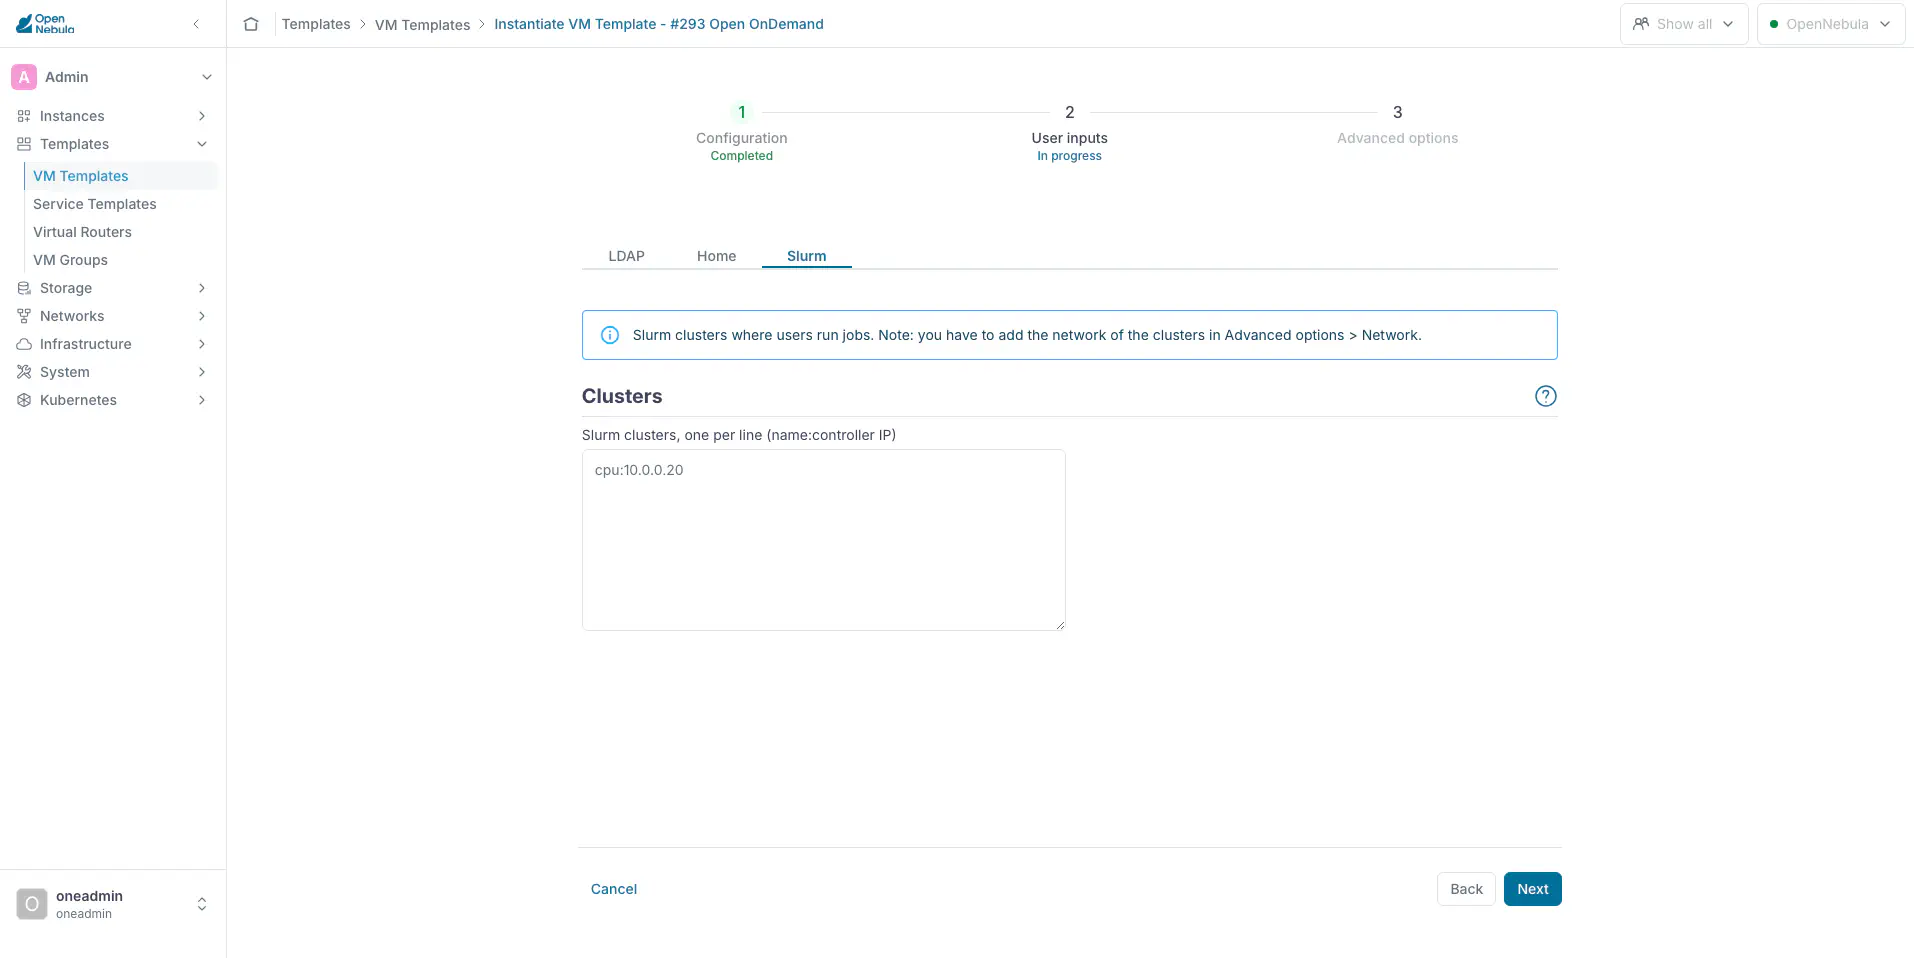
Slurm Tab
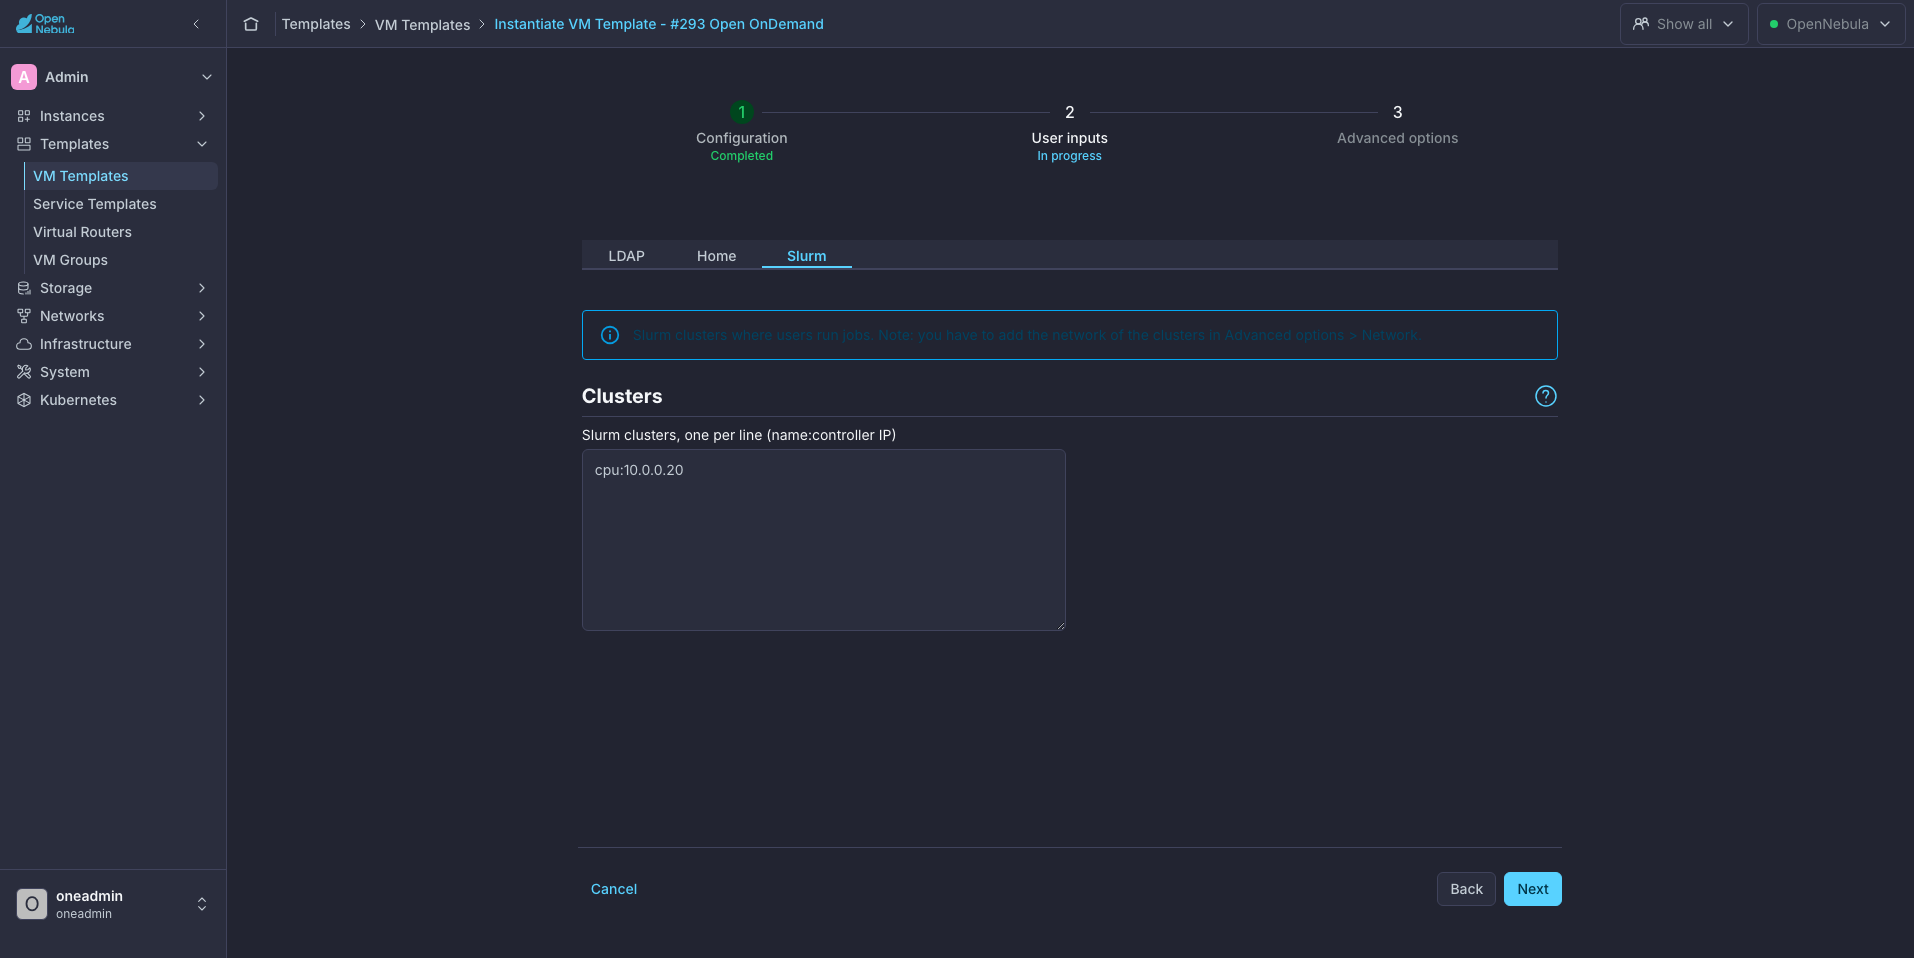
- In Slurm Clusters, enter one line for each Cluster as
name:IP, for examplecpu:10.0.0.20. The name is what users see in the portal and must be unique. The IP is the IPv4 address of the controller. Every Cluster must use the same LDAP server and the same/homeas the portal.
Step 4: Attach the Network of the Clusters
- Click Next.
- In Advanced options, open the Network tab.
- Click Attach NIC and select the Virtual Network of the Clusters.
- Click Finish.
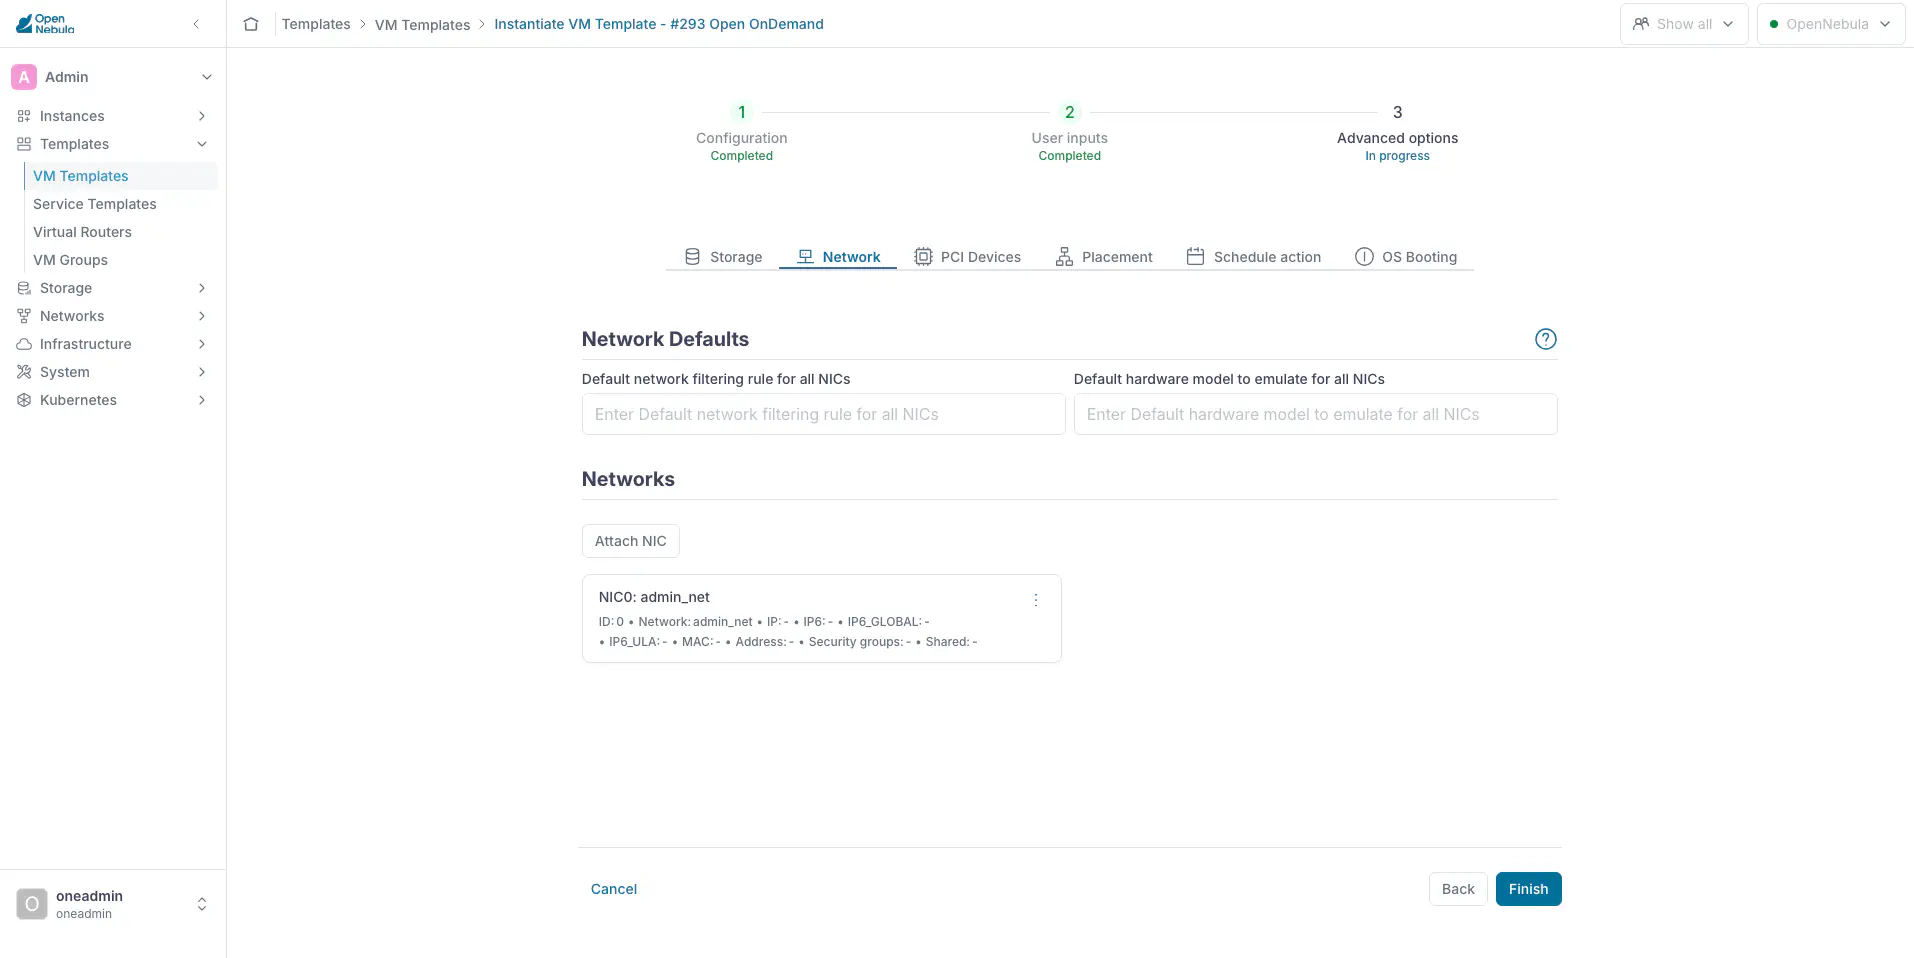
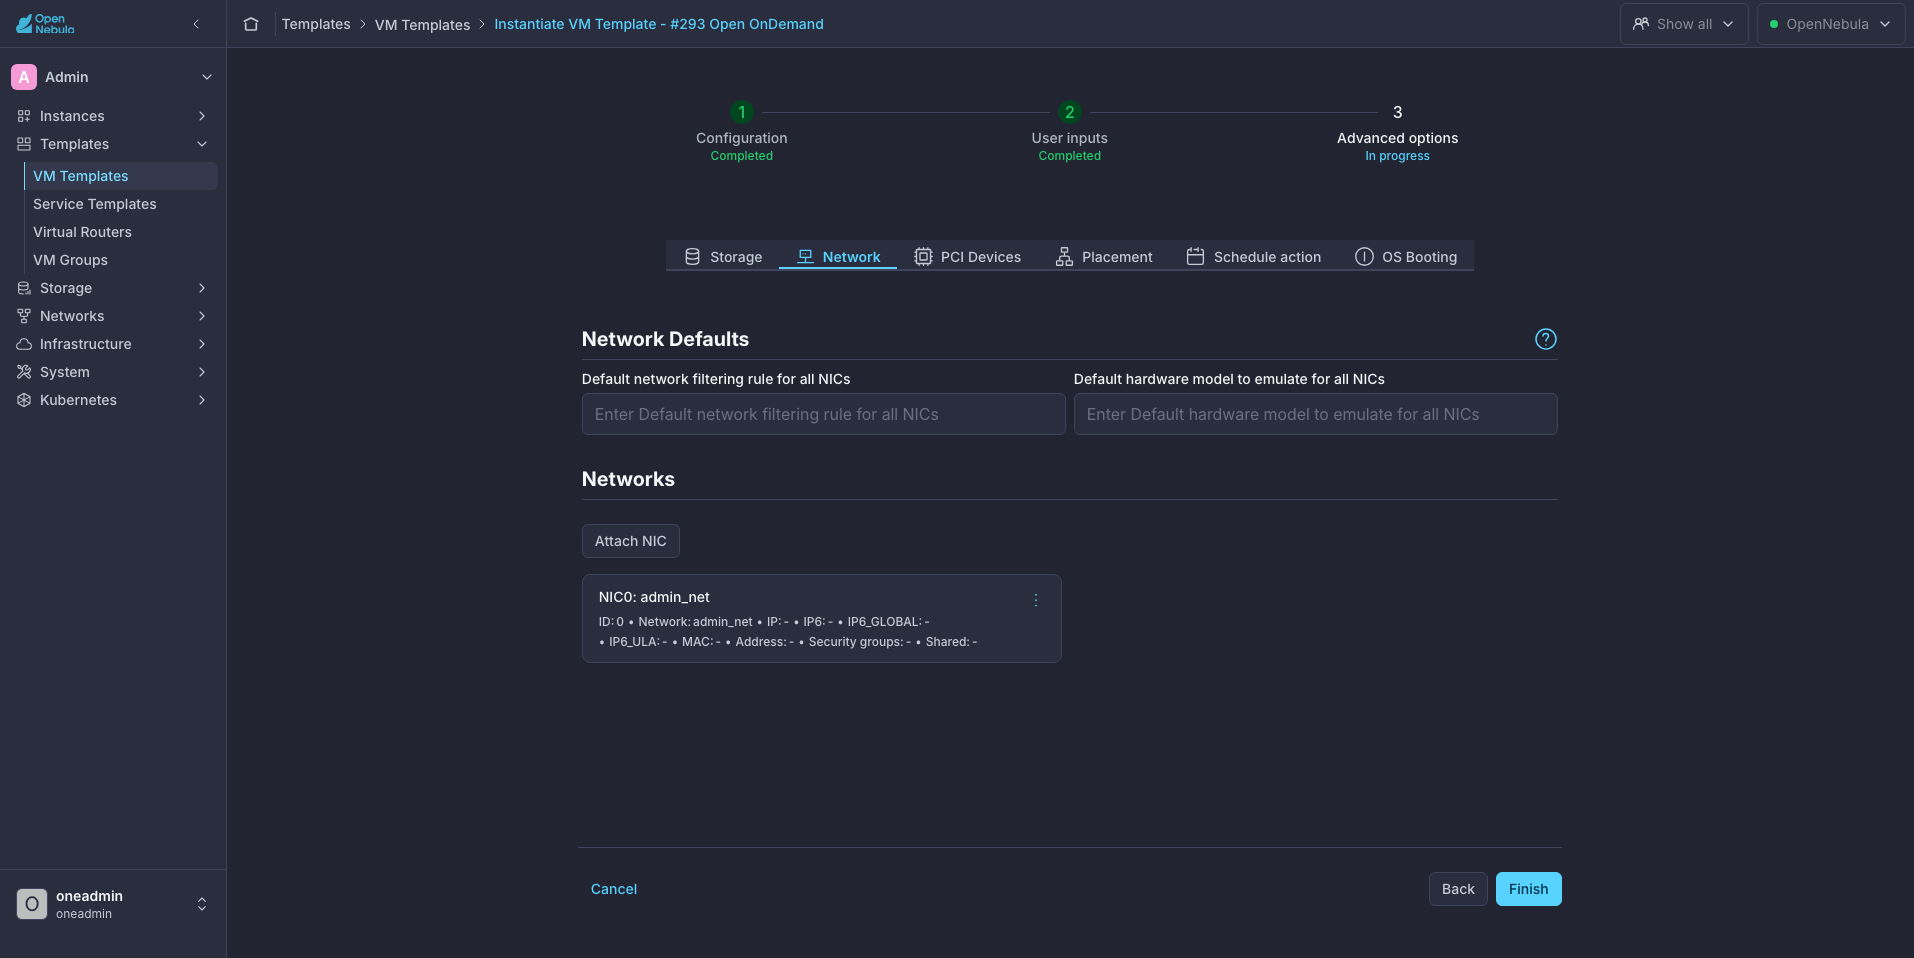
The portal uses the IPv4 address of the first NIC. Users must be able to reach that address with their web browser.
Step 5: Check That the Portal Is Ready
Open the VM in Sunstone and go to Info -> Attributes. With the CLI, run onevm show <VM_ID>:
| Attribute | Meaning |
|---|---|
READY = YES | The portal is ready. |
OOD_URL | The address of the portal, for example https://10.0.0.50/. |
OOD_ERROR | The configuration failed. The value says why, and the portal stays closed. |
Examples of OOD_ERROR:
Cannot mount 10.0.0.10:/export/nope on /homeThe controller 10.0.0.30 does not answer on the SSH port
| Cause of the error | How to fix it |
|---|---|
| A service was down | Fix the service and reboot the VM. |
| A value was wrong | Change it as shown in Change the Clusters, then reboot the VM so that OneGate shows the new result. |
Deploy with the CLI
Instead of Steps 2 to 4, you can pass the same values with --user-inputs. Separate the Clusters with spaces:
onetemplate instantiate "Open OnDemand" --name open-ondemand --nic <network> \
    --user-inputs "ONEAPP_LDAP_SERVER_URL=ldap://10.0.0.20,ONEAPP_LDAP_SERVER_DOMAIN=slurm.local,ONEAPP_HOME_NFS_EXPORT=10.0.0.10:/export/home,ONEAPP_SLURM_CLUSTERS_LIST=cpu:10.0.0.20 gpu:10.0.0.30"
Then check the portal as in Step 5.
Next Steps
To sign in to the portal and add users, refer to Operations.
GIVE FEEDBACK
Was this resource helpful?
Glad to hear it
Sorry to hear that