Kubernetes Quick Start with OneKS
OneKS is OpenNebula’s Managed Kubernetes service. It offers a structured way to create, access, operate, upgrade, recover, and deprovision Kubernetes Clusters. OneKS enables you to manage a Kubernetes Cluster simply and intuitively through the Sunstone interface or using the command line on your OpenNebula Front-end. This guide demonstrates how to launch a new Kubernetes Cluster on the hypervisor node installed with your miniONE installation and deploy a simple application.
Before Starting
This guide assumes that you are evaluating OneKS using a standard miniONE deployment of OpenNebula, having followed the miniONE installation guides in the Getting Started section of the OpenNebula documentation, with the Front-end and a KVM hypervisor node installed on a single Host. If you are using an existing OpenNebula installation deployed by other means (e.g. manual installation or using OneDeploy), or you are using hypervisor nodes installed on separate Hosts, we recommend that you follow the guides in the Managed Kubernetes documentation since additional configuration is required.
Install miniONE
Prior to starting this guide, you must complete the miniONE installation with on-premises hardware or an AWS instance that fits the hardware requirements.
Install the Kubectl Client
To manage a K8s Cluster and deploy applications, the kubectl command line tool is required. Download the latest release with the following command:
curl -LO "https://dl.k8s.io/release/$(curl -L -s \
https://dl.k8s.io/release/stable.txt)/bin/linux/amd64/kubectl"
curl -LO "https://dl.k8s.io/release/$(curl -L -s \
https://dl.k8s.io/release/stable.txt)/bin/linux/arm64/kubectl"
Then install kubectl:
sudo install -o root -g root -m 0755 kubectl /usr/local/bin/kubectl
Ensure the OneKS Service is Running
Occasionally, the OneKS service might not start correctly upon completion of the miniONE installation. If you go to the Kubernetes -> K8s Clusters view and find the following error: Cannot connect to OneKS server, please verify that service is running., run the following command on the Front-end command line (as root):
systemctl status opennebula-ks
If the command returns a failure status, run the following command to restart the OneKS service (then rerun the previous command to confirm success):
systemctl restart opennebula-ks
Step 1. Create a Private Virtual Network
Your K8s Cluster will consist of several Virtual Machines that handle different jobs associated with Kubernetes workloads:
- Seed VM: A temporary VM that is used to provision the Cluster
- Control Plane (master): This VM handles the management of the K8s Cluster
- Virtual Router: This VM handles the routing of incoming network traffic and external connectivity to the internet
- Worker Nodes: One or more worker VMs handle the Kubernetes compute workload
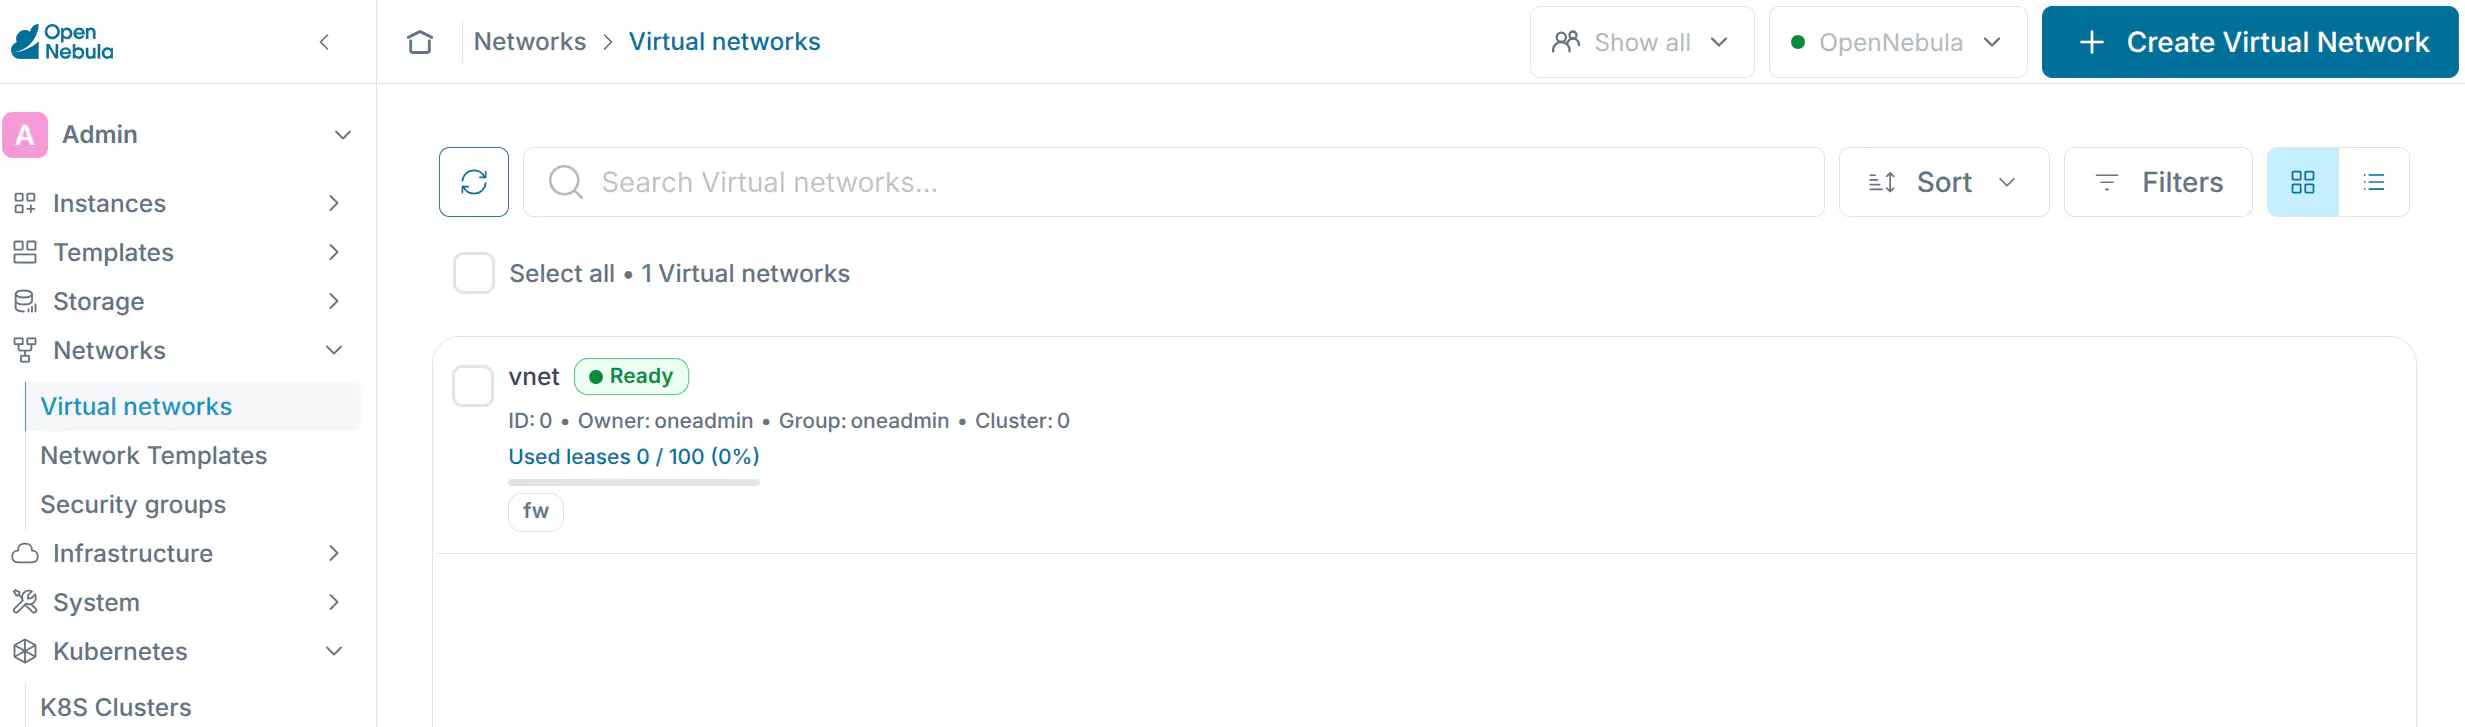
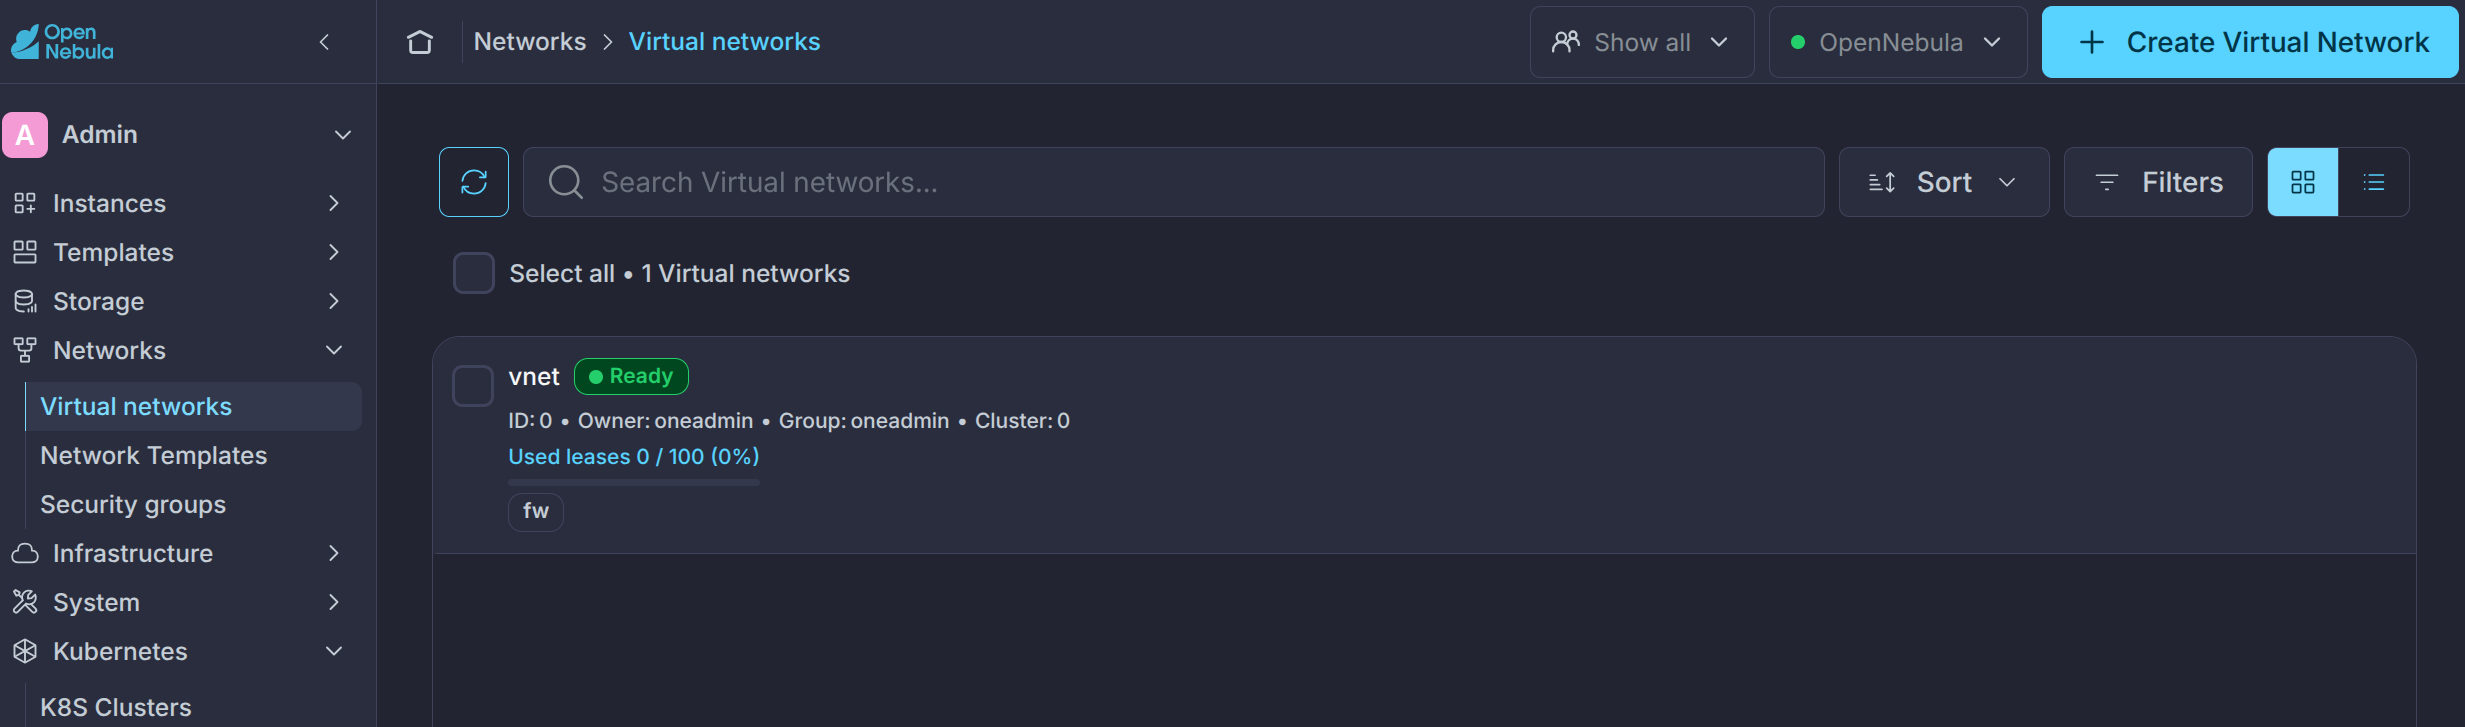
This collection of VMs requires a private Virtual Network for internal communication along with a public Virtual Network for connectivity with the internet. miniONE has created a public Virtual Network already, go to Networks -> Virtual Networks to create a private Virtual Network. You will see the existing public Virtual Network named vnet that was already created by miniONE:
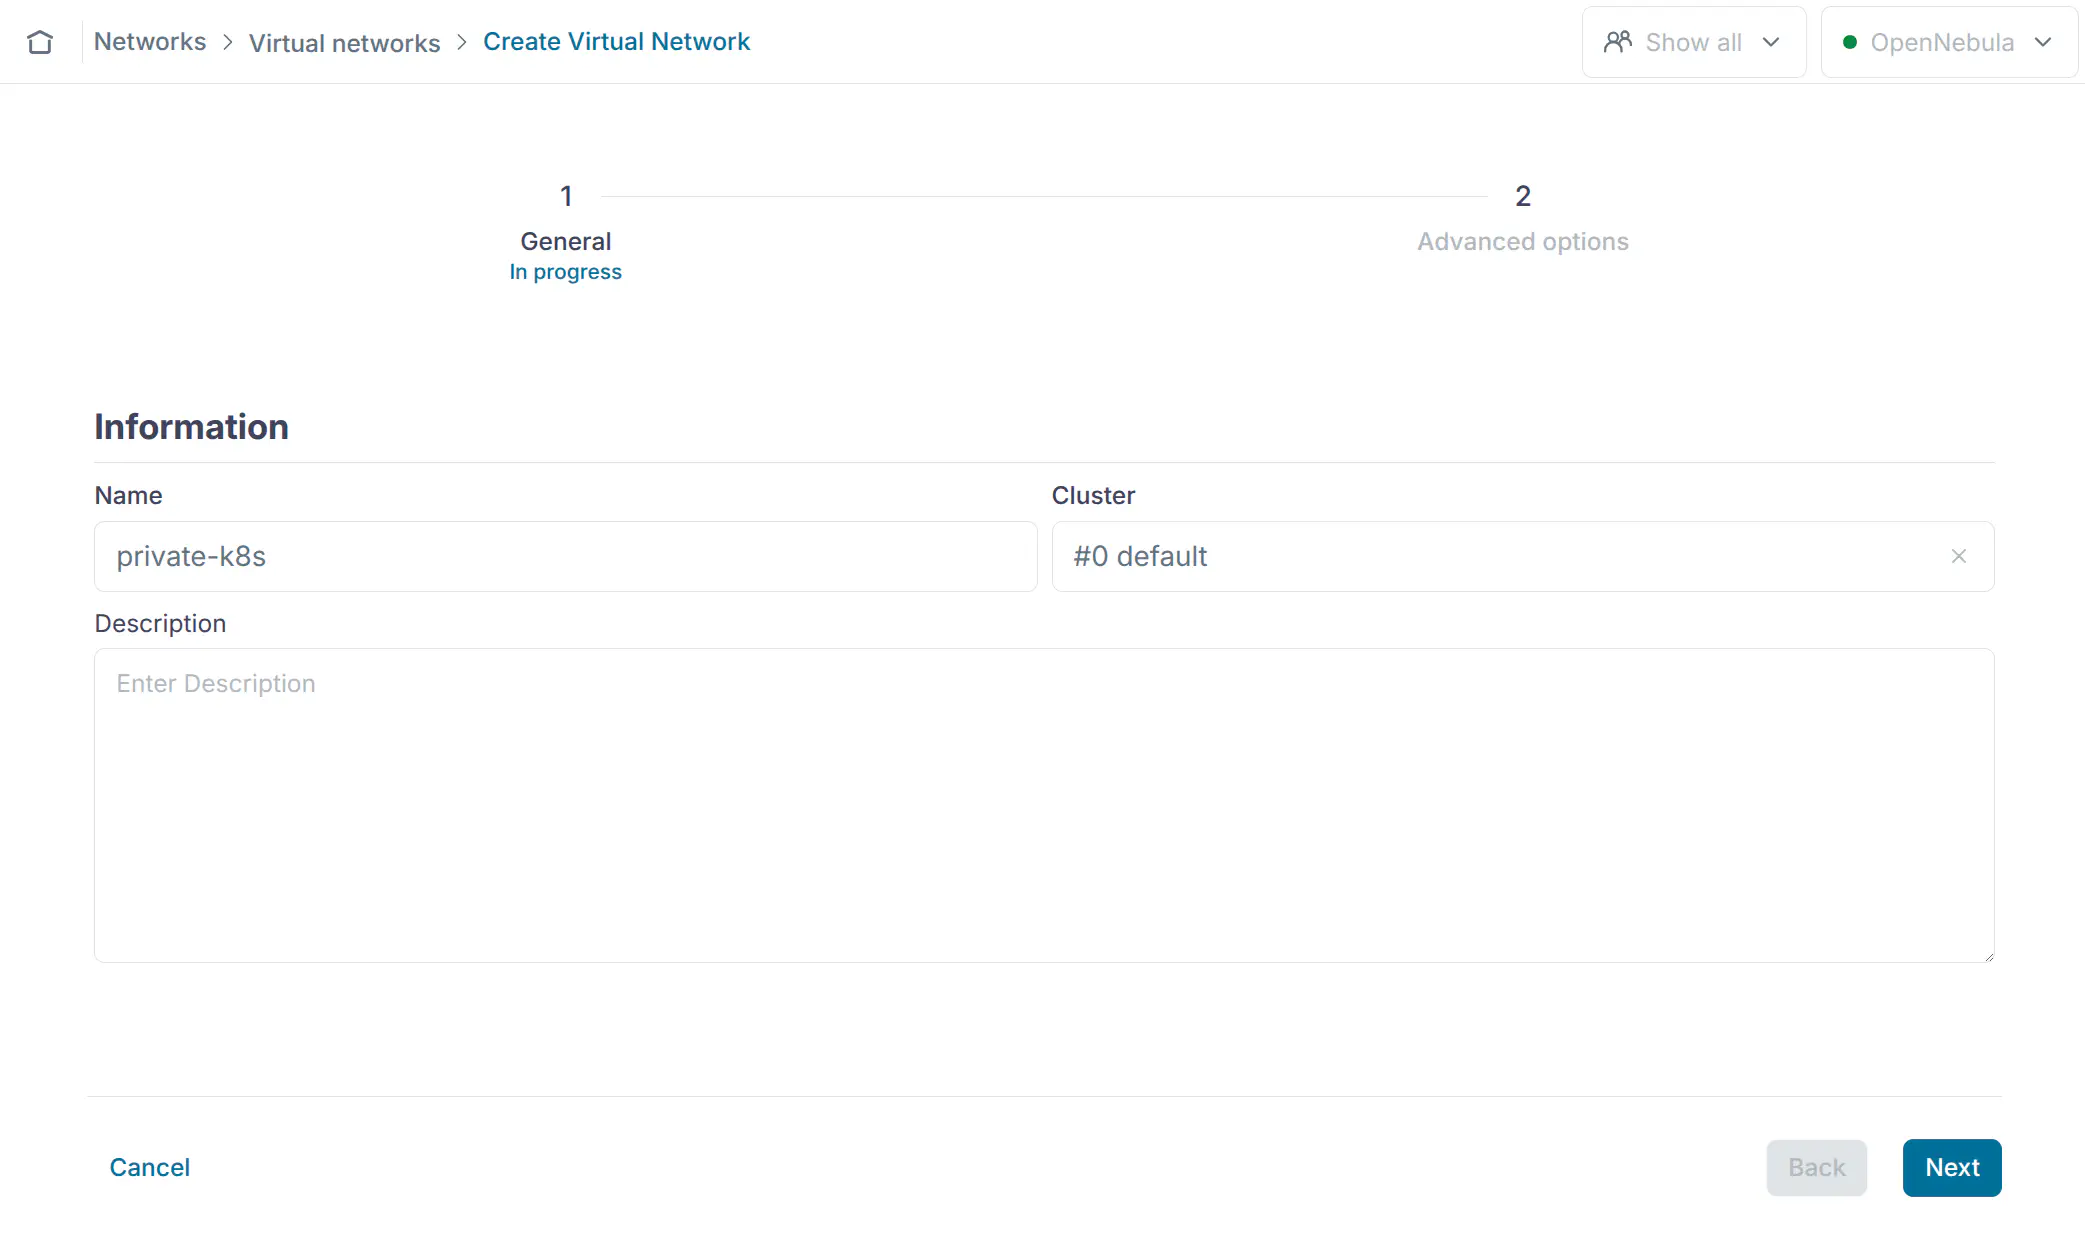
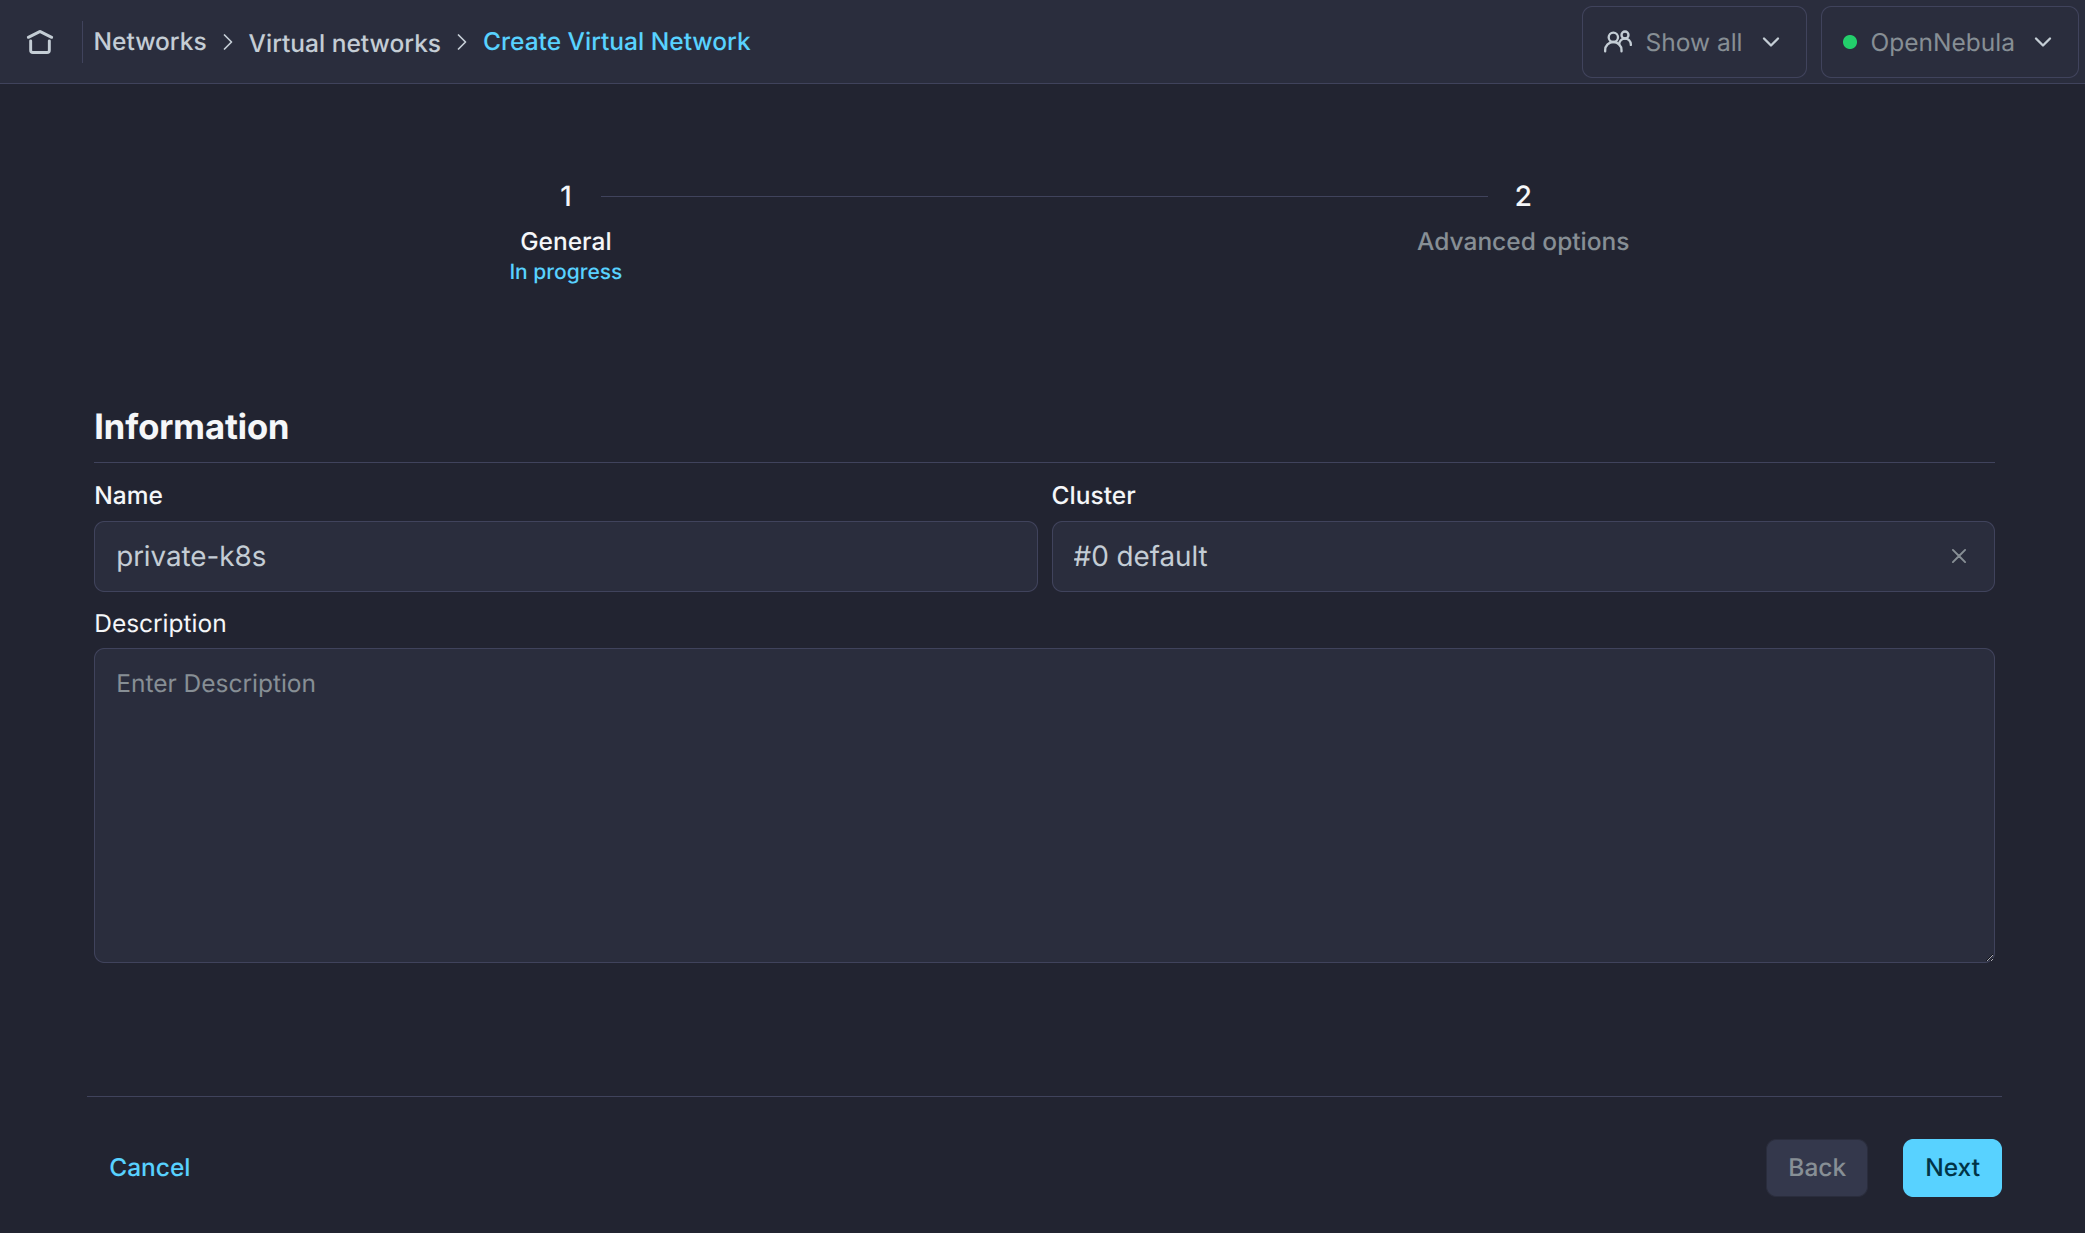
Select + Create Virtual Network and choose From scratch, fill in a name (e.g. private-k8s) and select #0 default as the Cluster:
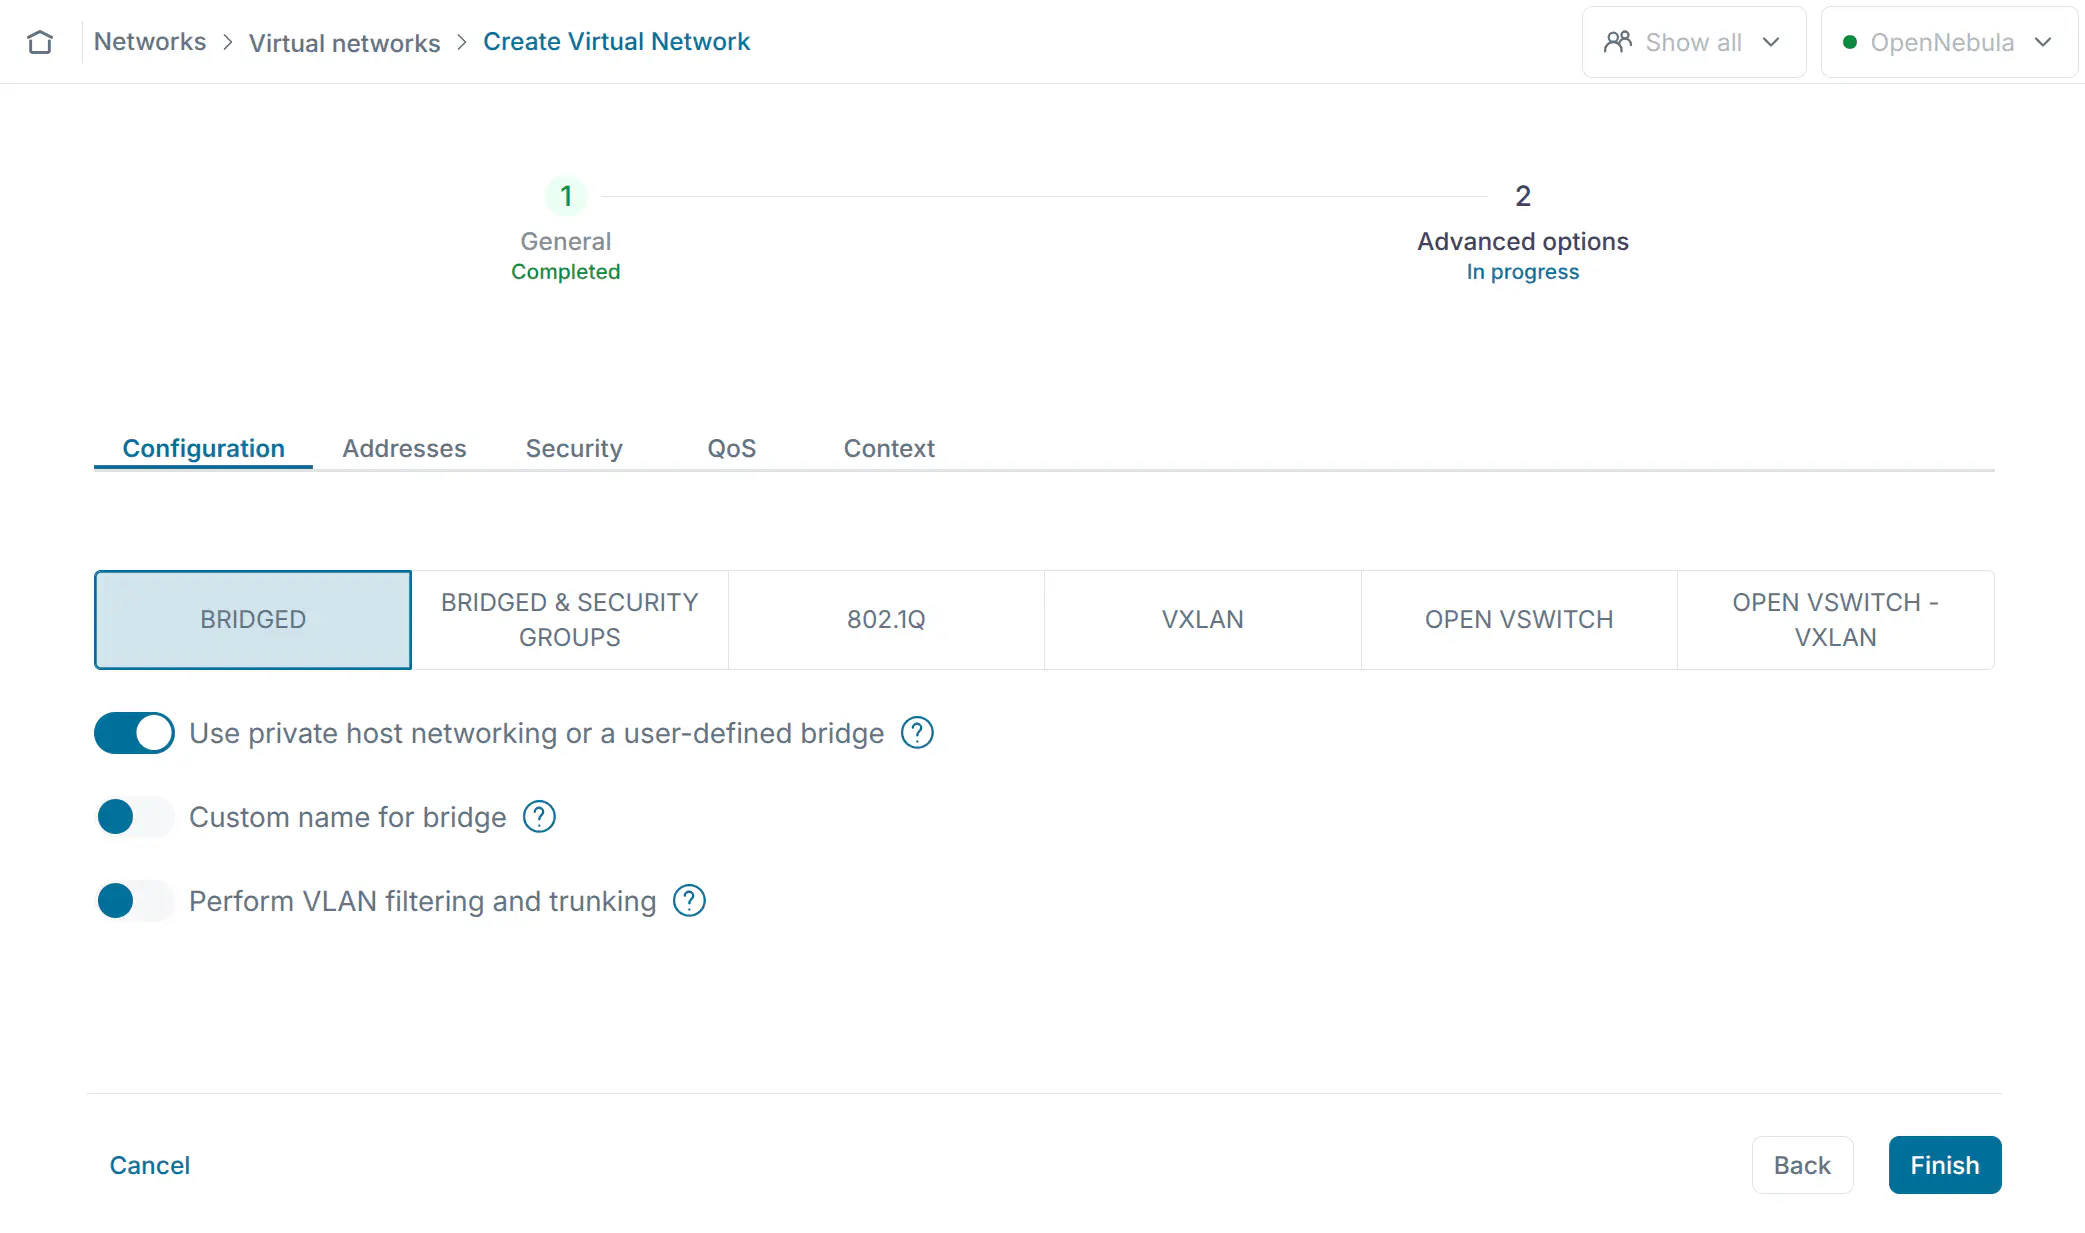
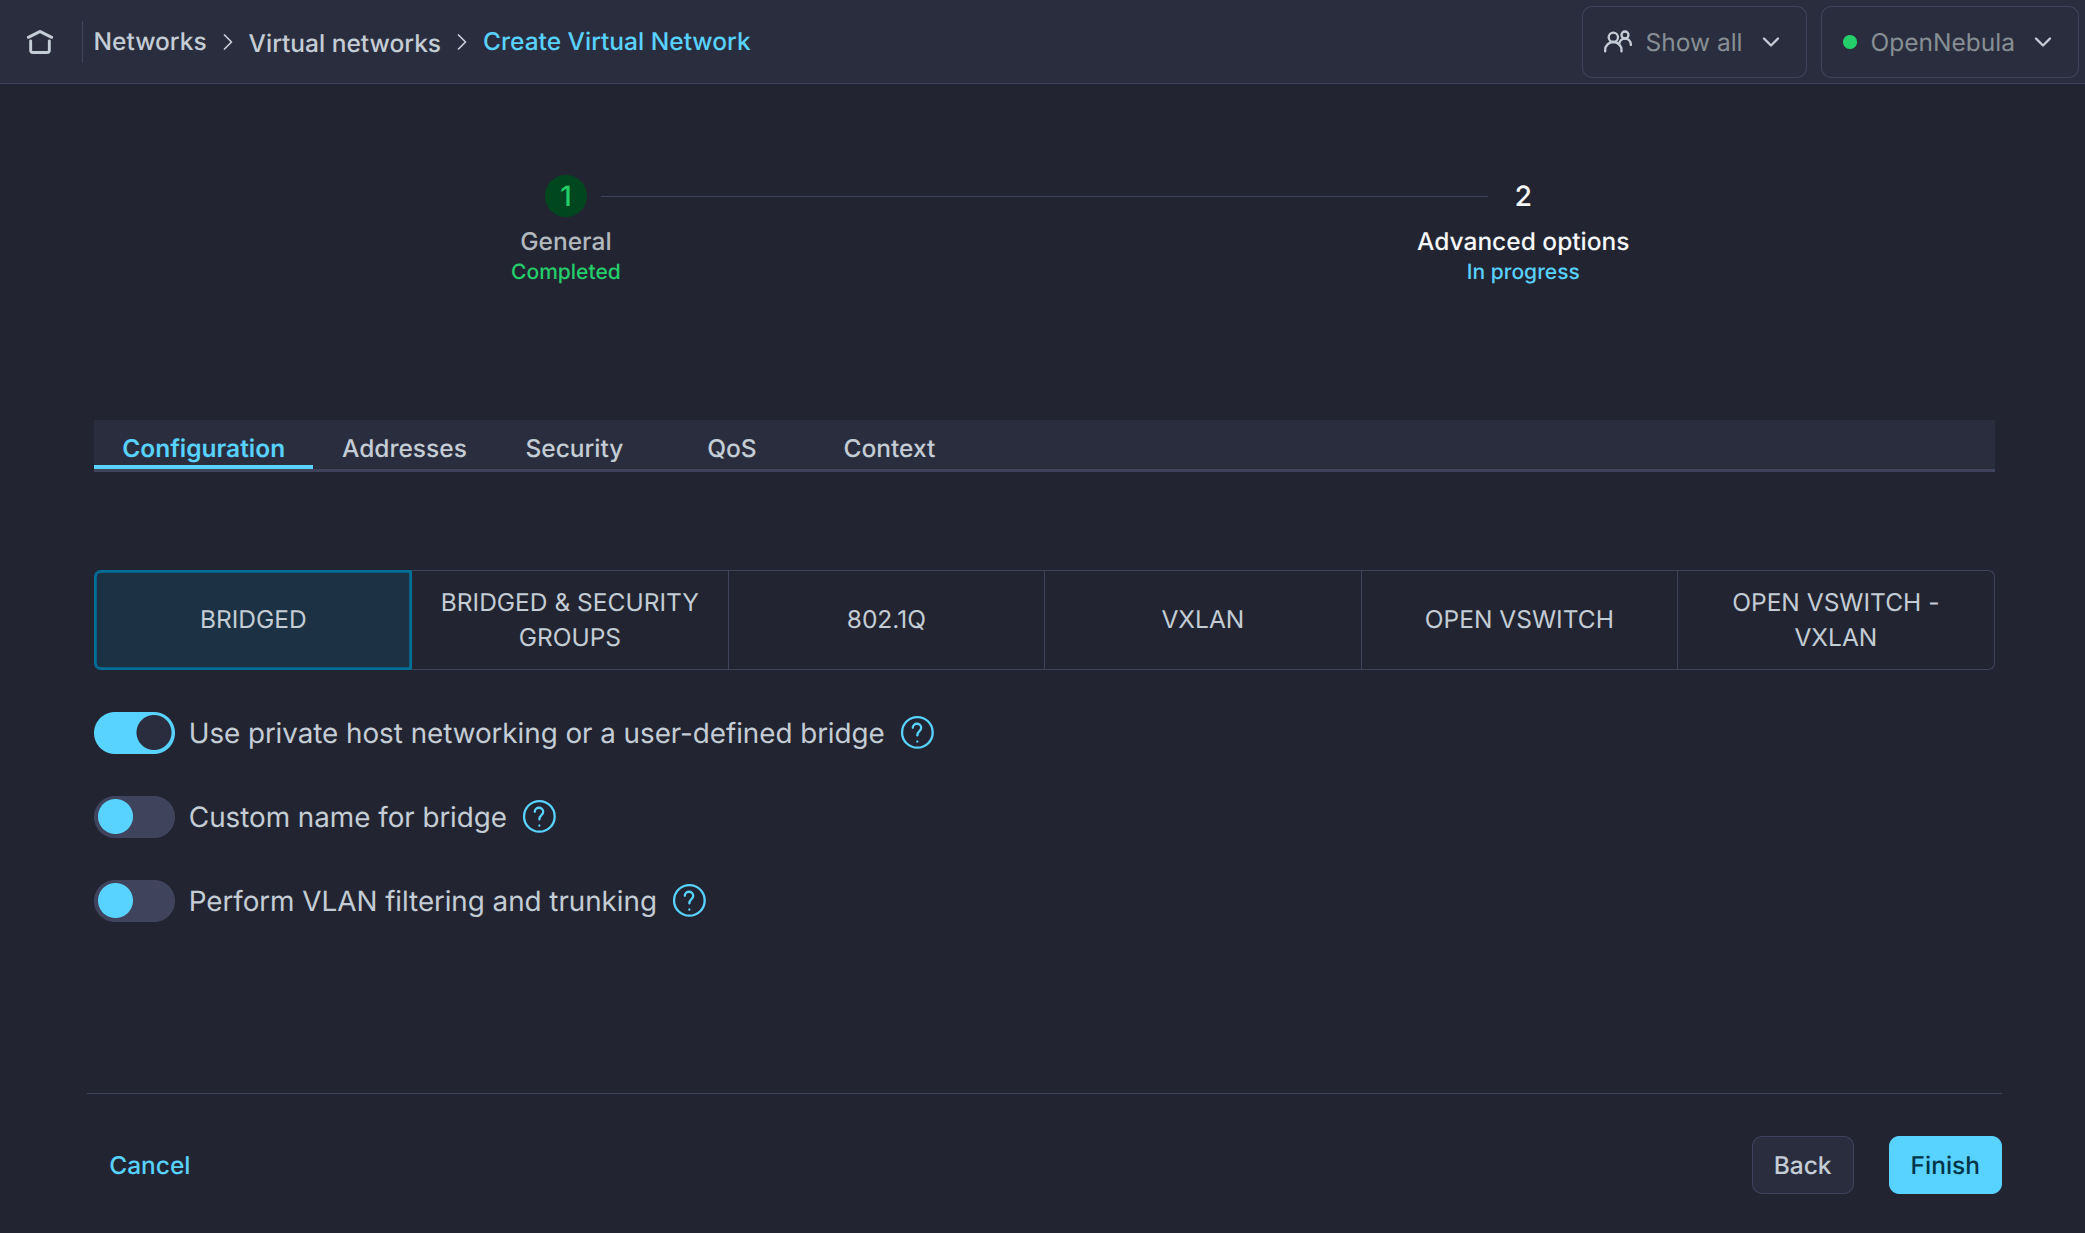
Press Next to proceed to the Advanced Options view and keep the BRIDGED option and activate the User private host networking or a user-defined bridge toggle:
Move to the Addresses tab and select + Add Address Range, set the First IPv4 address as 192.168.200.2 and the Size as 100:
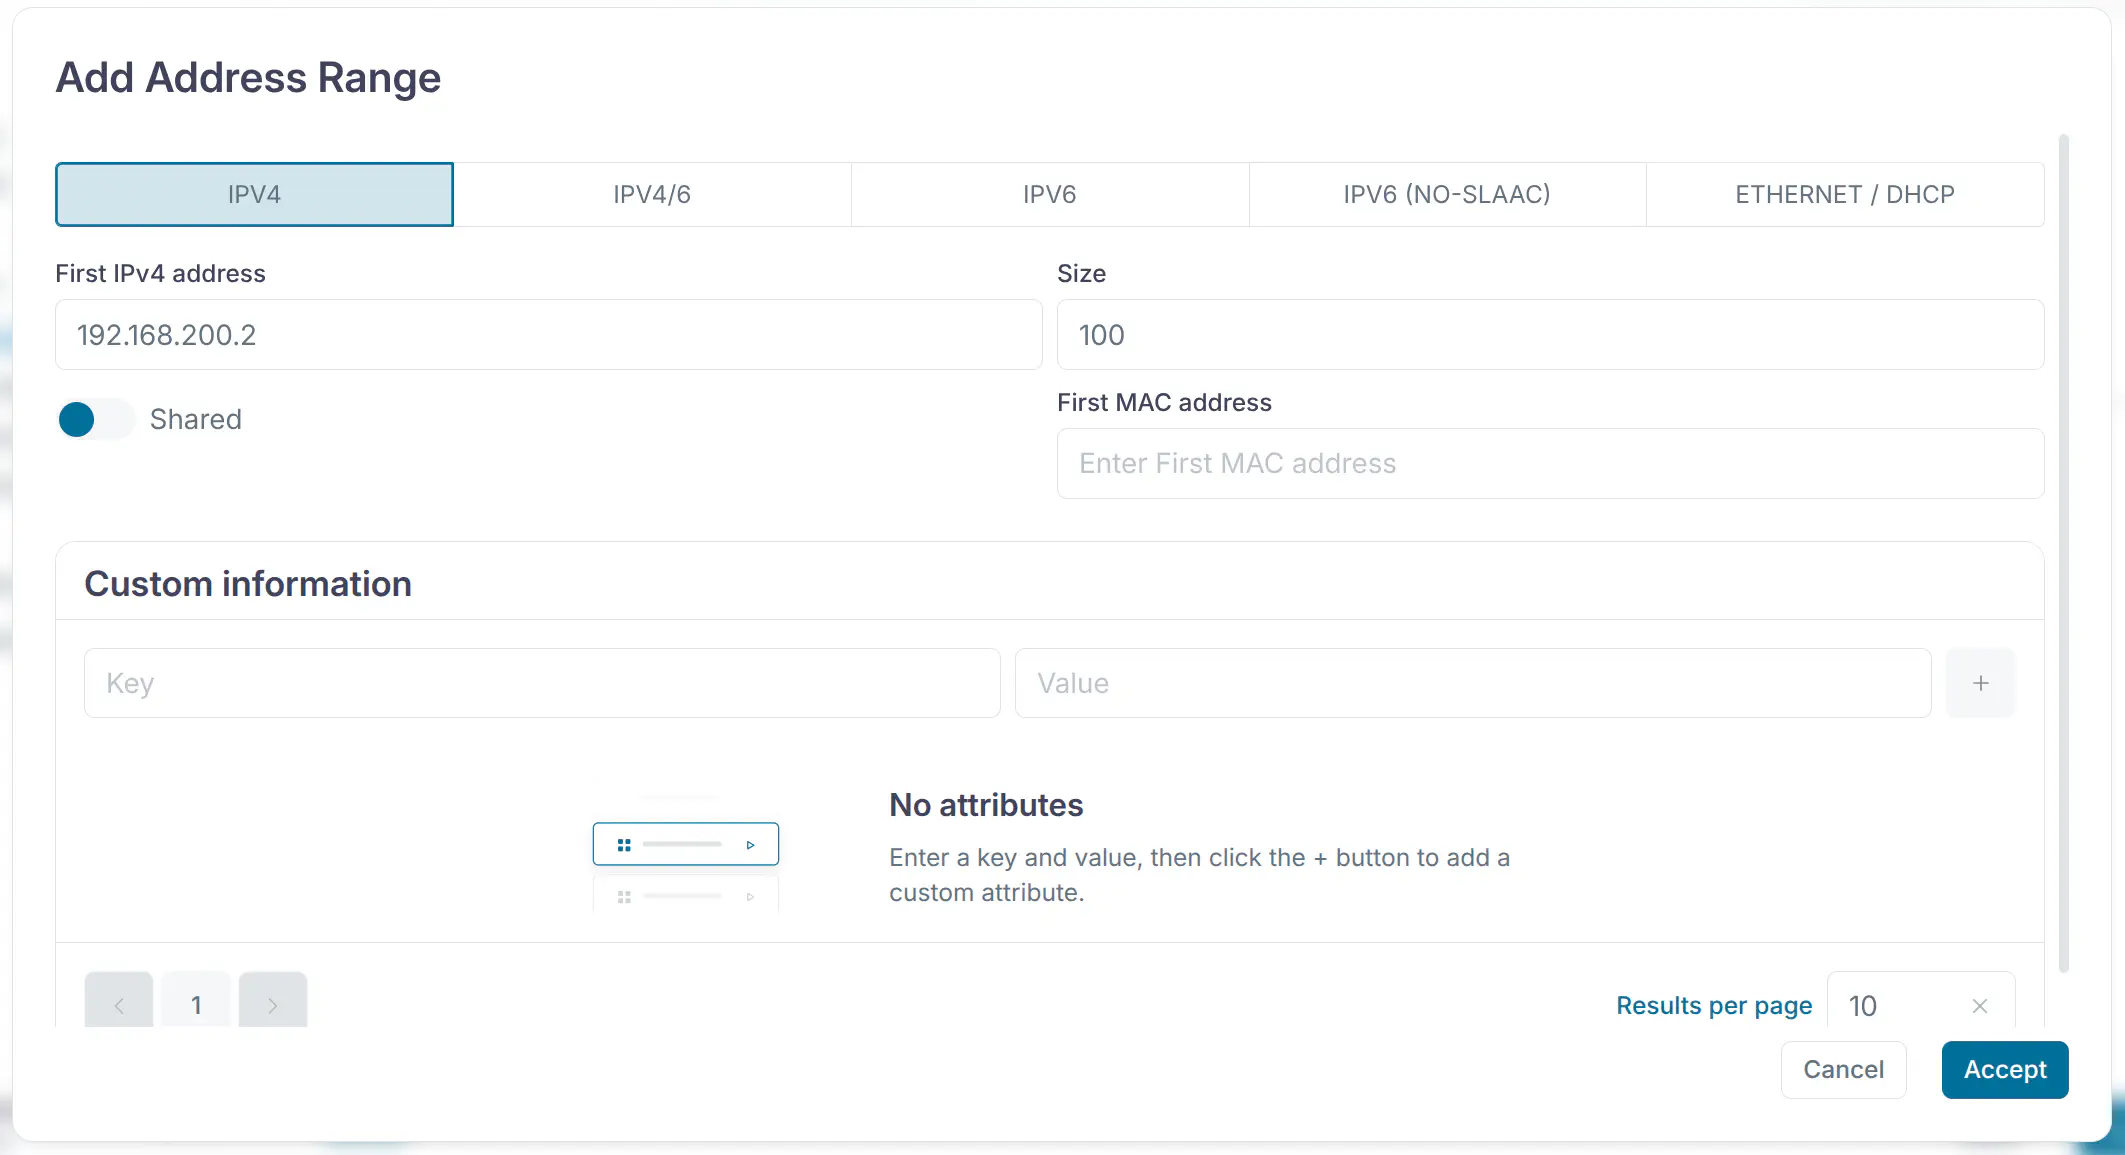
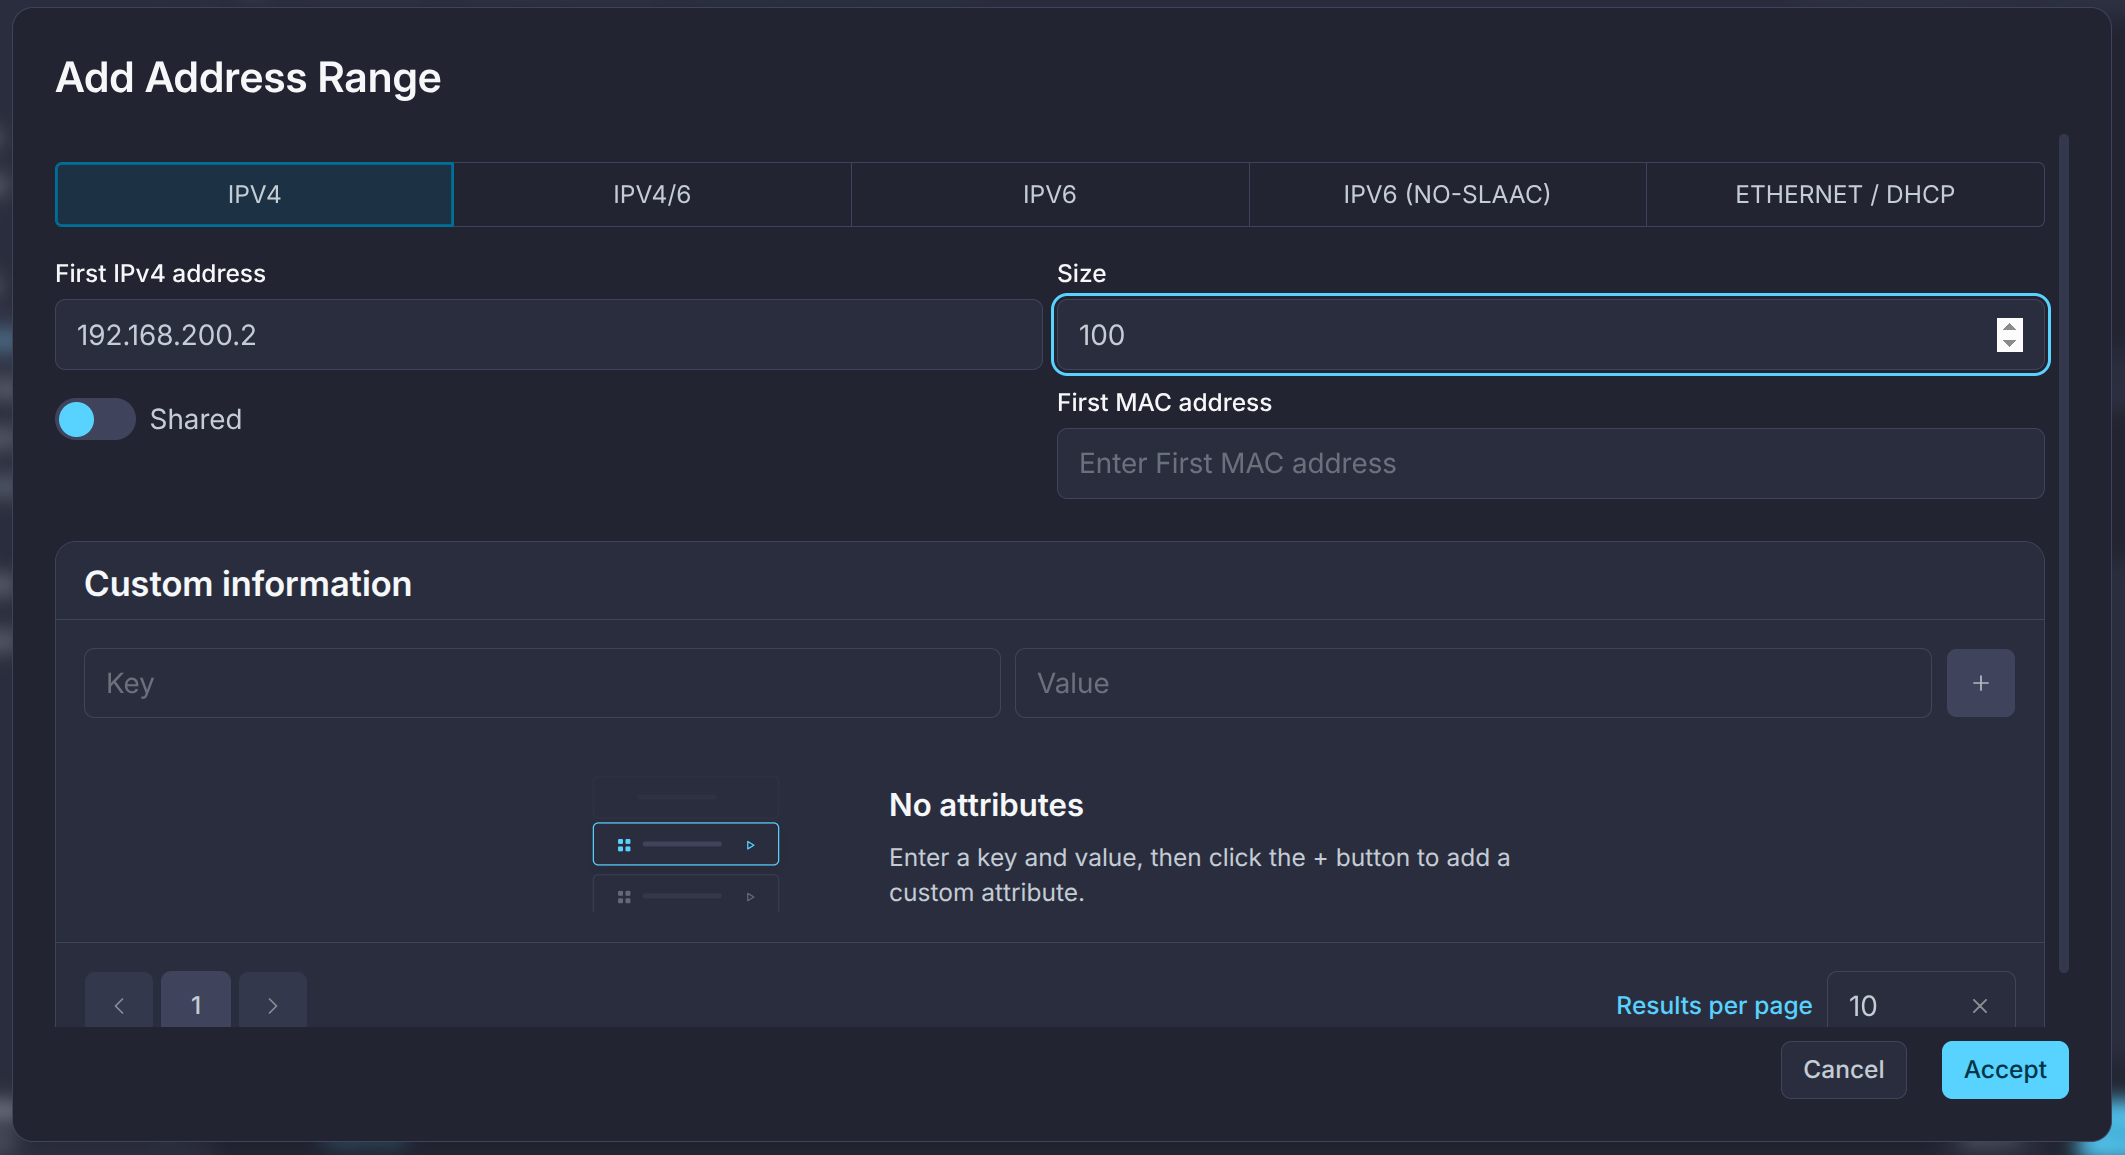
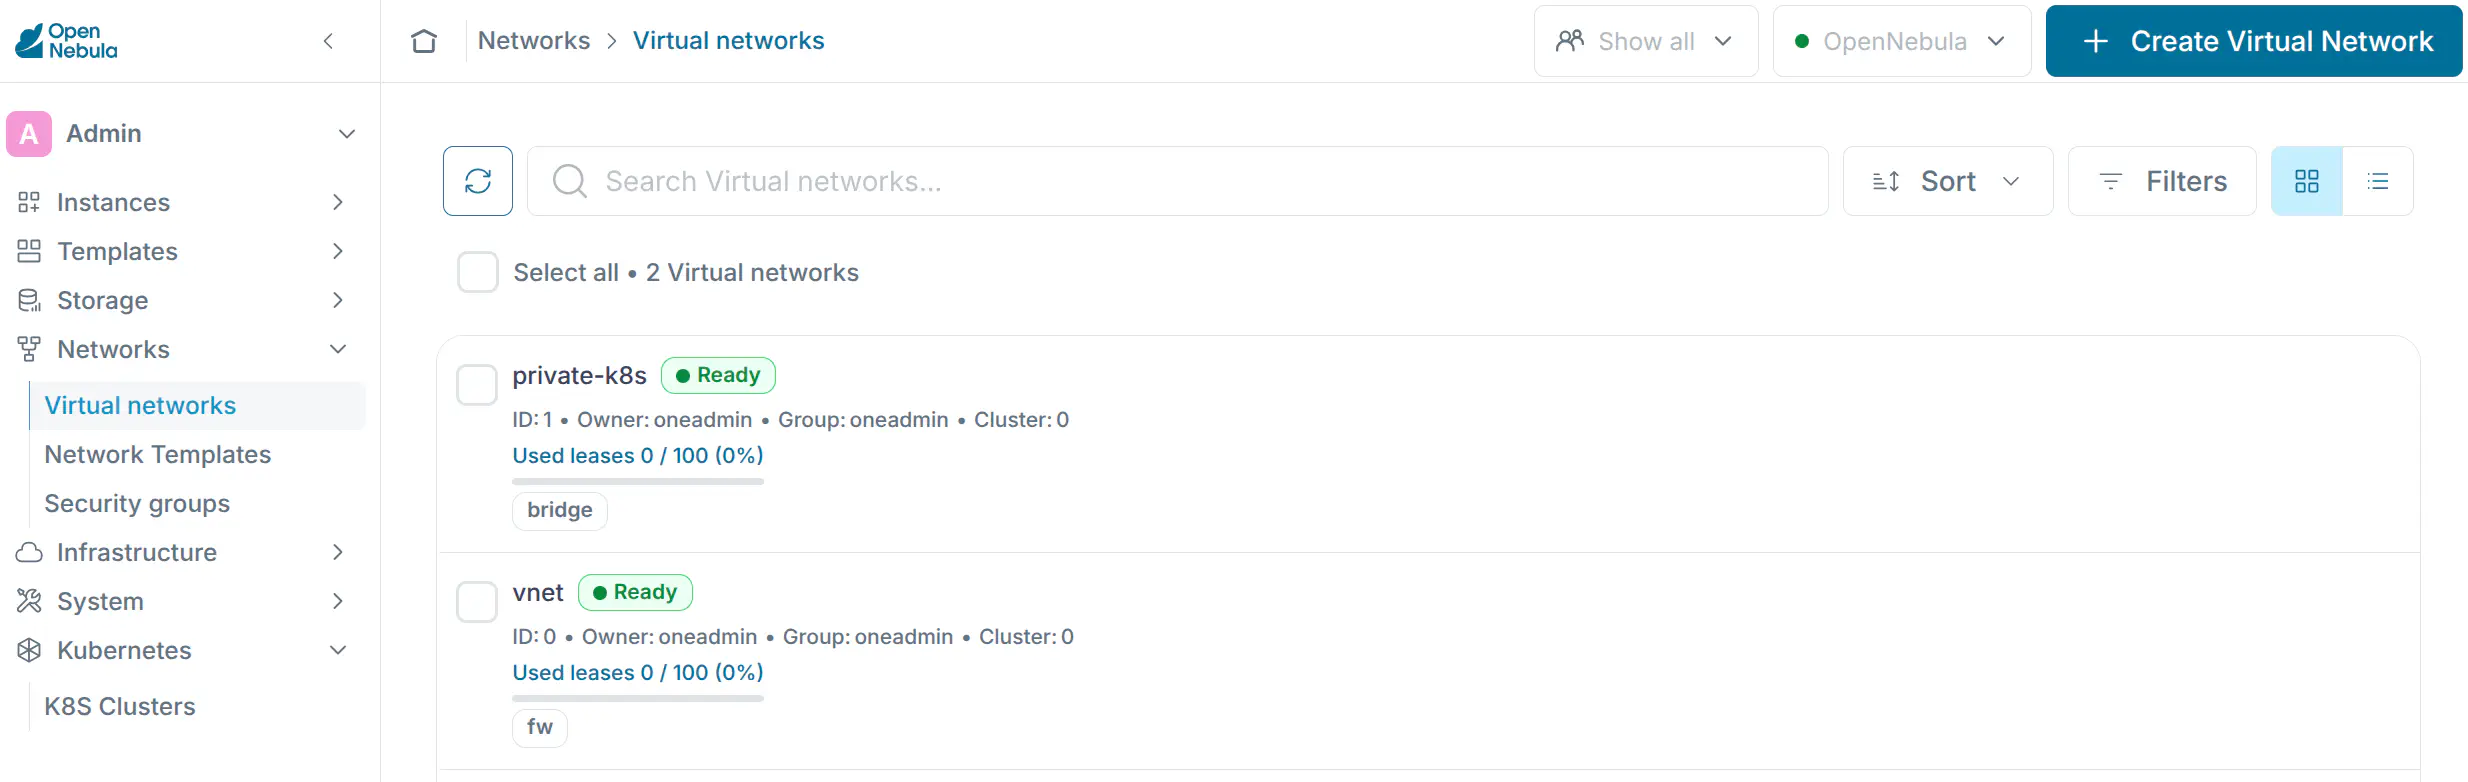
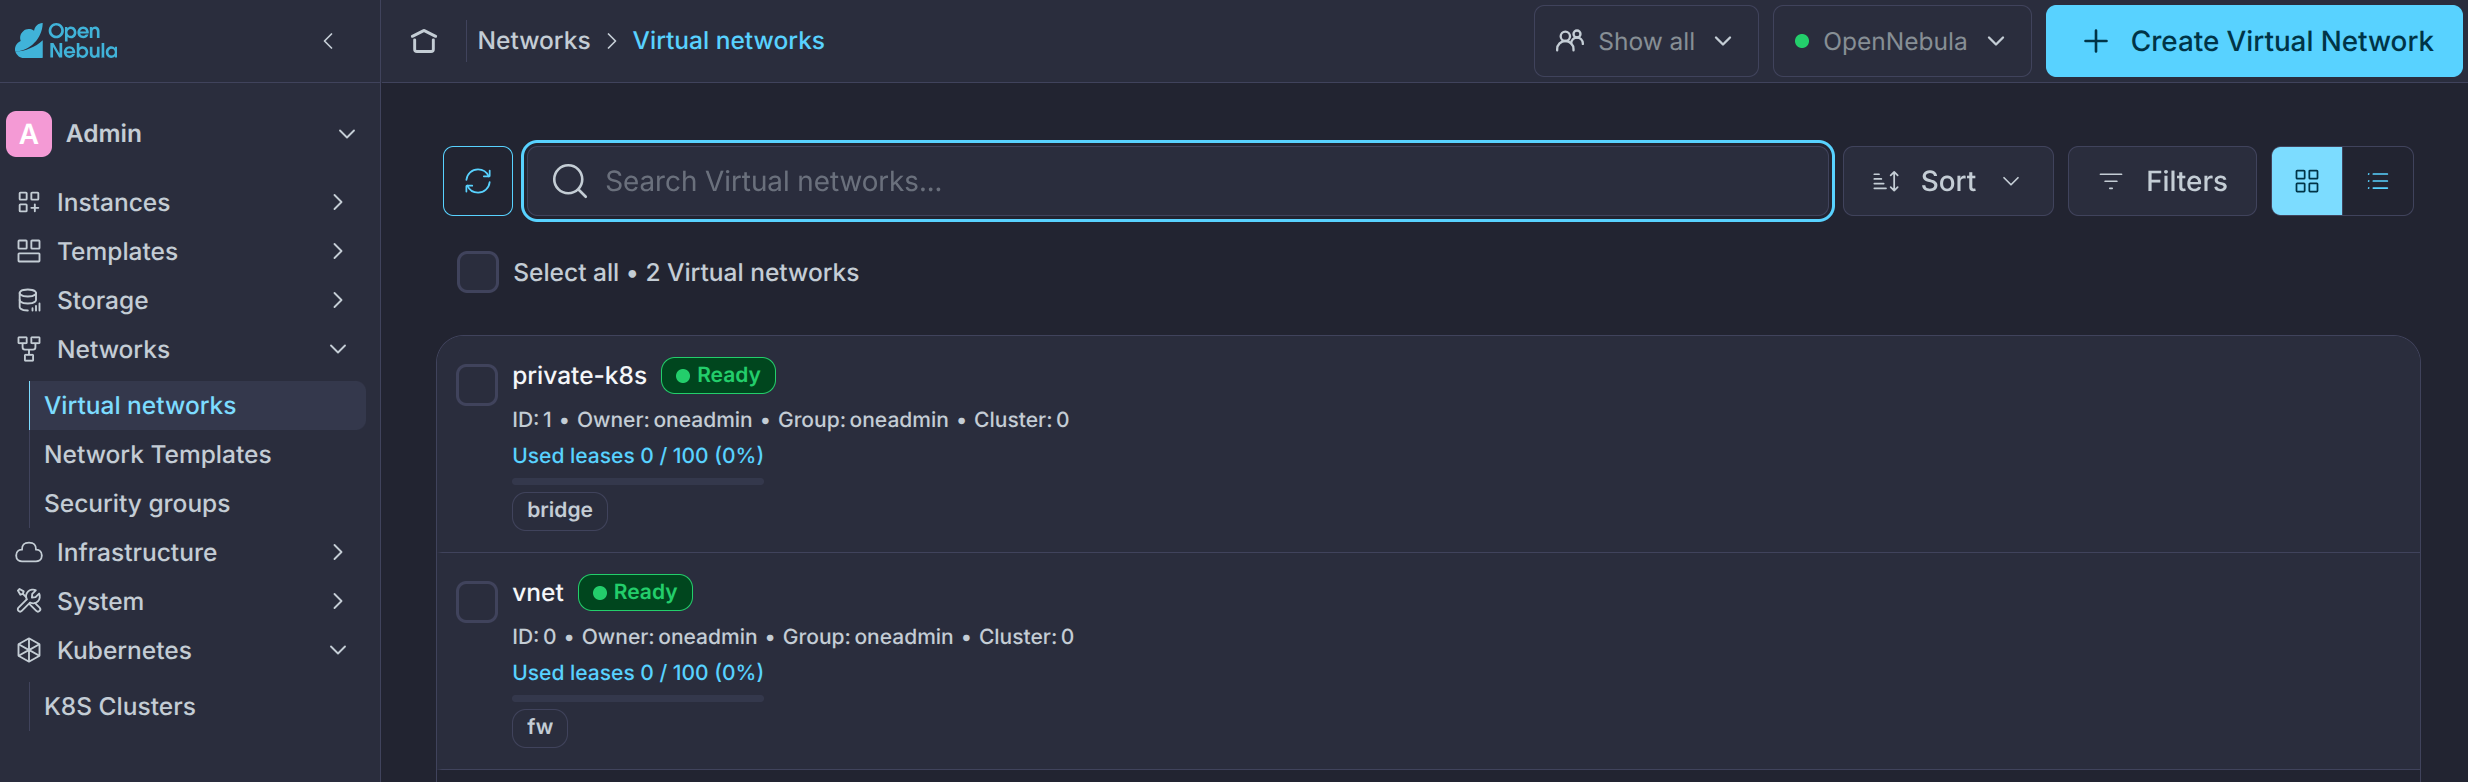
Press Accept to close the Address Range dialog and then Finish to create the new Virtual Network. You will now see your new private Virtual Network in the list:
Step 2. Update the Public Network
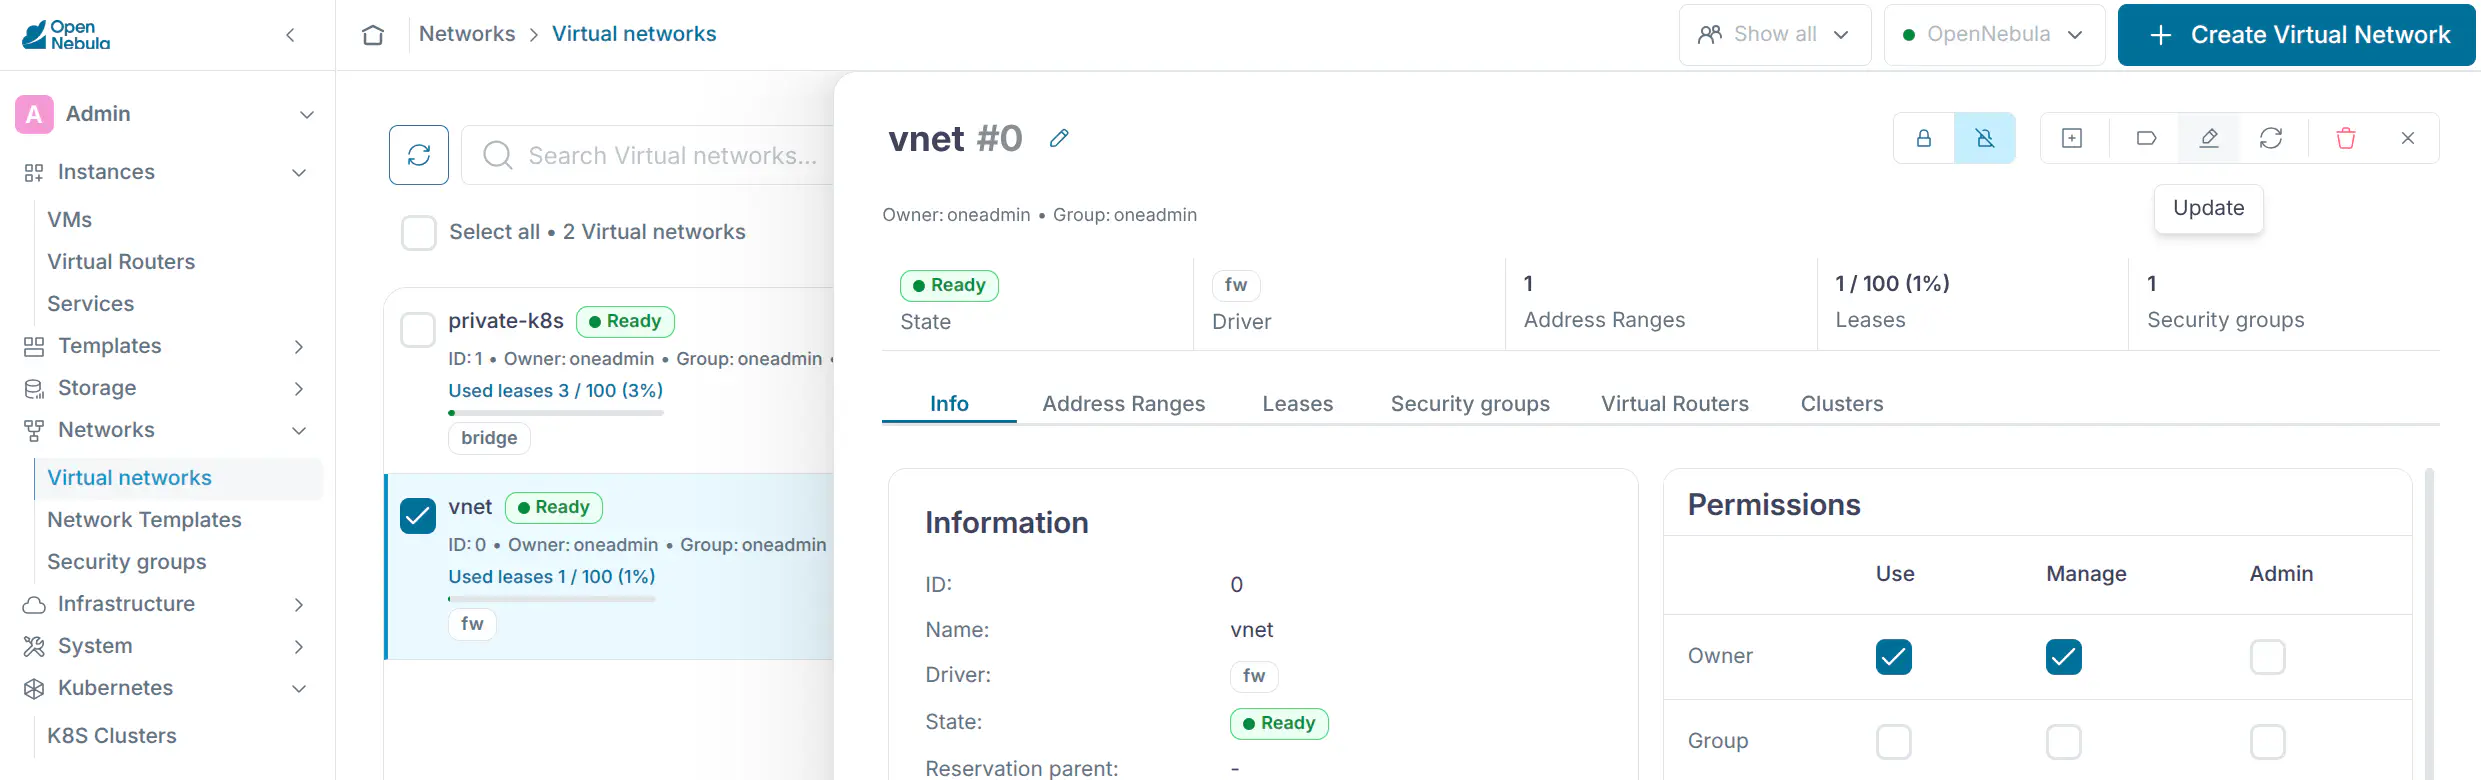
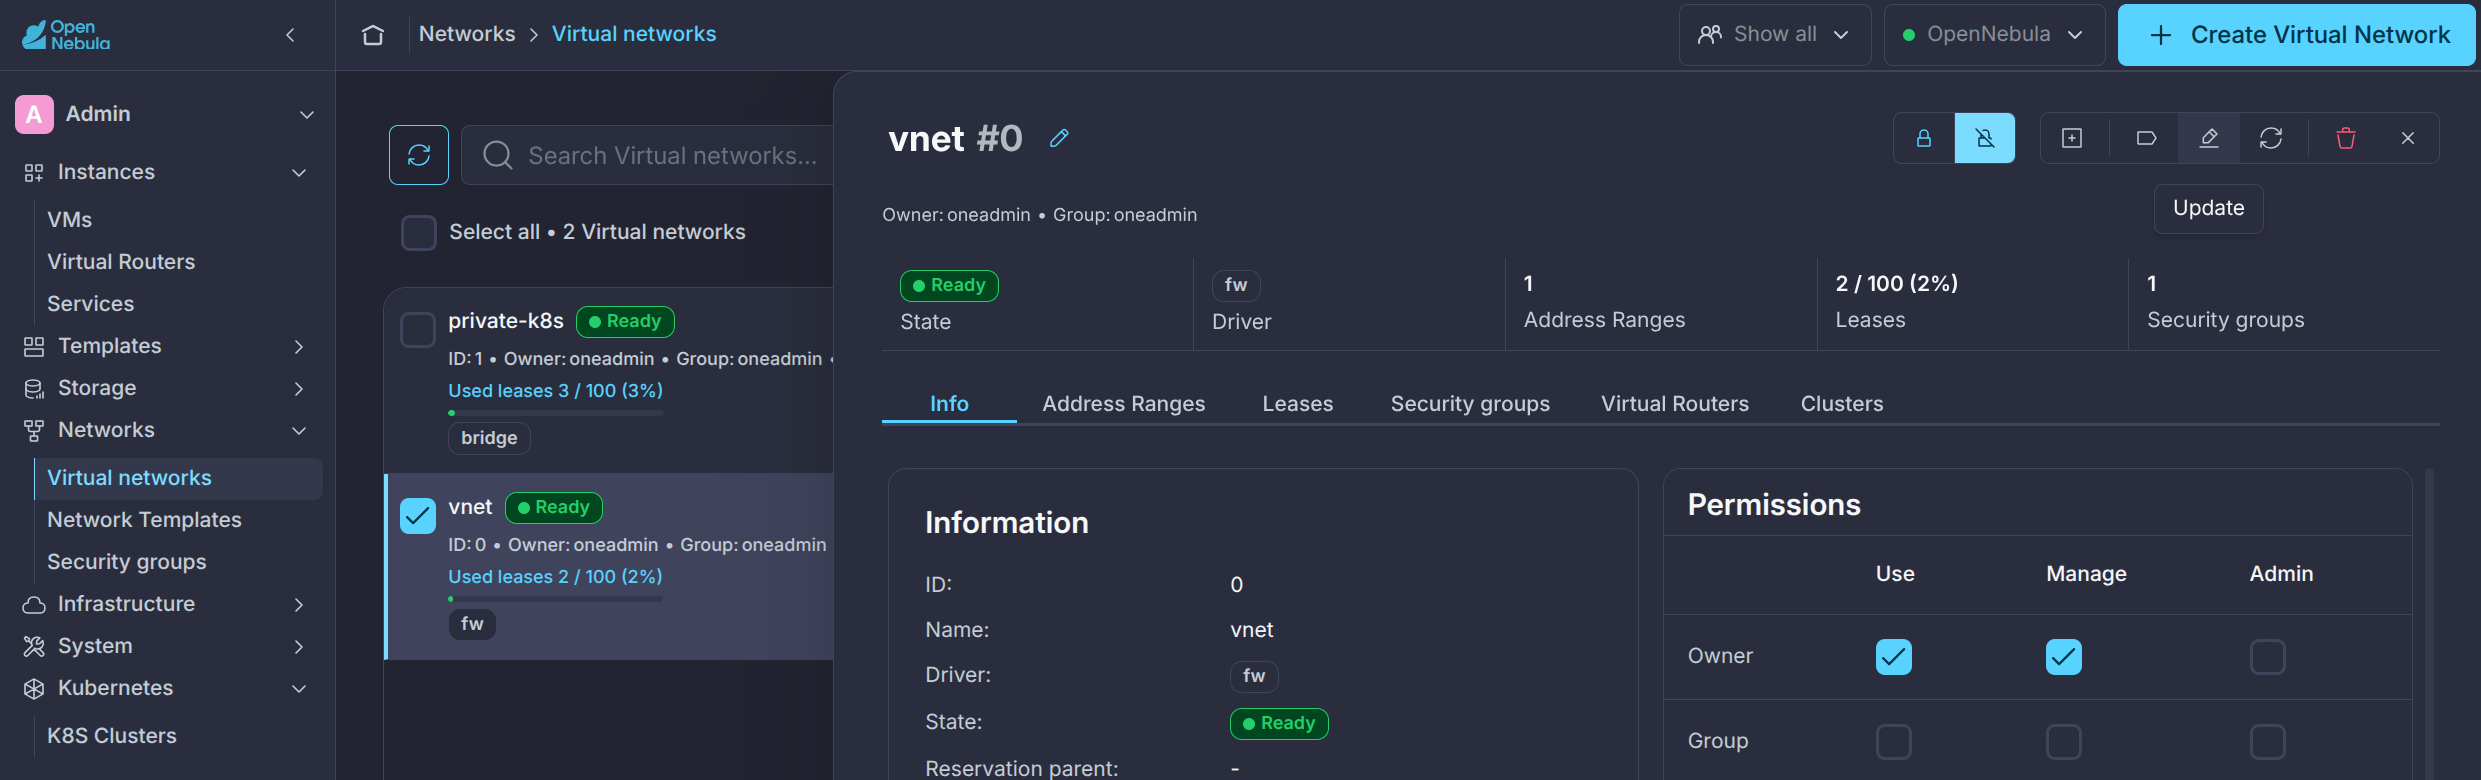
To ensure that the K8s Cluster has proper access to the internet to pull docker images, we need to update the DNS settings of the public Virtual Network named vnet. Go to Networks -> Virtual Networks, select the vnet network and press Update:
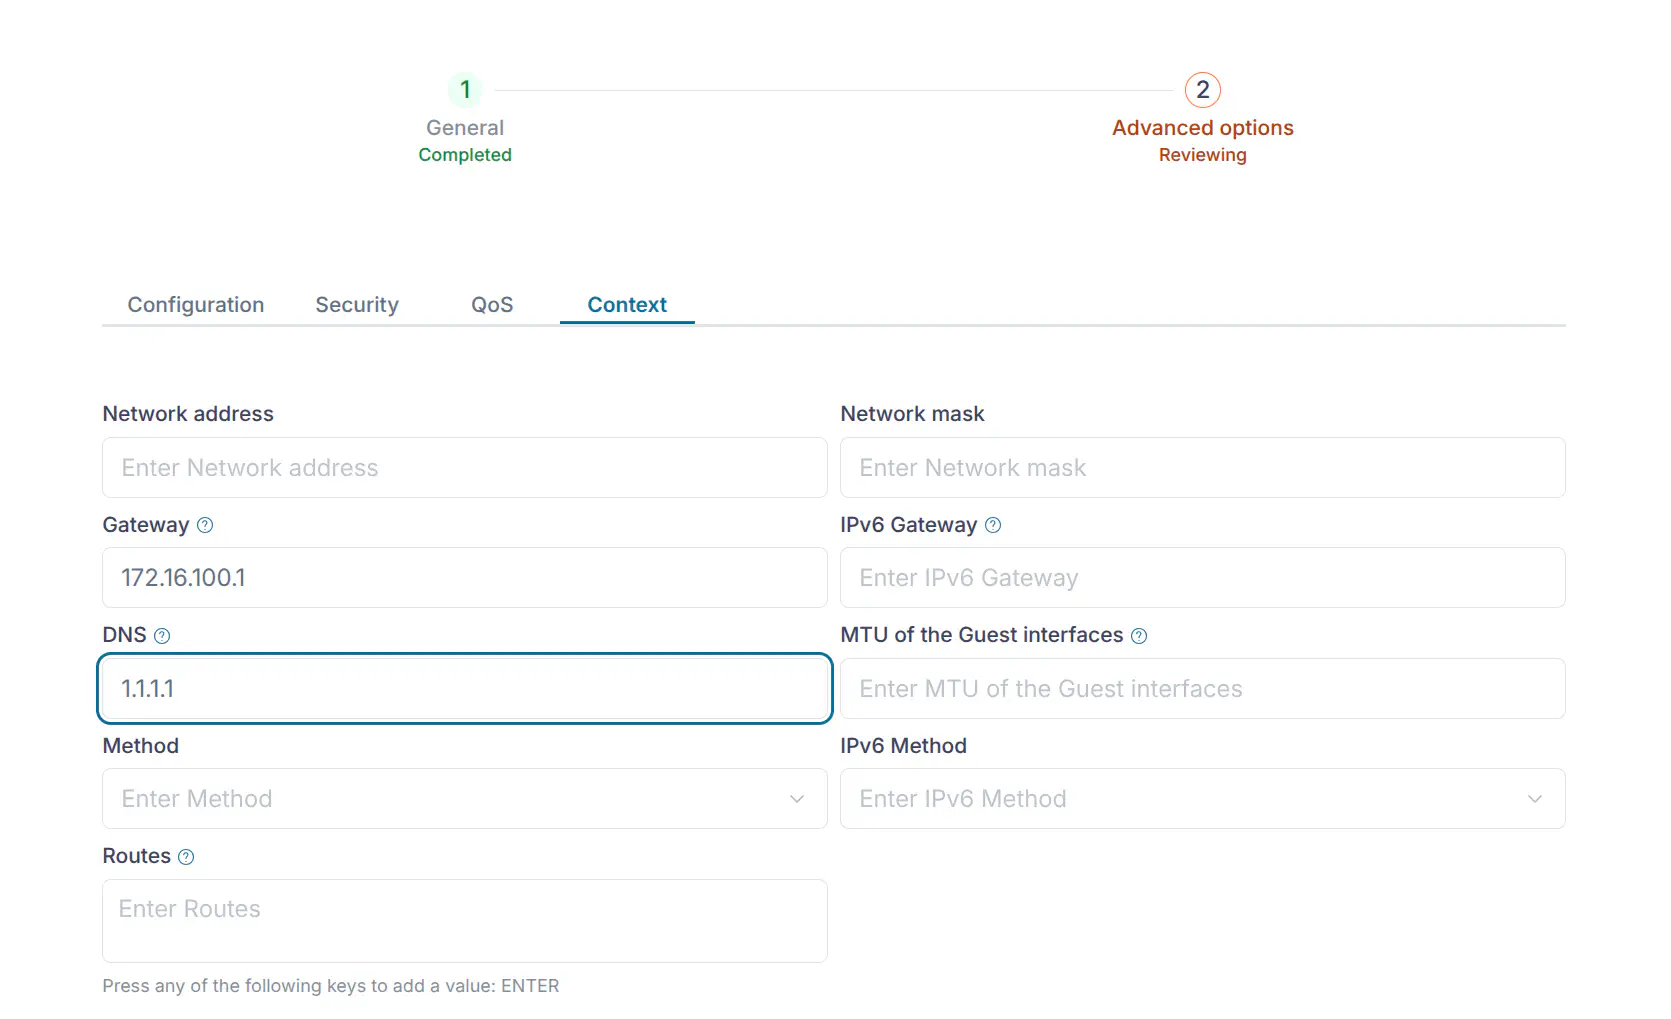
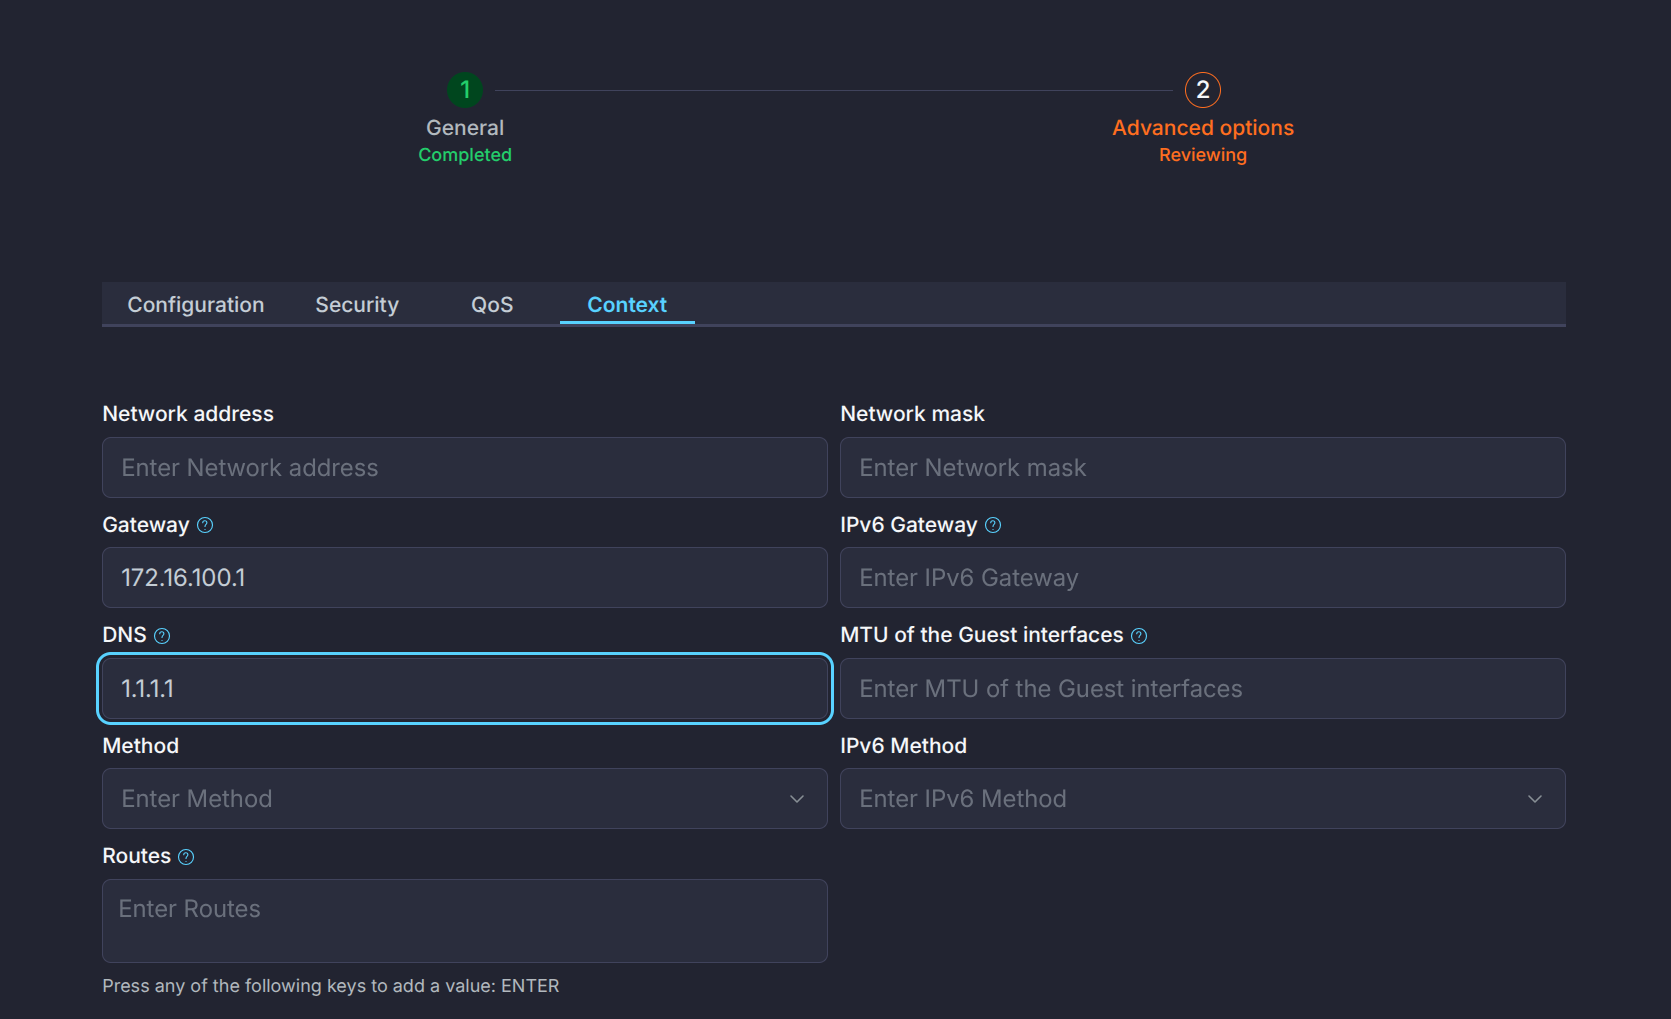
Press Next to the Advanced settings view, go to the Context tab, update the DNS setting to 1.1.1.1 (Cloudflare) or 8.8.8.8 (Google):
Step 3. Create a New K8s Cluster
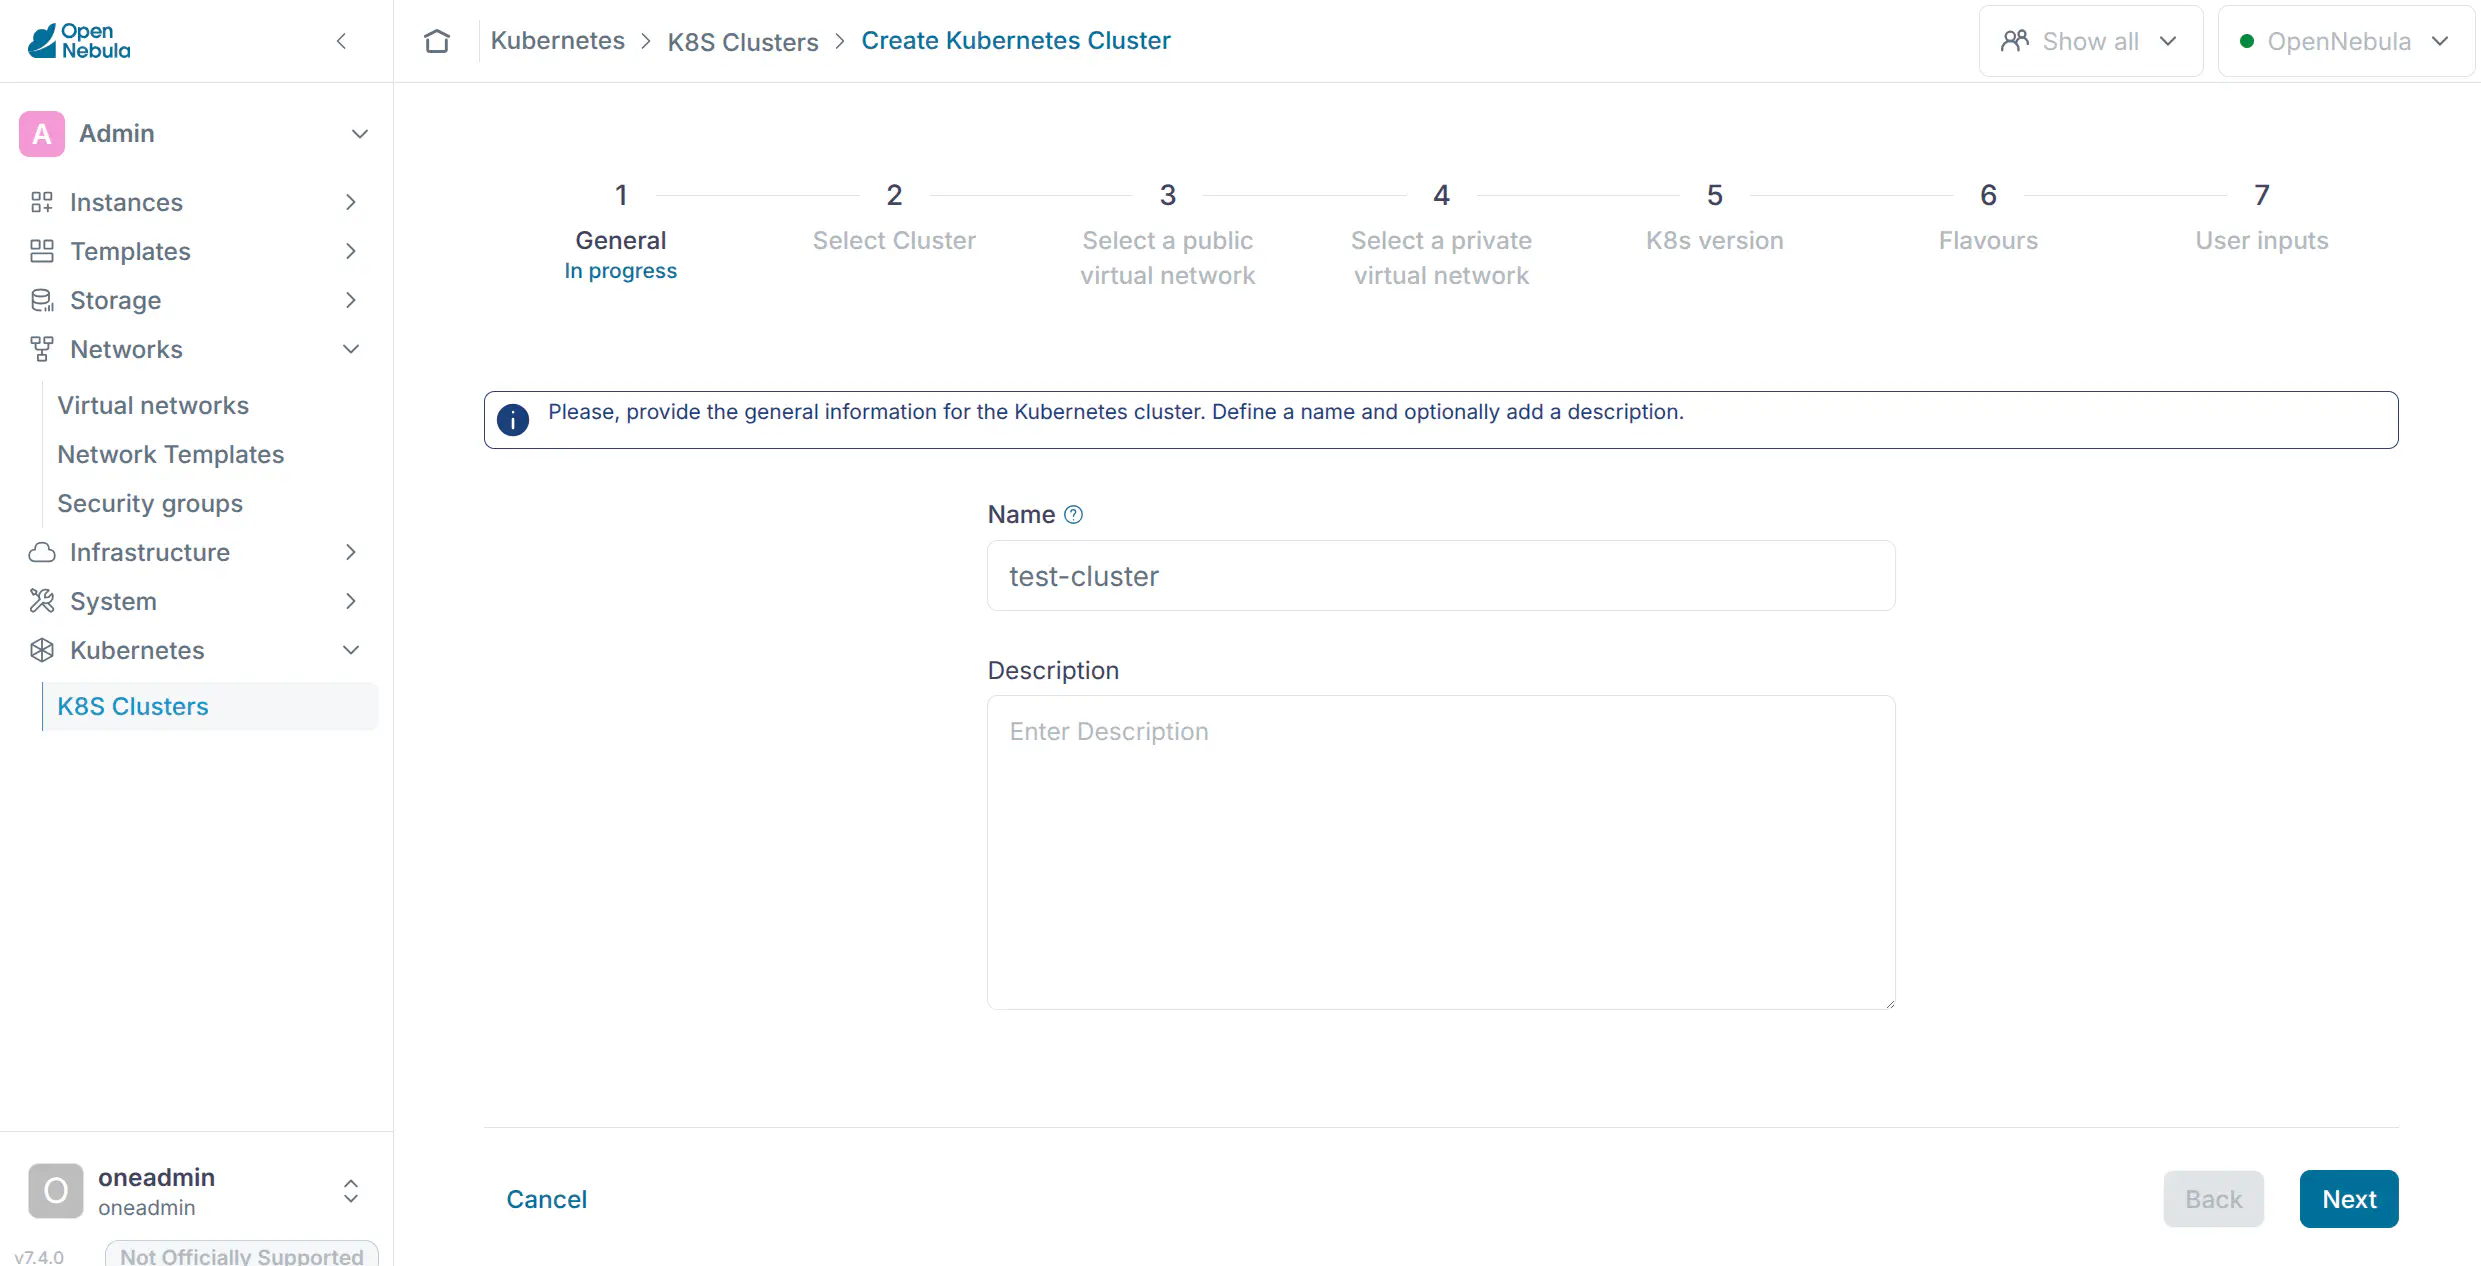
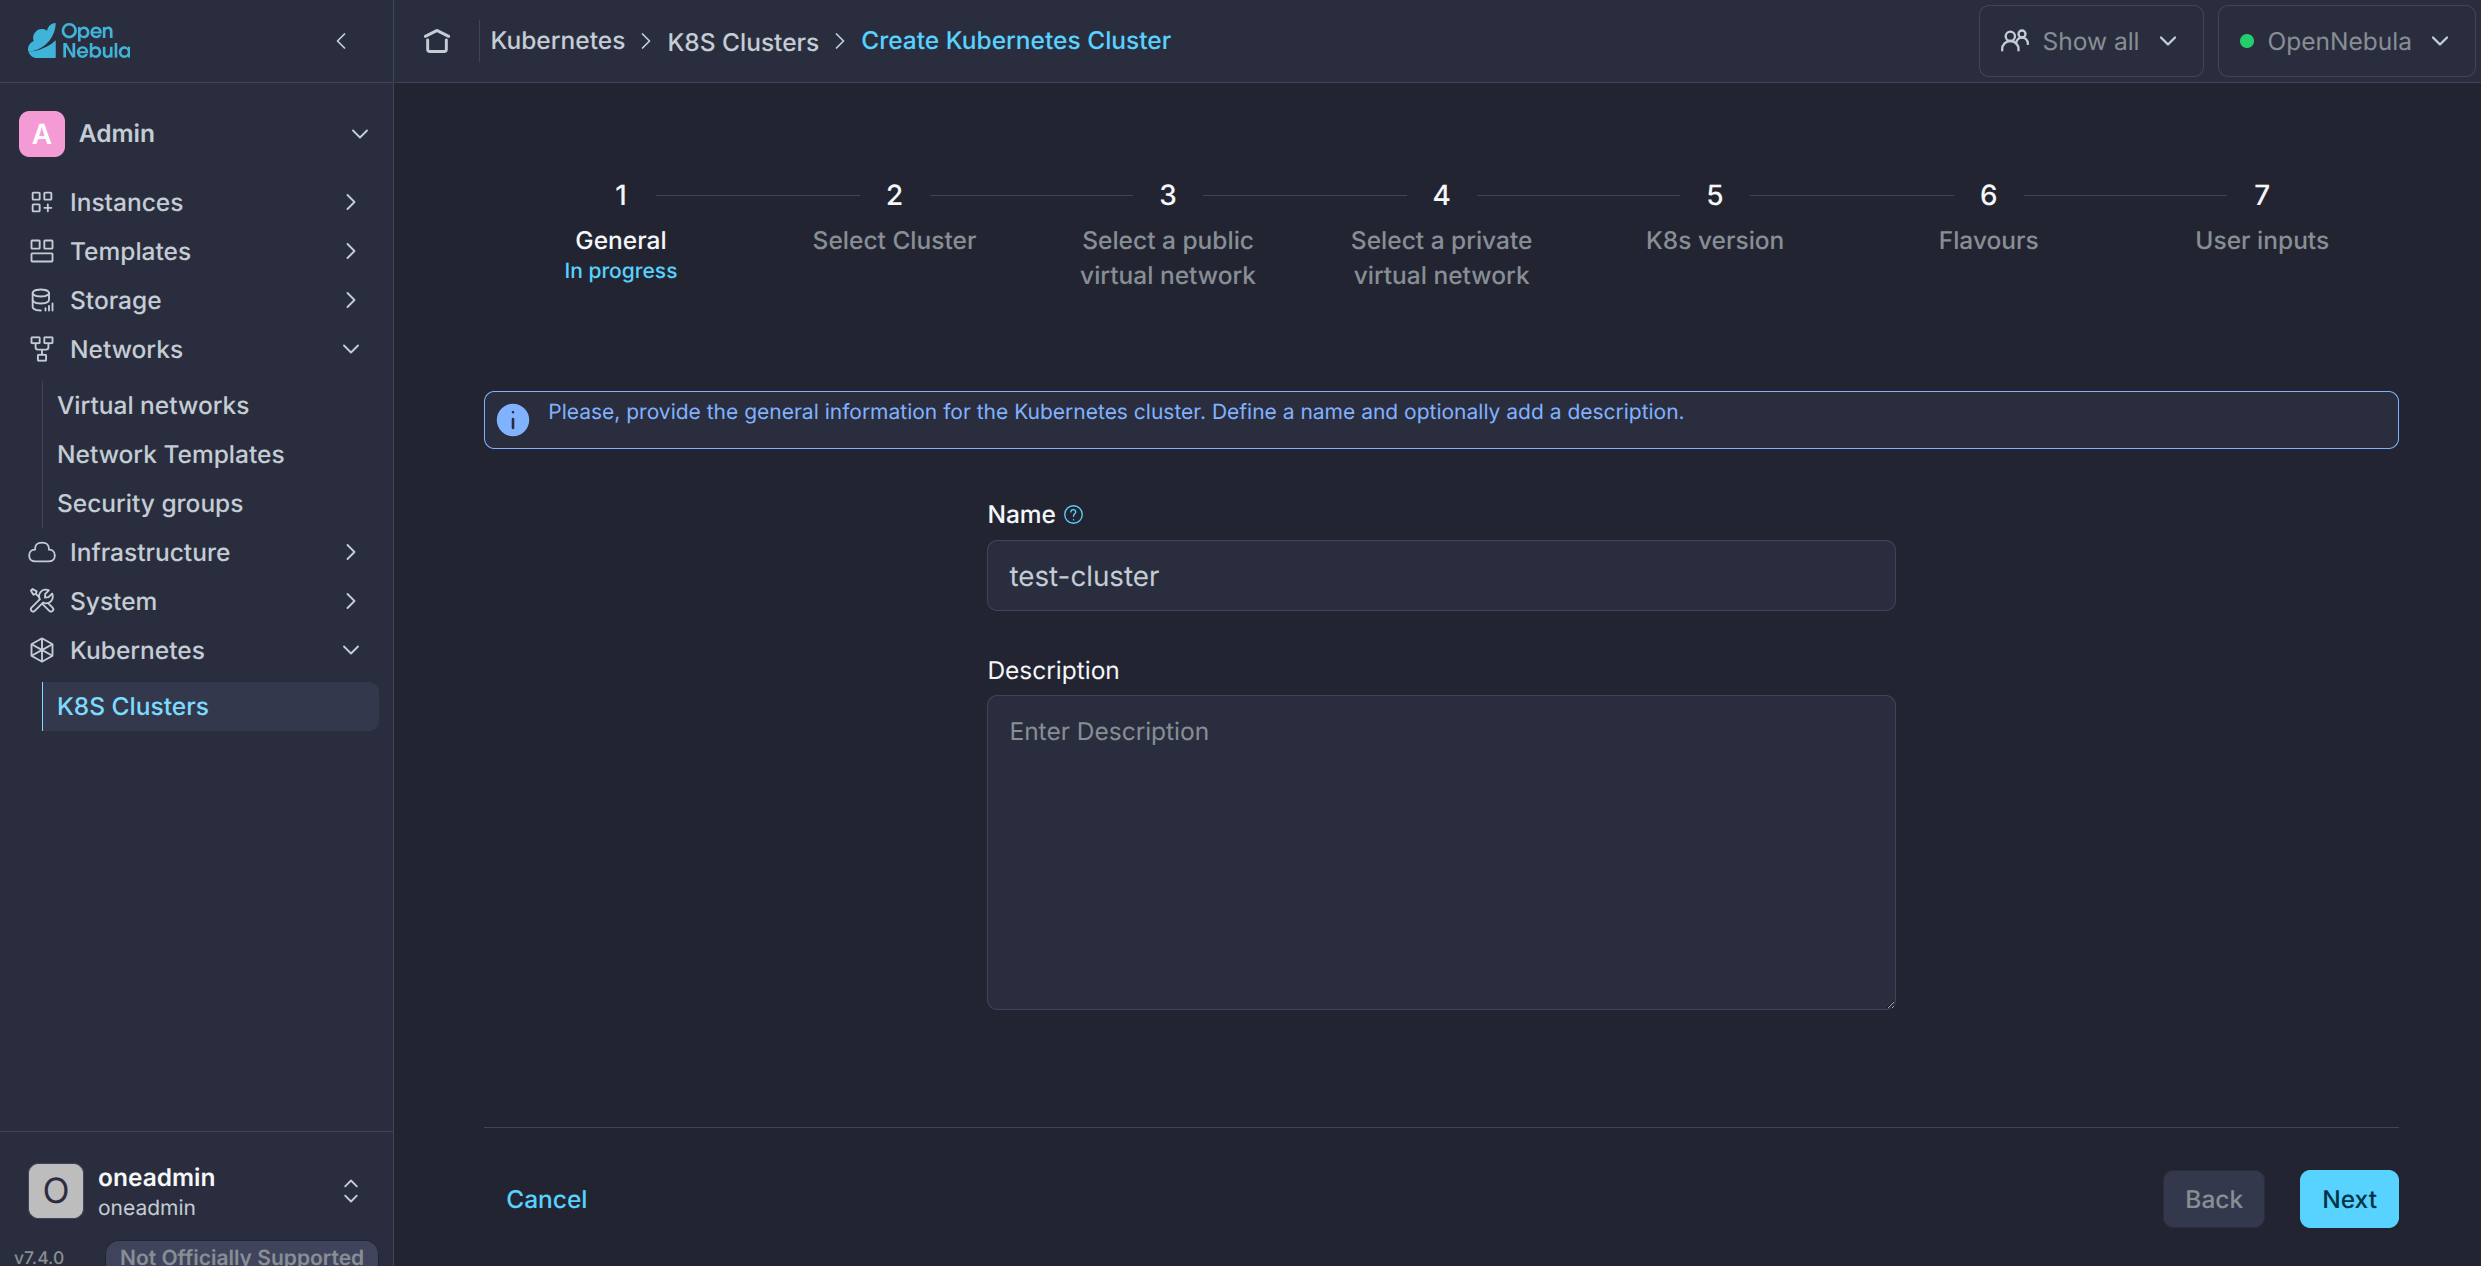
In the left-and navigation menu in Sunstone, go to Kubernetes -> Clusters and select + Create Kubernetes Cluster. Add a name in the General step and press Next:
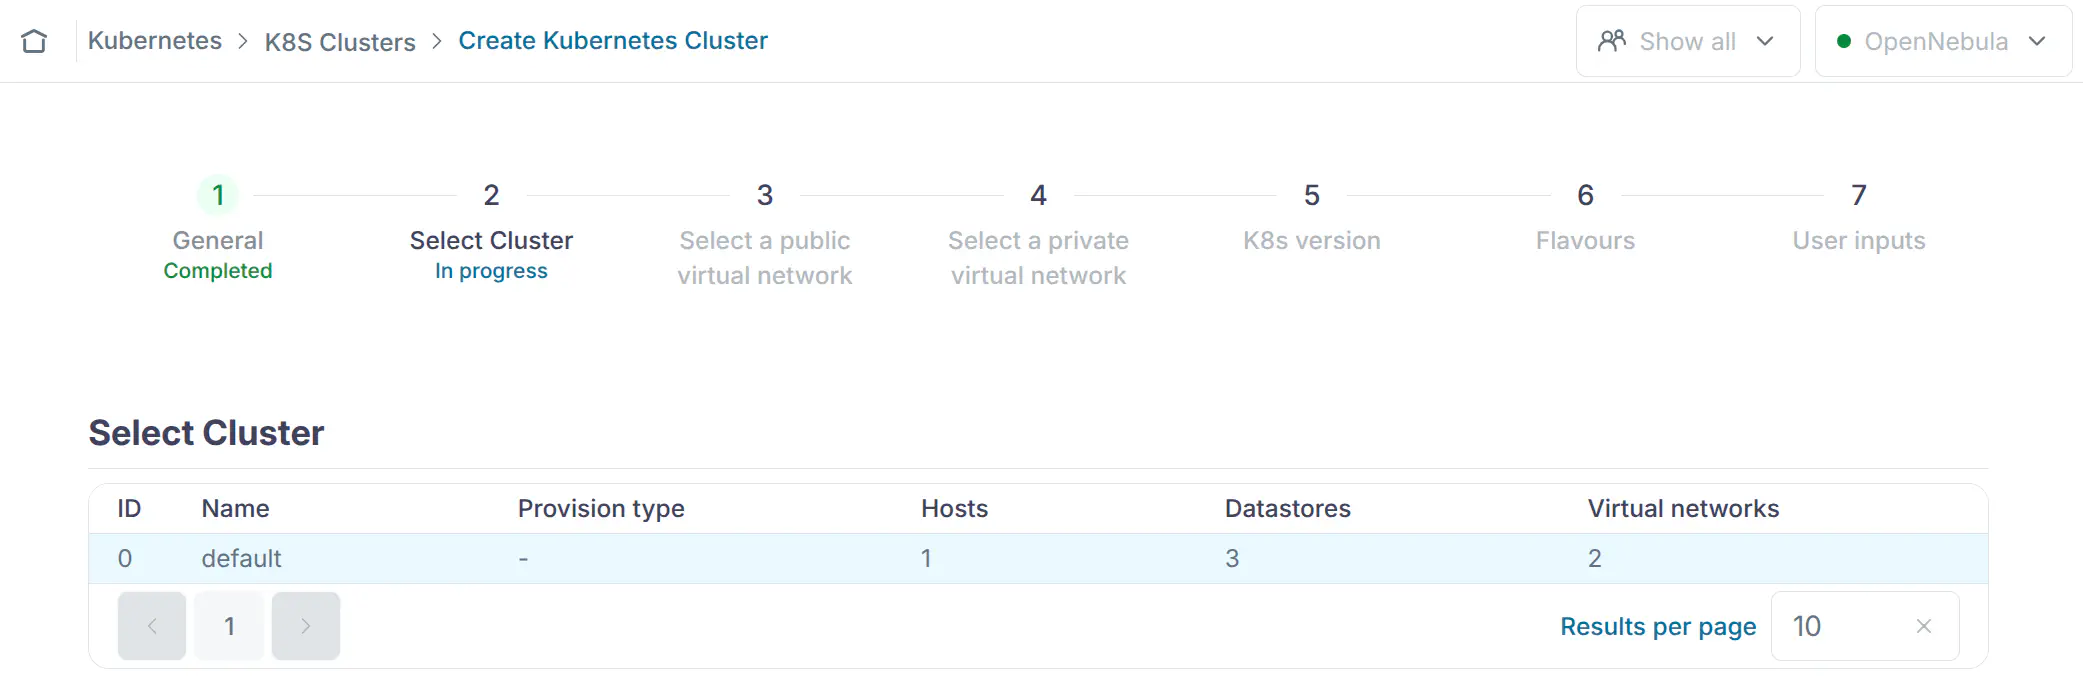
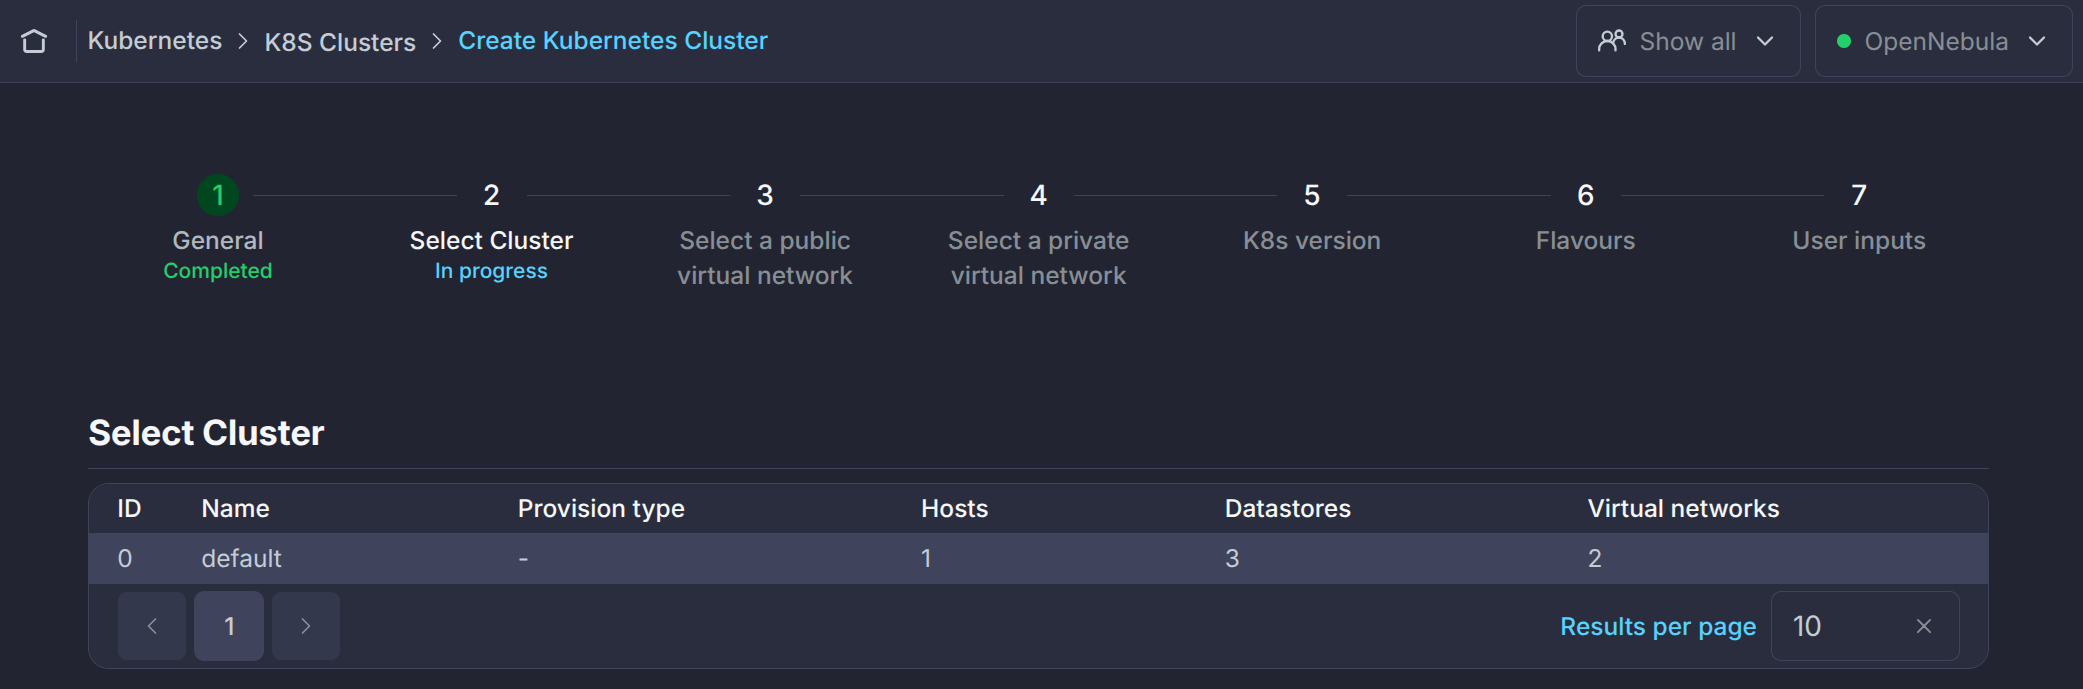
In the Select Cluster step, select the default Cluster and press Next:
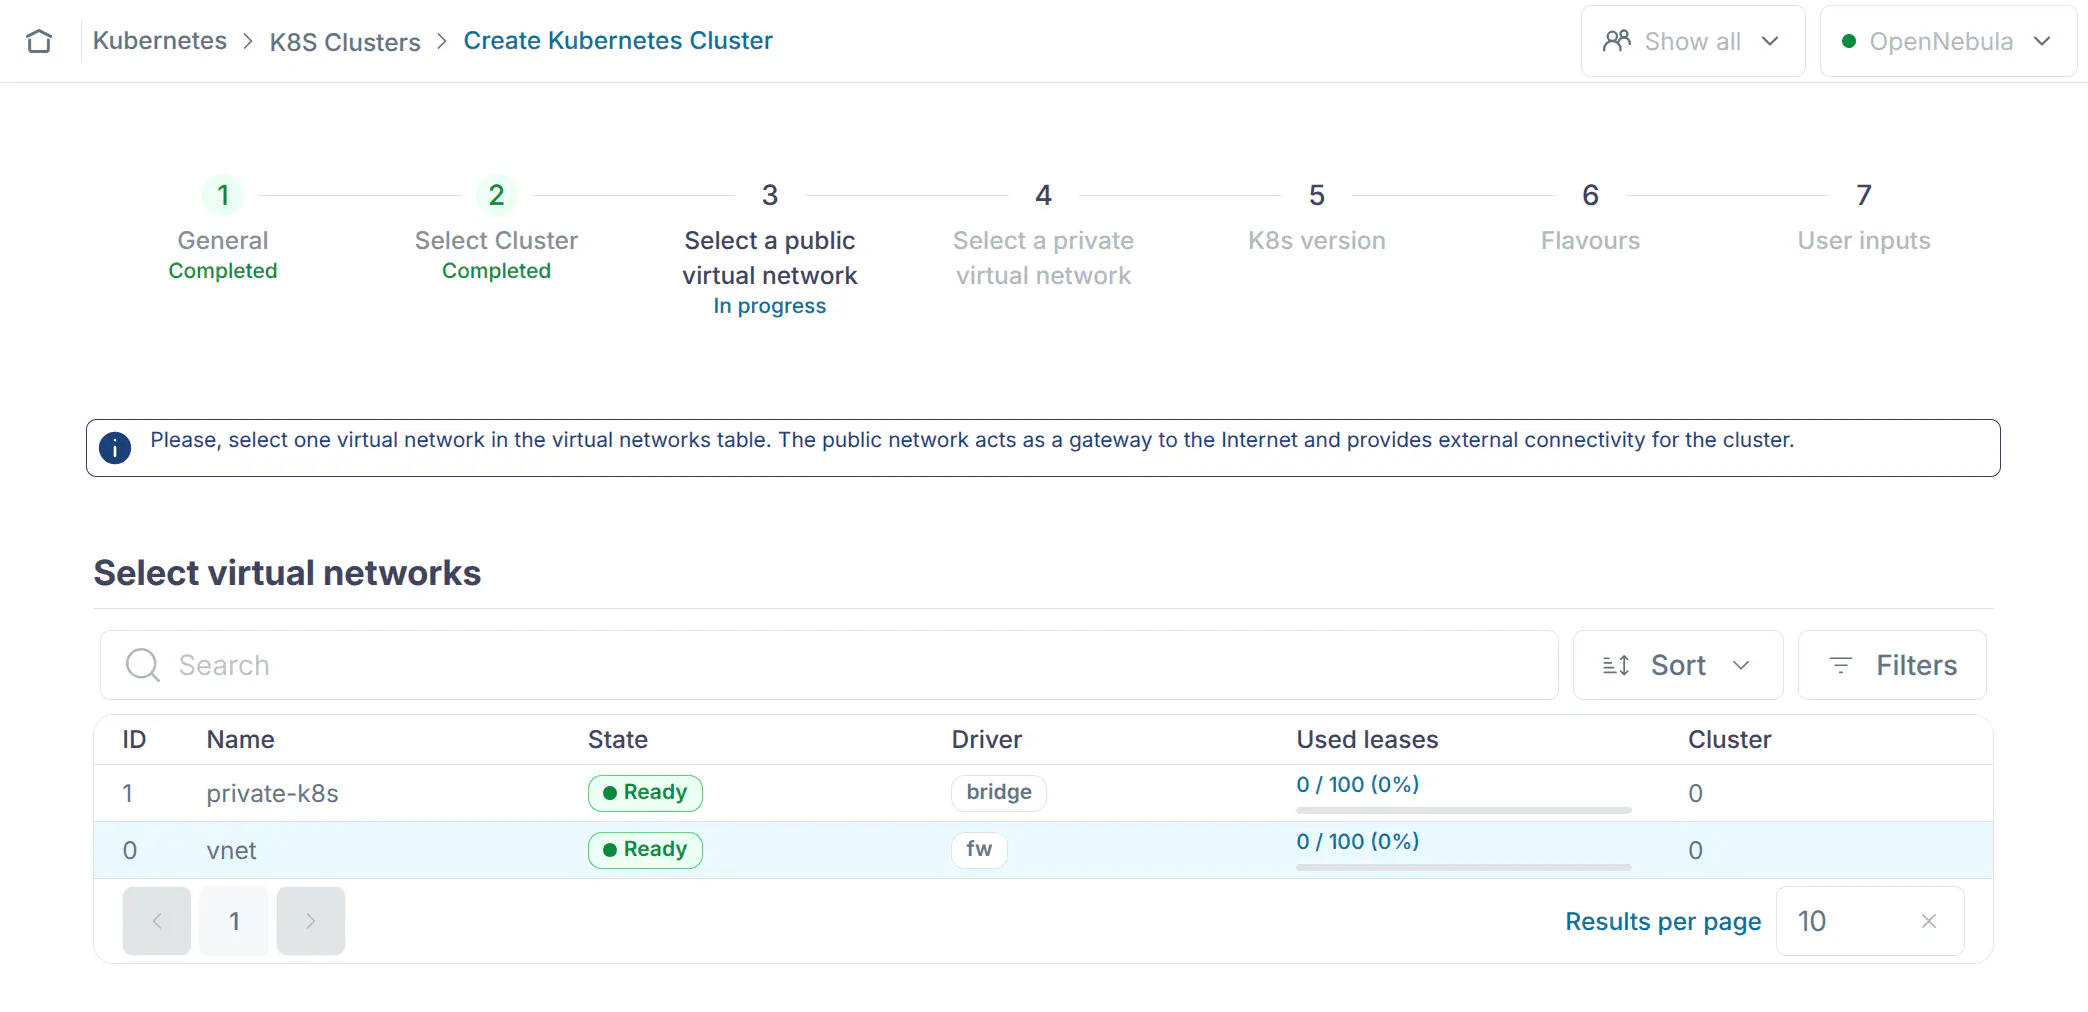
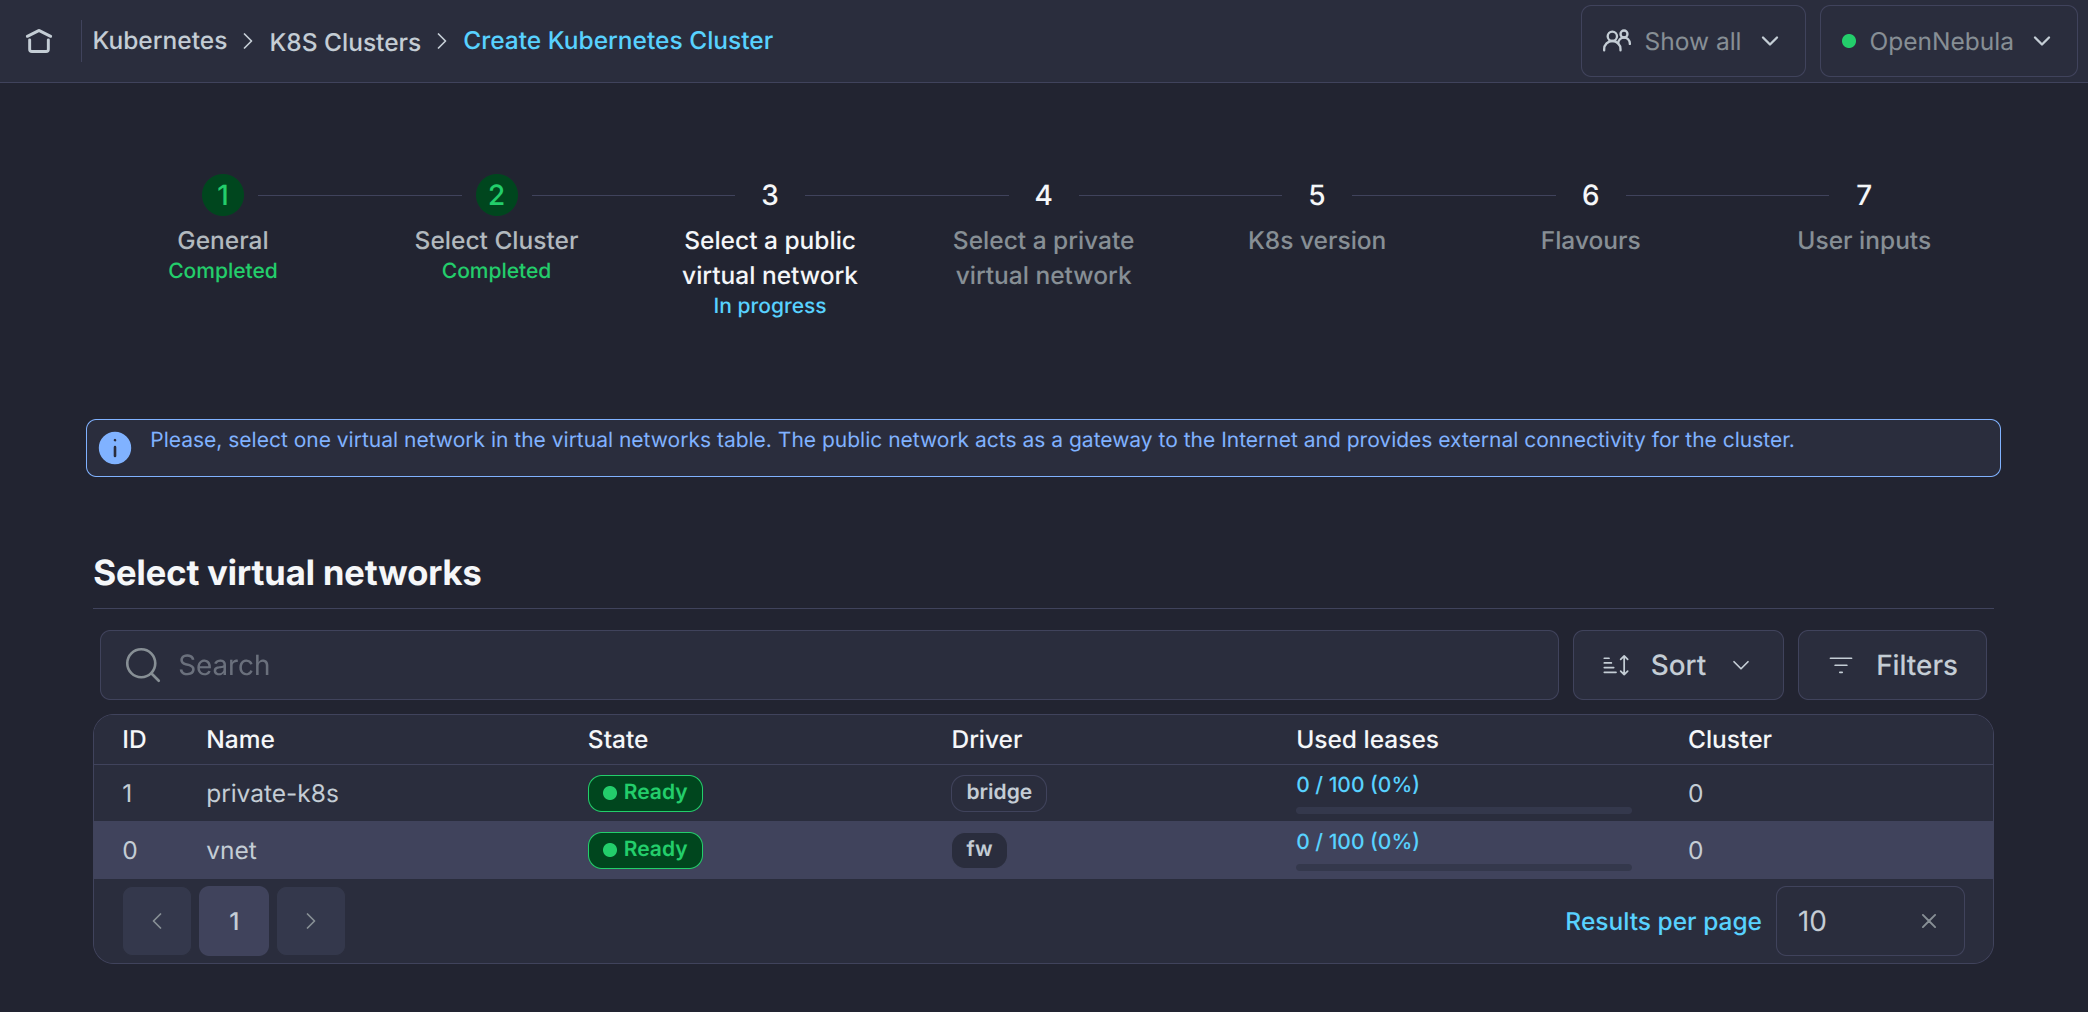
In the Select a public virtual network step, select the vnet network and press Next:
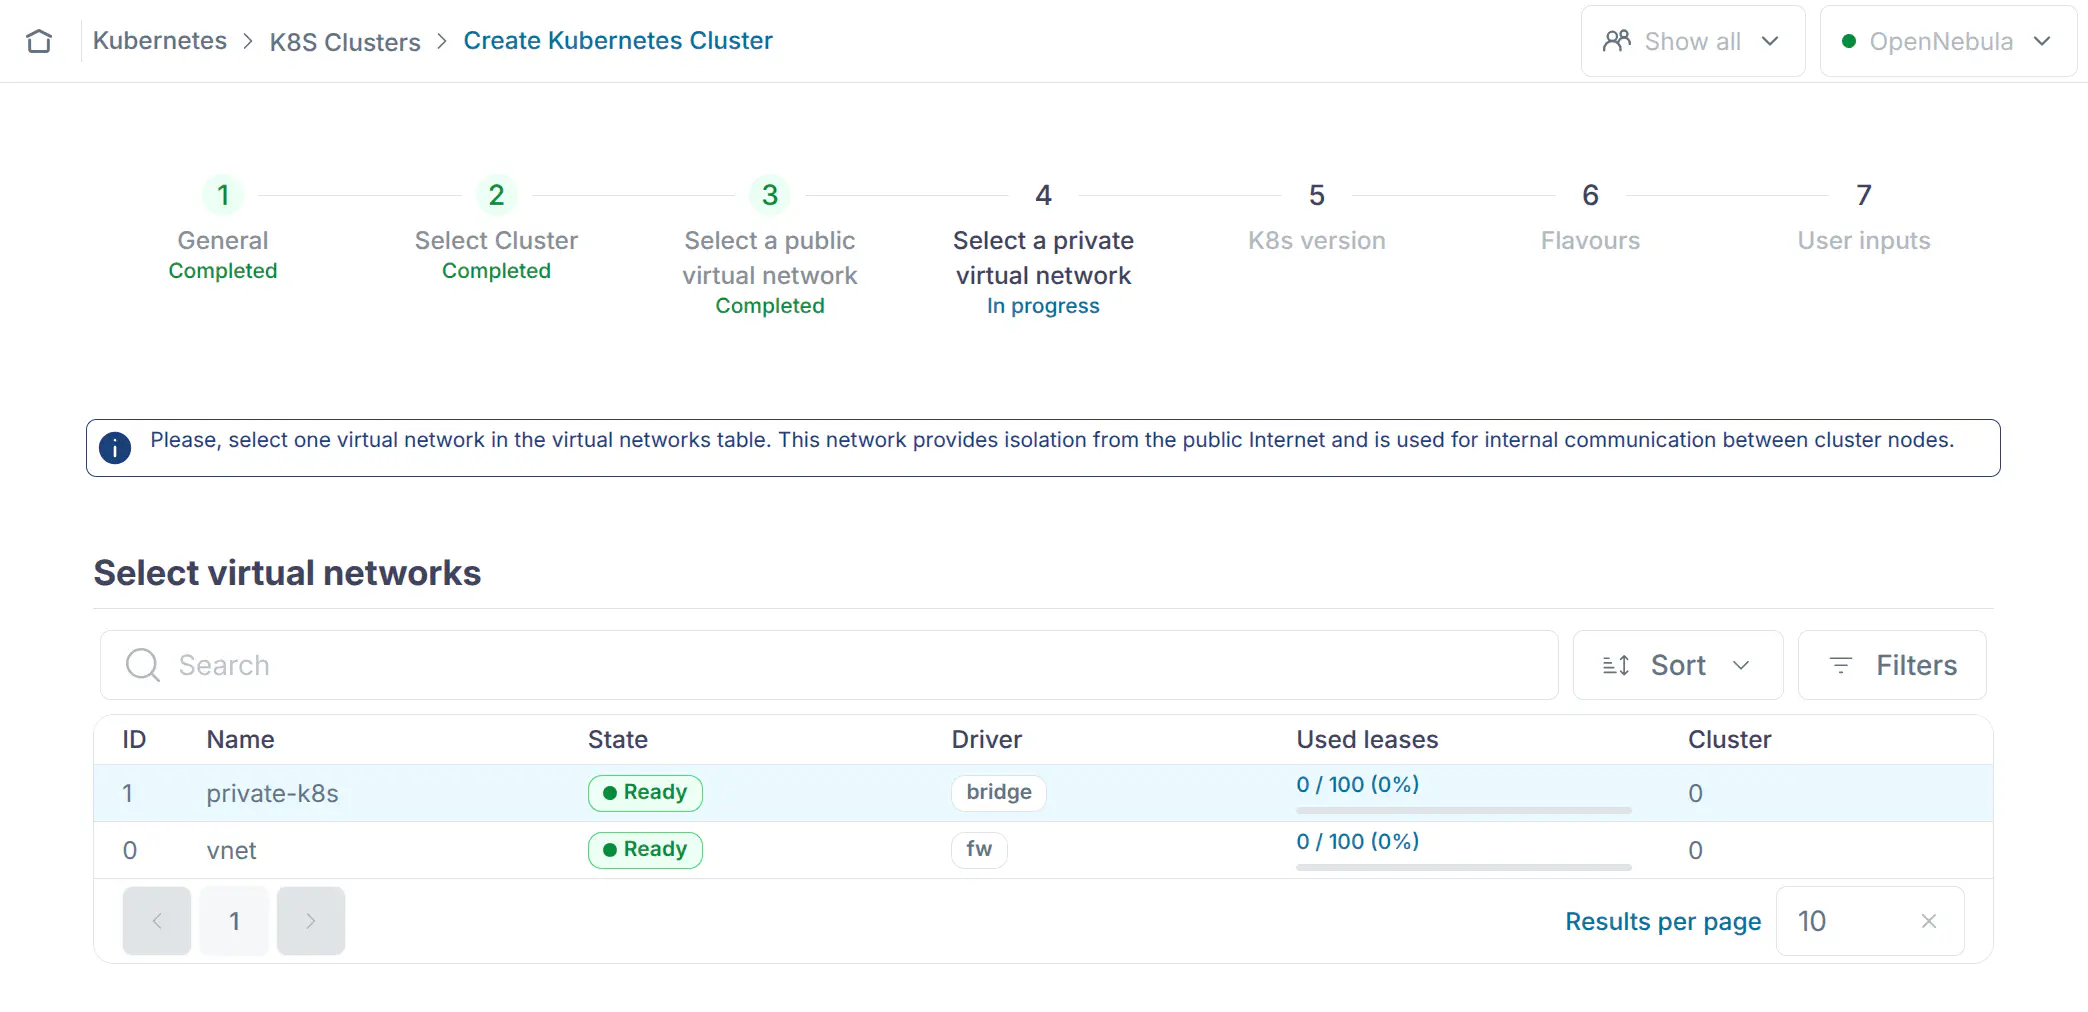
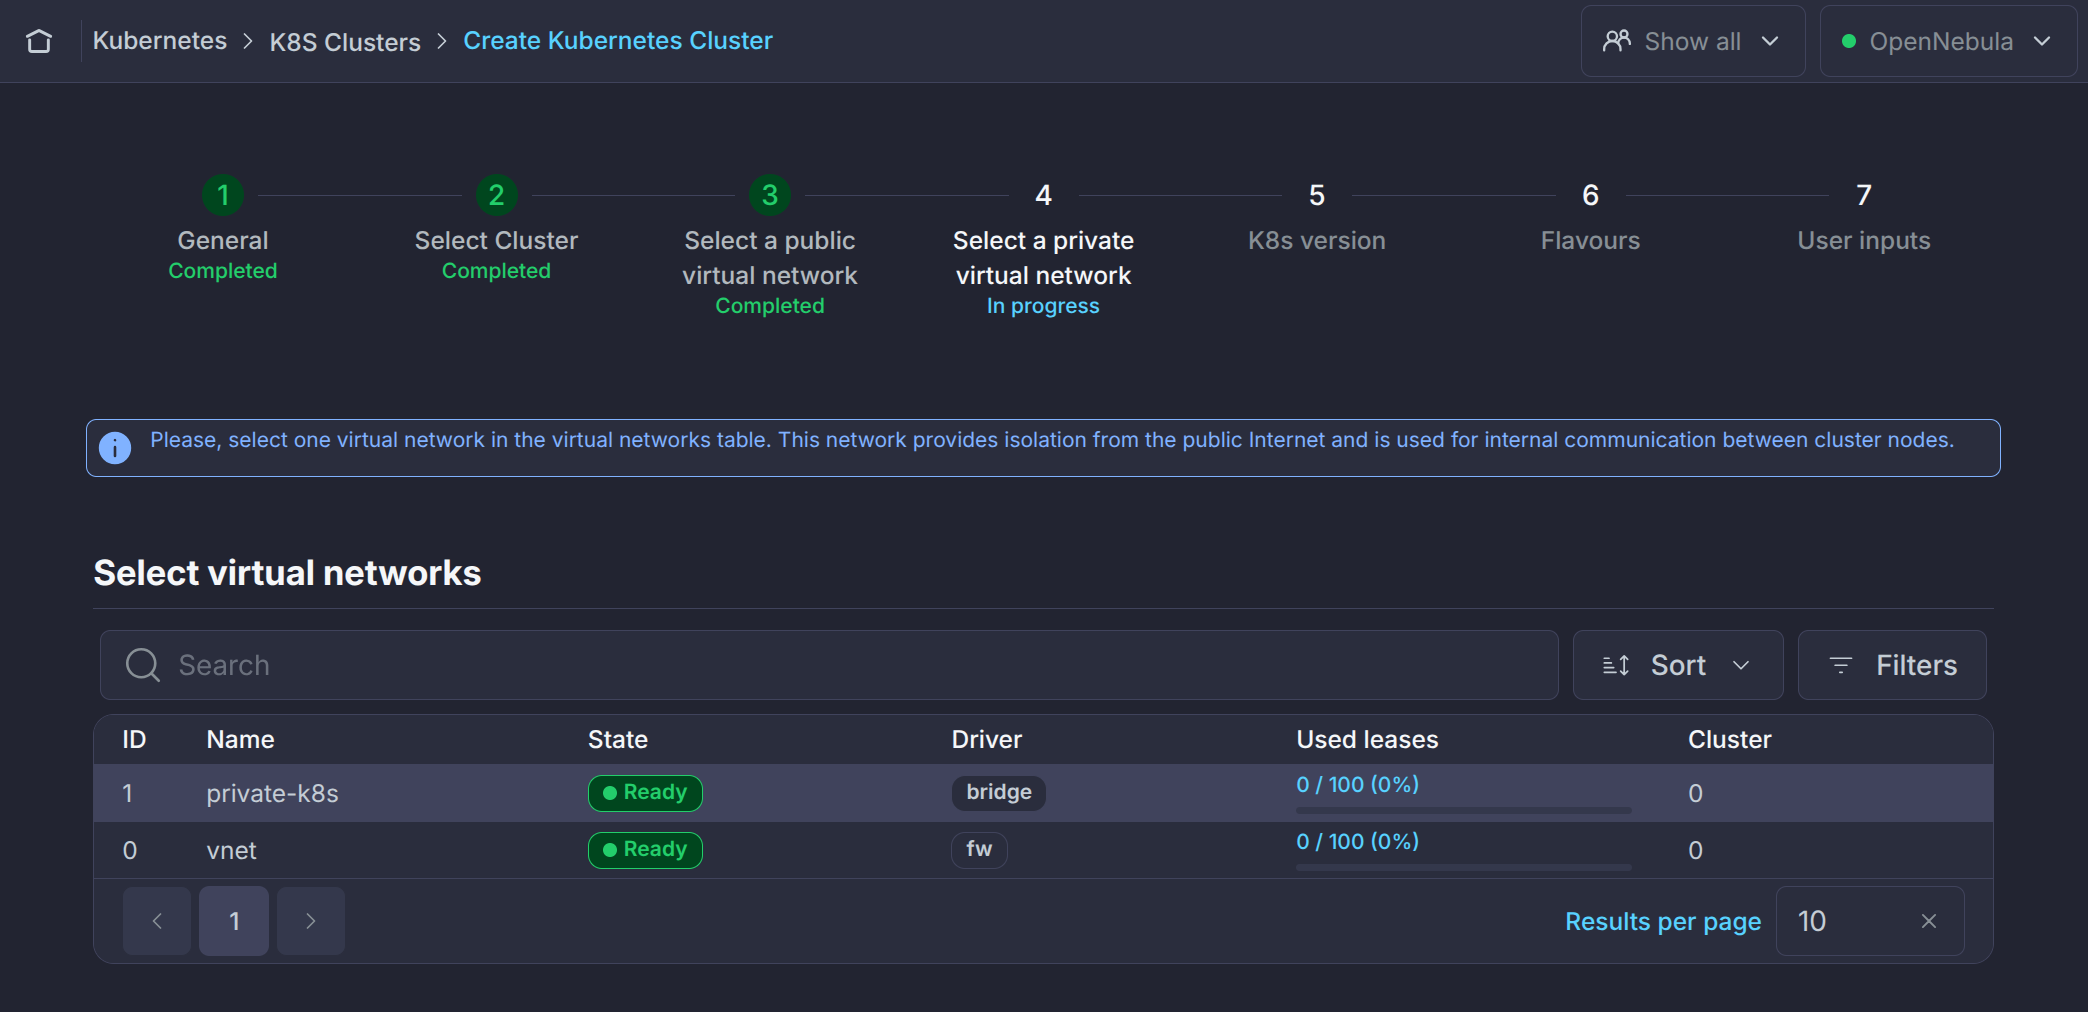
In the Select a private virtual network step, select the private-k8s network (of the name of the private network you previously created in Step 1) and press Next:
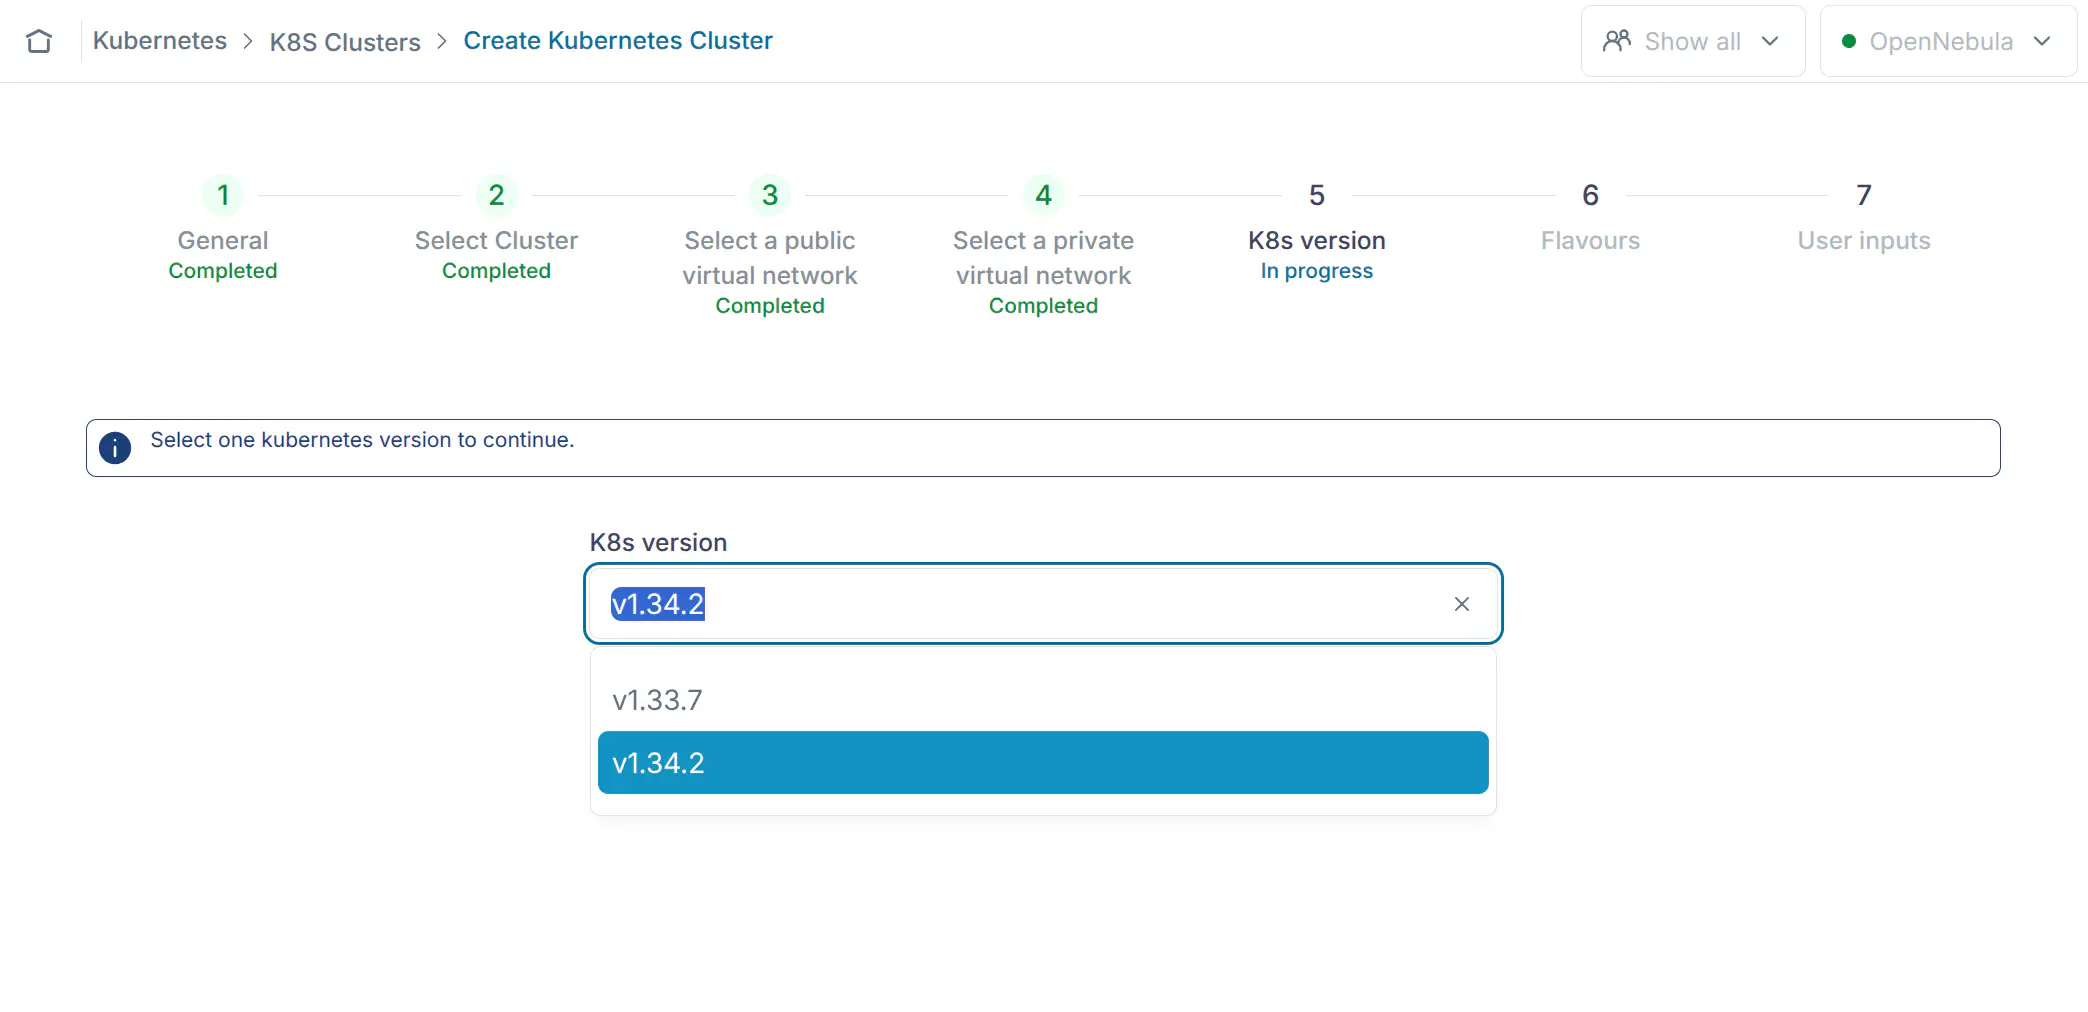
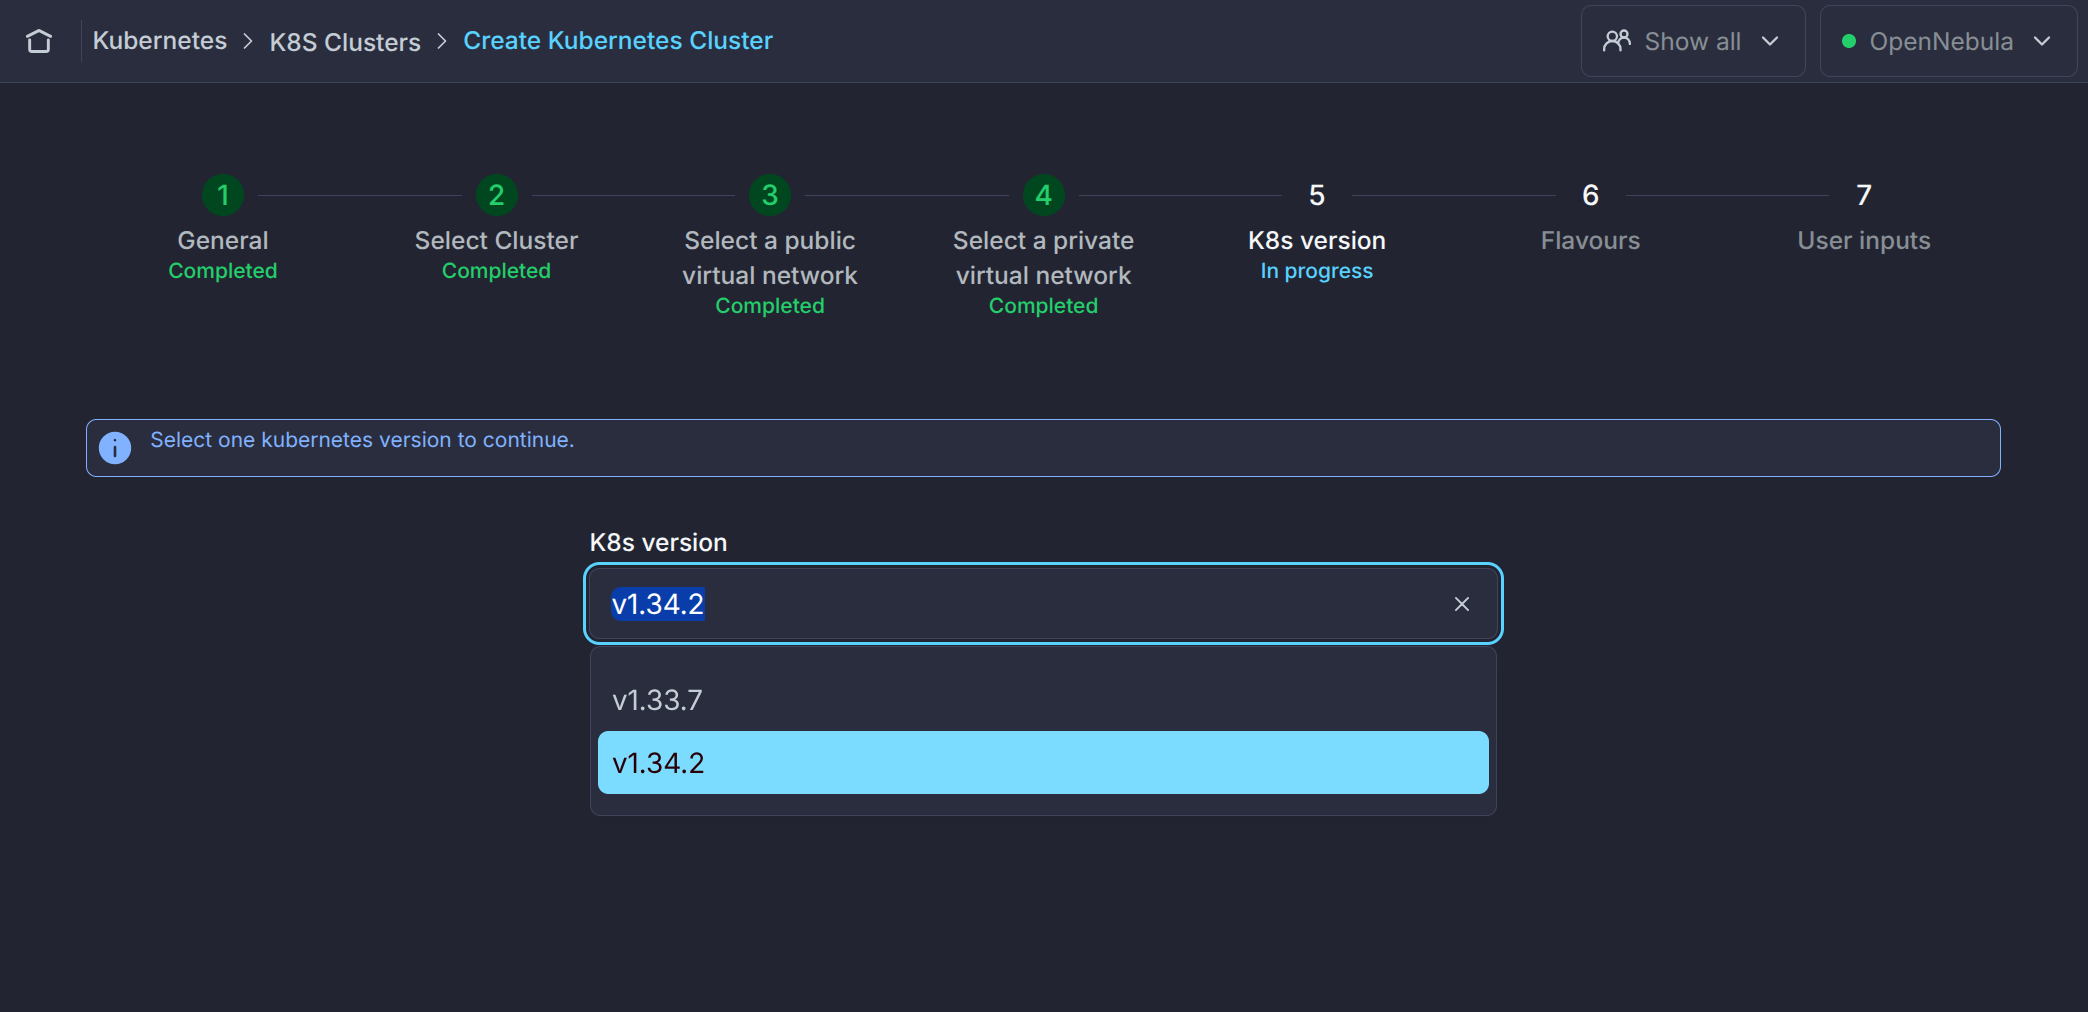
In the K8s version step, select your preferred K8s version and press Next:
In the Flavours step, select Single-Node Control Plane and press Next:
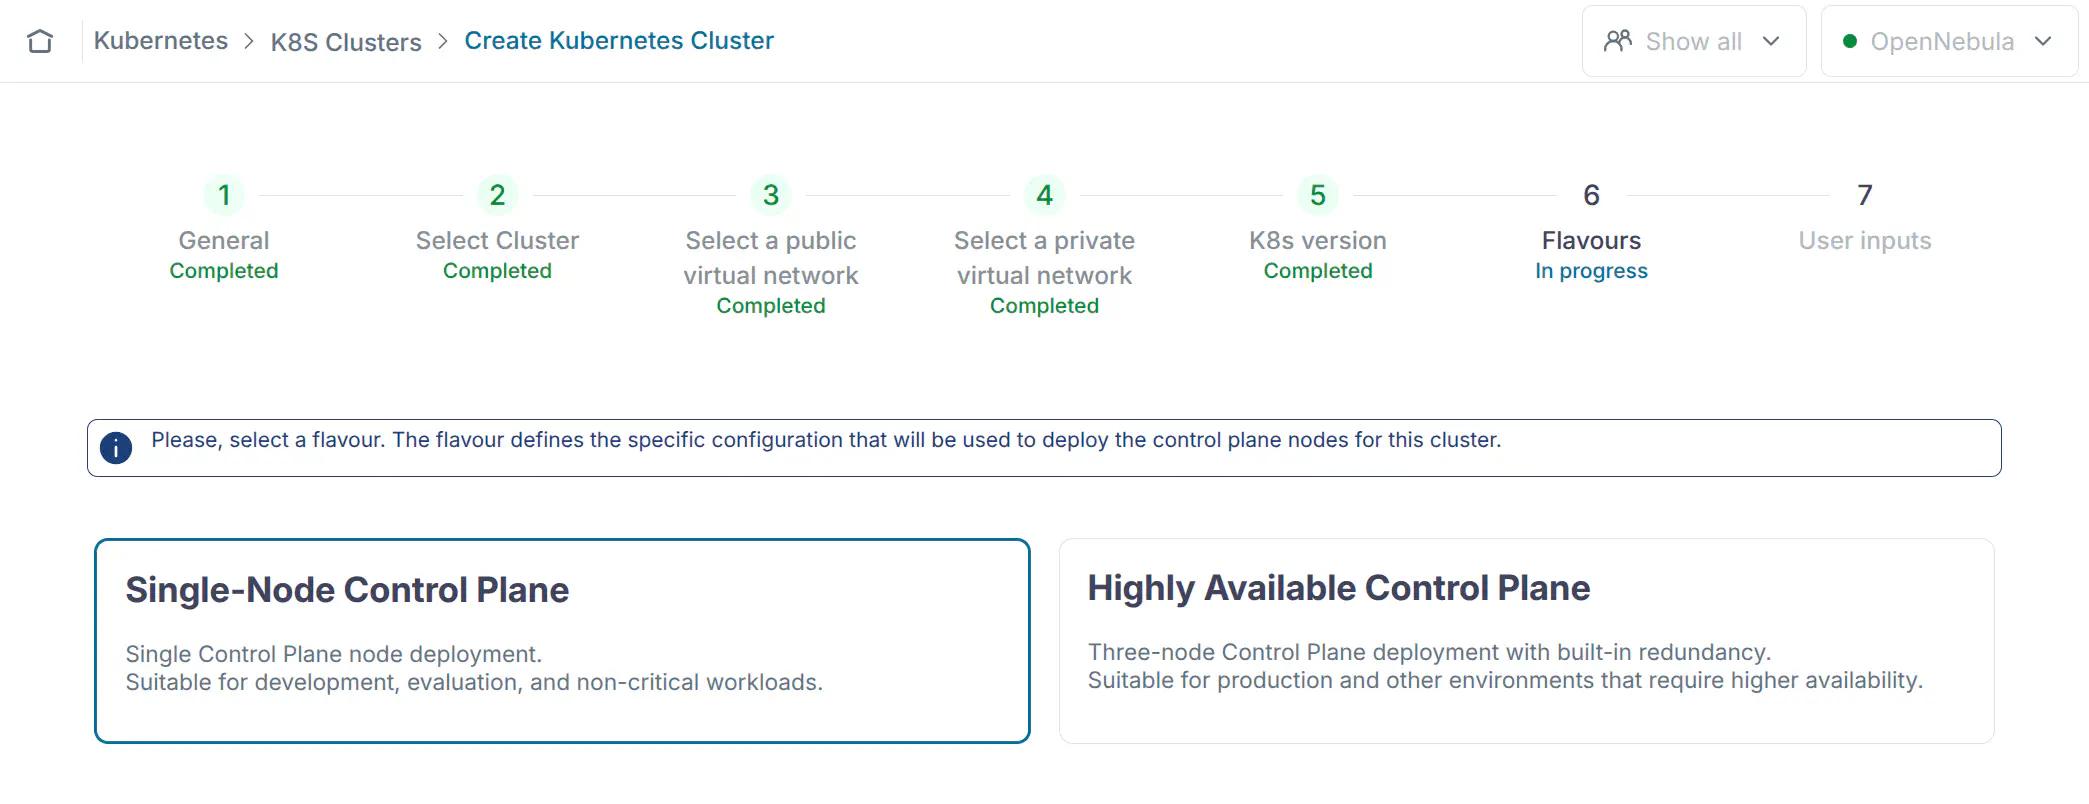
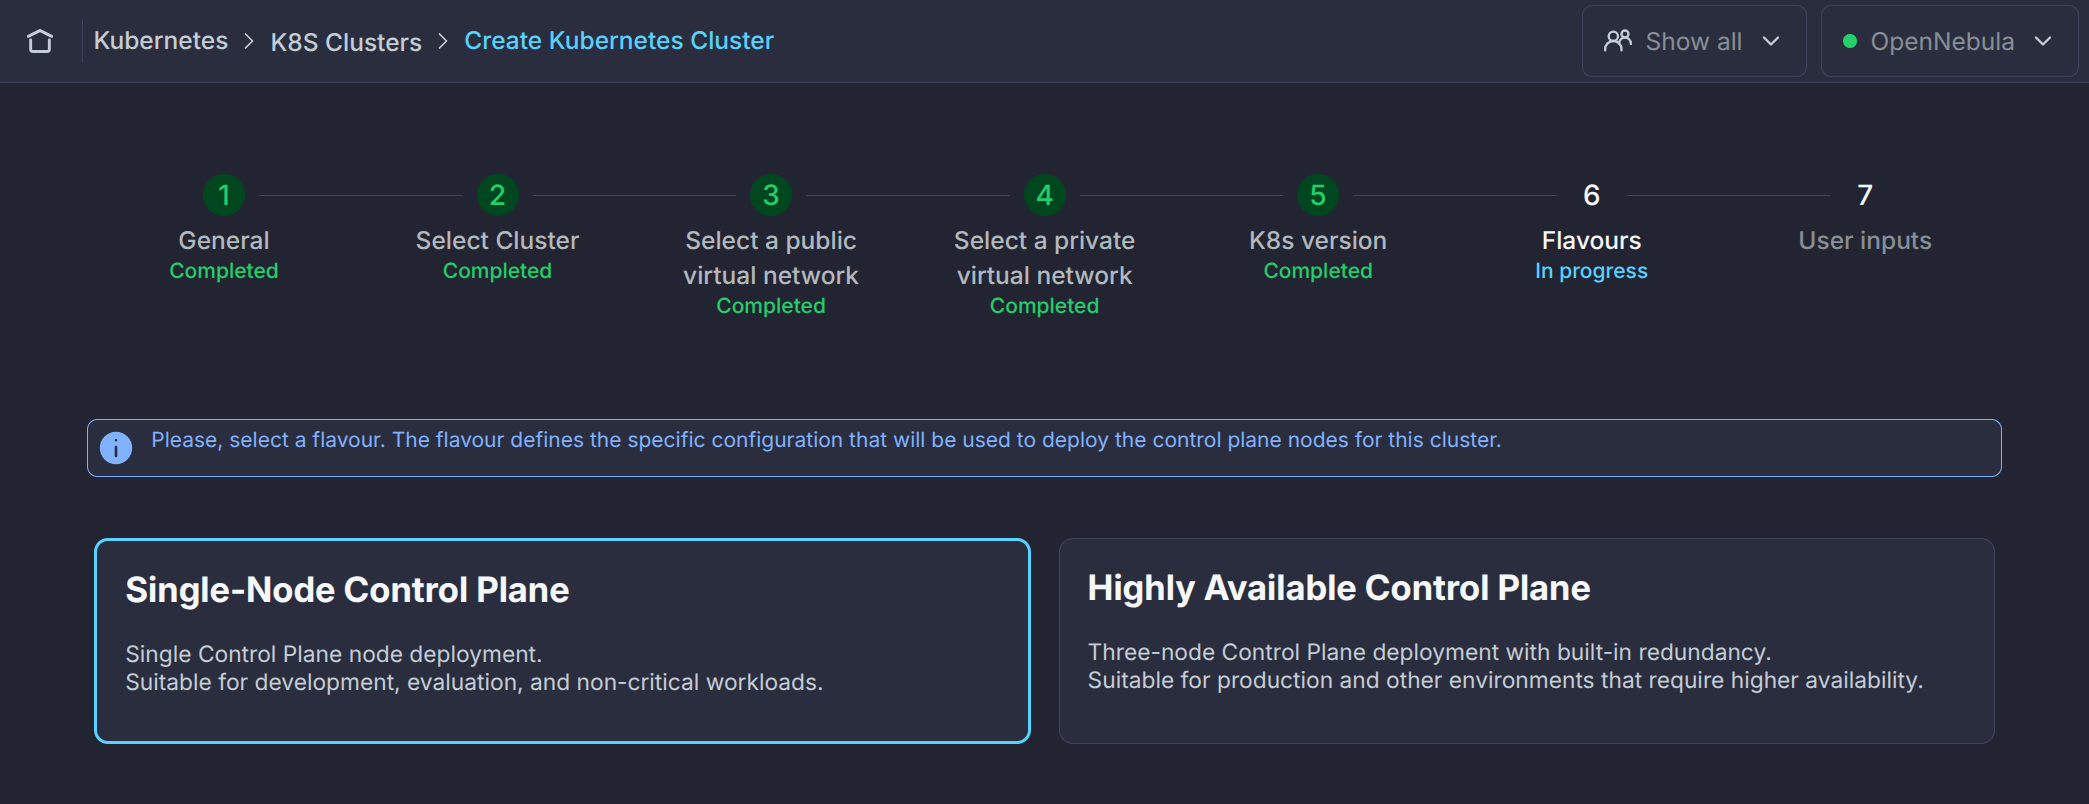
The User Inputs step does not require any input, press Finish to start the K8s provisioning process, you will land on the Kubernetes Logs view, where you can see the provisioning progress of you K8s Cluster:
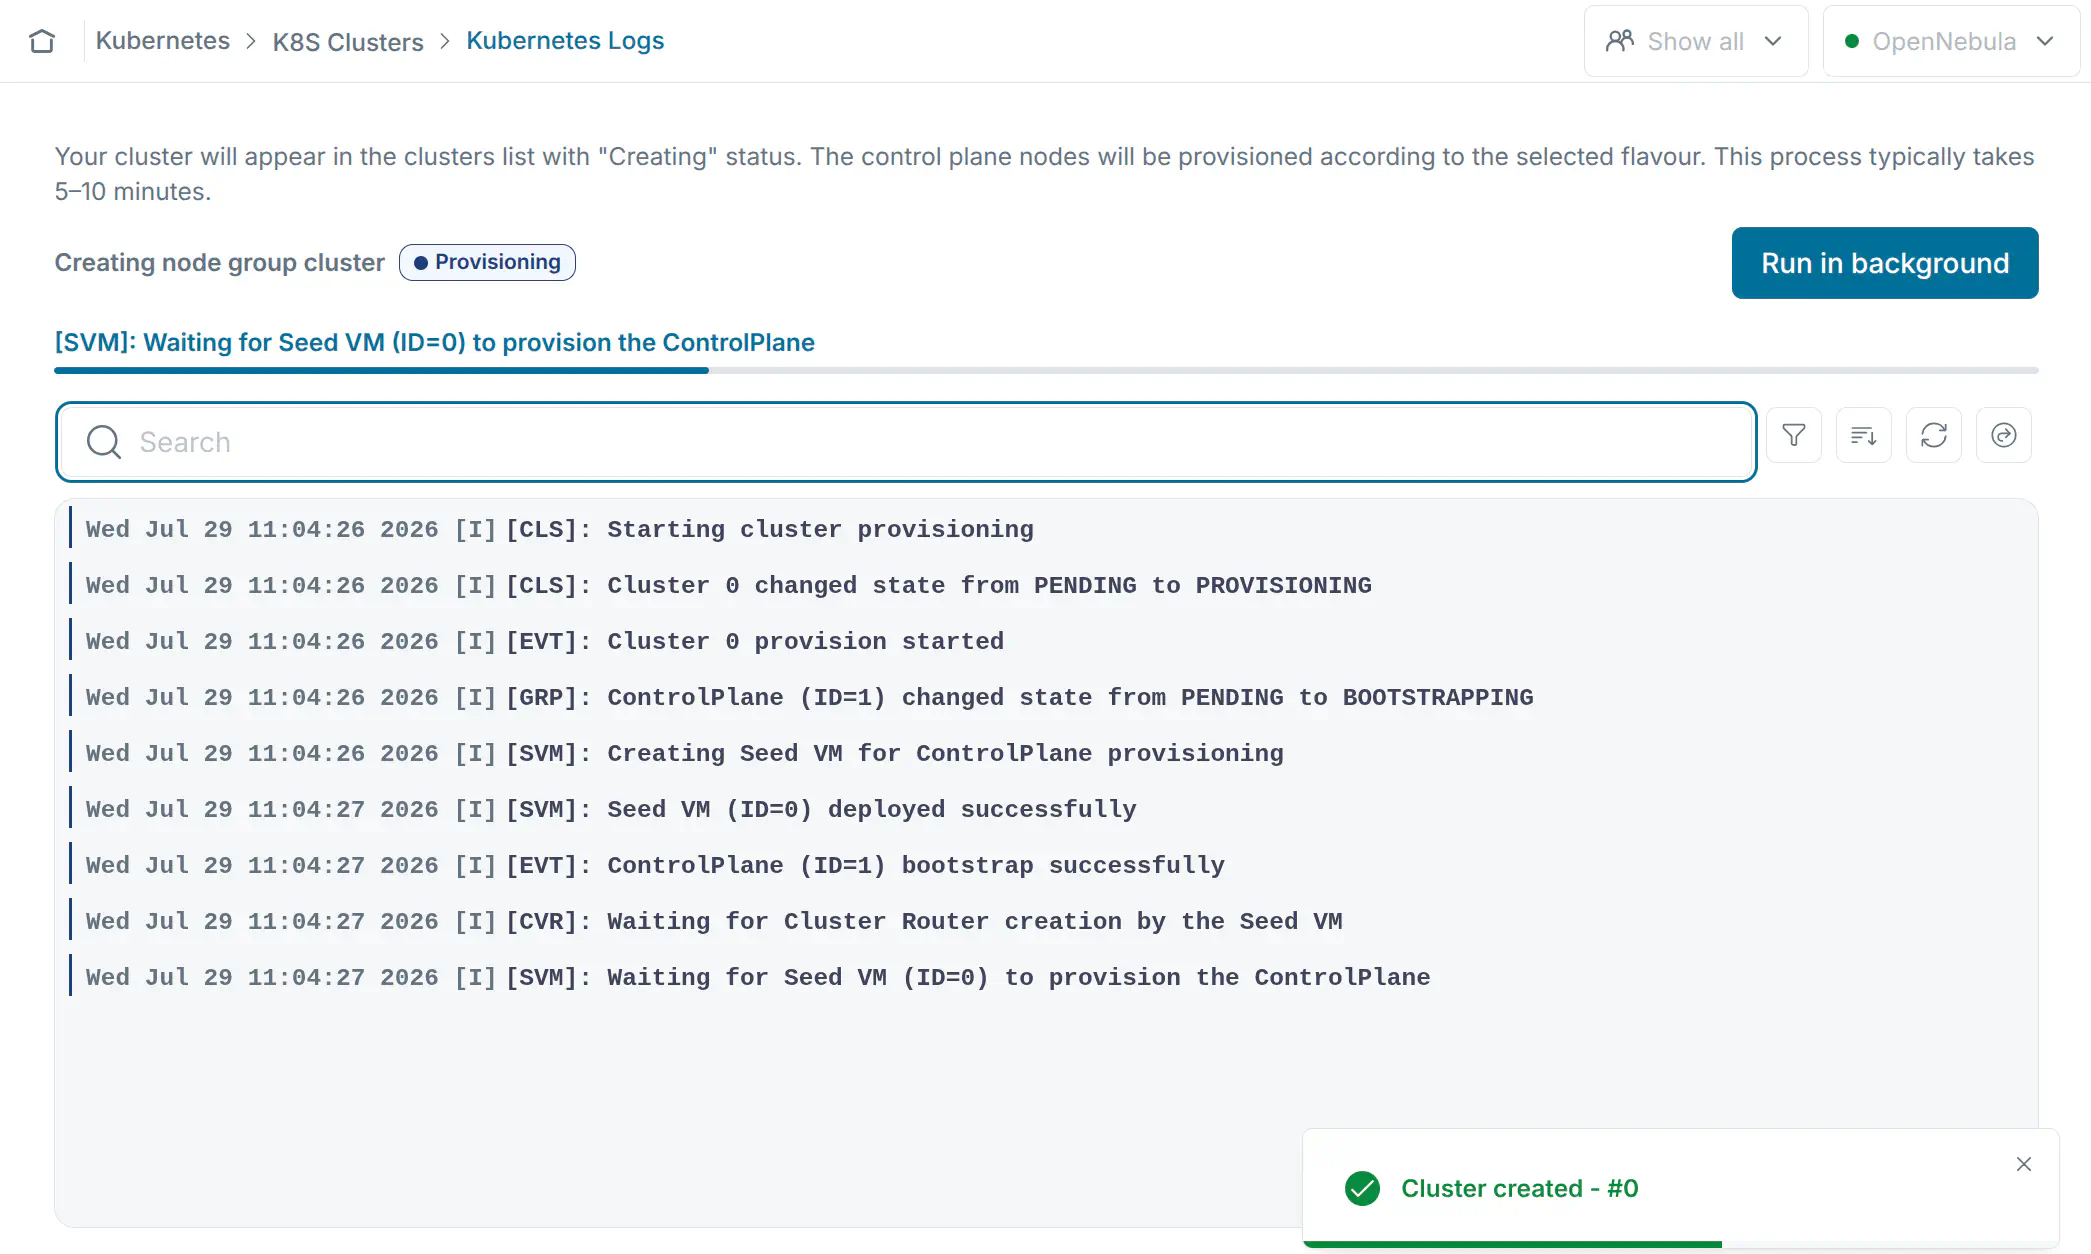
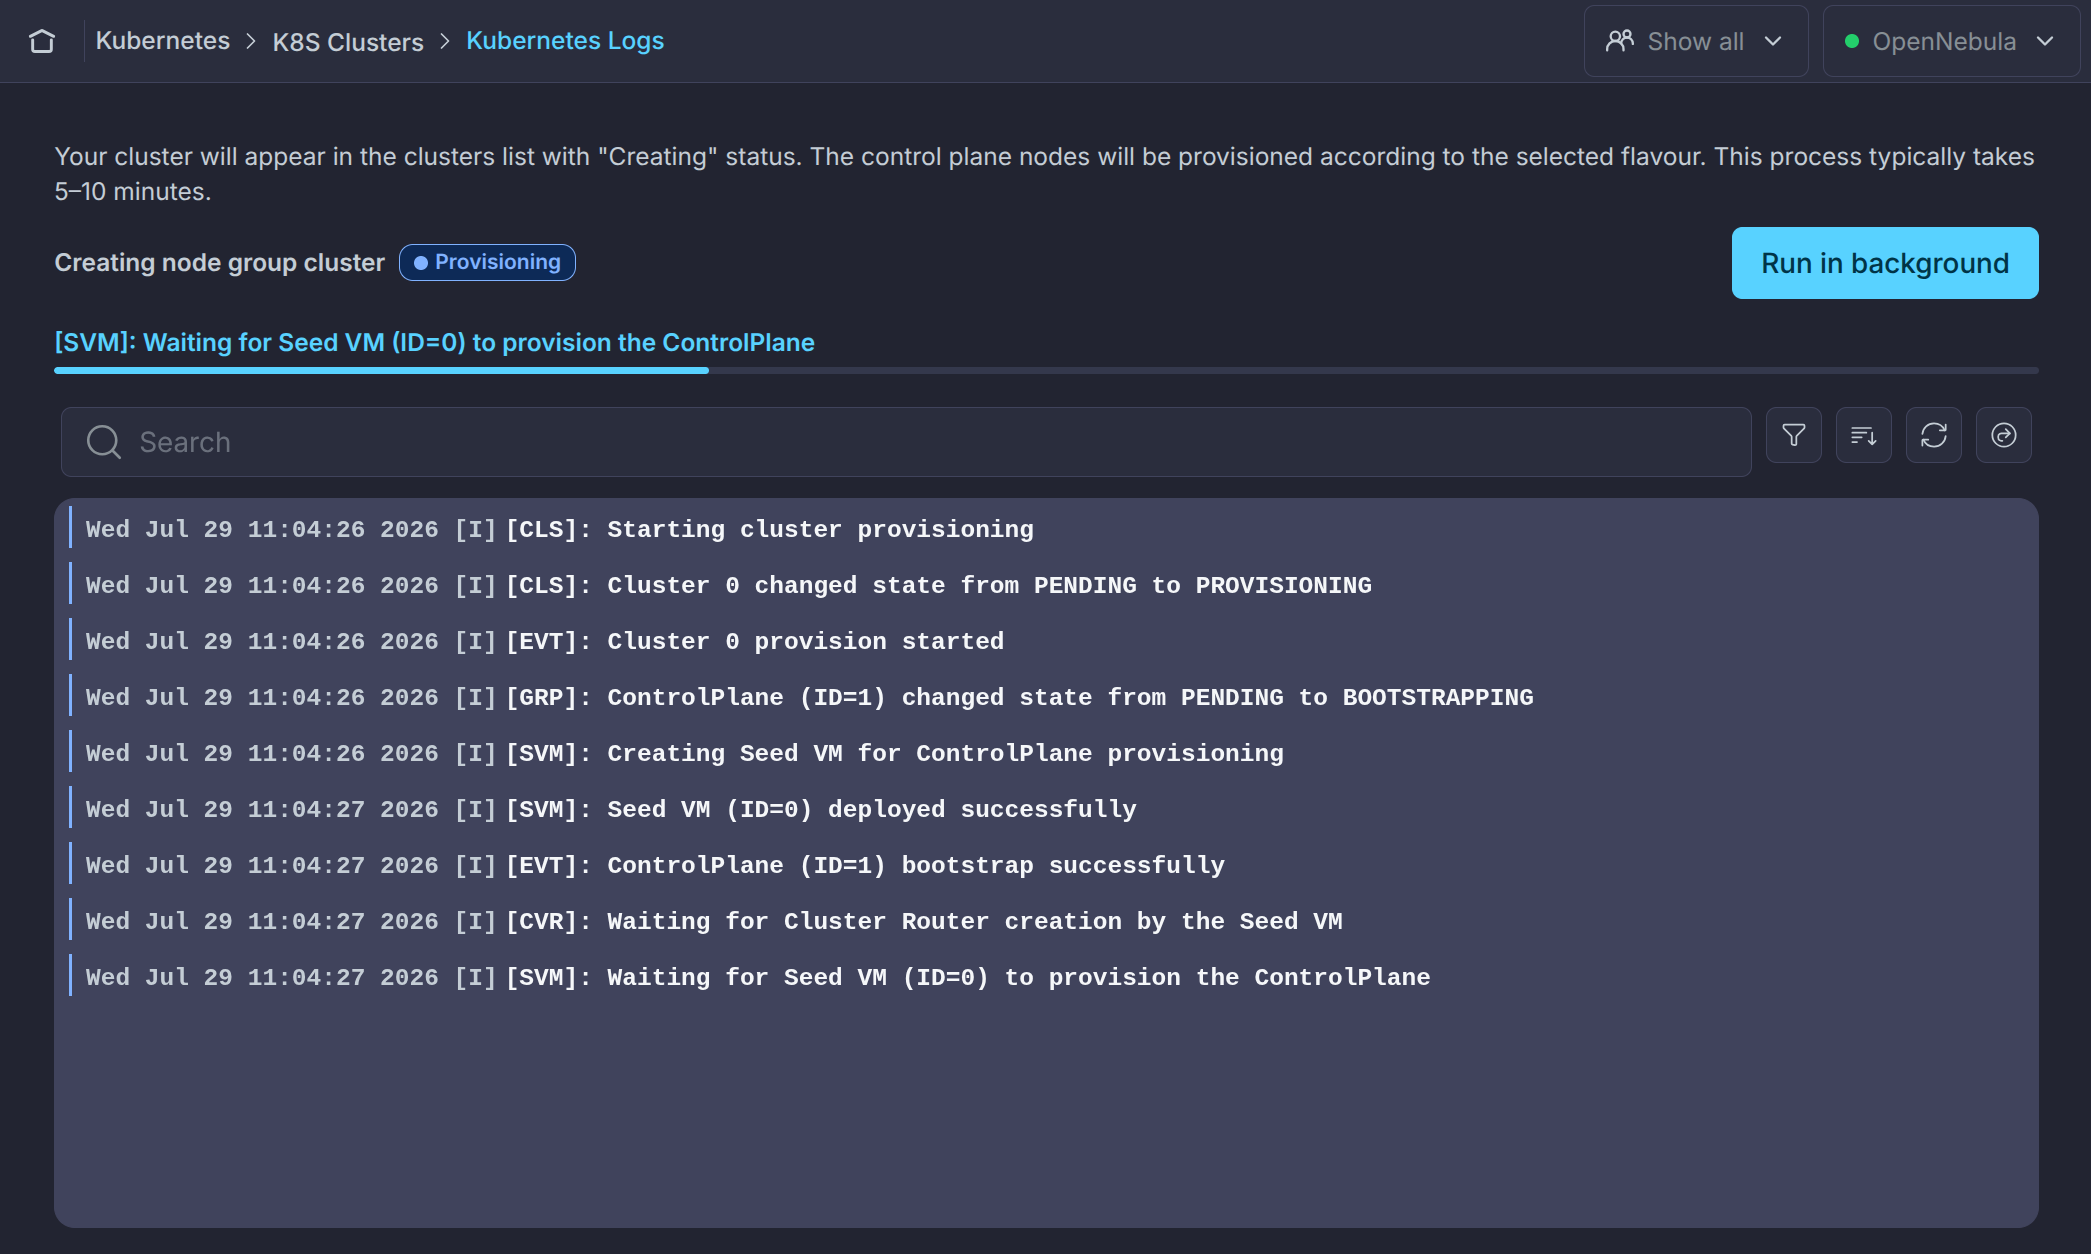
The K8s Cluster may take 10-20 minutes to complete the provisioning process. You can monitor the progress by selecting your new K8s Cluster in the Kubernetes -> K8s Cluster list view and selecting the Logs tab. You can also see the evolution of your K8s Cluster in the Instances -> Virtual Machines view. Over the next few minutes you will see several VMs instantiate, first the seed VM, then the virtual router VM and then the control plane and eventually the worker VM.
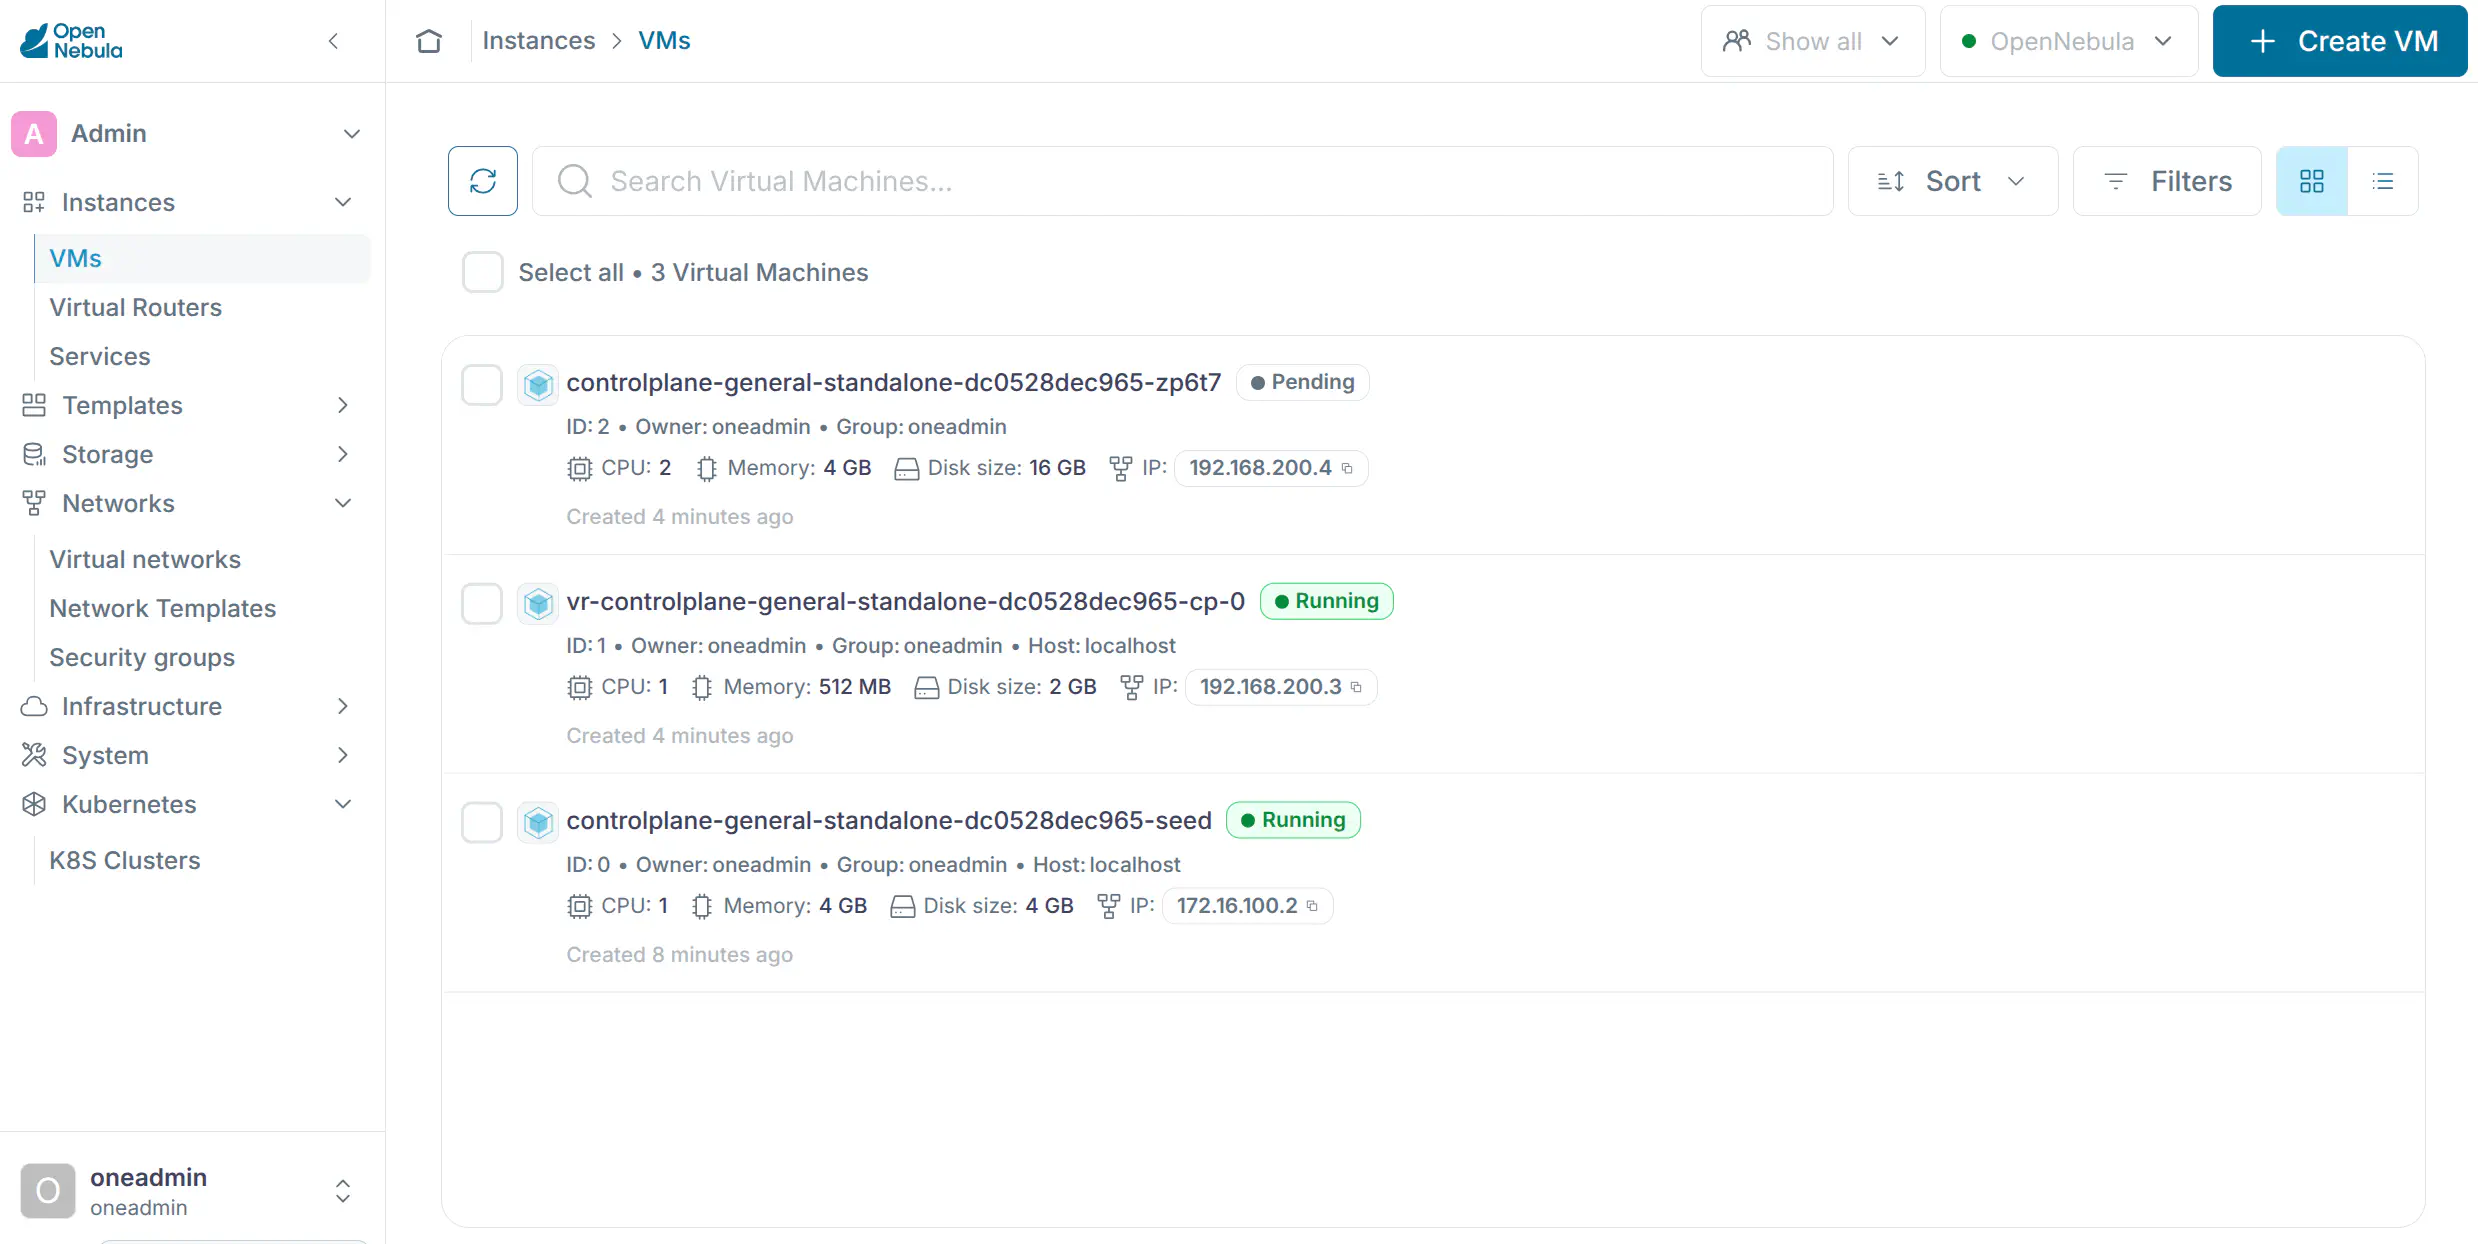
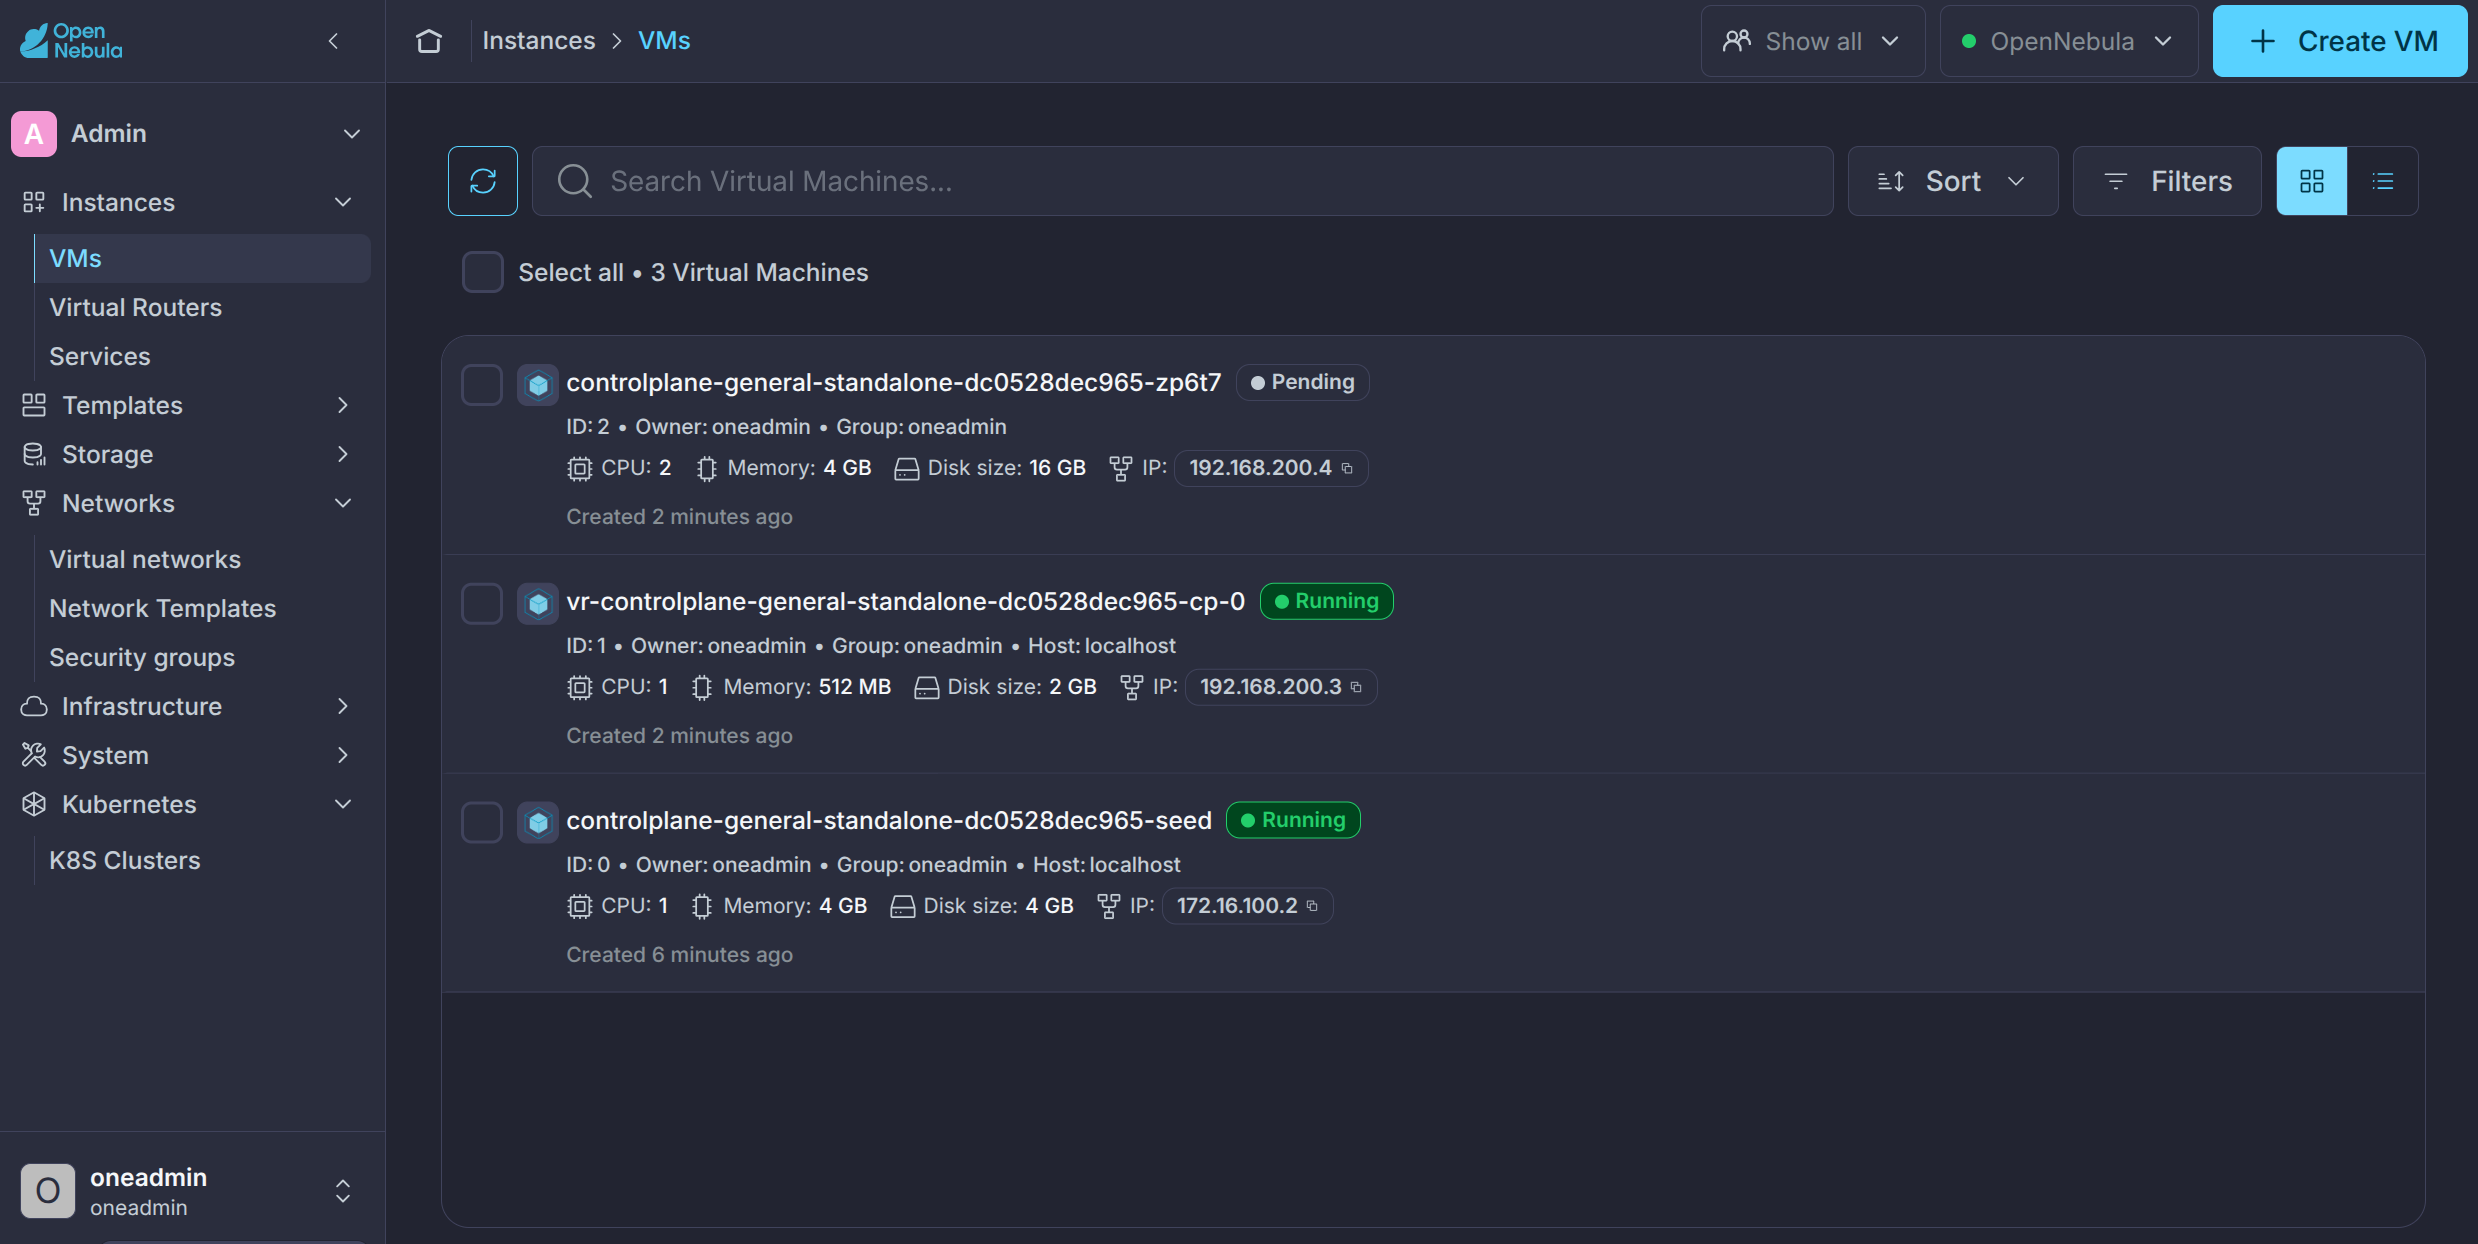
Eventually, the K8s Cluster should transition to the Running status (and the seed VM should shut down). You are then ready to add a worker node.
Step 4. Scale the Cluster by Adding a Worker Node
Now that your K8s Cluster’s control plane and router are running, you can add worker nodes to handle compute workloads. In the Kubernetes -> K8s Clusters view, select your new Cluster in the list and select the Node Groups tab in the details panel, press + Create Node Group:
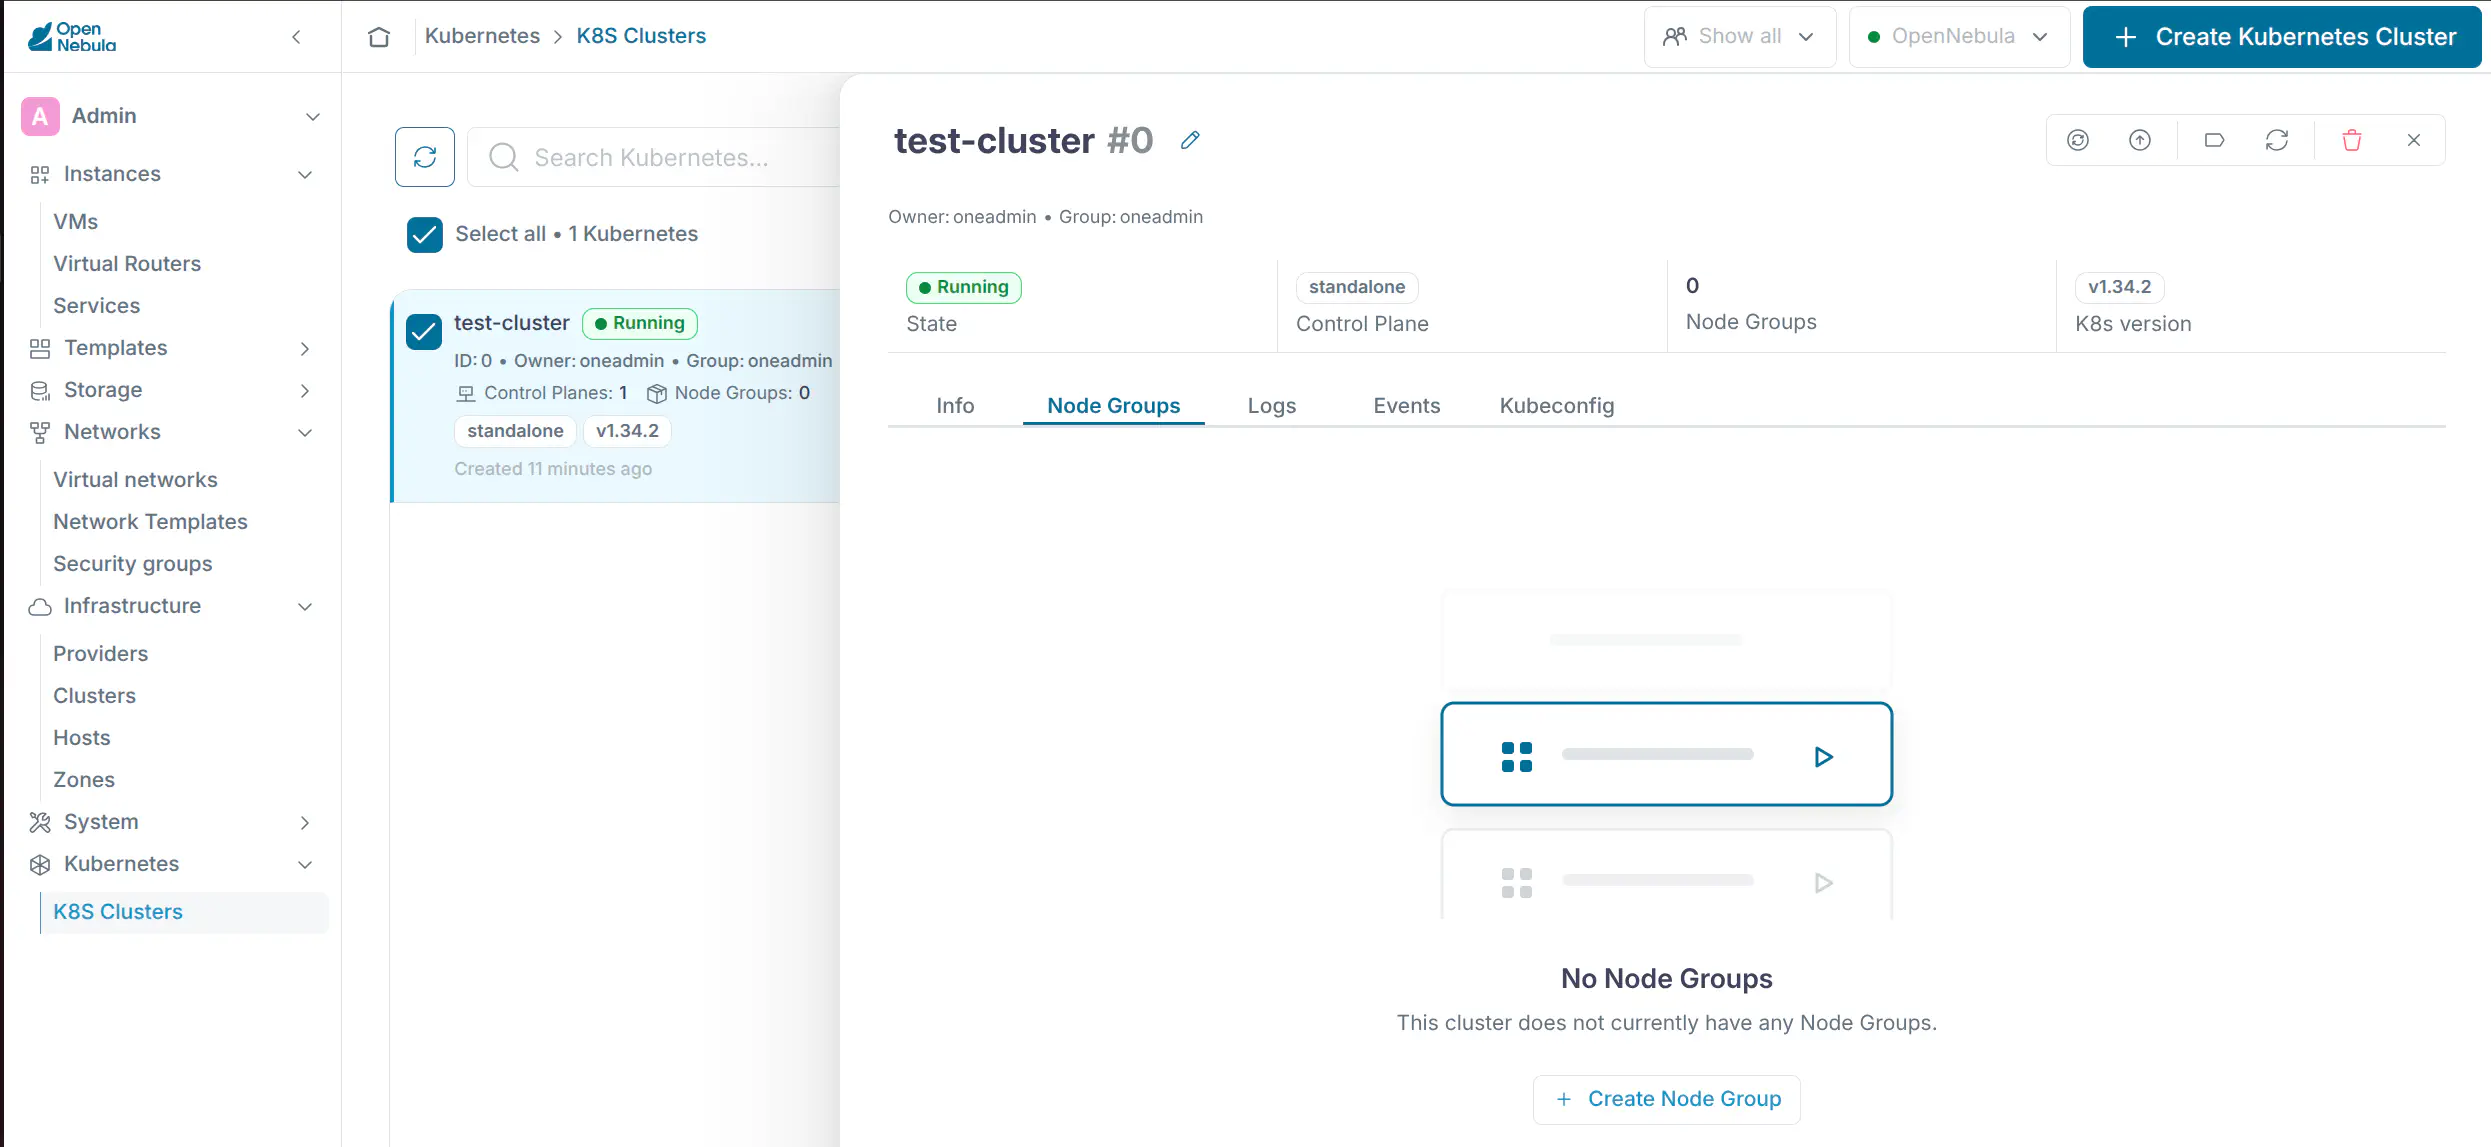
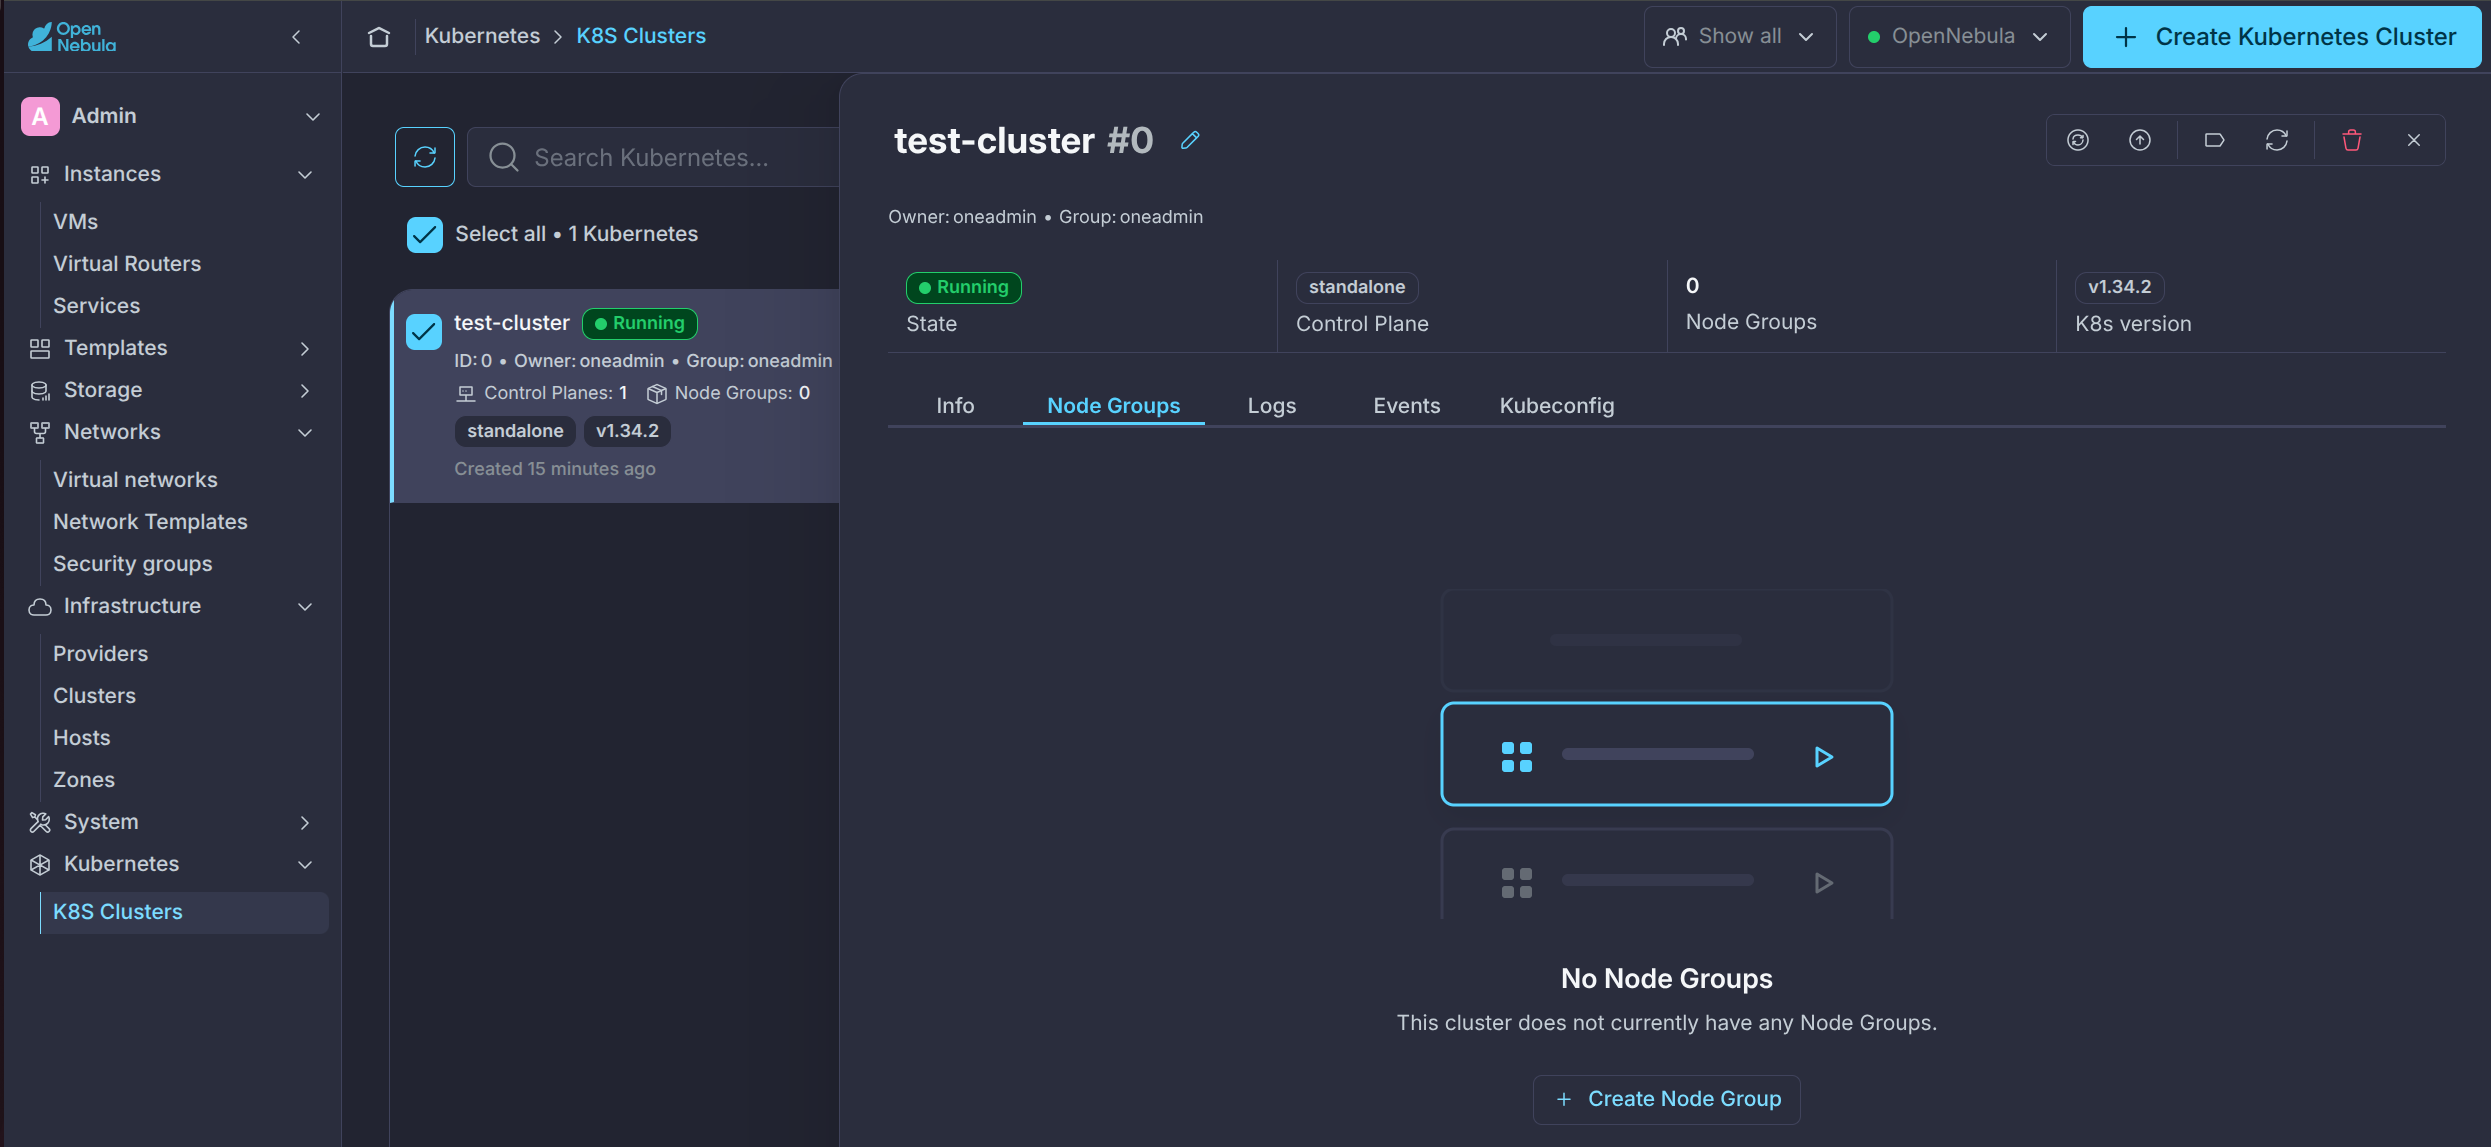
In the General step of the workflow dialog that opens, add a name (e.g. worker1), in the Flavours step, select Small Worker Nodes and enter 1 in the Count field of the User inputs step:
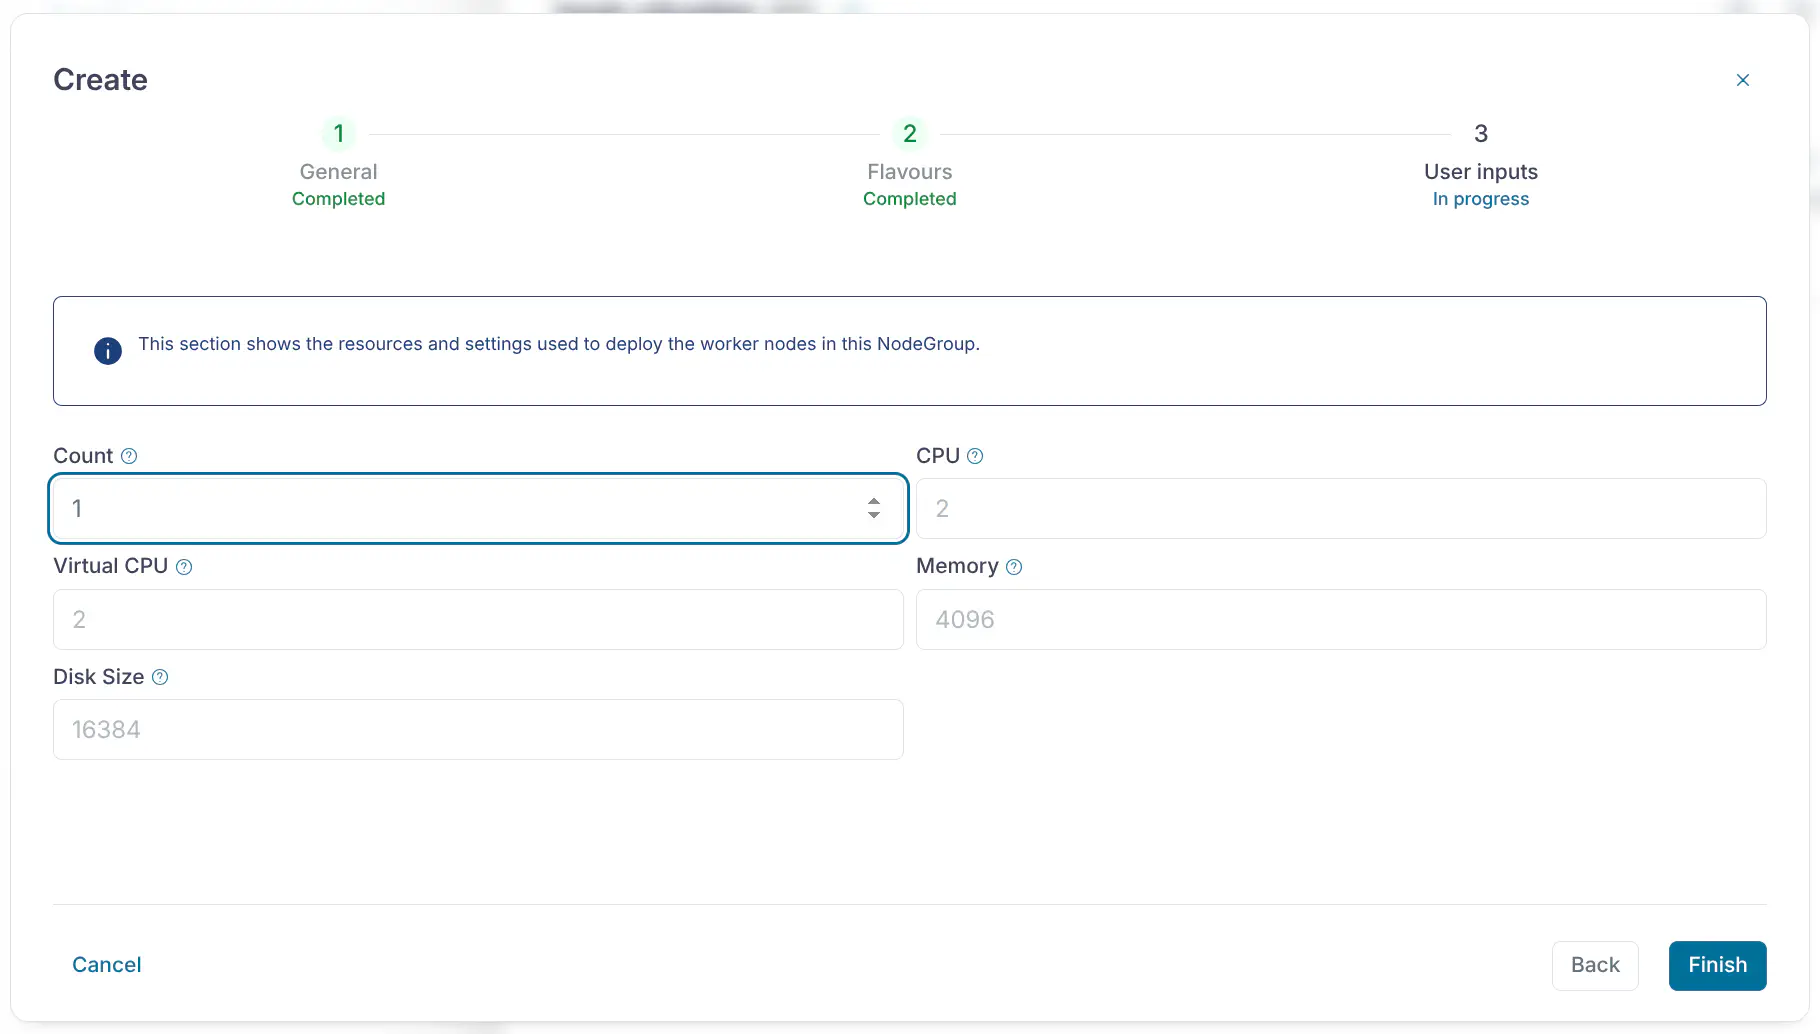
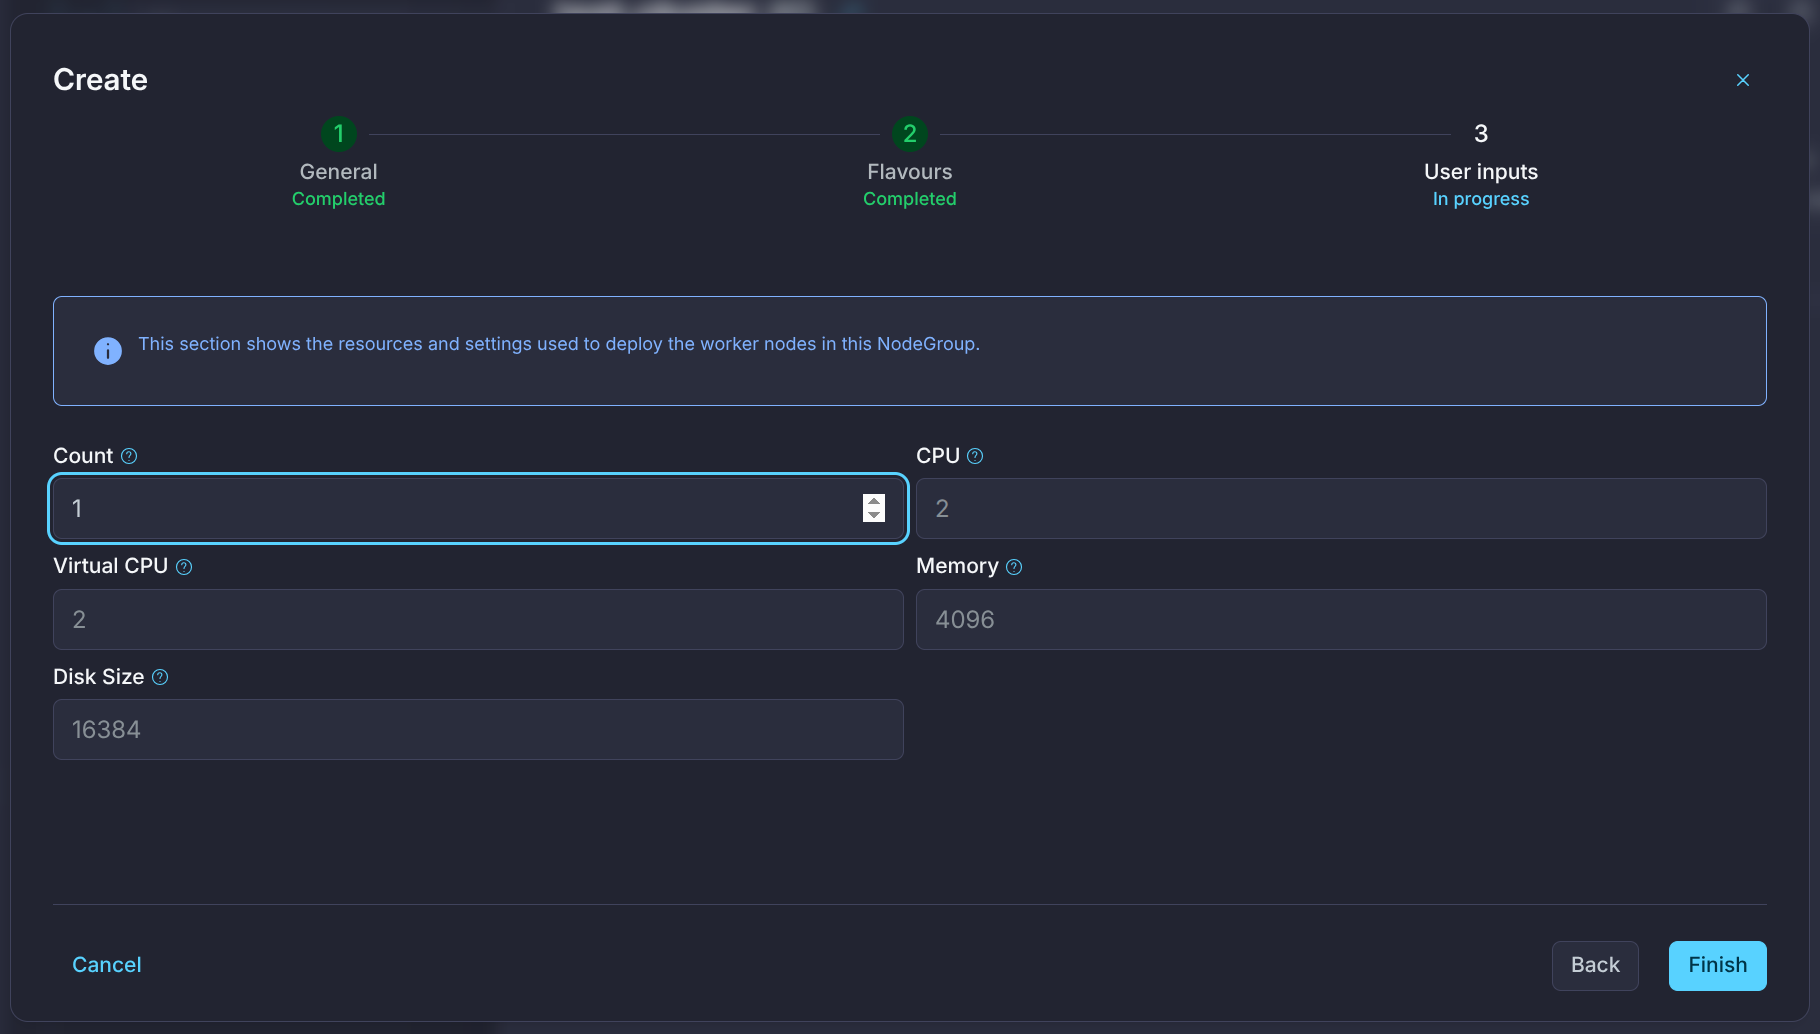
Sunstone will then show the Kubernetes Logs view where you can monitor the provisioning of the worker node. You can inspect worker nodes in the Node Groups tab of the details panel of the K8s Cluster:
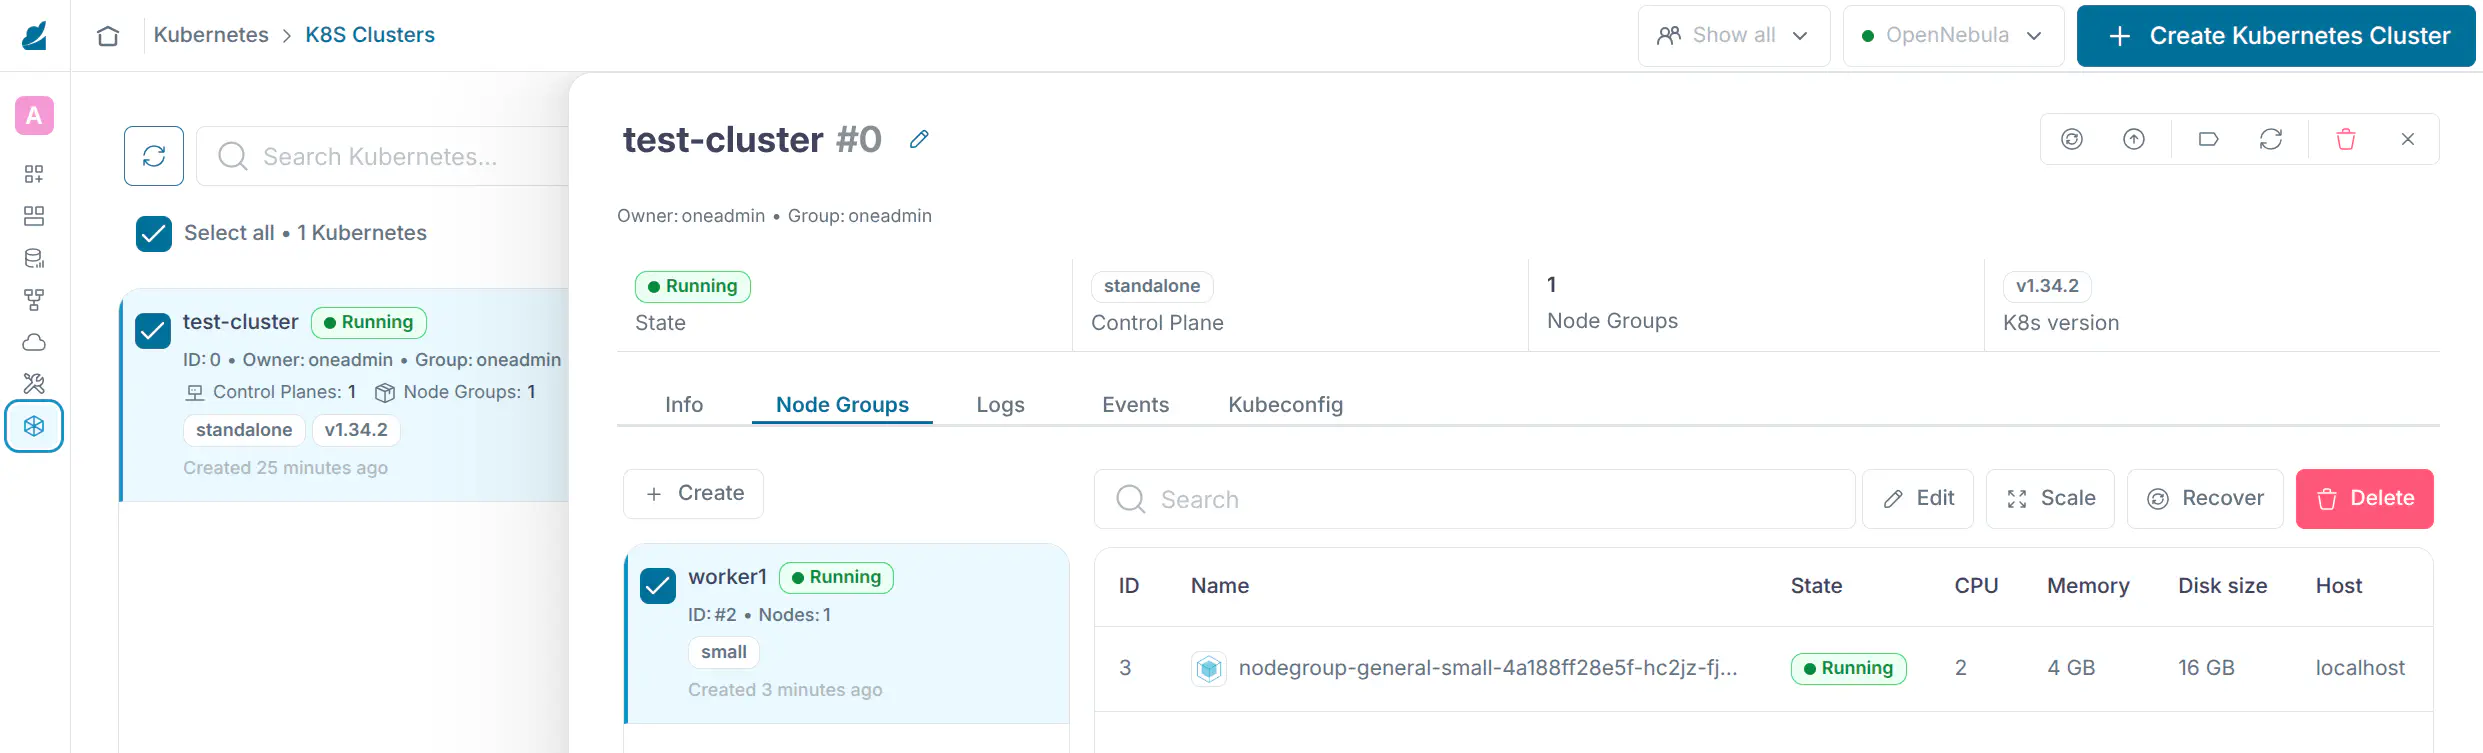
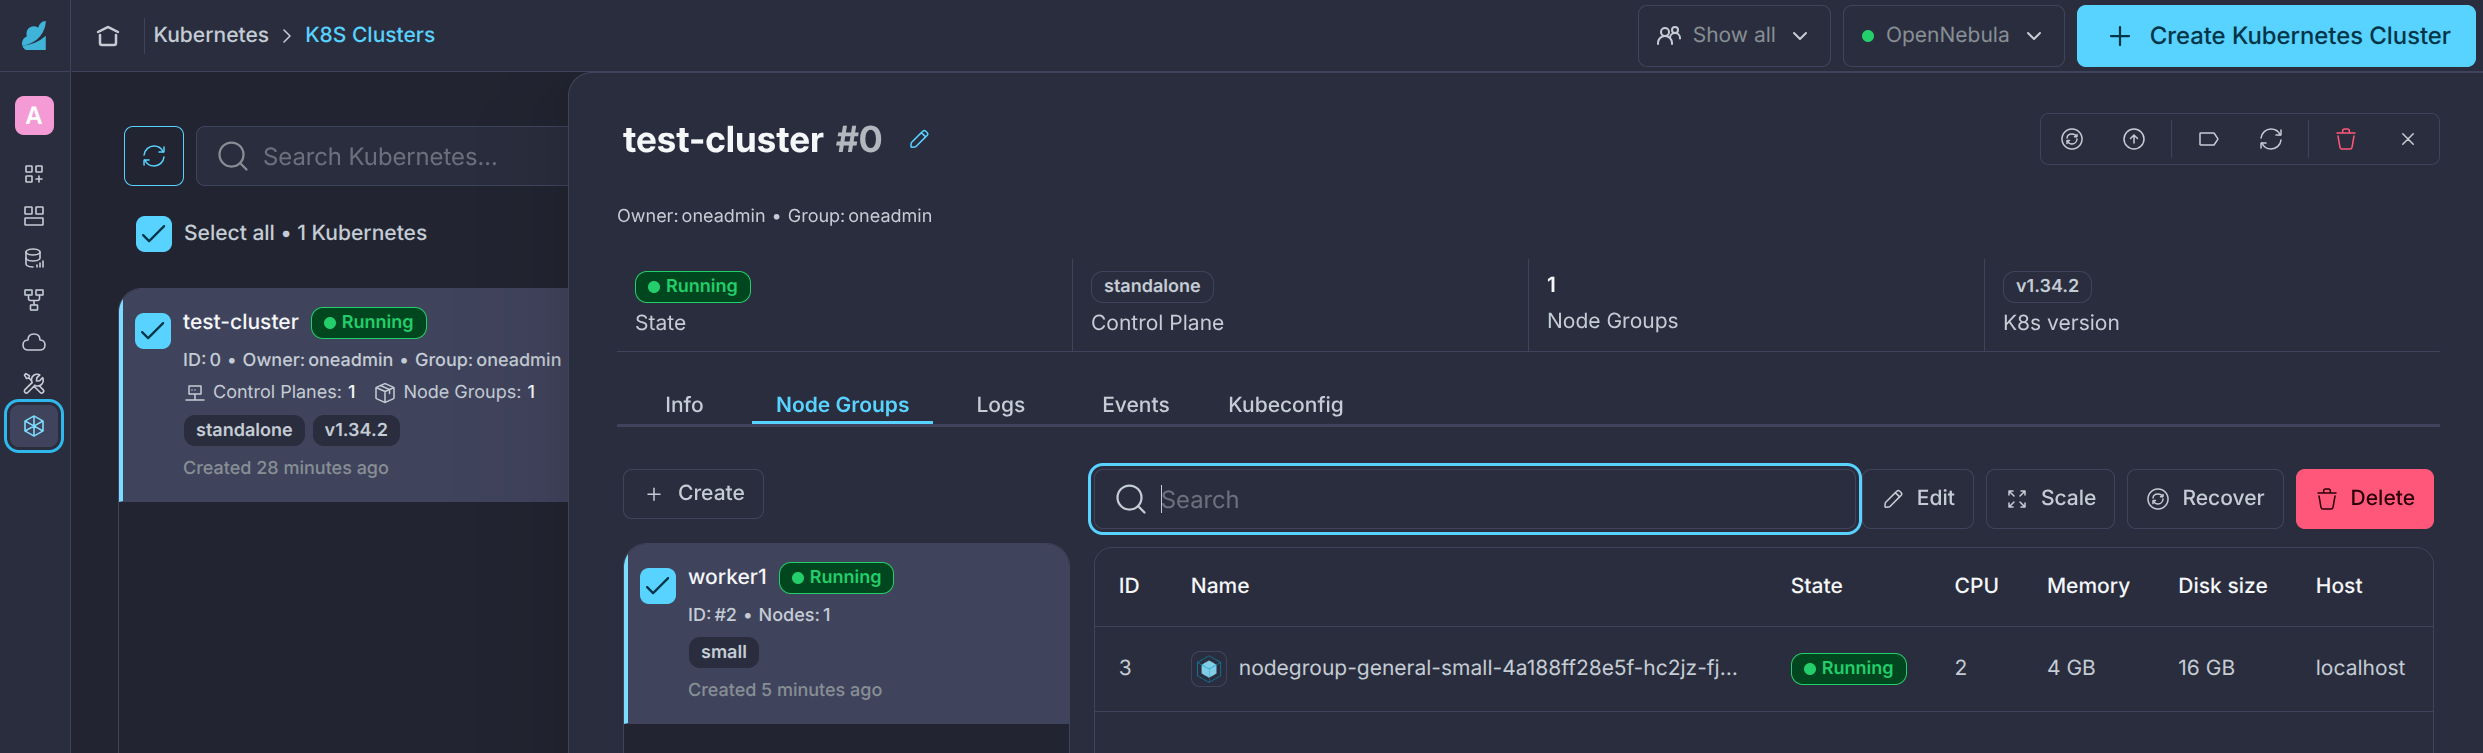
Step 5. Deploy an Application
Once the worker node is in the running state, you can then deploy applications on your K8s Cluster with kubectl. Firstly, to control the K8s Cluster with kubectrl, you must retrieve the kubeconfig. The kubeconfig contains the details and security credentials that allow kubectl to communicate with the Cluster securely. Go to the Kubeconfig tab of the details panel of your new K8s Cluster:
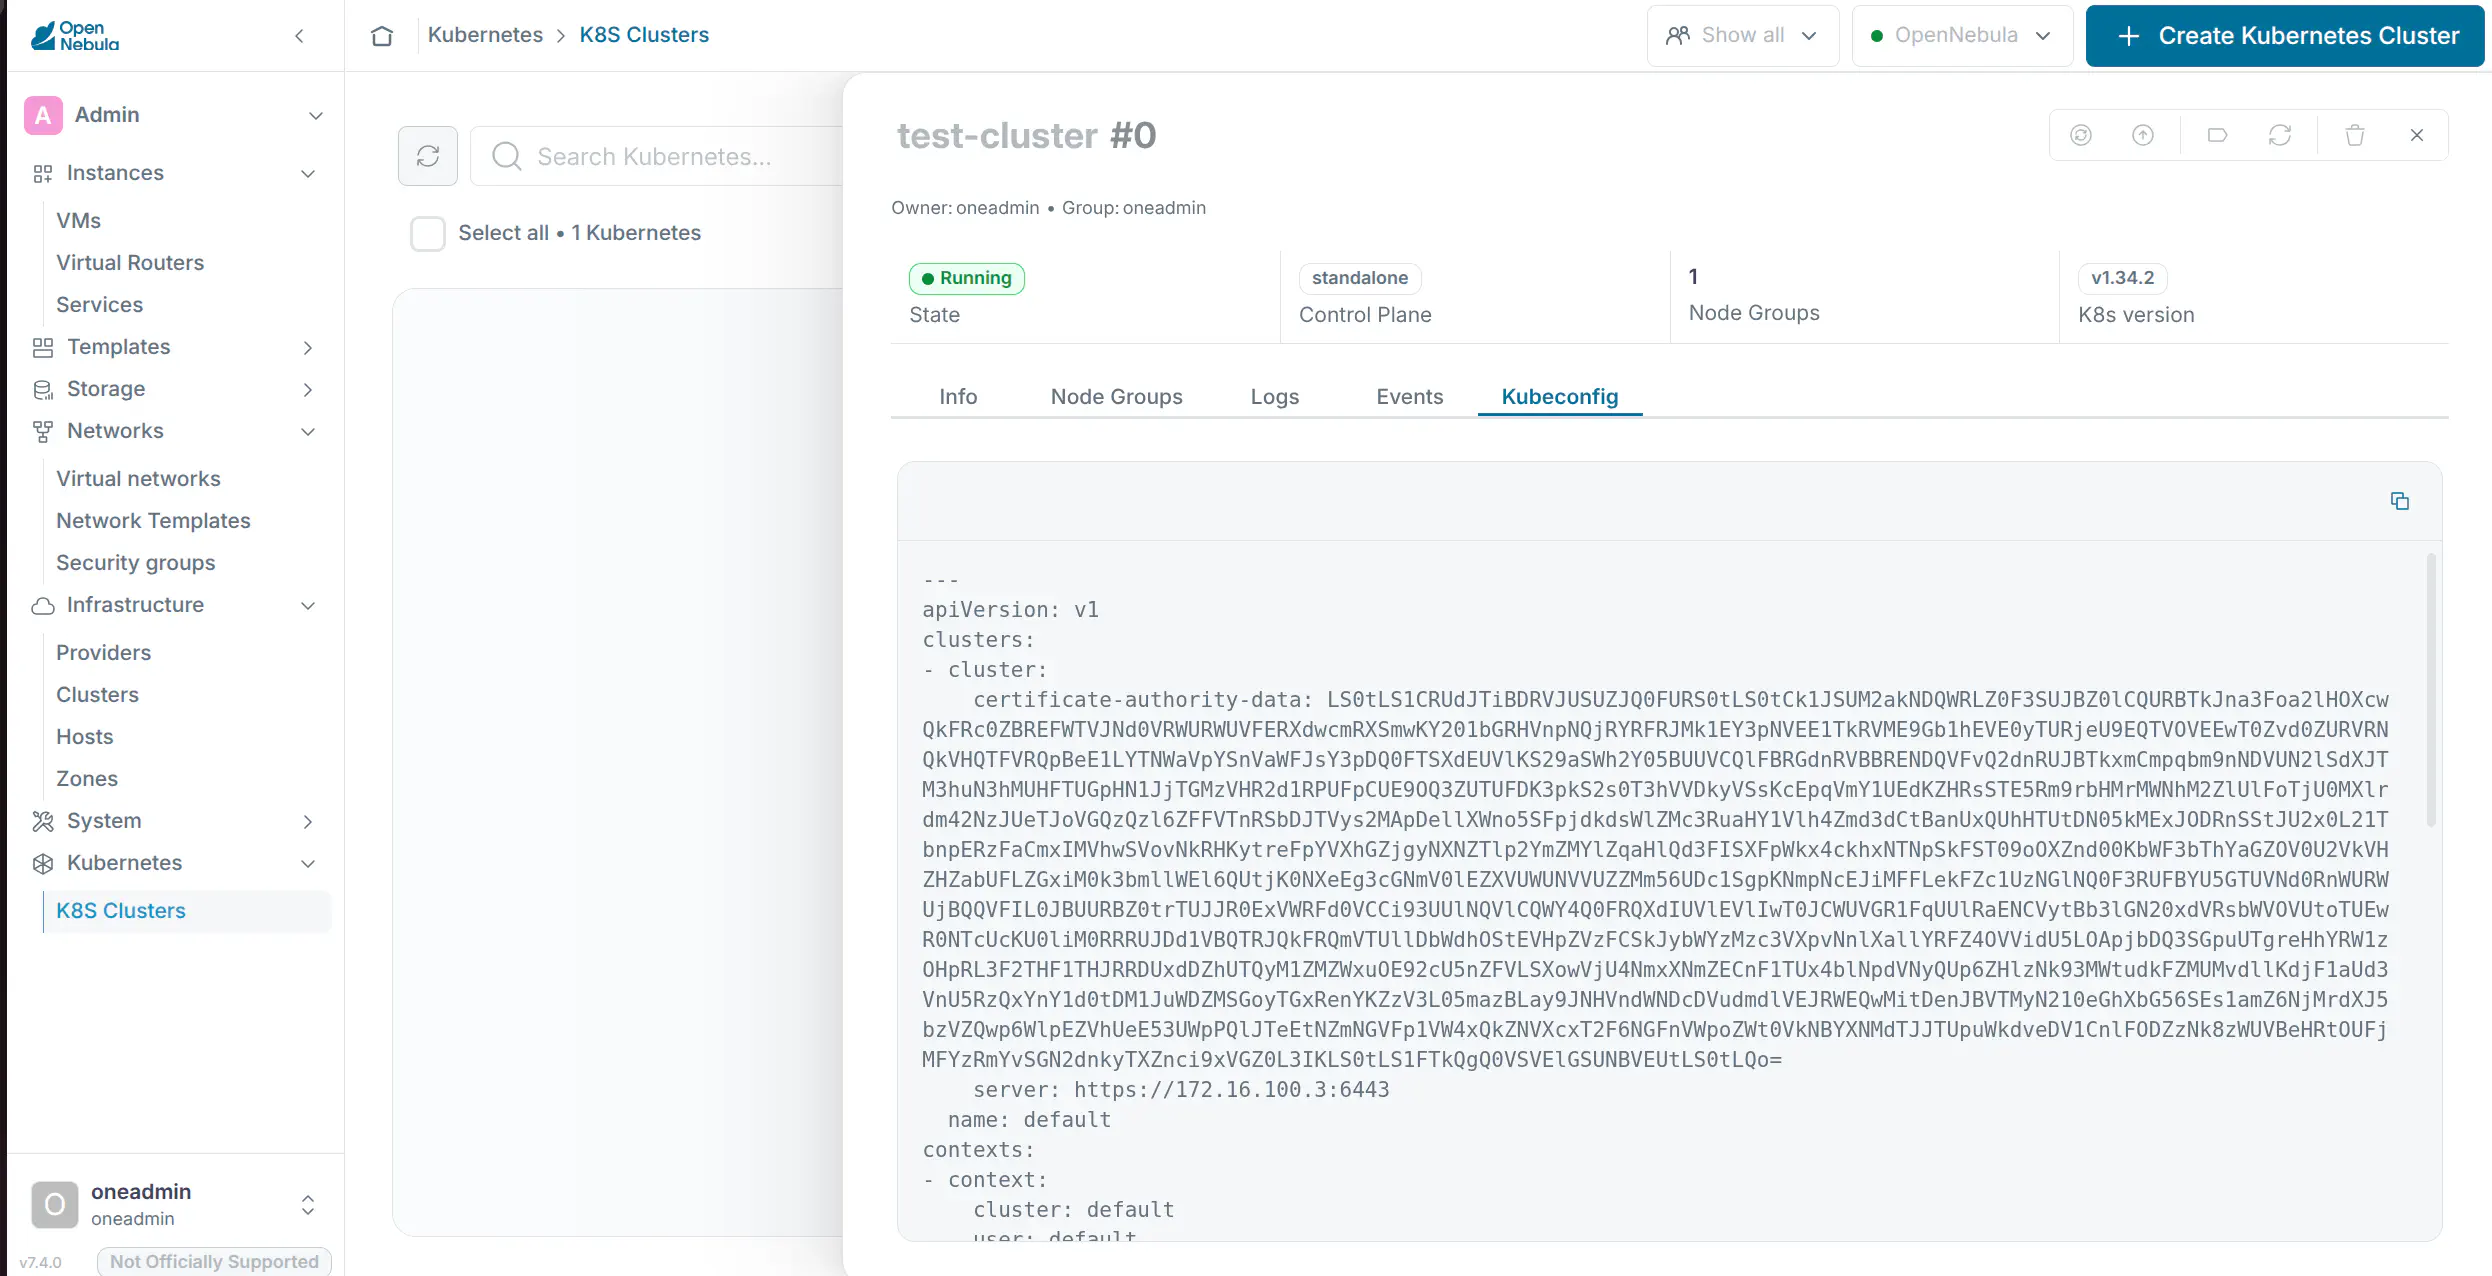
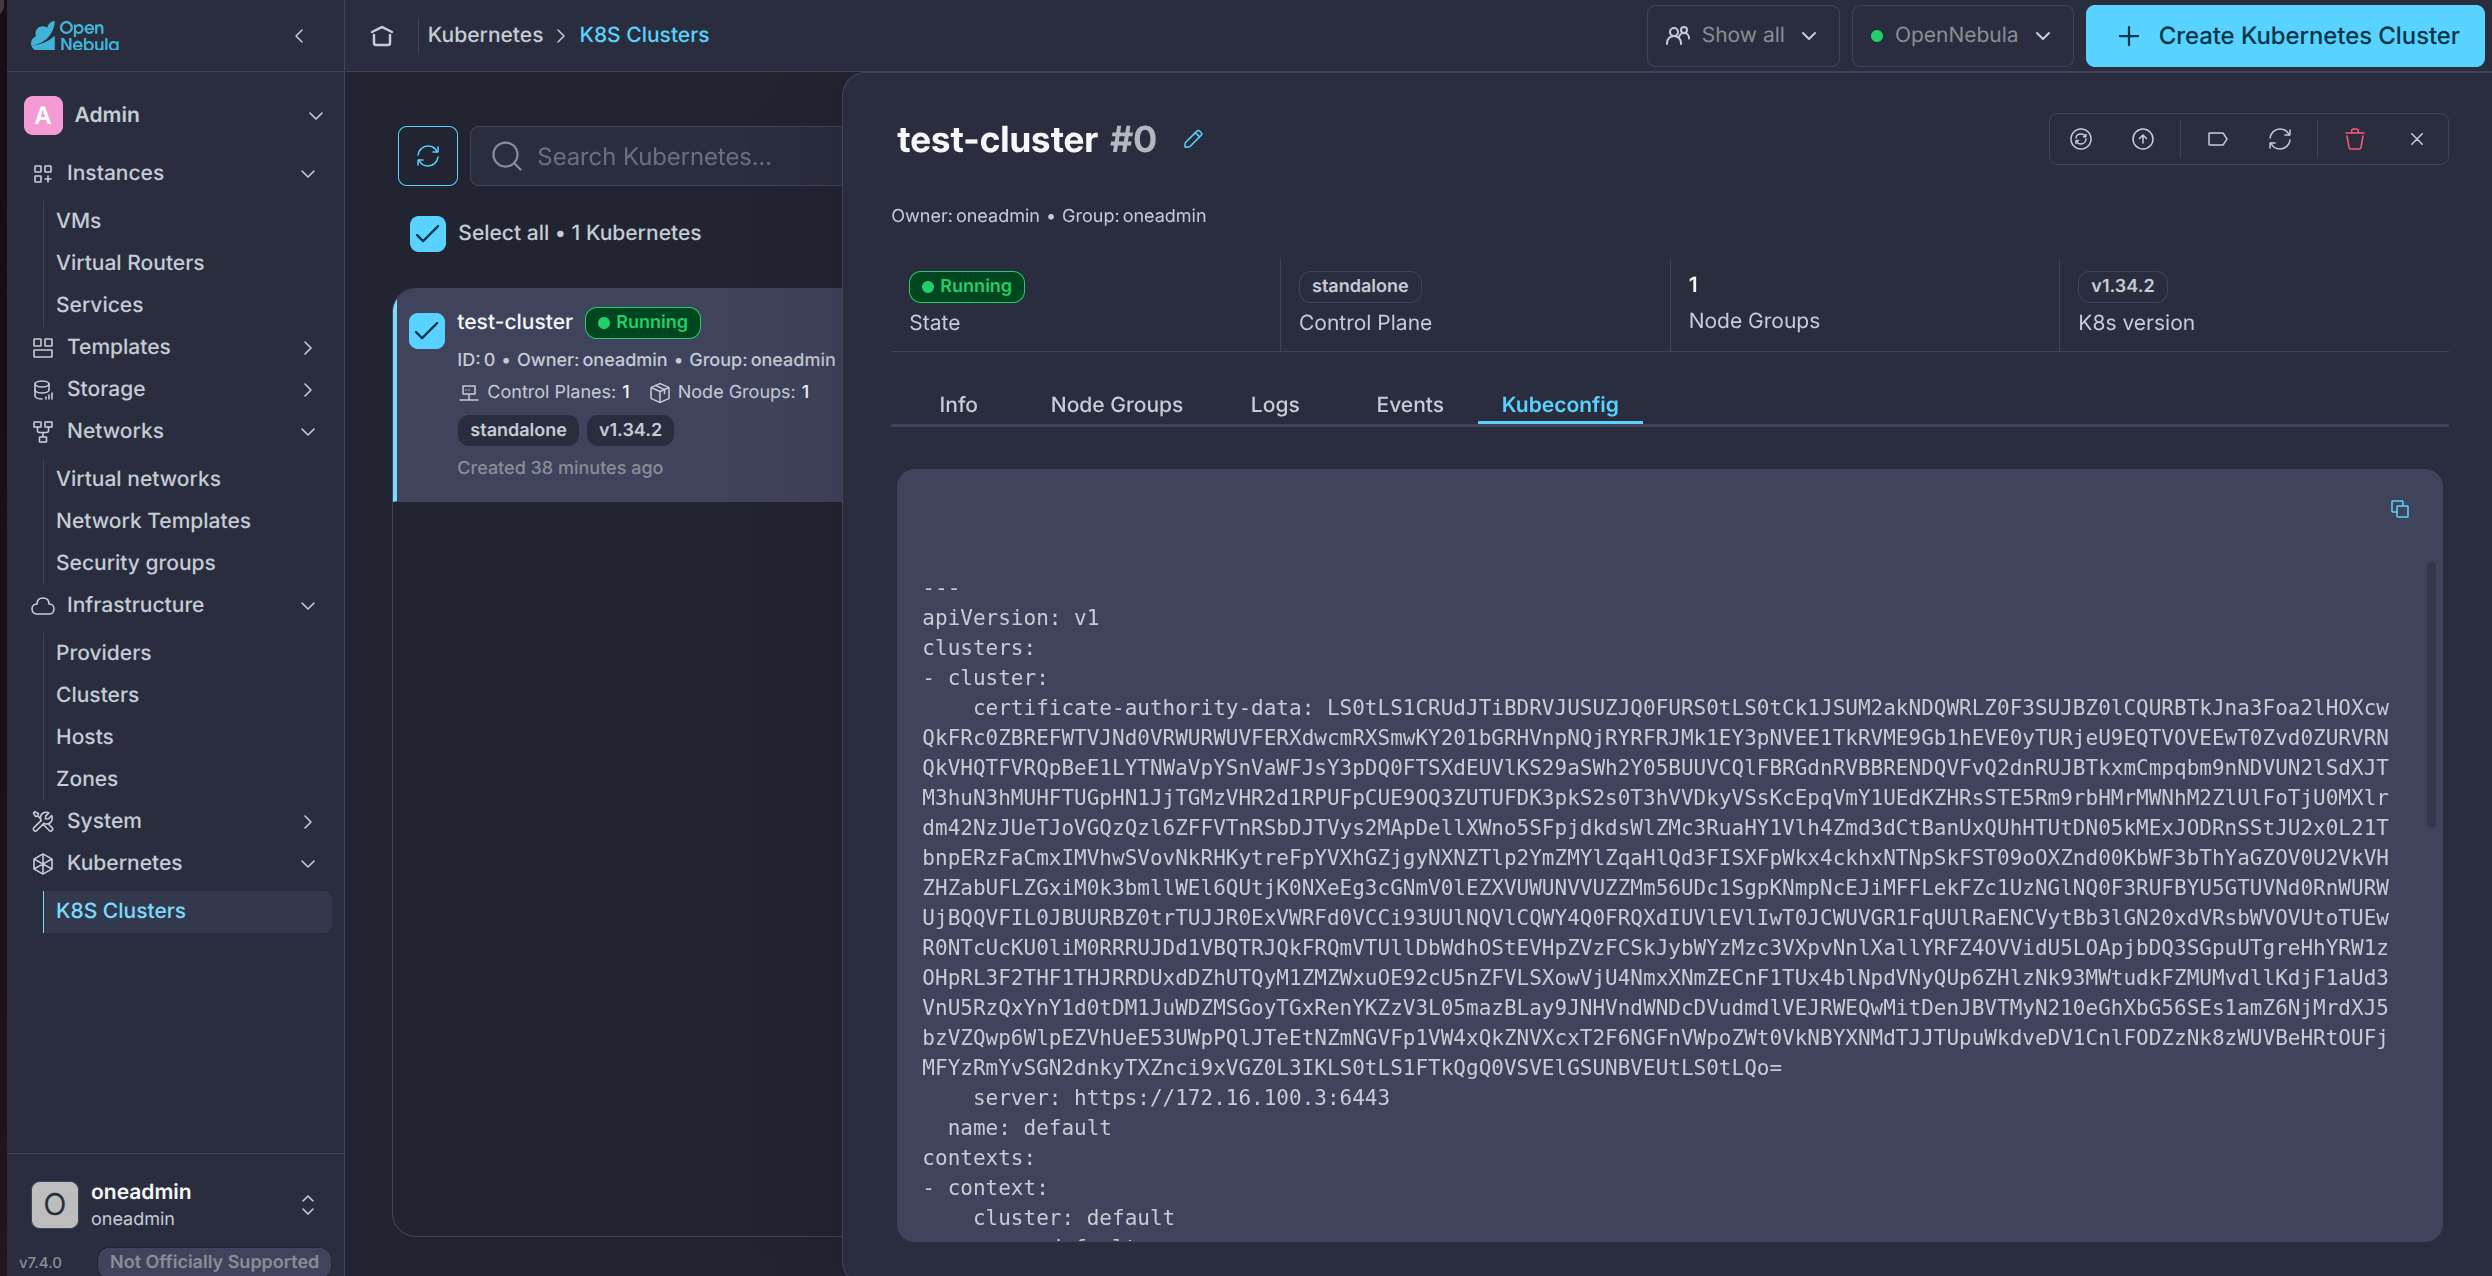
Open a new file in a text editor on the command line of your OpenNebula Front-end and copy the kubeconfig details into it, then save the file named as kubeconfig. Ensure that kubectl can communicate with your K8s Cluster with the following command:
KUBECONFIG=./kubeconfig kubectl get nodes
You must reference the kubeconfig file with the KUBECONFIG environment variable with every kubectl command, you can also export the variable if preferred. You should get an output similar to the following:
NAME                                                 STATUS   ROLES                AGE   VERSION
controlplane-general-standalone-2c6fe424ffbb-kn4t5   Ready    control-plane,etcd   45m   v1.34.2+rke2r1
nodegroup-general-small-4a188ff28e5f-hc2jz-fjpcq     Ready    <none>               26m   v1.34.2+rke2r1
You are now be ready to deploy an application, download the example application from OpenNebula’s GitHub repository with curl:
curl -O -L https://github.com/OpenNebula/one-training-files/raw/refs/heads/master/OneKE/test-app-v2-cloudflared.tar
Then deploy the example application with kubectl:
KUBECONFIG=./kubeconfig kubectl apply -f test-app-v2-cloudflared/.
Verify that the pods are running:
KUBECONFIG=./kubeconfig kubectl get pods
NAME                           READY   STATUS    RESTARTS   AGE
cloudflared-5cc6fb5c66-p9kx8   1/1     Running   0          28s
mariadb-6f9fff7d7d-mcw6v       1/1     Running   0          28s
test-app-6fc848875c-bkqf9      1/1     Running   0          28s
test-app-6fc848875c-zzjxb      1/1     Running   0          28s
KUBECONFIG=./kubeconfig kubectl get svc
NAME         TYPE        CLUSTER-IP      EXTERNAL-IP   PORT(S)    AGE
kubernetes   ClusterIP   10.43.0.1       <none>        443/TCP    55m
mariadb      ClusterIP   10.43.221.237   <none>        3306/TCP   3m29s
test-app     ClusterIP   10.43.178.68    <none>        5000/TCP   3m29s
In order to expose a real application with a publicly reachable URL, it is normally necessary to set up a public IP address, a load balancer or a NodePort. This advanced configuration goes beyond the scope of this quick-start guide. Therefore the example application creates a “Quick Tunnel” using the freely available trycloudflare.com service to create a temporary, publicly reachable URL for the application you have deployed on your K8s Cluster.
Run the following command, including the name of the cloudflared pod retrieved using the above kubectl get pods command:
KUBECONFIG=./kubeconfig kubectl logs cloudflared-5cc6fb5c66-p9kx8
Scroll through the output until you see something similar to the following boxed text with a randomly created URL:
2026-07-31T10:45:50Z INF Requesting new quick Tunnel on trycloudflare.com...
2026-07-31T10:45:55Z INF +--------------------------------------------------------------------------------------------+
2026-07-31T10:45:55Z INF |  Your quick Tunnel has been created! Visit it at (it may take some time to be reachable):  |
2026-07-31T10:45:55Z INF |  https://xhtml-loads-enhanced-belt.trycloudflare.com                                       |
2026-07-31T10:45:55Z INF +--------------------------------------------------------------------------------------------+
2026-07-31T10:45:55Z INF Cannot determine default configuration path. No file [config.yml config.yaml] ....
Visit the randomly generated URL given in the log output and you will see the interface of the example application:
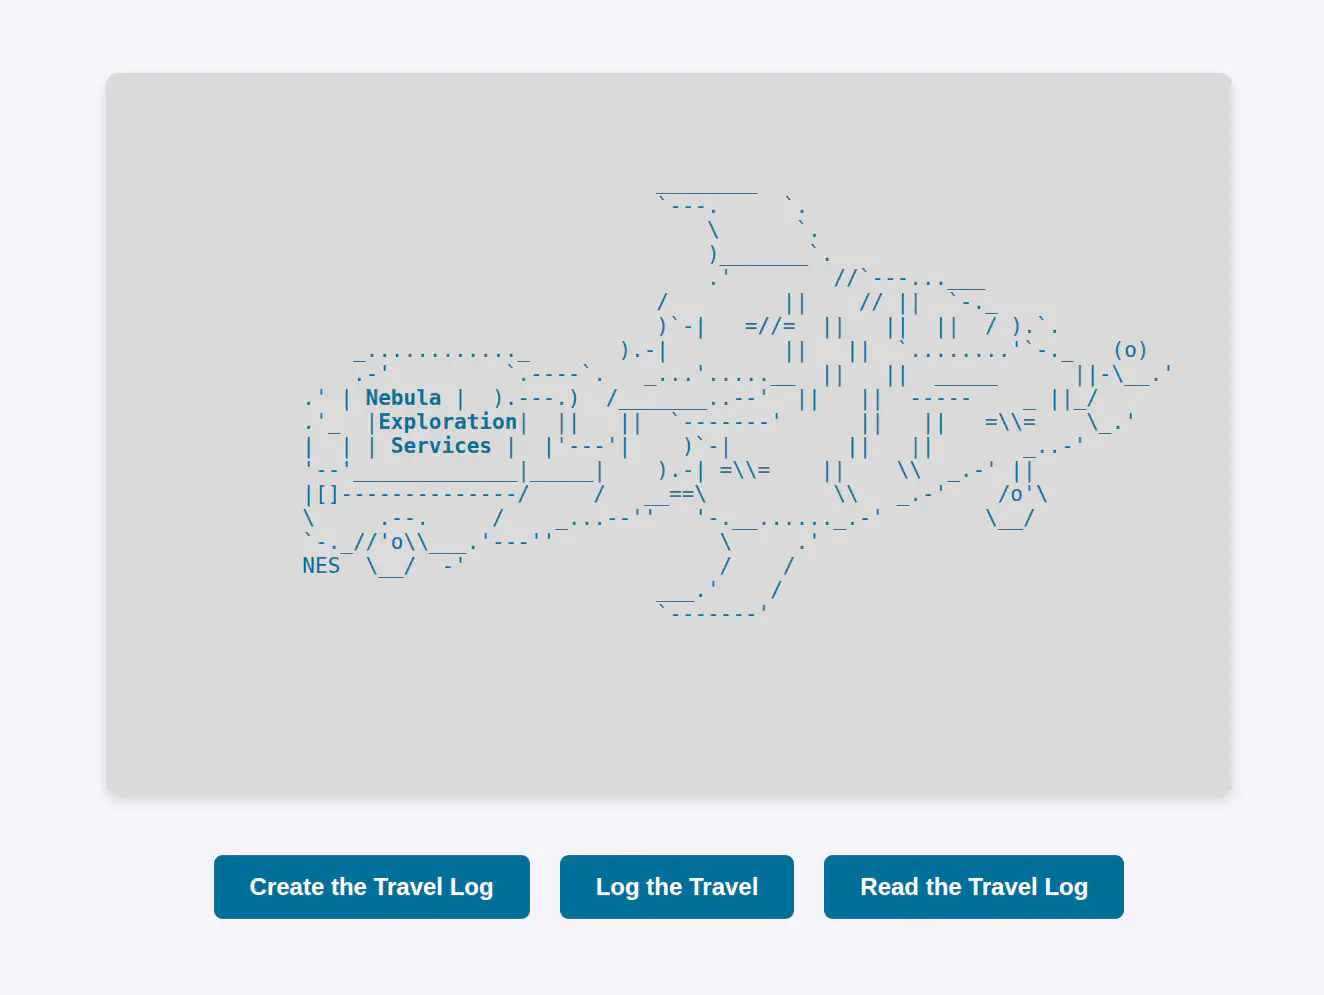
You can interact with the example application using the 3 buttons. You can add travel logs using Create the Travel Log and Log the Travel and then see the logs saved in the MariaDB database with the Read the Travel Log button.
If you want to view the data directly in the database, run the following command on the Front-end to interact directly with the MariaDB pod:
KUBECONFIG=./kubeconfig kubectl exec deployment/mariadb -- \
  mariadb -u root -pdb_dev \
  -D app-db \
  -e 'SELECT id, date, destination FROM data ORDER BY id;'
You should see the same entries that you can see in the Read the Travel Log view in the web interface:
id	date	destination

1	2026-07-31 10:52:38	Bow-Tie Nebula
2	2026-07-31 10:52:42	Blue Flash Nebula
3	2026-07-31 10:52:48	Robin's Egg Nebula
4	2026-07-31 10:52:50	Bug Nebula
5	2026-07-31 10:52:51	Red Spider Nebula
6	2026-07-31 10:57:06	Skull Nebula
7	2026-07-31 10:57:08	Bug Nebula
Next Steps
Now that you have learned how to deploy a K8s Cluster with OneKS, refer to the dedicated Managed Kubernetes documentation section to learn more about how to manage, scale, recover and deprovision K8s Clusters and how to configure OneKS.
GIVE FEEDBACK
Was this resource helpful?
Glad to hear it
Sorry to hear that