Quick Start
This quick-start guide uses the Sunstone Web UI to demonstrate a short first-use workflow for deploying a simple K8s Cluster with OneKS. CLI and API workflows are covered in K8s Cluster Lifecycle Management. Before beginning this quick-start guide, ensure to complete the steps in the Basic Configuration Guide.
Quick-start workflow:
- Prepare the Environment: Verify the minimum OneKS, OneGate, networking, profile, and permission requirements.
- Create the K8s Cluster: Use the Sunstone Web UI K8s Cluster creation wizard.
- Wait for the K8s Cluster: Wait until the K8s Cluster reaches the
RUNNINGstate. - Retrieve kubeconfig: Copy the kubeconfig from the K8s Cluster detail view.
- Validate Kubernetes Access: Run
kubectl get nodesusing the retrieved kubeconfig. - Add Worker Capacity: Create a node group if worker nodes are required.
- Validate Workload Deployment: Deploy a simple NGINX workload and test in-cluster service connectivity.
Create a New K8s Cluster
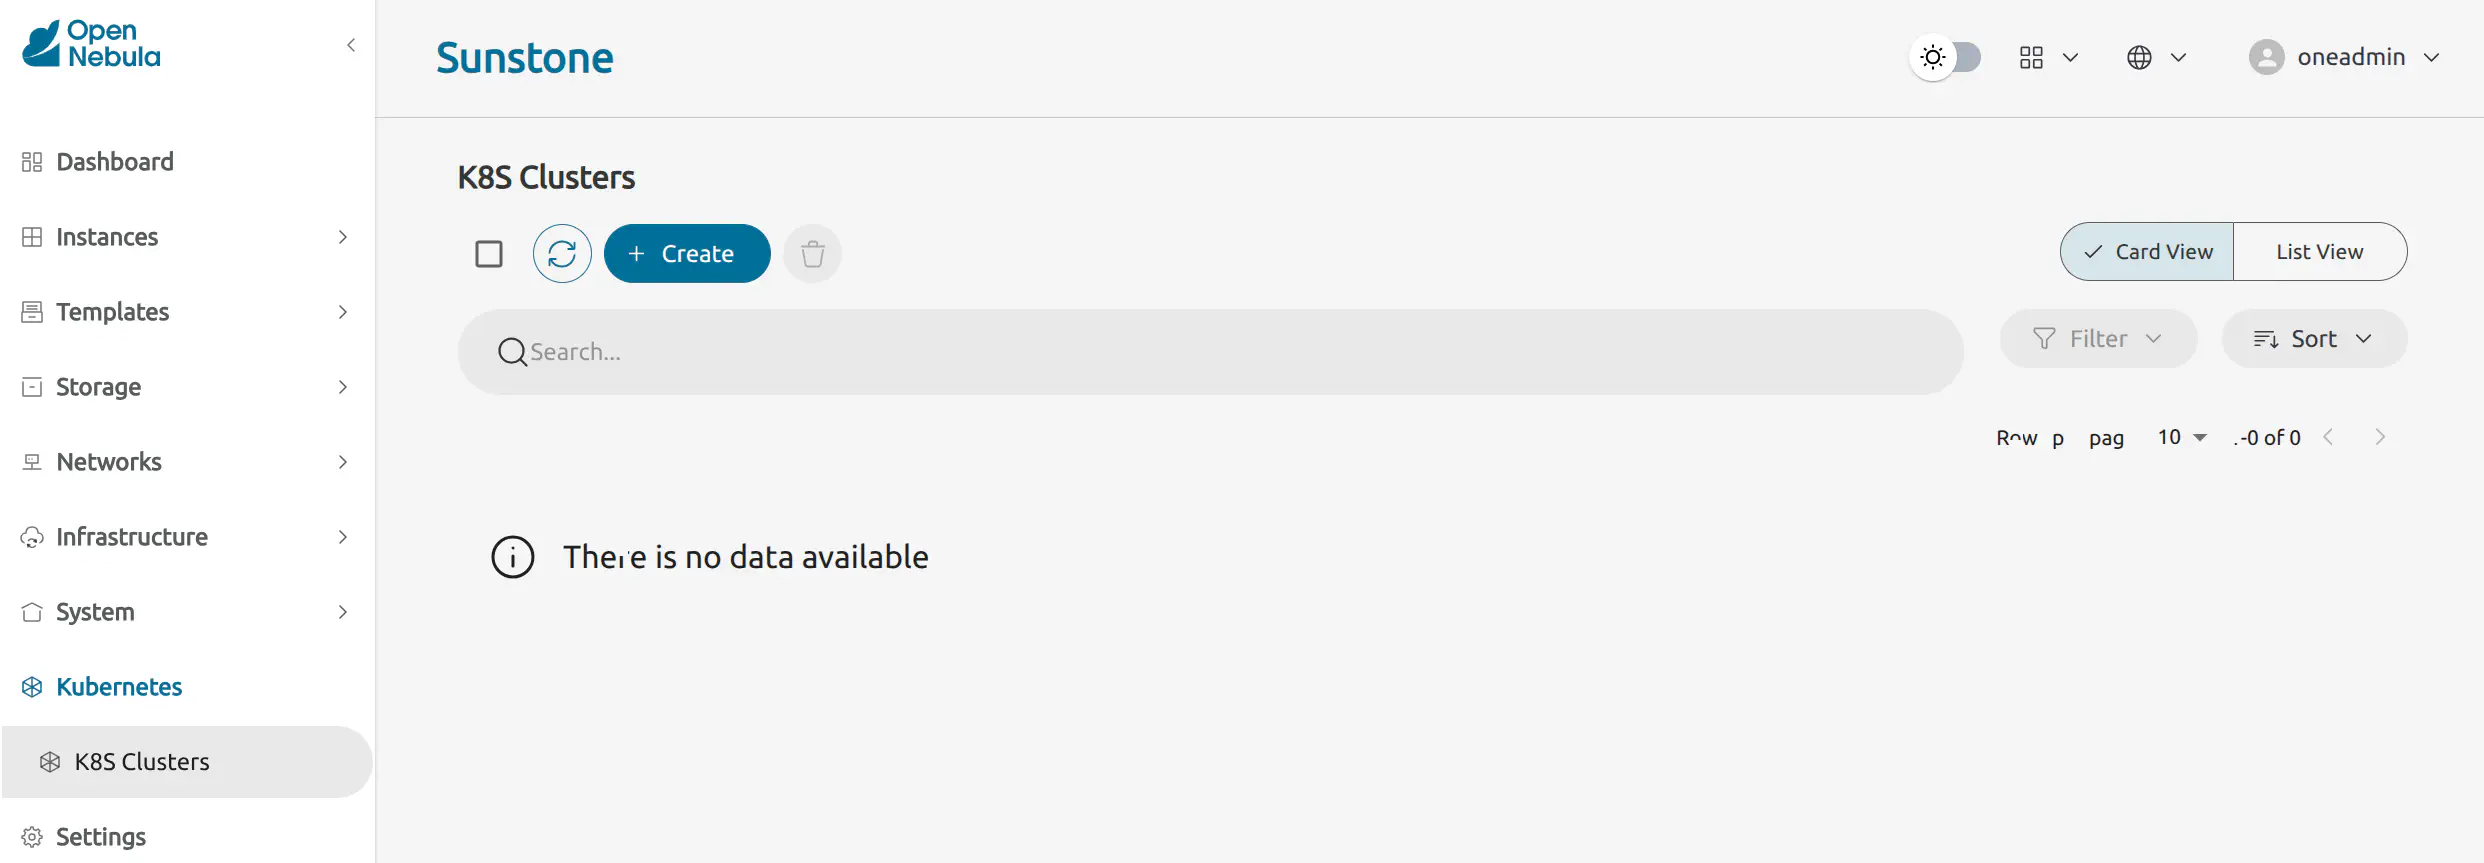
From the left-hand navigation menu in Sunstone, go to Kubernetes -> K8S Clusters:
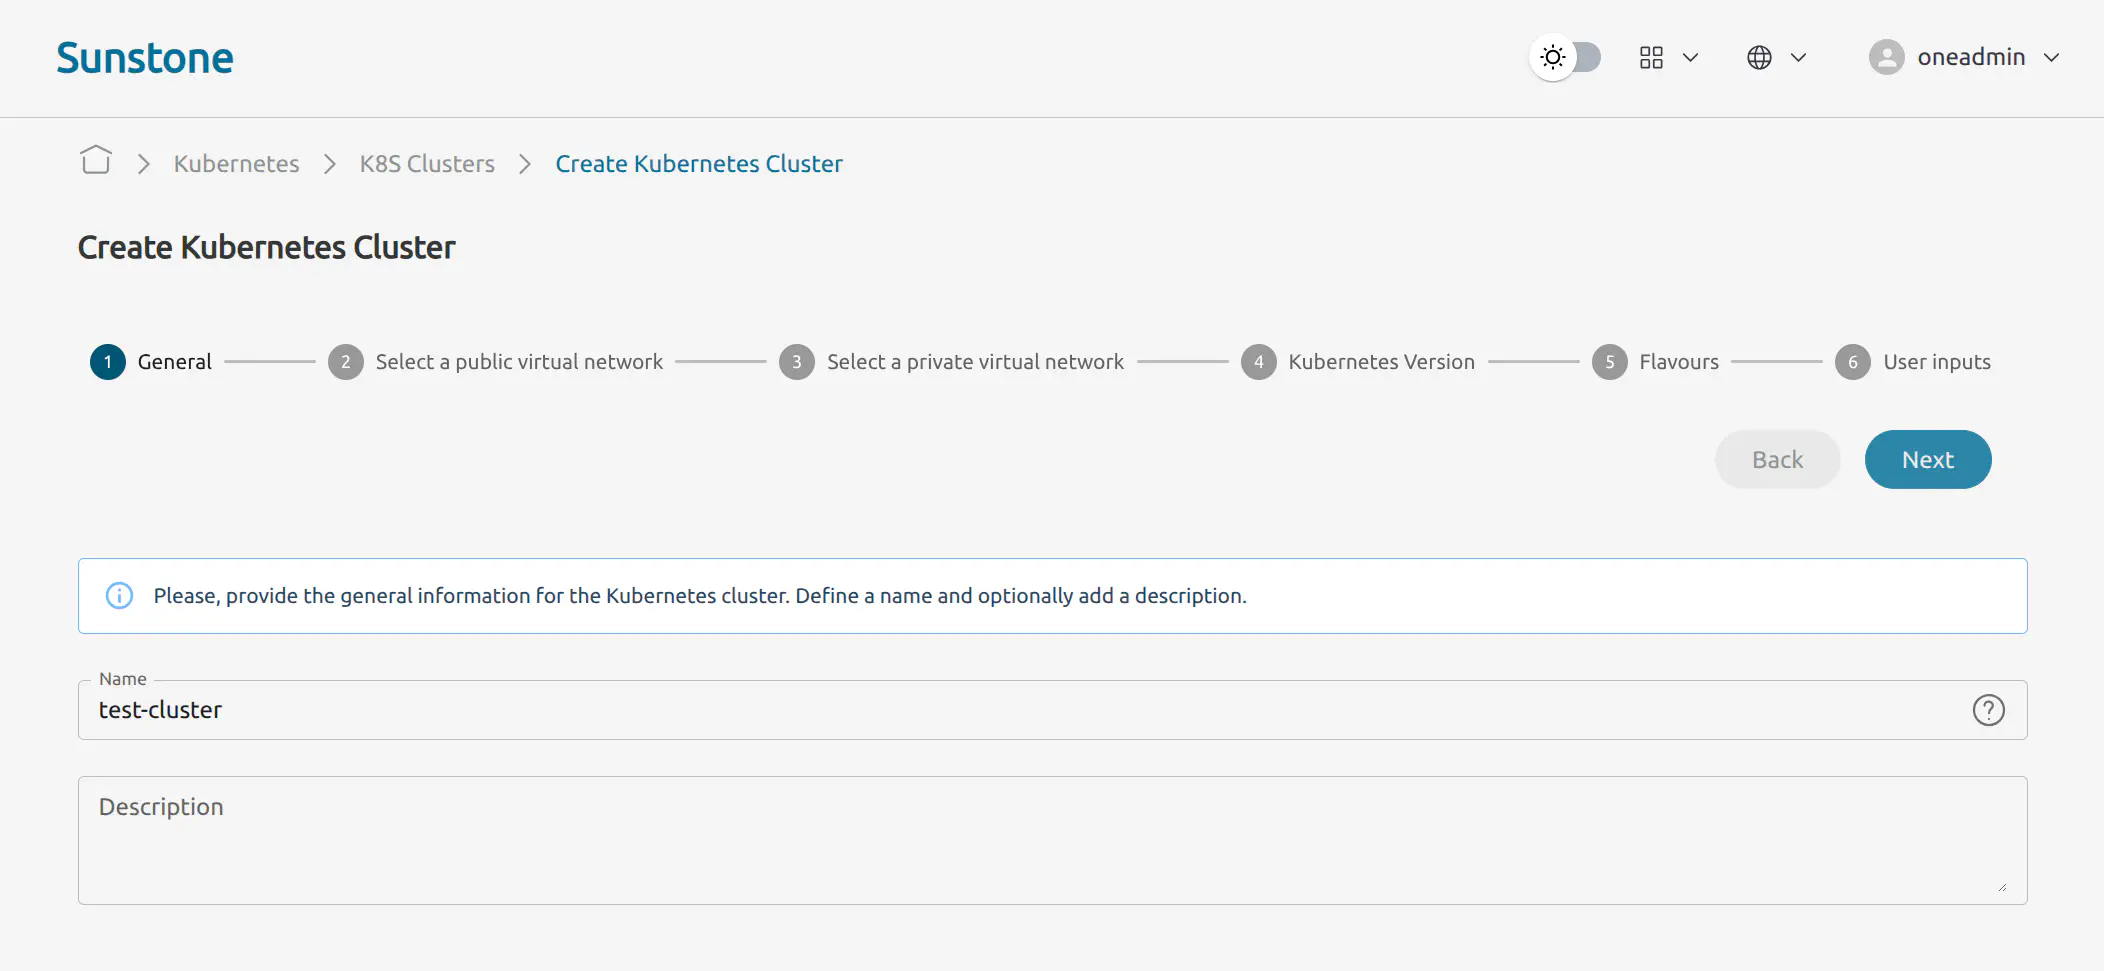
Click Create to start the K8s Cluster creation wizard.
The wizard guides you through the required configuration steps:
- General: K8s Cluster name and optional description.
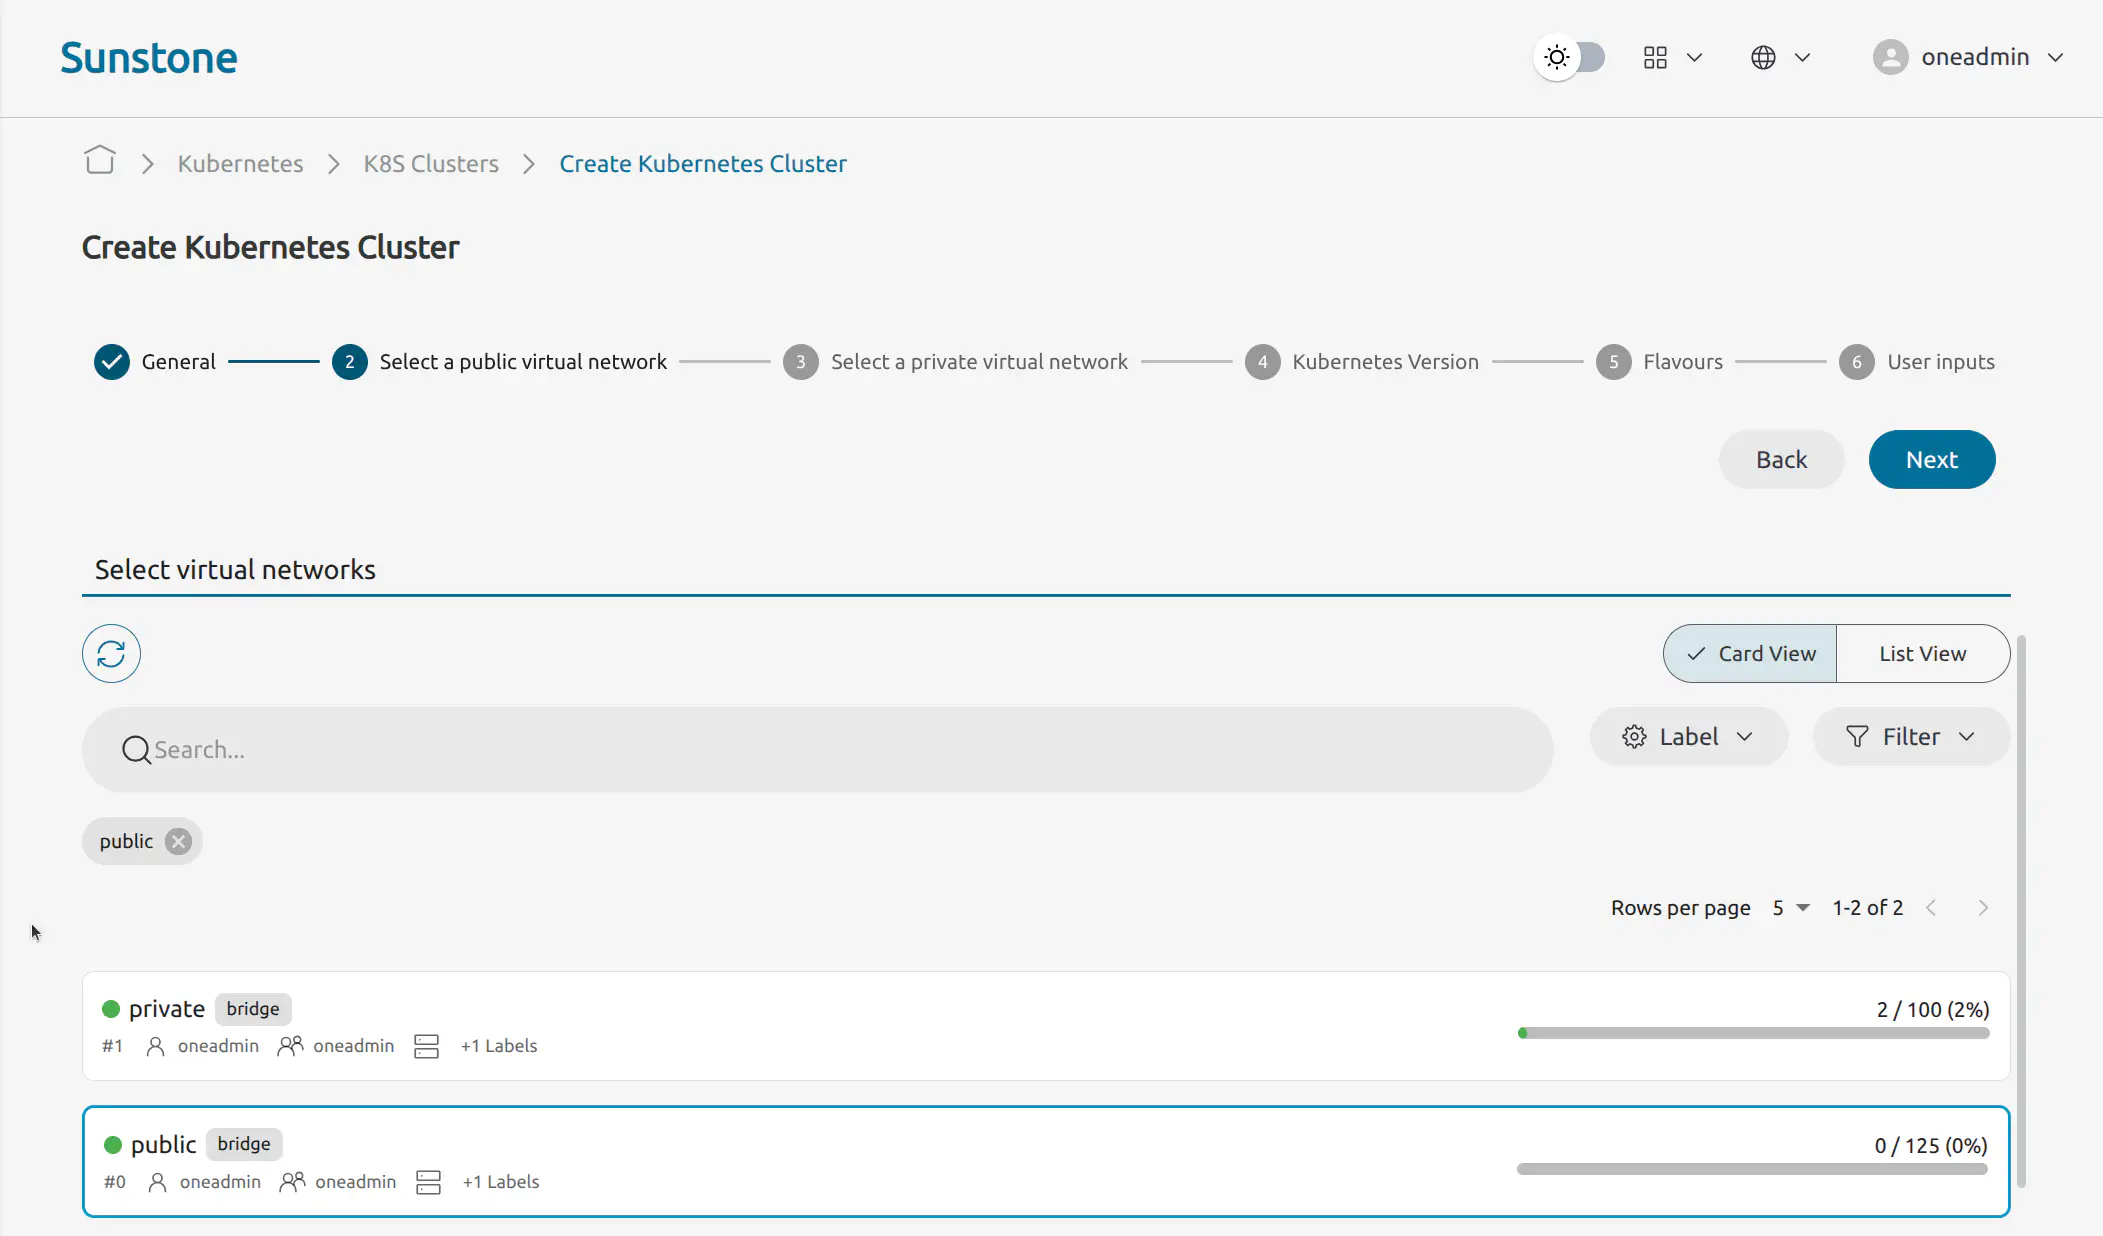
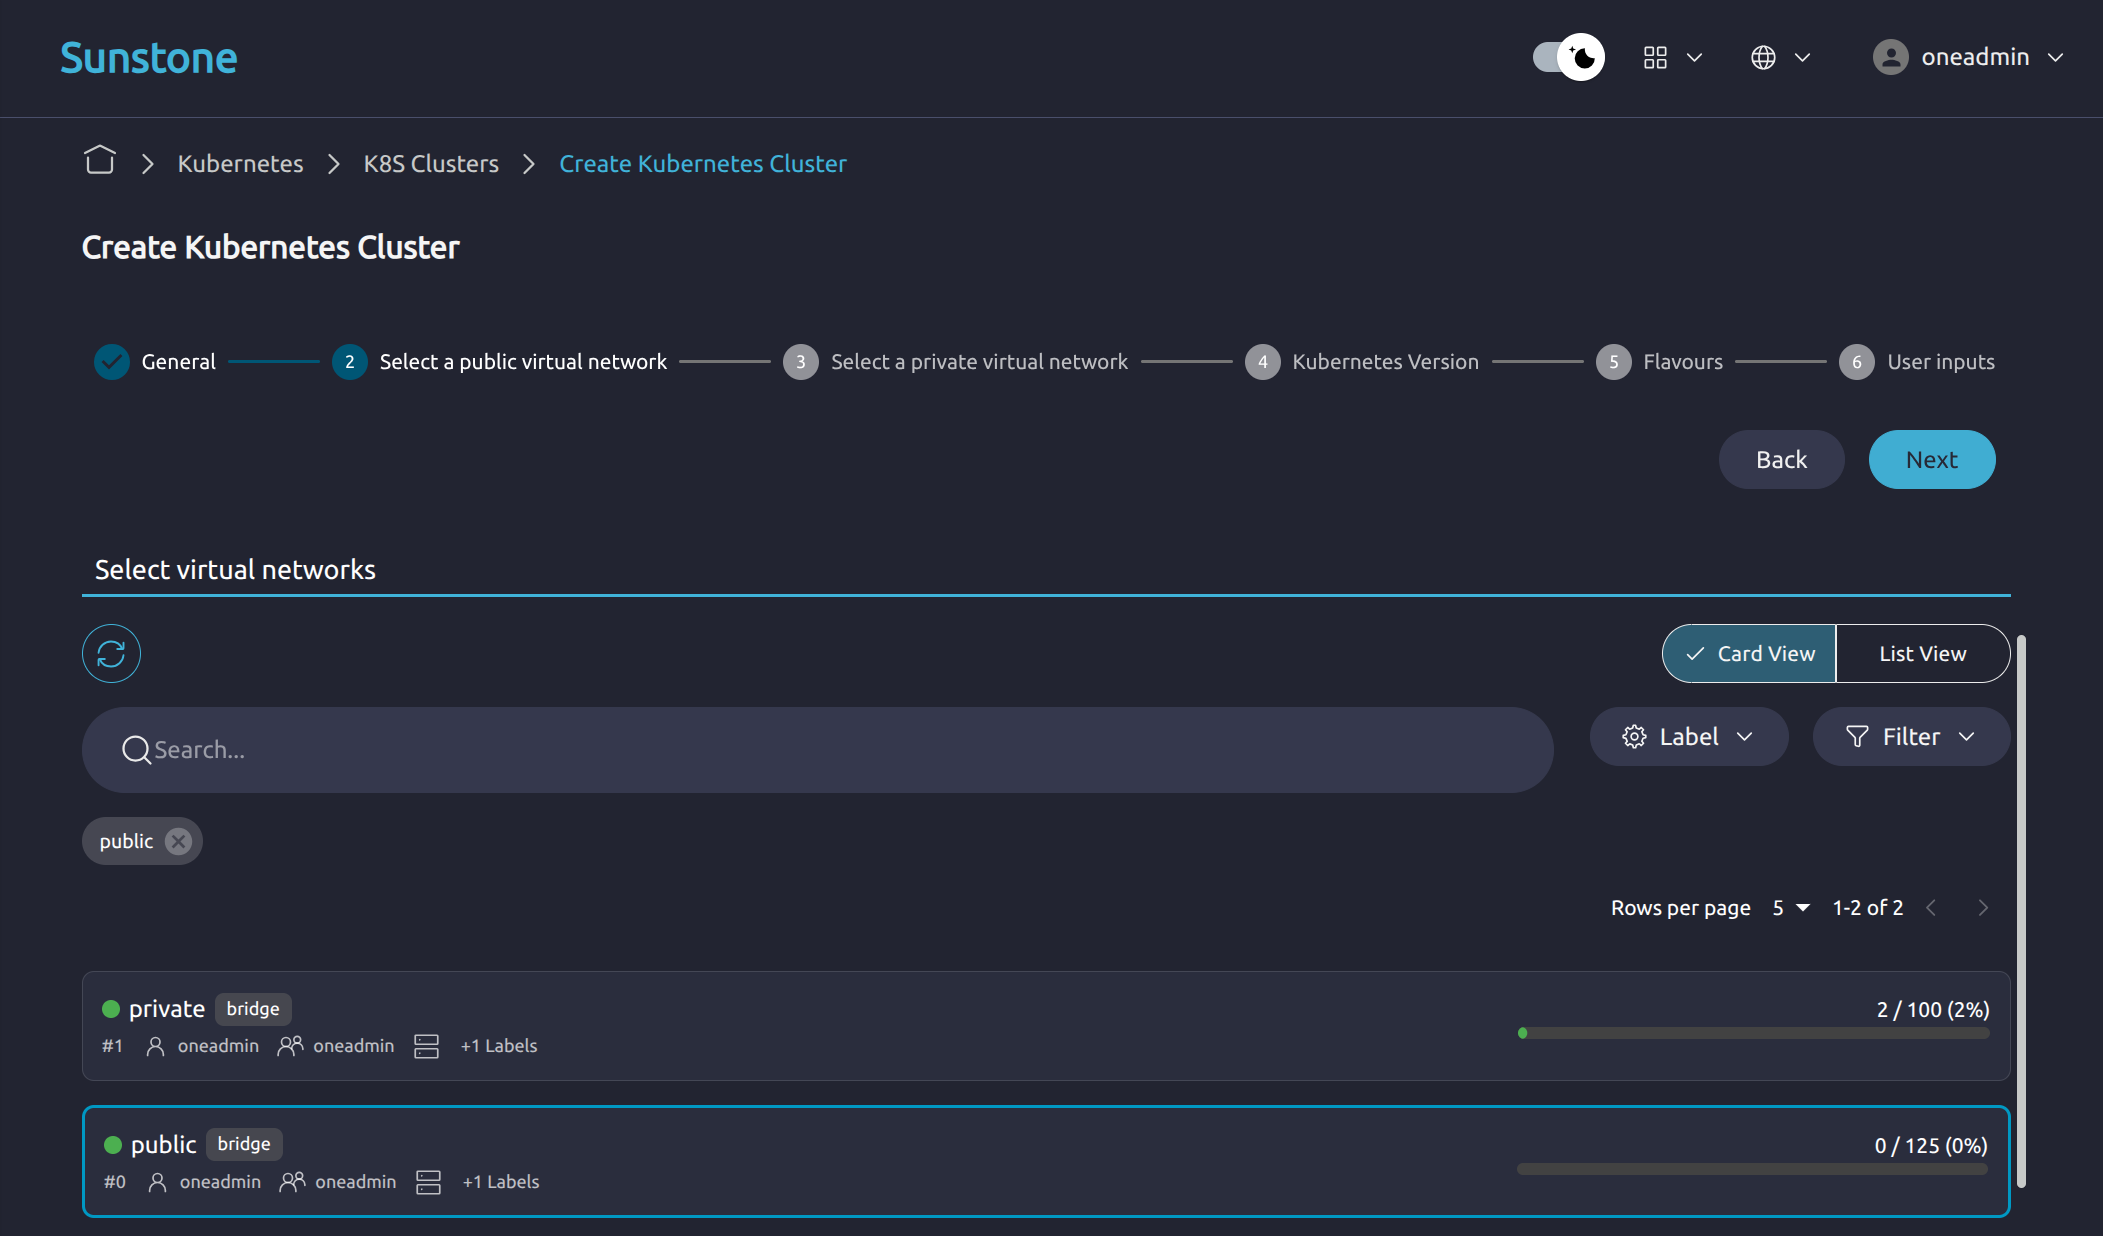
- Select a Public Virtual Network: Public network used for external connectivity and bootstrap paths.
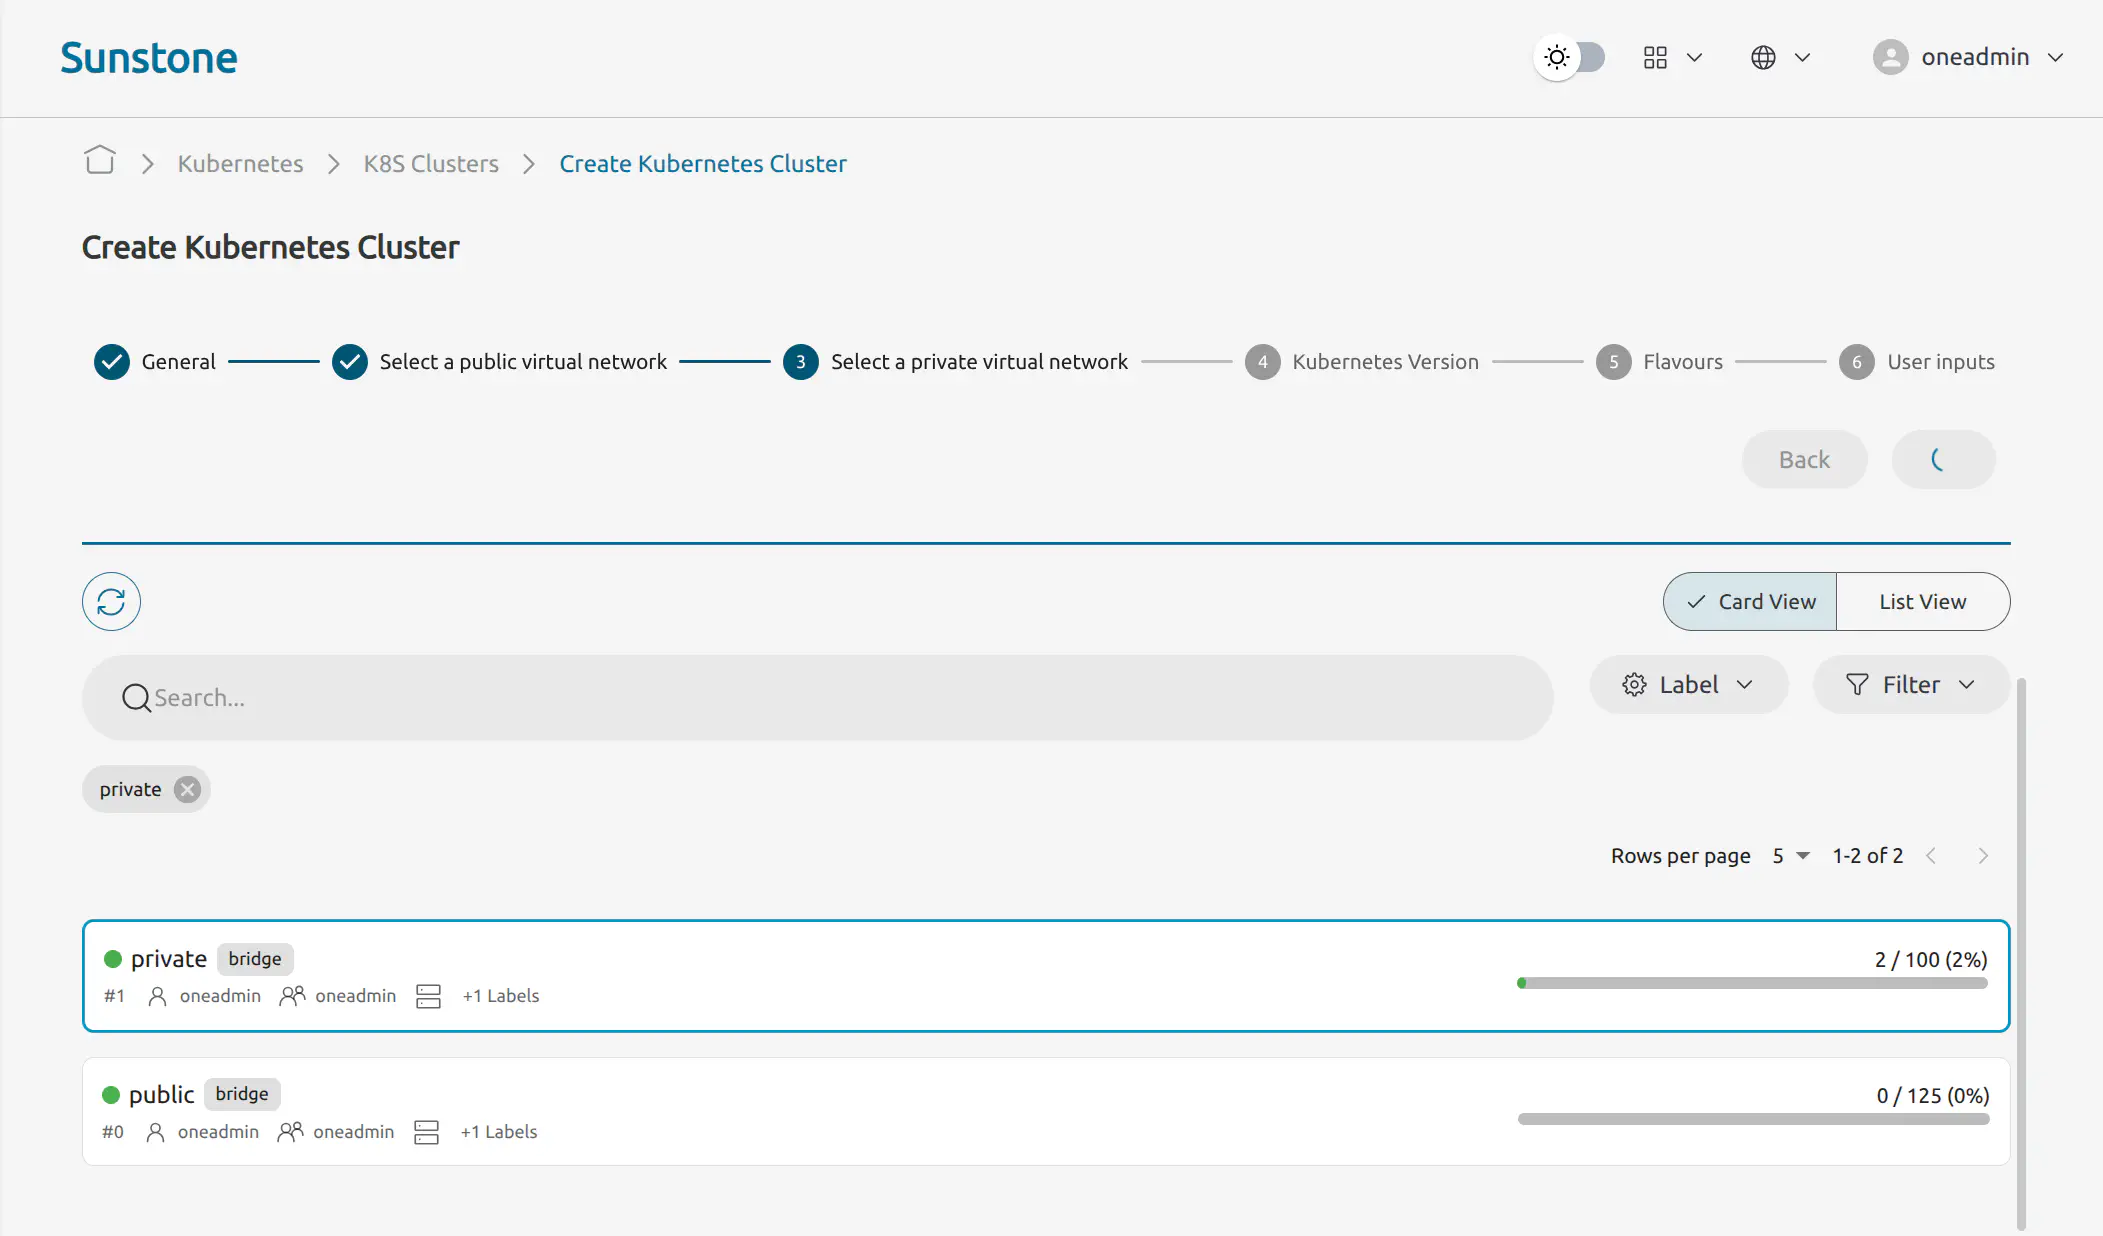
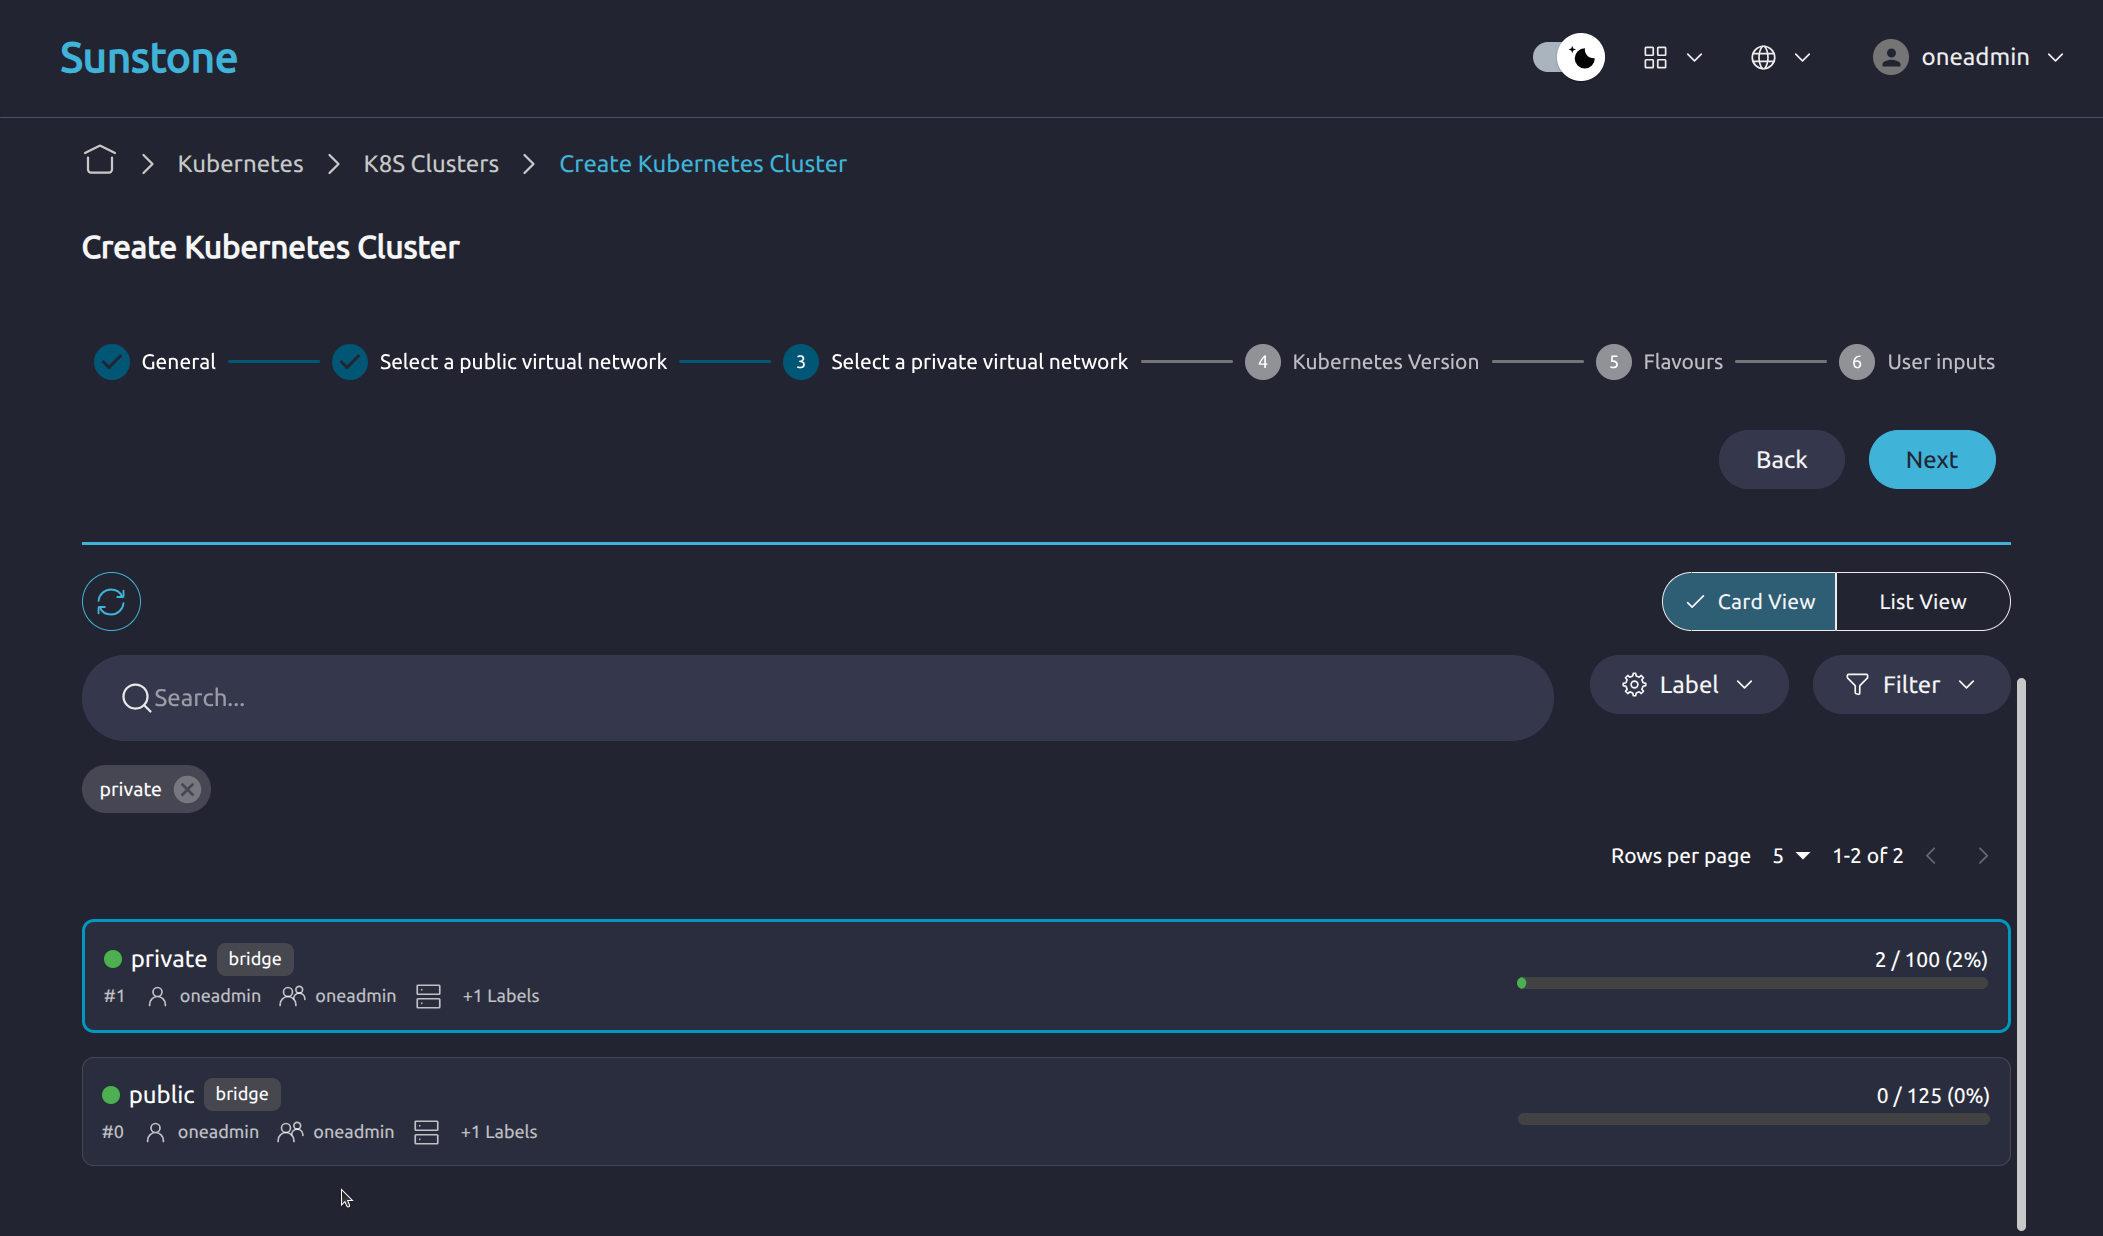
- Select a Private Virtual Network: Private network used for internal K8s Cluster communication.
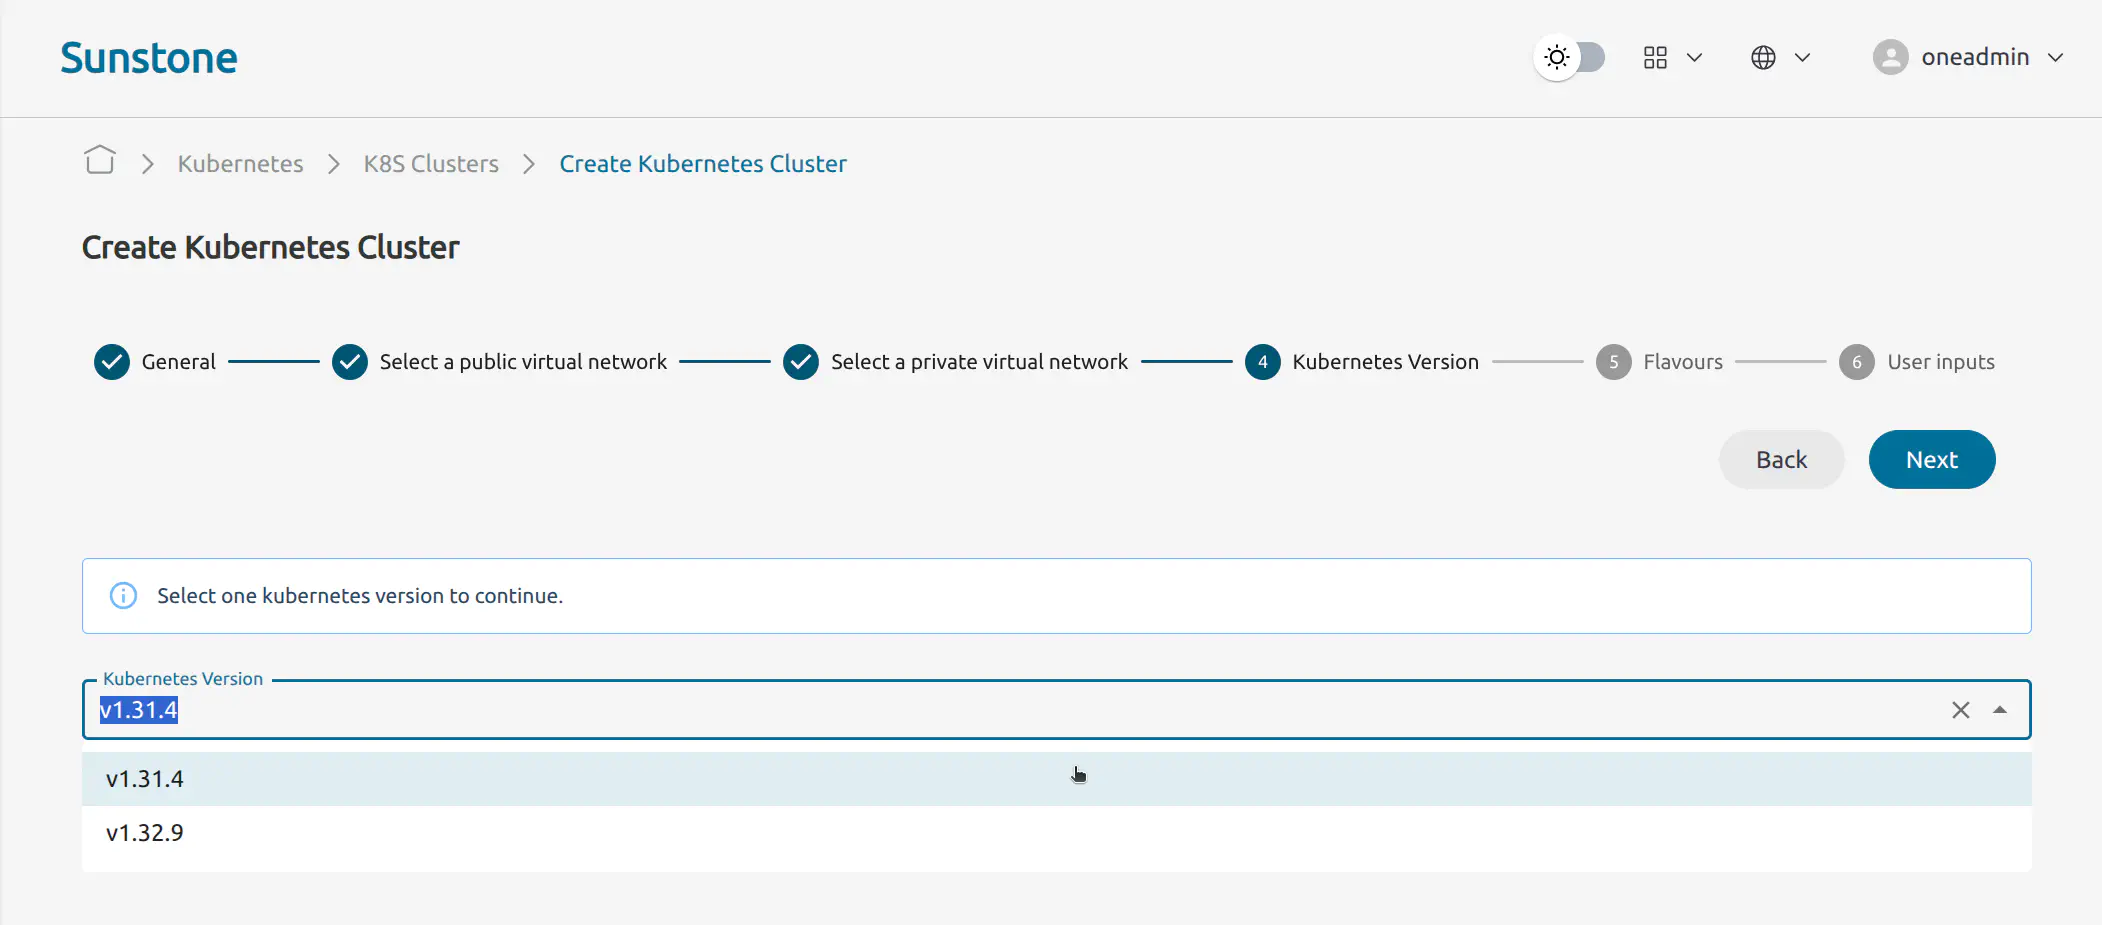
- Kubernetes Version: Kubernetes version to deploy.
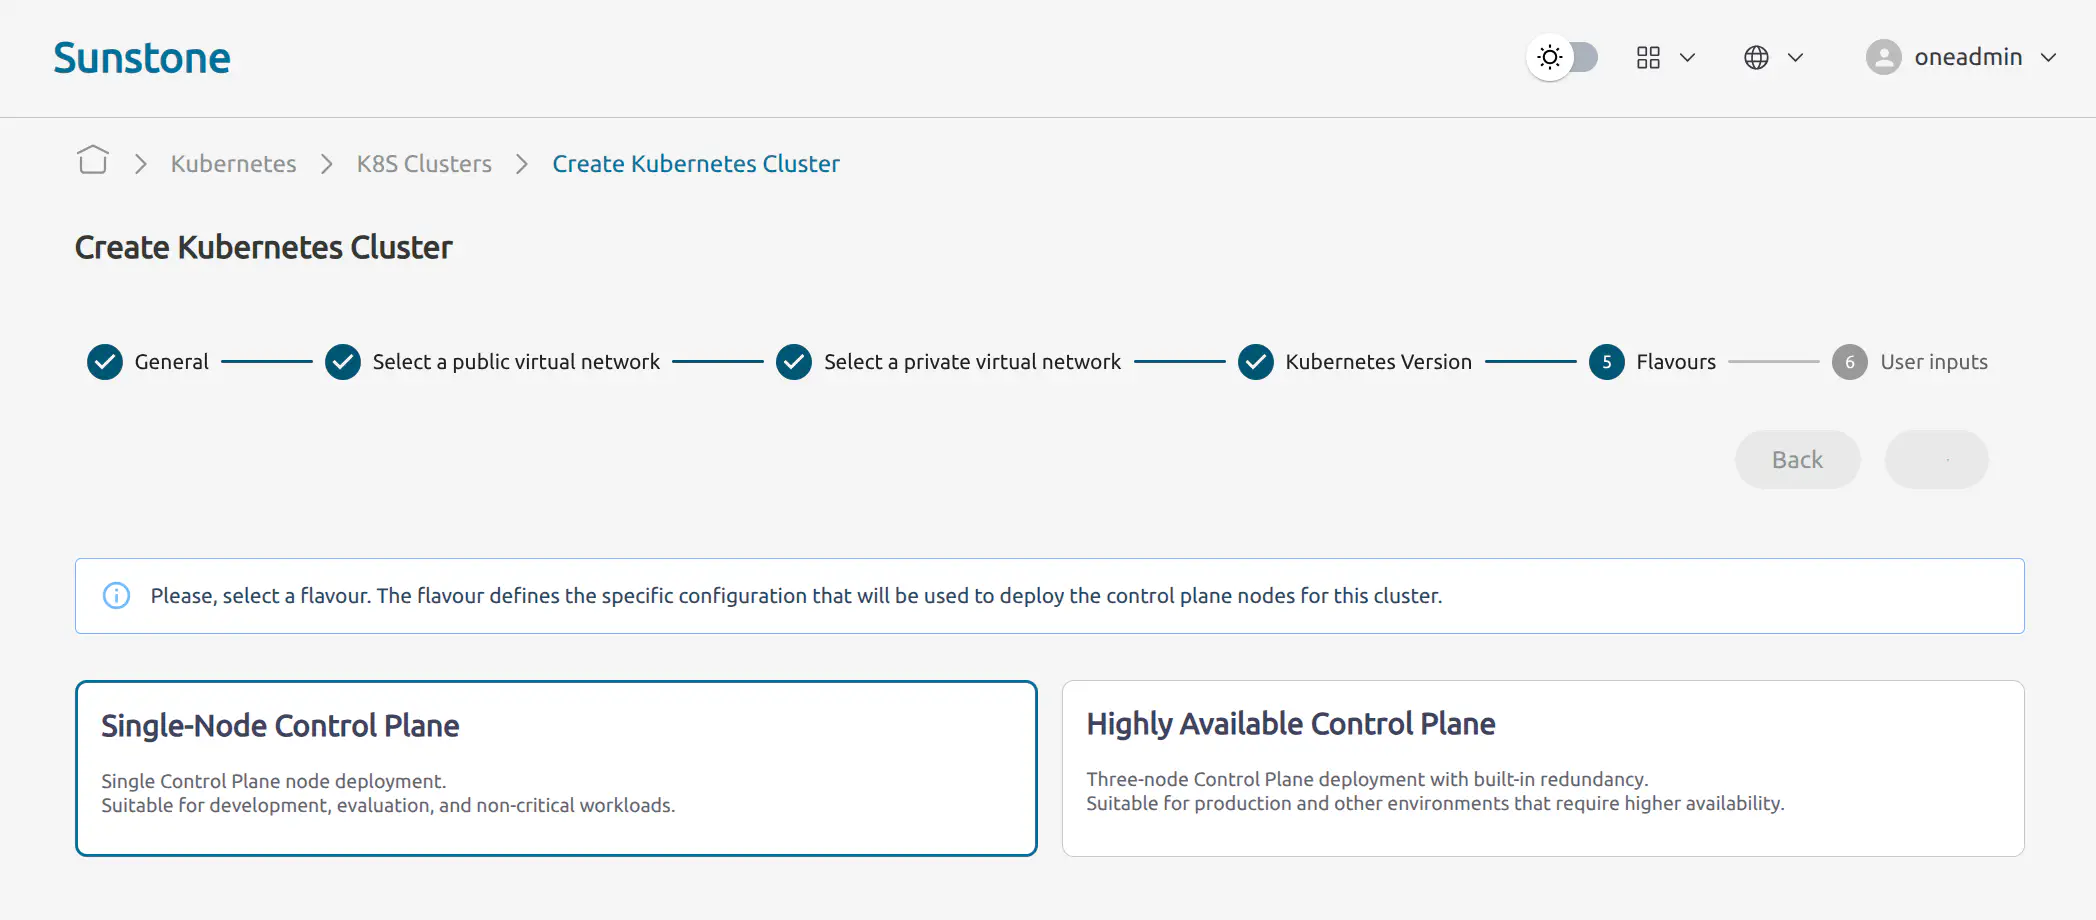
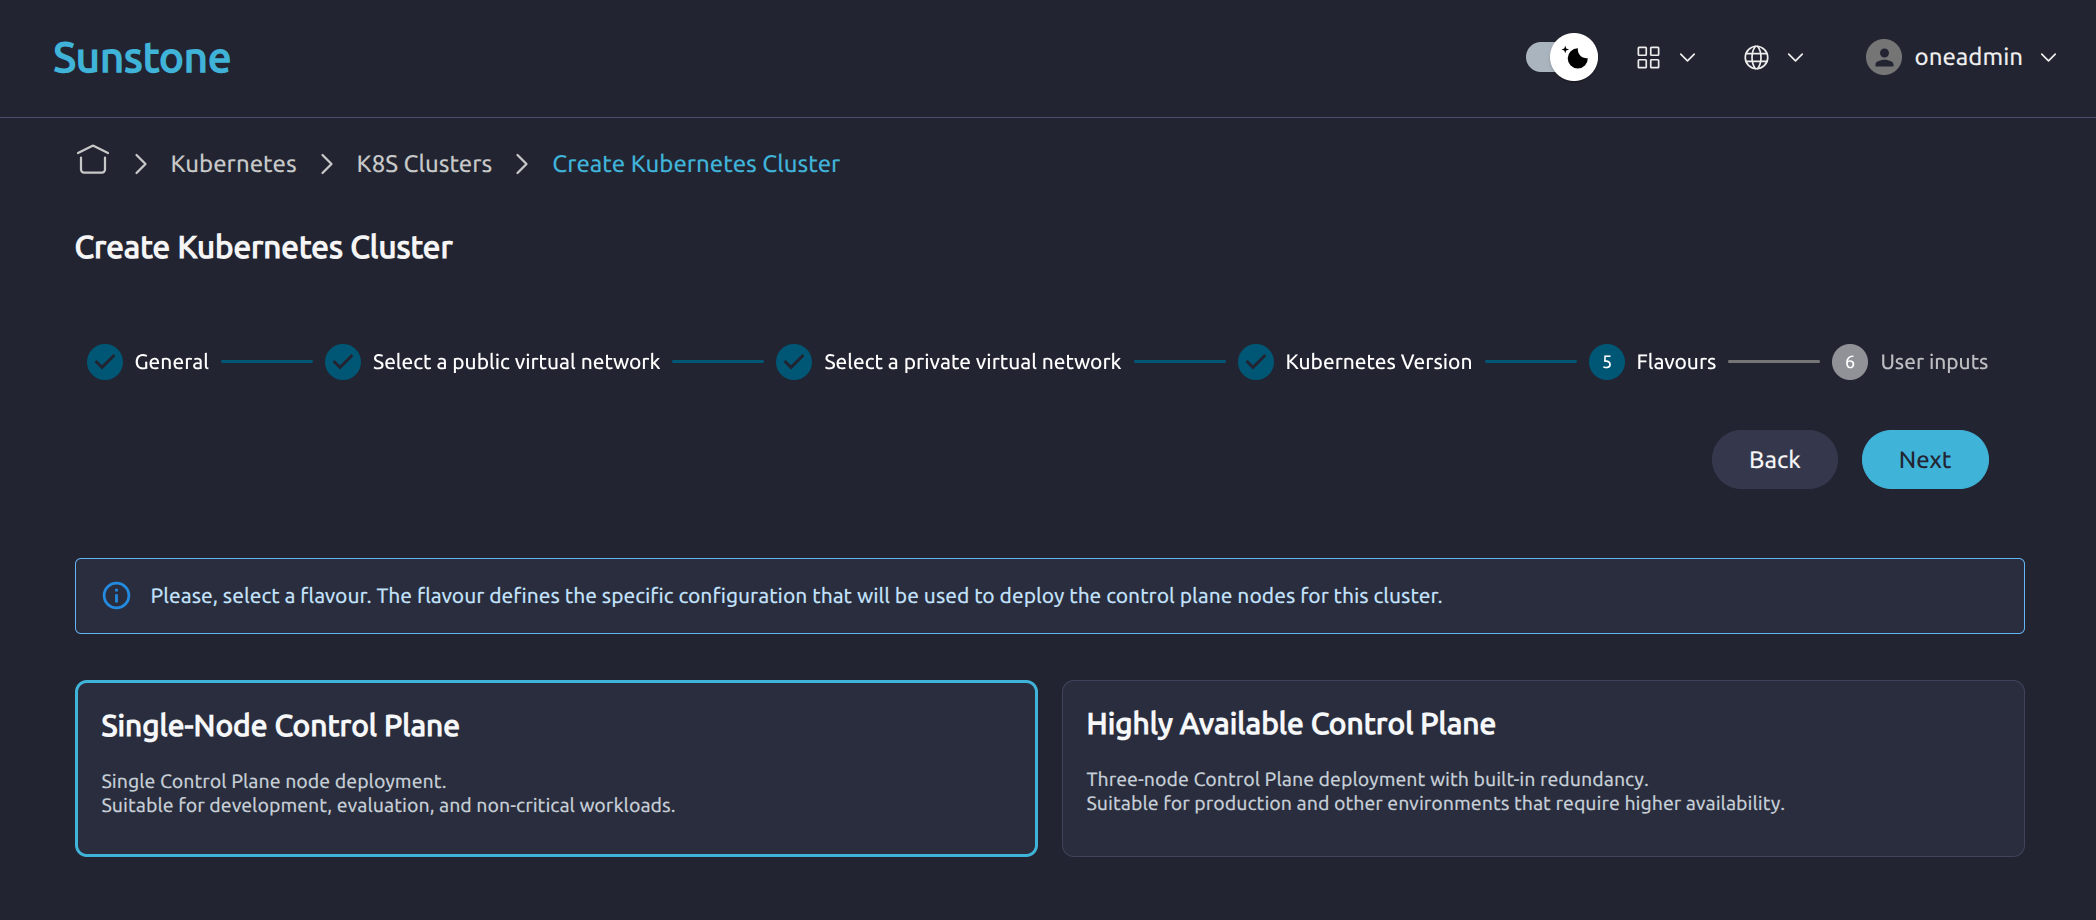
- Flavours: Control-plane flavour to use.
- User inputs: Remaining values required by the selected profile and flavour.
In the General step, provide the basic K8s Cluster information. Enter a K8s Cluster name and, optionally, a description.
In Select a Public Virtual Network, select the public Virtual Network that will provide external connectivity for the K8s Cluster. The public network acts as the gateway to the Internet and is used by the K8s Cluster to expose external access where required.
In Select a Private Virtual Network, select the private Virtual Network that will be used for internal K8s Cluster communication. This network provides isolation from the public Internet and is used for communication between the K8s Cluster nodes.
In Kubernetes Version, select the Kubernetes version you intend to deploy. Only the versions available in the environment are shown.

In Flavours, select the control-plane flavour for the K8s Cluster. The flavour defines the control-plane deployment model and the resources used by the control-plane nodes.
Available options include:
- Single-node Control Plane: Deploys one control-plane node. Suitable for development, evaluation, and non-critical workloads.
- Highly Available Control Plane: Deploys three control-plane nodes with built-in redundancy. Suitable for production or environments that require higher availability.
In User Inputs, review the remaining user input parameters required by the selected K8s Cluster configuration.
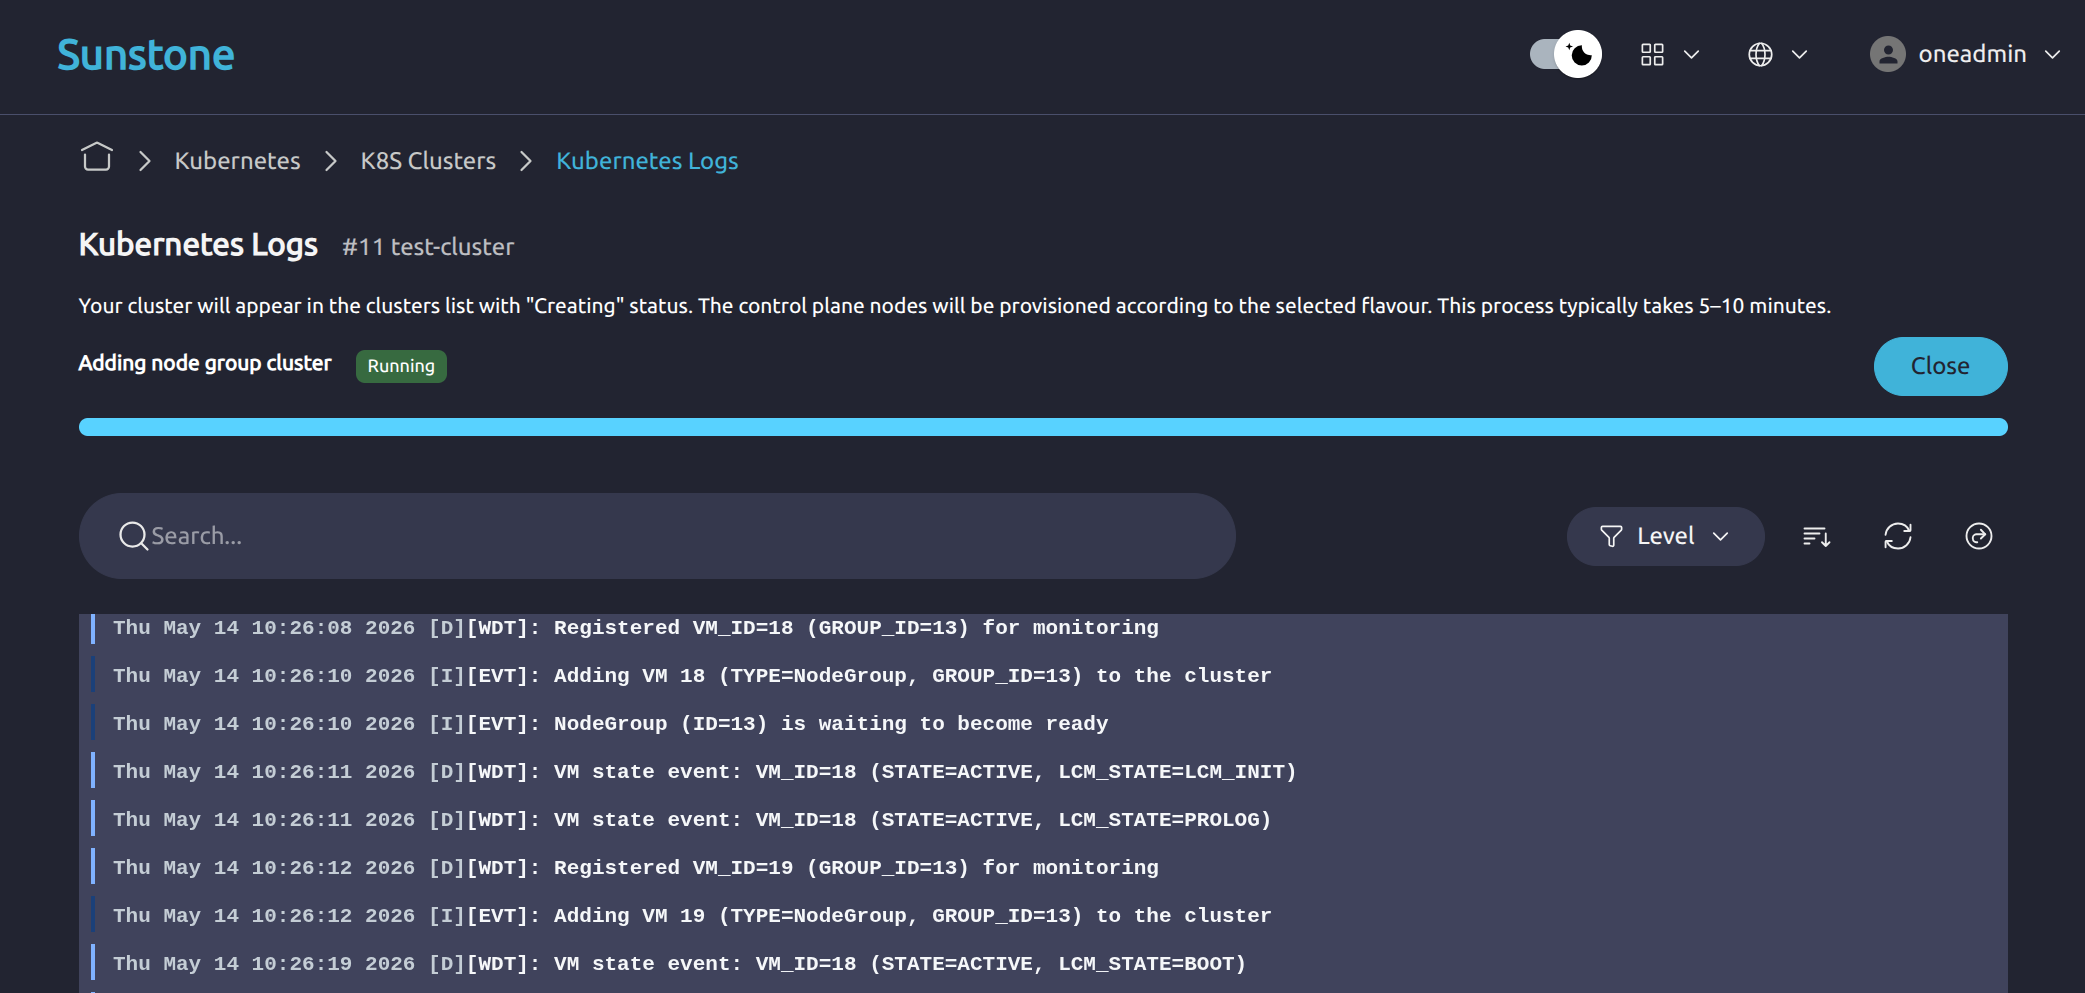
After completing the required fields, finish the wizard to start K8s Cluster creation. You will be redirected to the Kubernetes Logs view, where you can monitor the provisioning process.
During provisioning, the K8s Cluster initially appears with a CREATING or PROVISIONING status. The control-plane nodes are provisioned according to the selected flavour. This process typically takes several minutes.
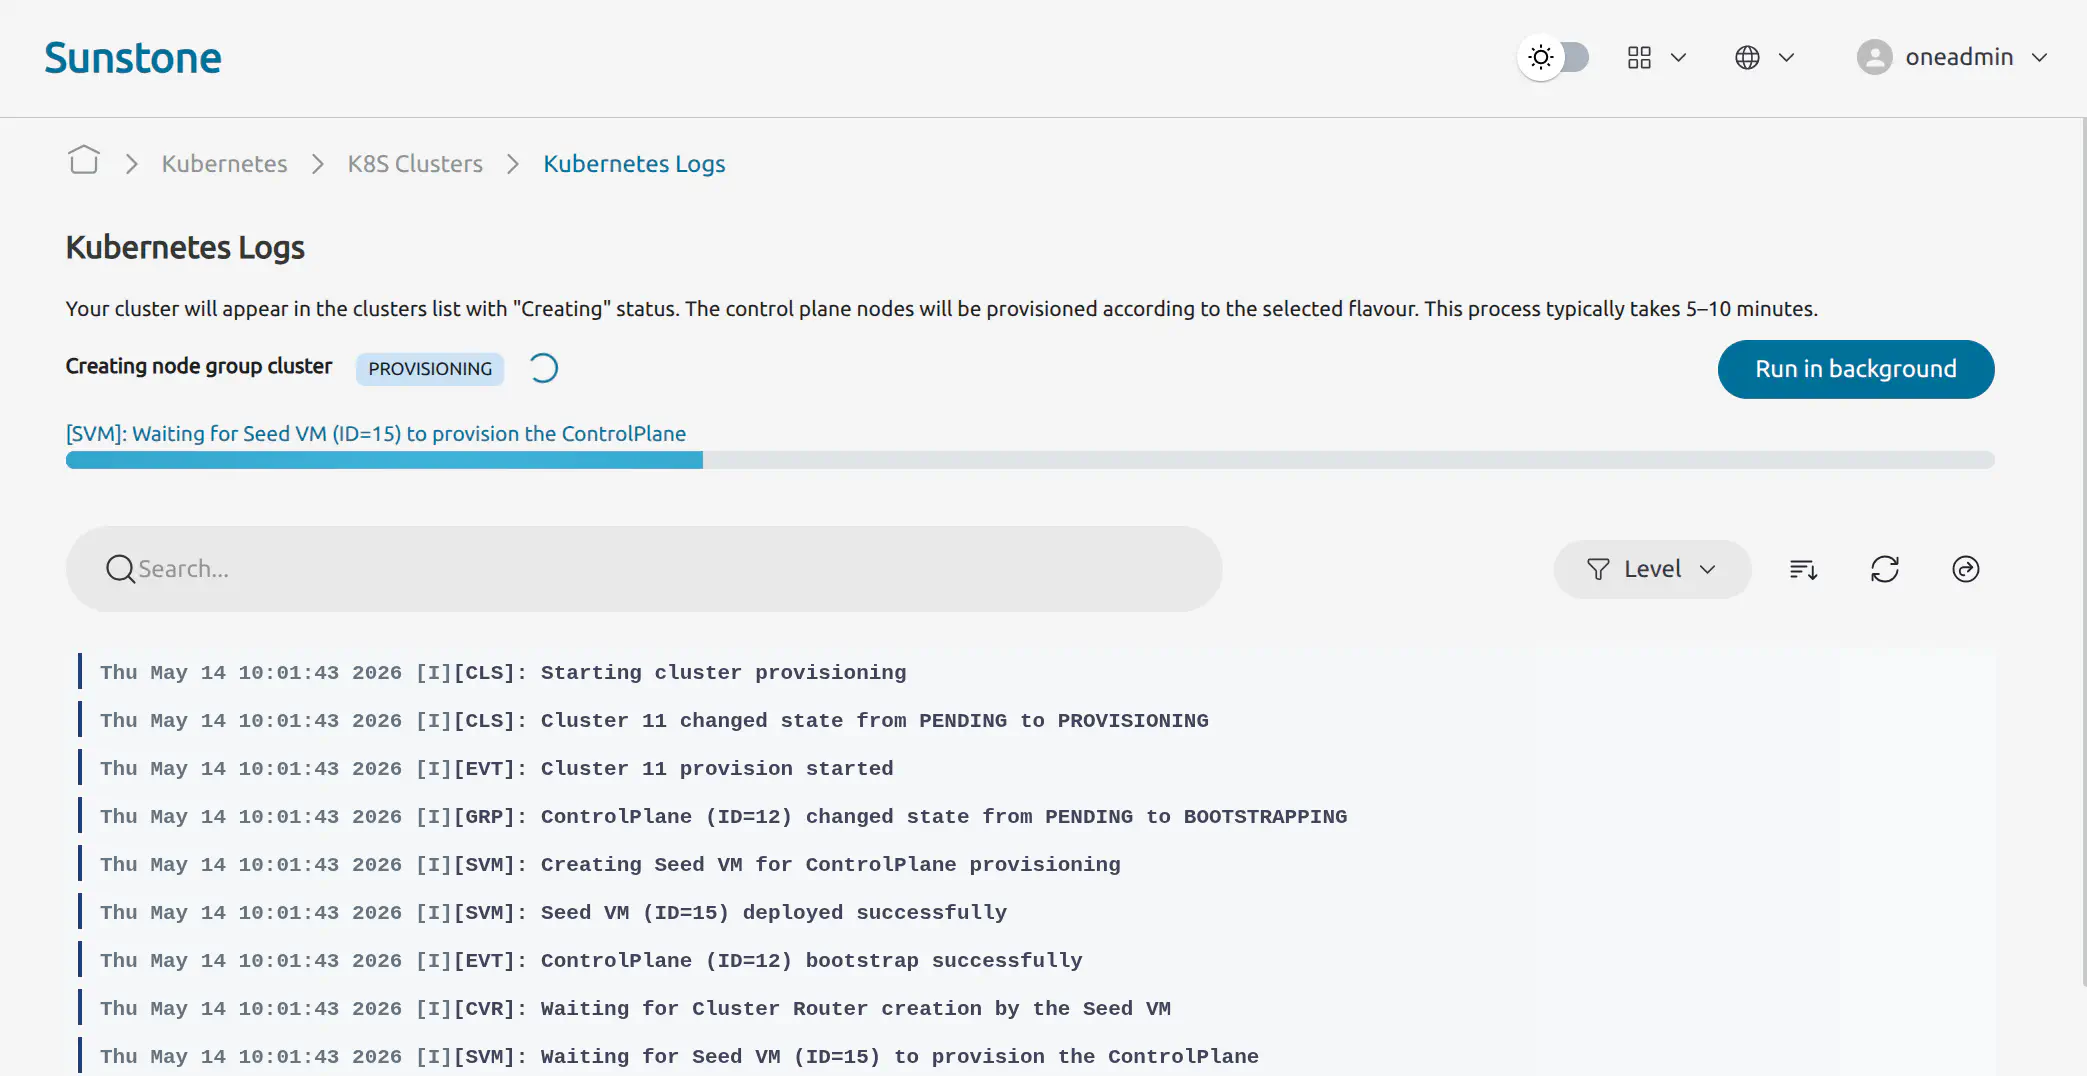
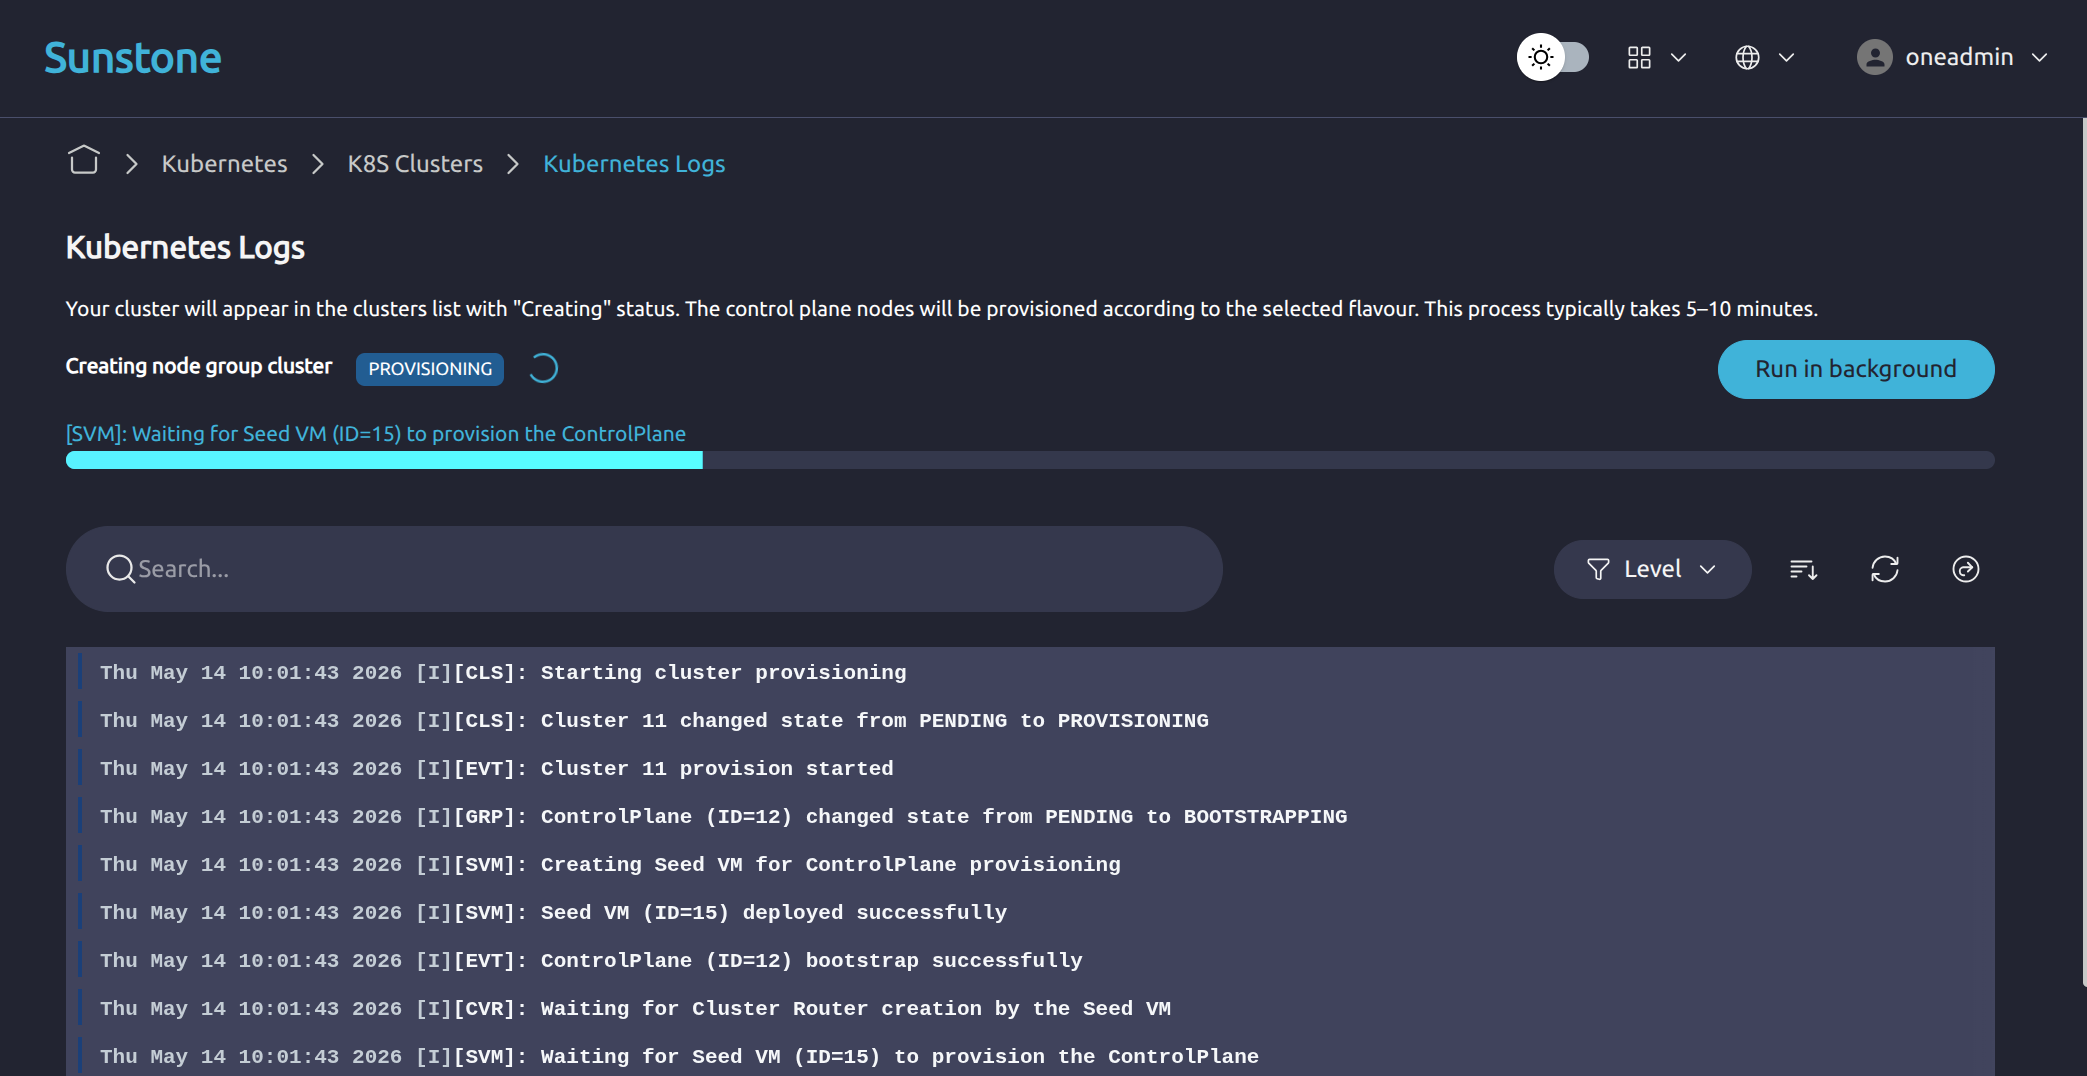
You can check that the provisioning process is proceeding as expected on the Front-end command line using onevm list. Early in the provisioning process, you should see the Seed VM in the onevm list output, this means that the provisioning process is proceeding as expected.
ID USER     GROUP    NAME                                      STAT  CPU  MEM   HOST            TIME
 5 oneadmin oneadmin general-standalone-controlplane-3-seed    prol    1   4G   ubuntu2204-host  0d 00h00
Run onevm top to view a continuously updated list of VMs, the seed VM will soon be accompanied by two further VMs, the virtual router and the control plane. This indicates that the provisioning process is proceeding as expected:
ID USER     GROUP    NAME                                      STAT  CPU     MEM HOST              TIME
 7 oneadmin oneadmin test-cluster-zx299                        runn    2      4G ubuntu2204-host   0d 00h08
 6 oneadmin oneadmin vr-test-cluster-cp-0                      runn    1    512M ubuntu2204-host   0d 00h08
 5 oneadmin oneadmin general-standalone-controlplane-3-seed    prol    1      4G ubuntu2204-host   0d 00h00
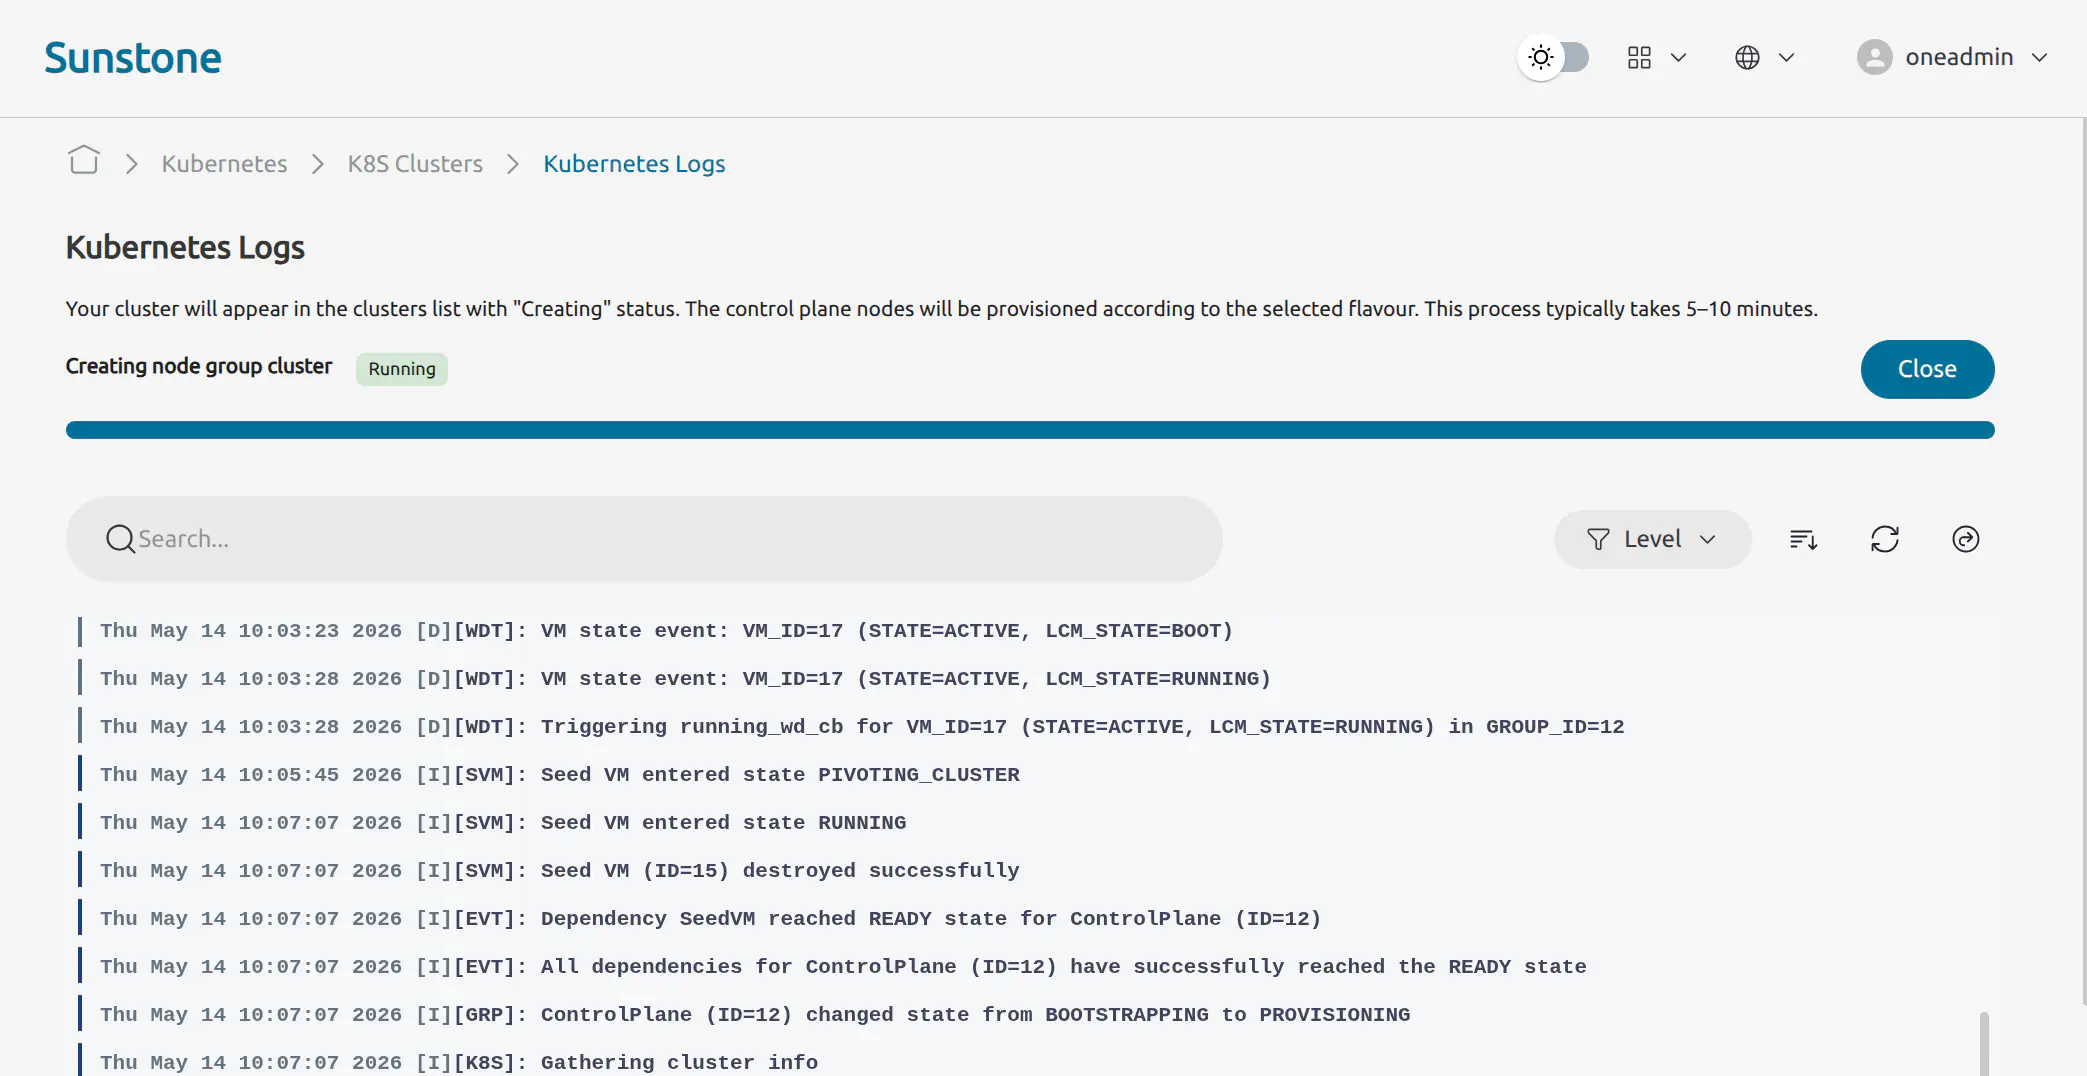
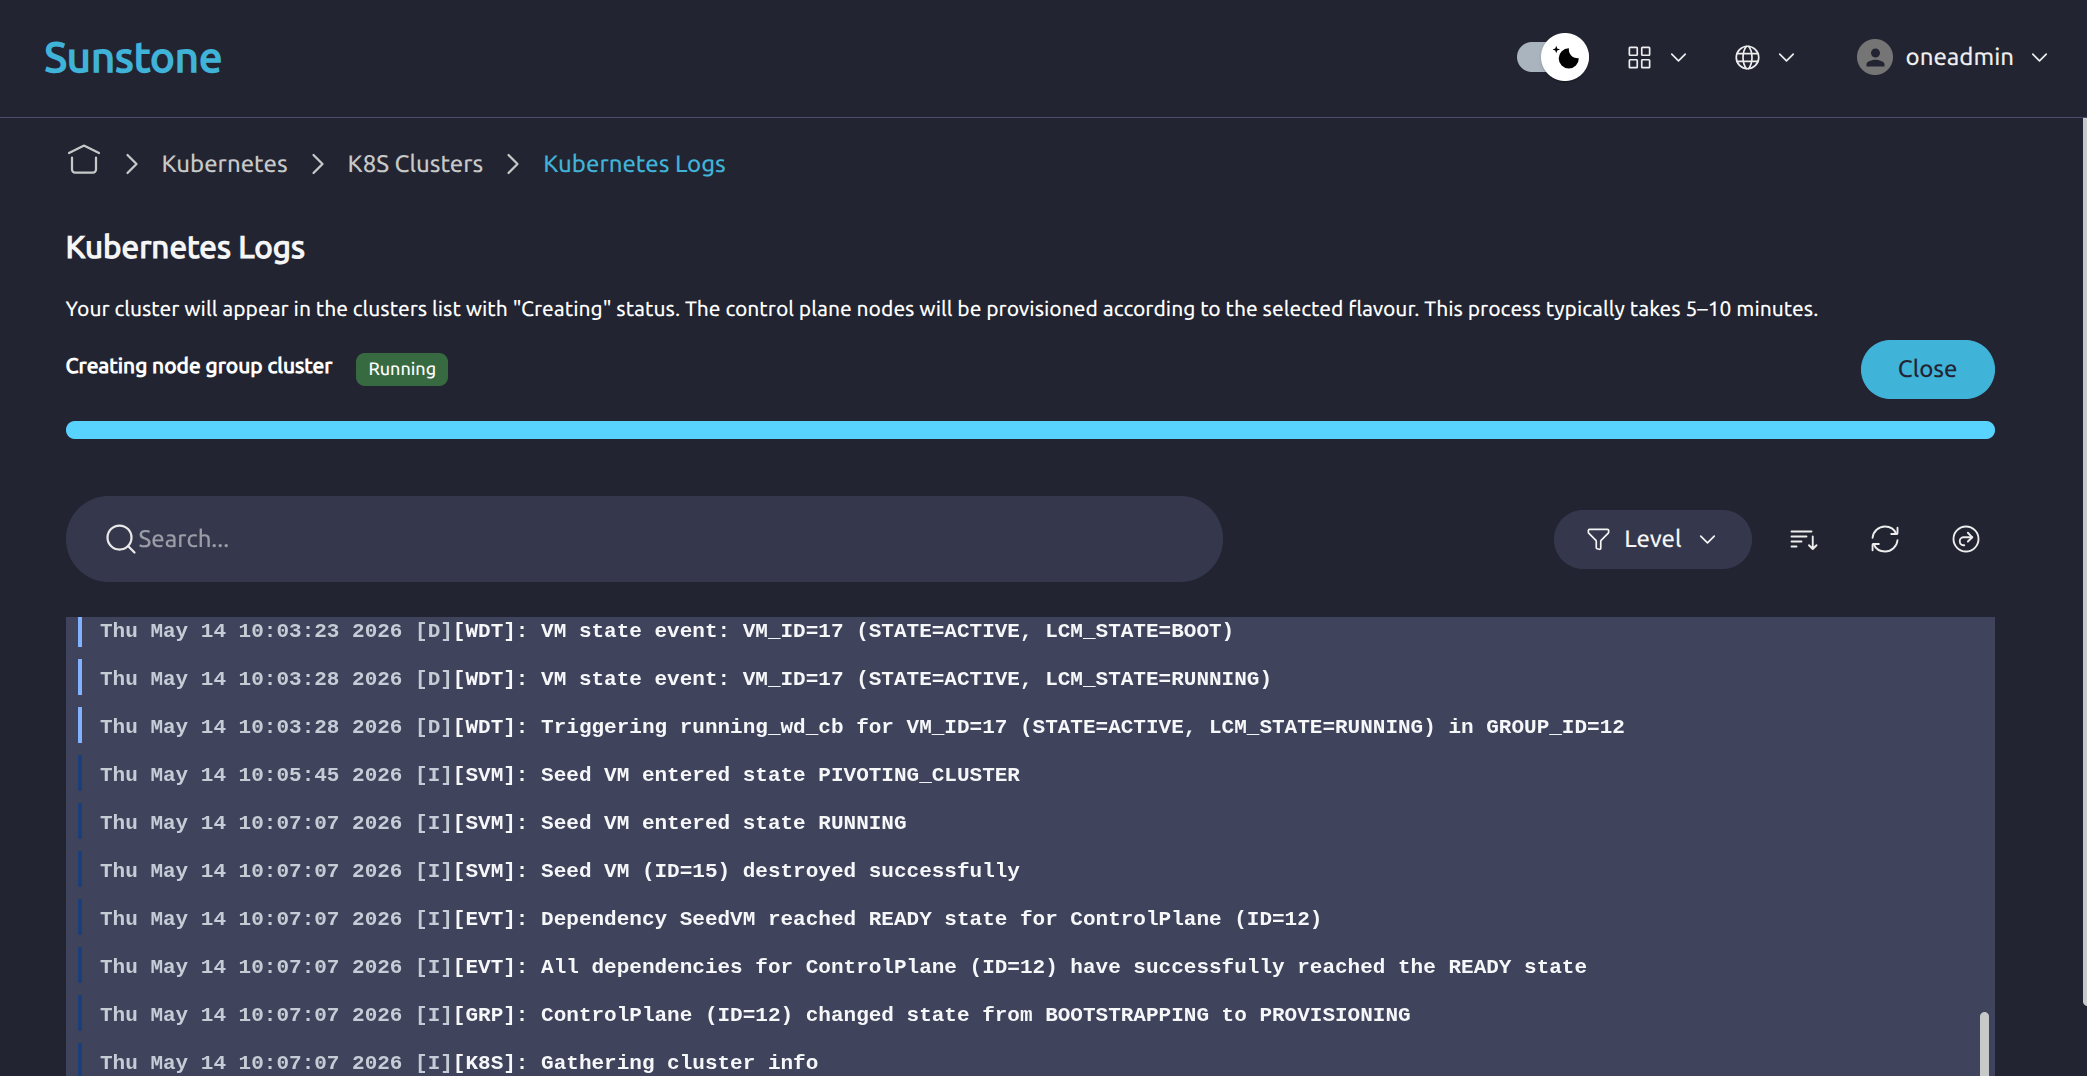
Continue waiting until the K8s Cluster reaches the RUNNING state in the Sunstone Kubernetes Logs view.
You can verify that the K8s Cluster is running using the onevm list command on the Front-end command line. You should still see the two newly created VMs, one for the virtual router and one for the control plane. The seed VM will terminate upon completion of the process:
ID USER     GROUP    NAME                     STAT  CPU     MEM HOST                                             TIME
 2 oneadmin oneadmin test-cluster-nmhhb       runn    2      4G ubuntu2204-kvm-ssh-ks-7-2-f1wvx-2.test       0d 03h26
 1 oneadmin oneadmin vr-test-cluster-cp-0     runn    1    512M ubuntu2204-kvm-ssh-ks-7-2-f1wvx-1.test       0d 03h26
Retrieve the Kubeconfig
After the K8s Cluster reaches the RUNNING state, you can retrieve its kubeconfig from the Sunstone Web UI. The kubeconfig contains the details and credentials needed for kubectl to interact with the K8s Cluster to deploy applications, manage pods and troubleshoot.
From Kubernetes -> K8S Clusters, open the target K8s Cluster. In the K8s Cluster detail view, select the Kubeconfig tab.
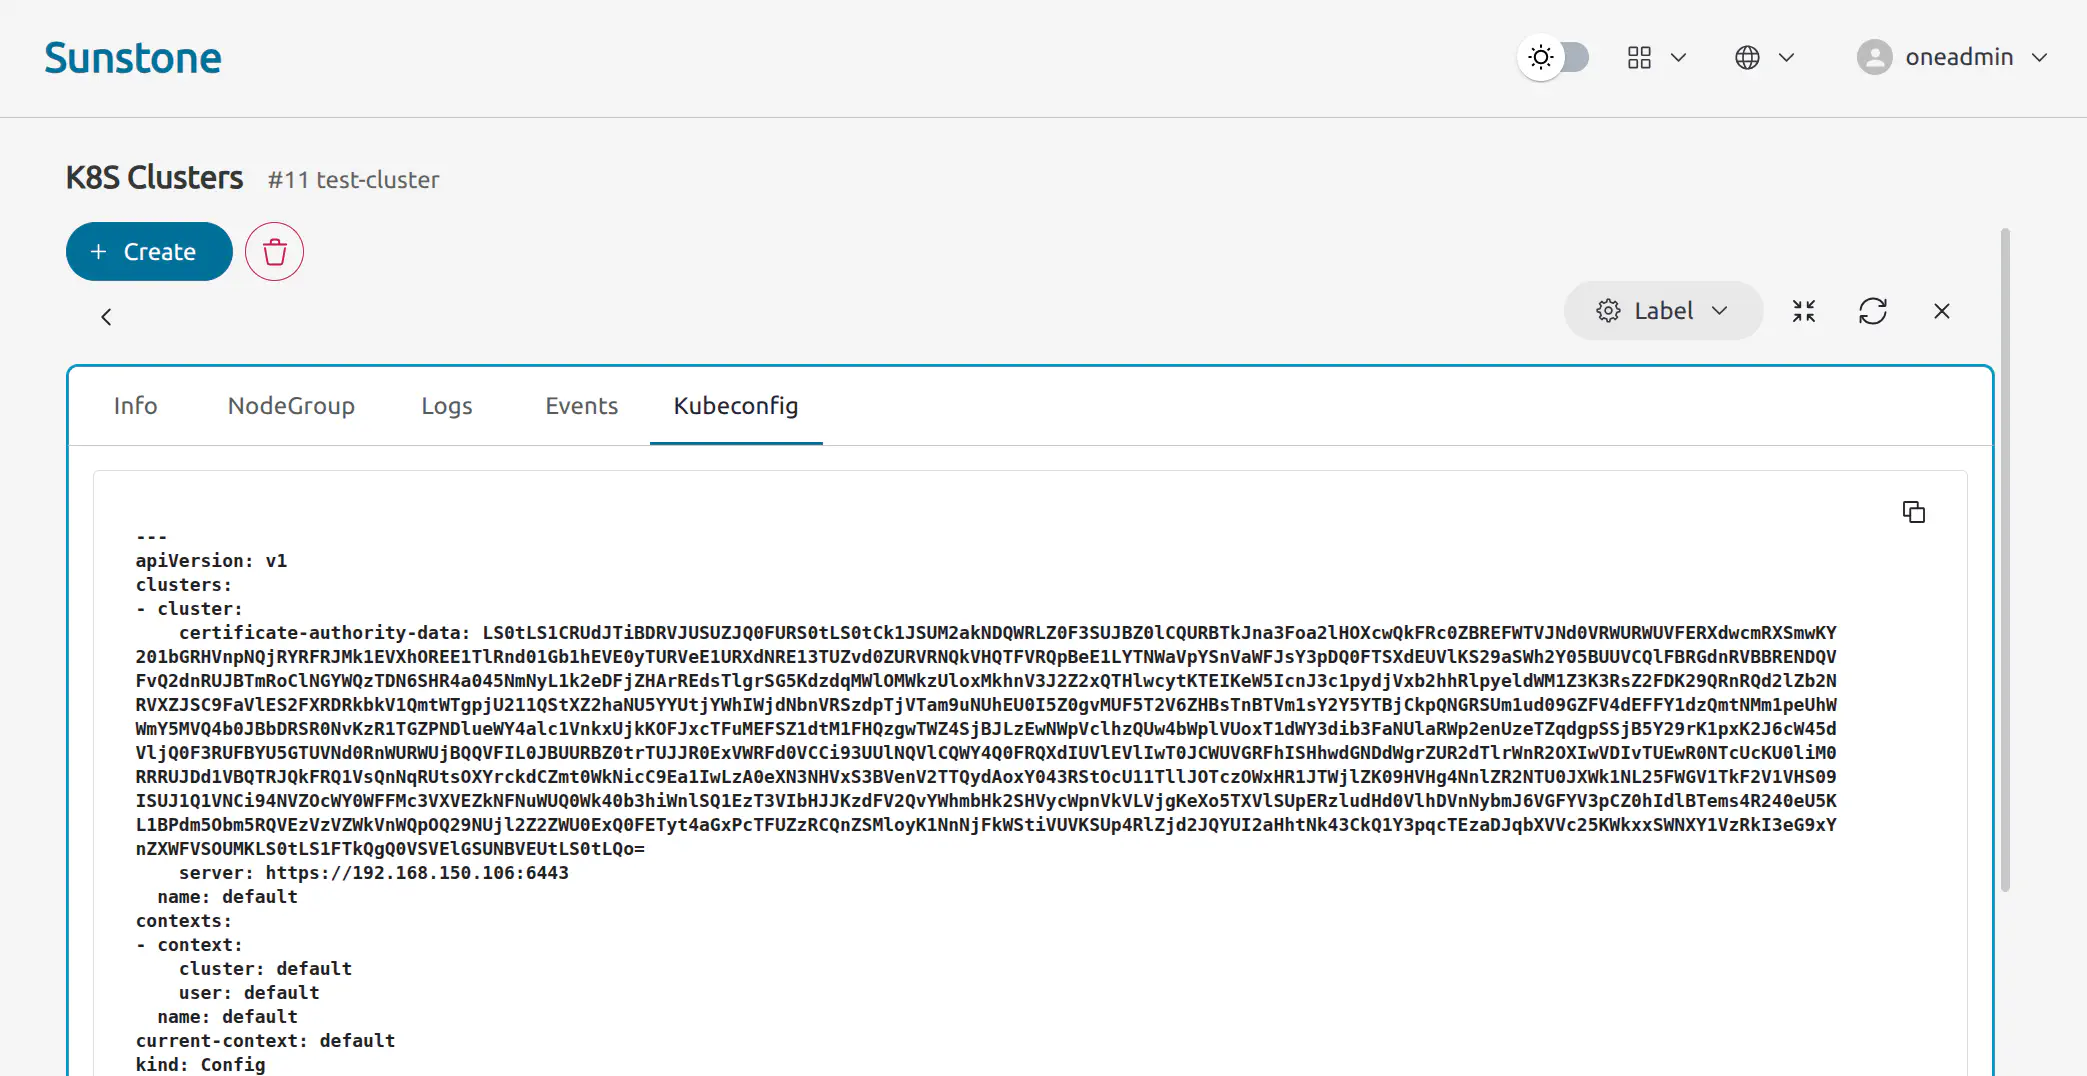

The kubeconfig content is displayed in the text area. Use the copy button to copy it, then save it locally as a file named kubeconfig. This kubeconfig file must be used with all subsequent kubectl commands.
To use the kubeconfig file with kubectl commands, define the KUBECONFIG environment variable with an inline assignment before each command like so:
KUBECONFIG=./kubeconfig kubectl get nodes
You should see the newly created K8s Cluster control-plane node in the output:
NAME                       STATUS   ROLES                       AGE     VERSION
test-cluster-nmhhb         Ready    control-plane,etcd,master   3h22m   v1.33.7+rke2r1
You can also export the KUBECONFIG environment variable at the beginning of a terminal session:
export KUBECONFIG=./kubeconfig
Then subsequent kubectl commands can be run without the inline environment variable assignment. Caution is advised with this approach when dealing simultaneously with multiple K8s Clusters (and therefore multiple kubeconfig files).
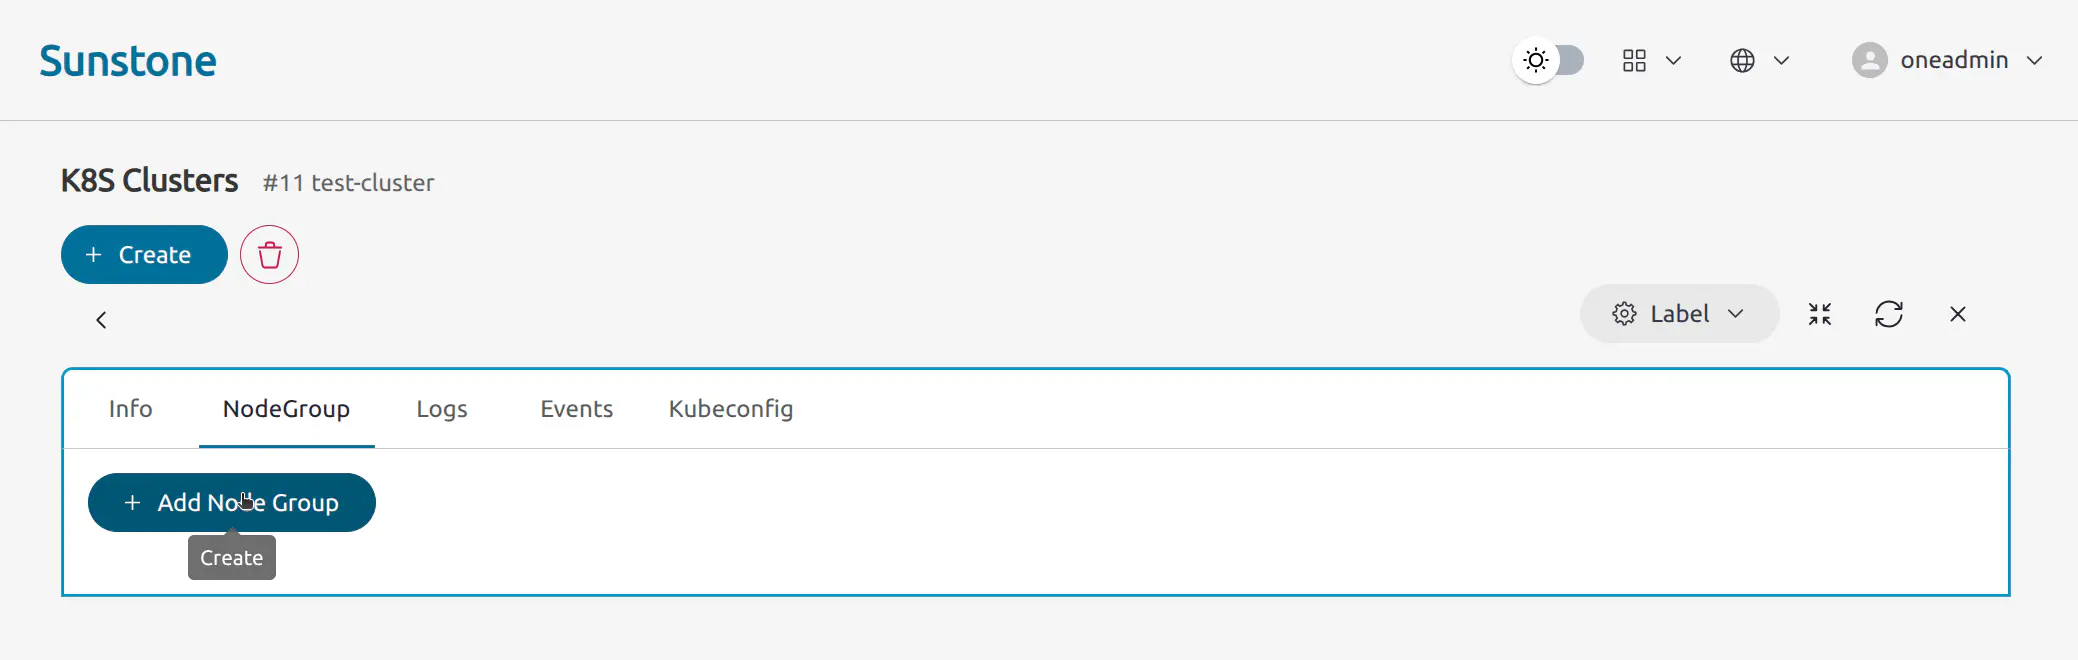
Add Worker Capacity
Node groups are the main operational unit for managing worker capacity in OneKS. After the K8s Cluster is running, you can add worker capacity by creating a node group from the Sunstone Web UI.
From Kubernetes -> K8S Clusters, open the target K8s Cluster. Select the NodeGroup tab, then click Add Node Group.
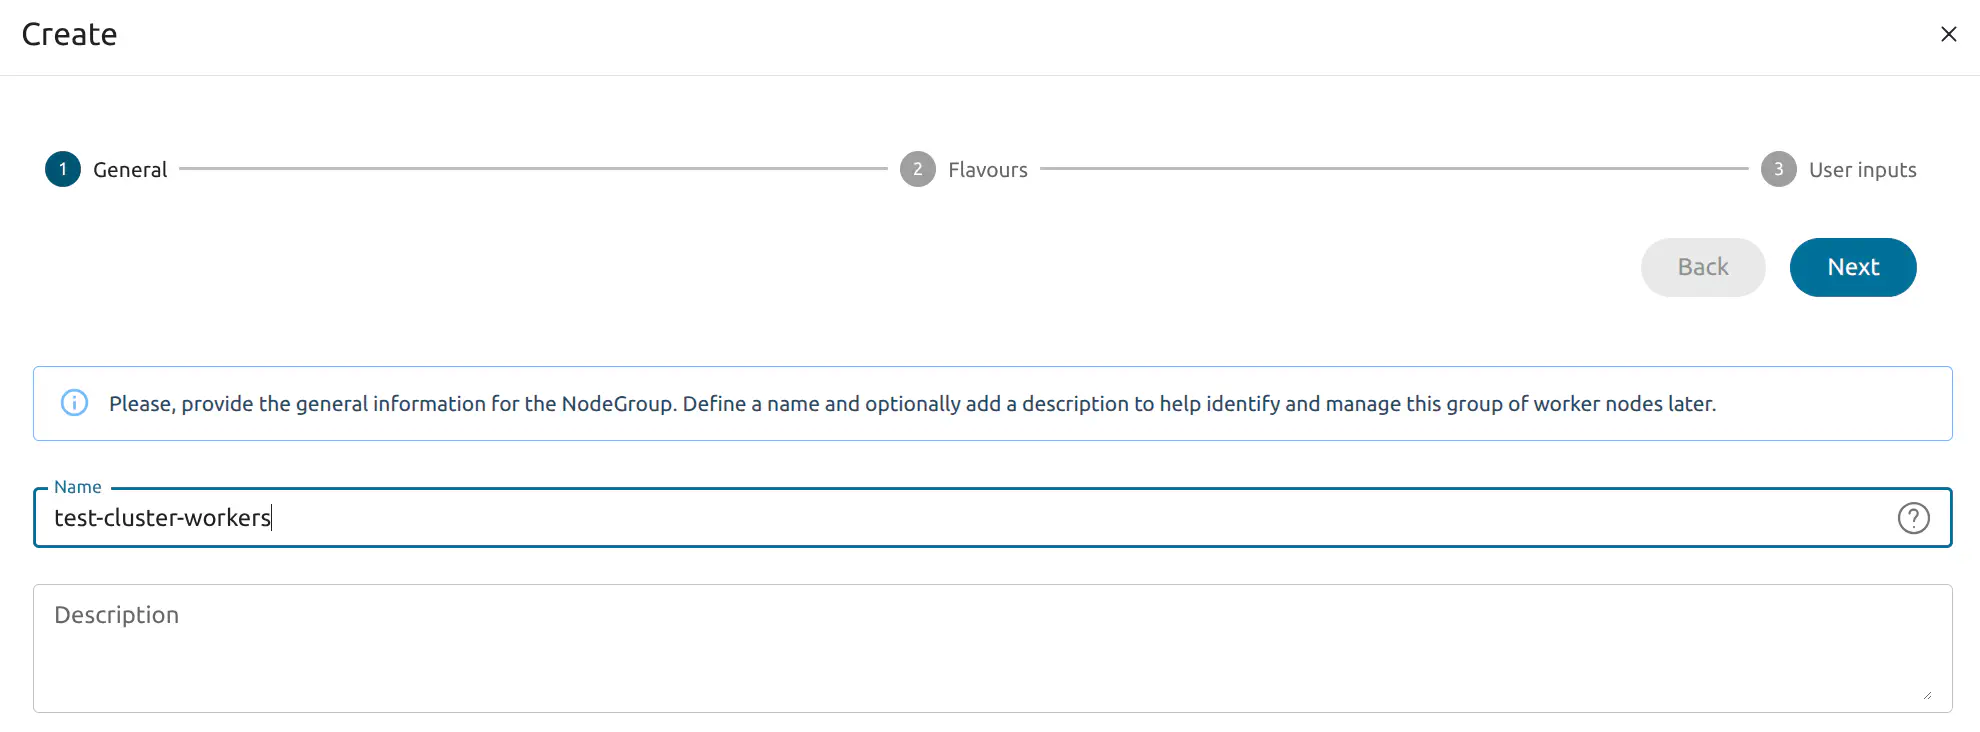
The node-group creation wizard guides you through the required configuration steps:
- General: Node group name and optional description.
- Flavours: Worker node flavour.
- User inputs: Node count and remaining values required by the selected flavour.
In the General step, provide the basic node group information. Enter a node group name and, optionally, a description.

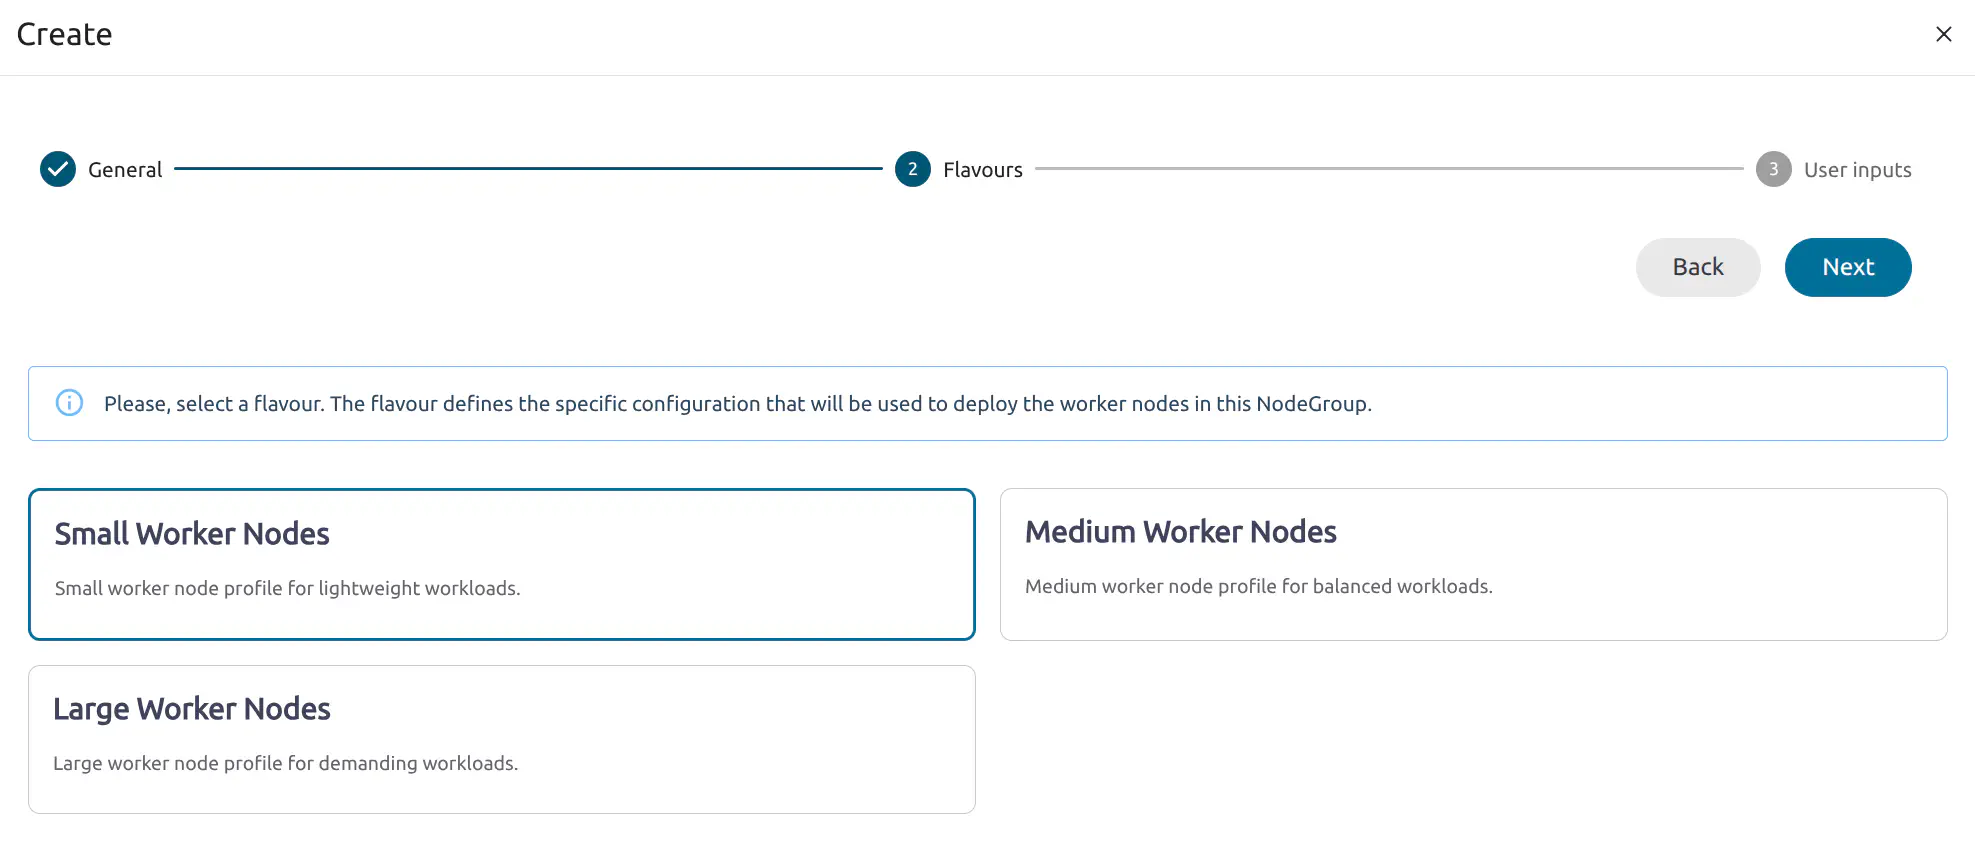
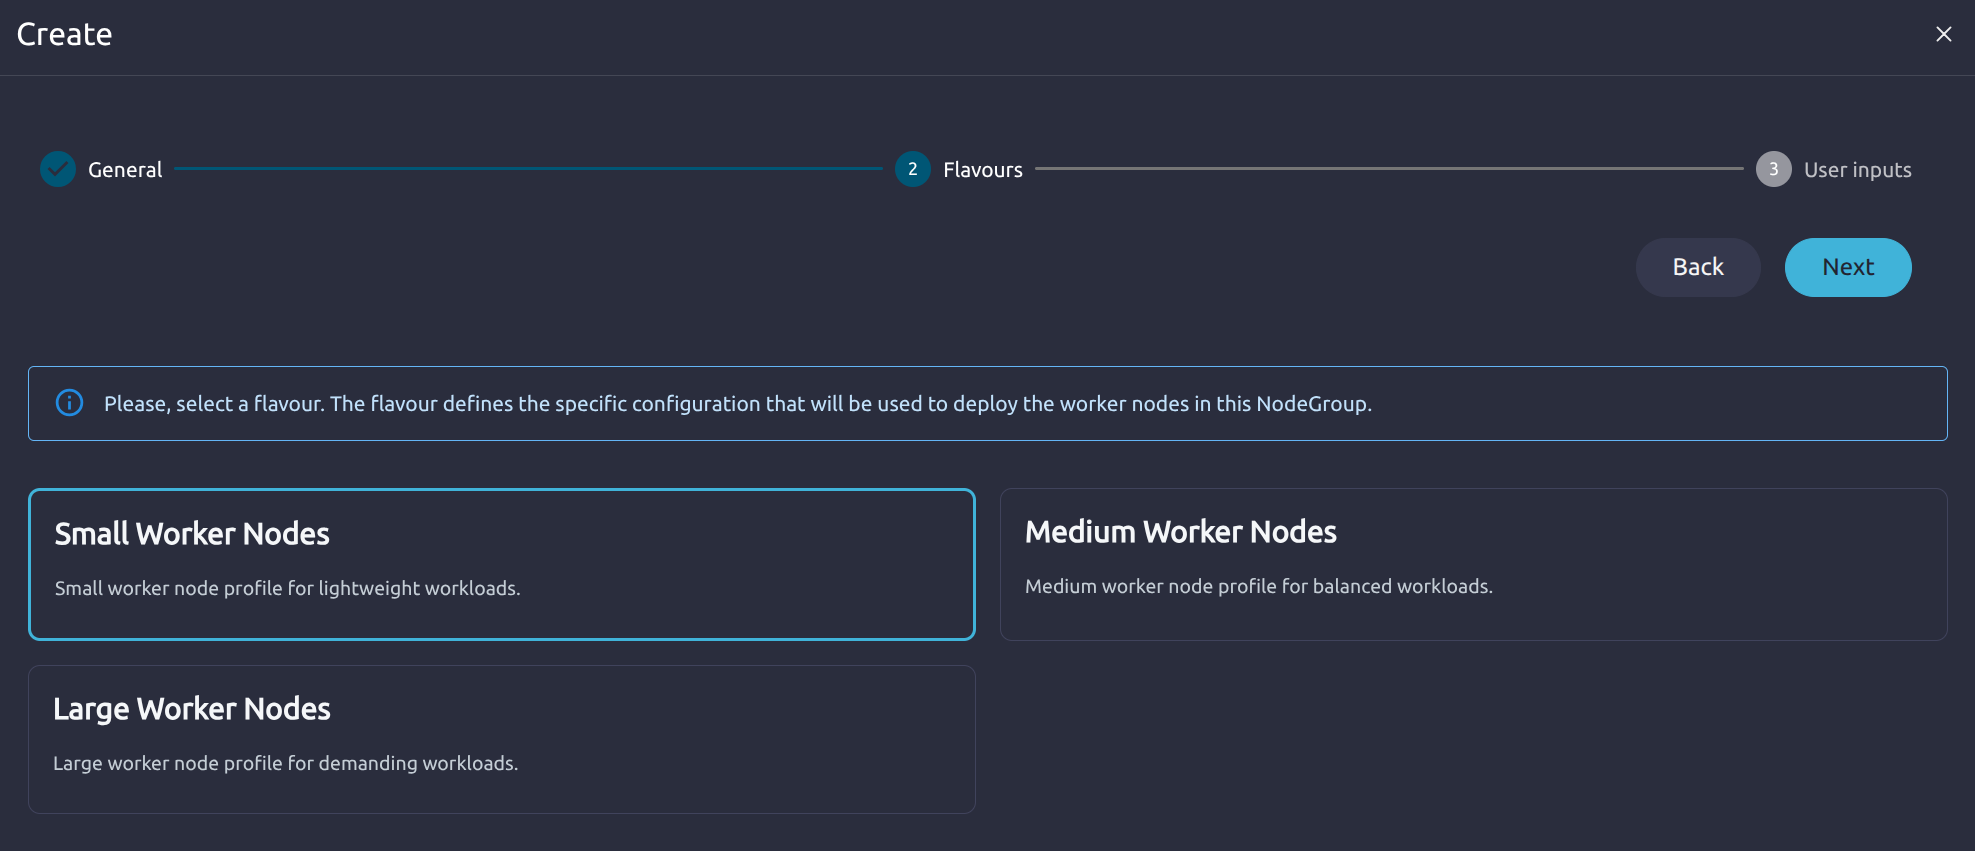
In Flavours, select the worker node flavour. The flavour defines the resource profile that will be used to deploy the worker nodes in this node group.
Available options include:
- Small Worker Nodes: Suitable for lightweight workloads.
- Medium Worker Nodes: Suitable for balanced workloads.
- Large Worker Nodes: Suitable for demanding workloads.
Each flavour shows its default resource configuration, such as CPU, memory, and disk size.
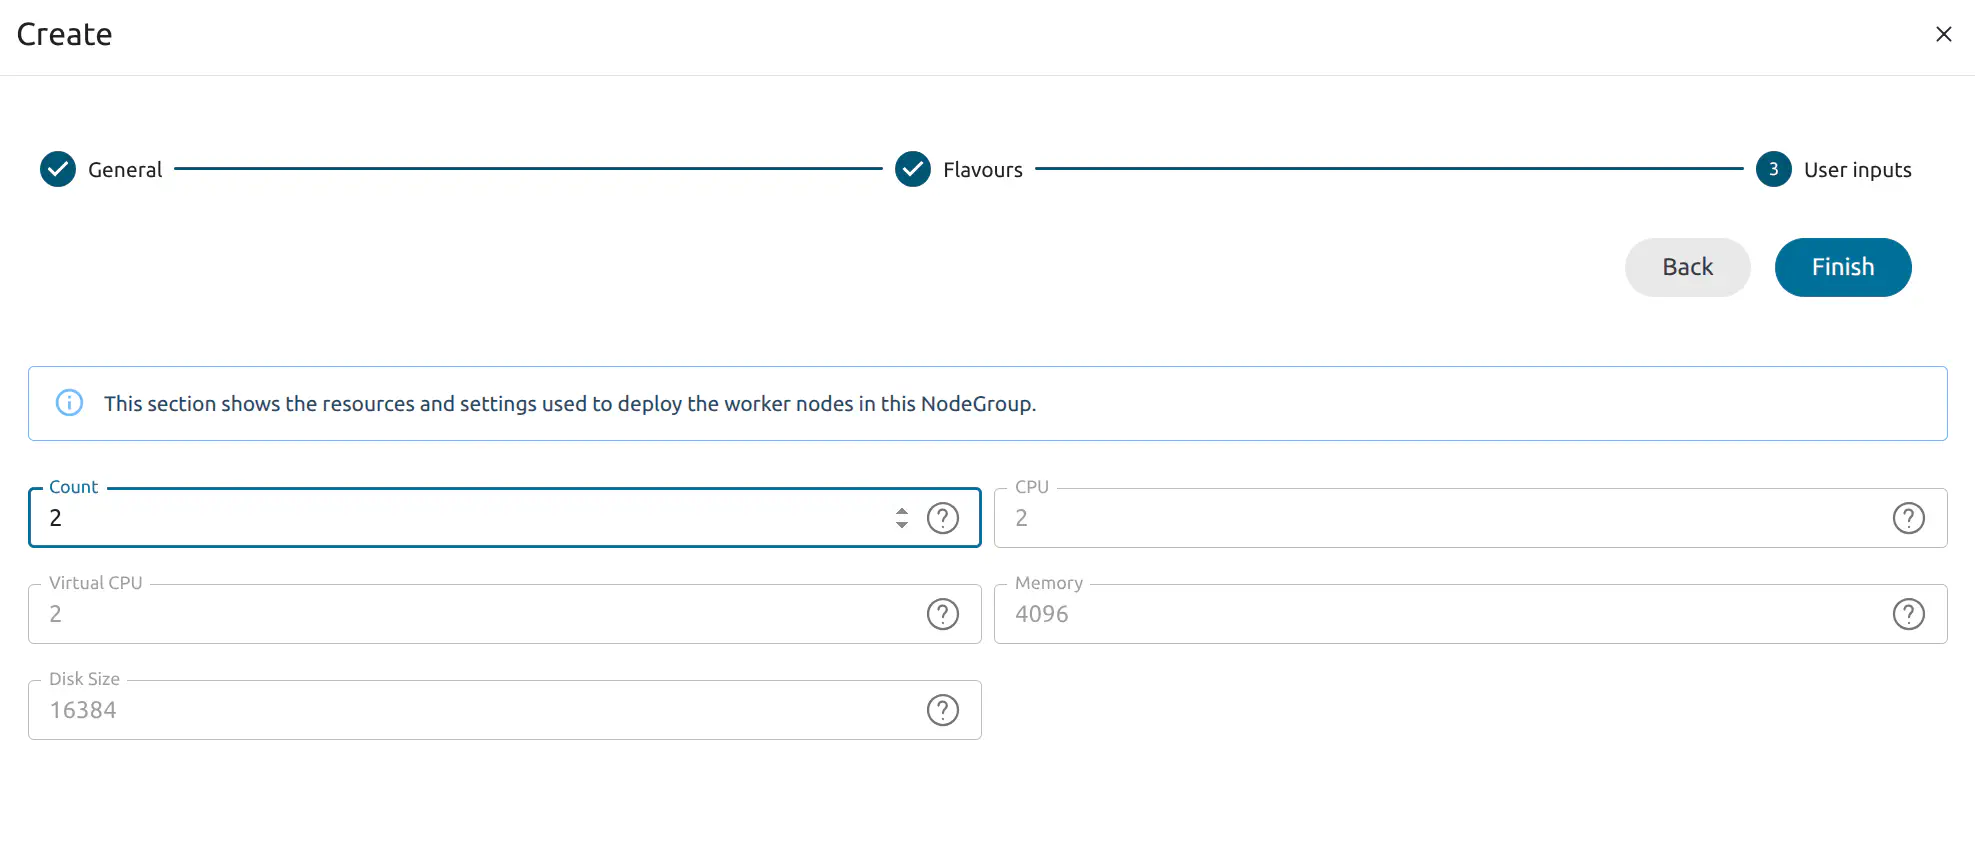
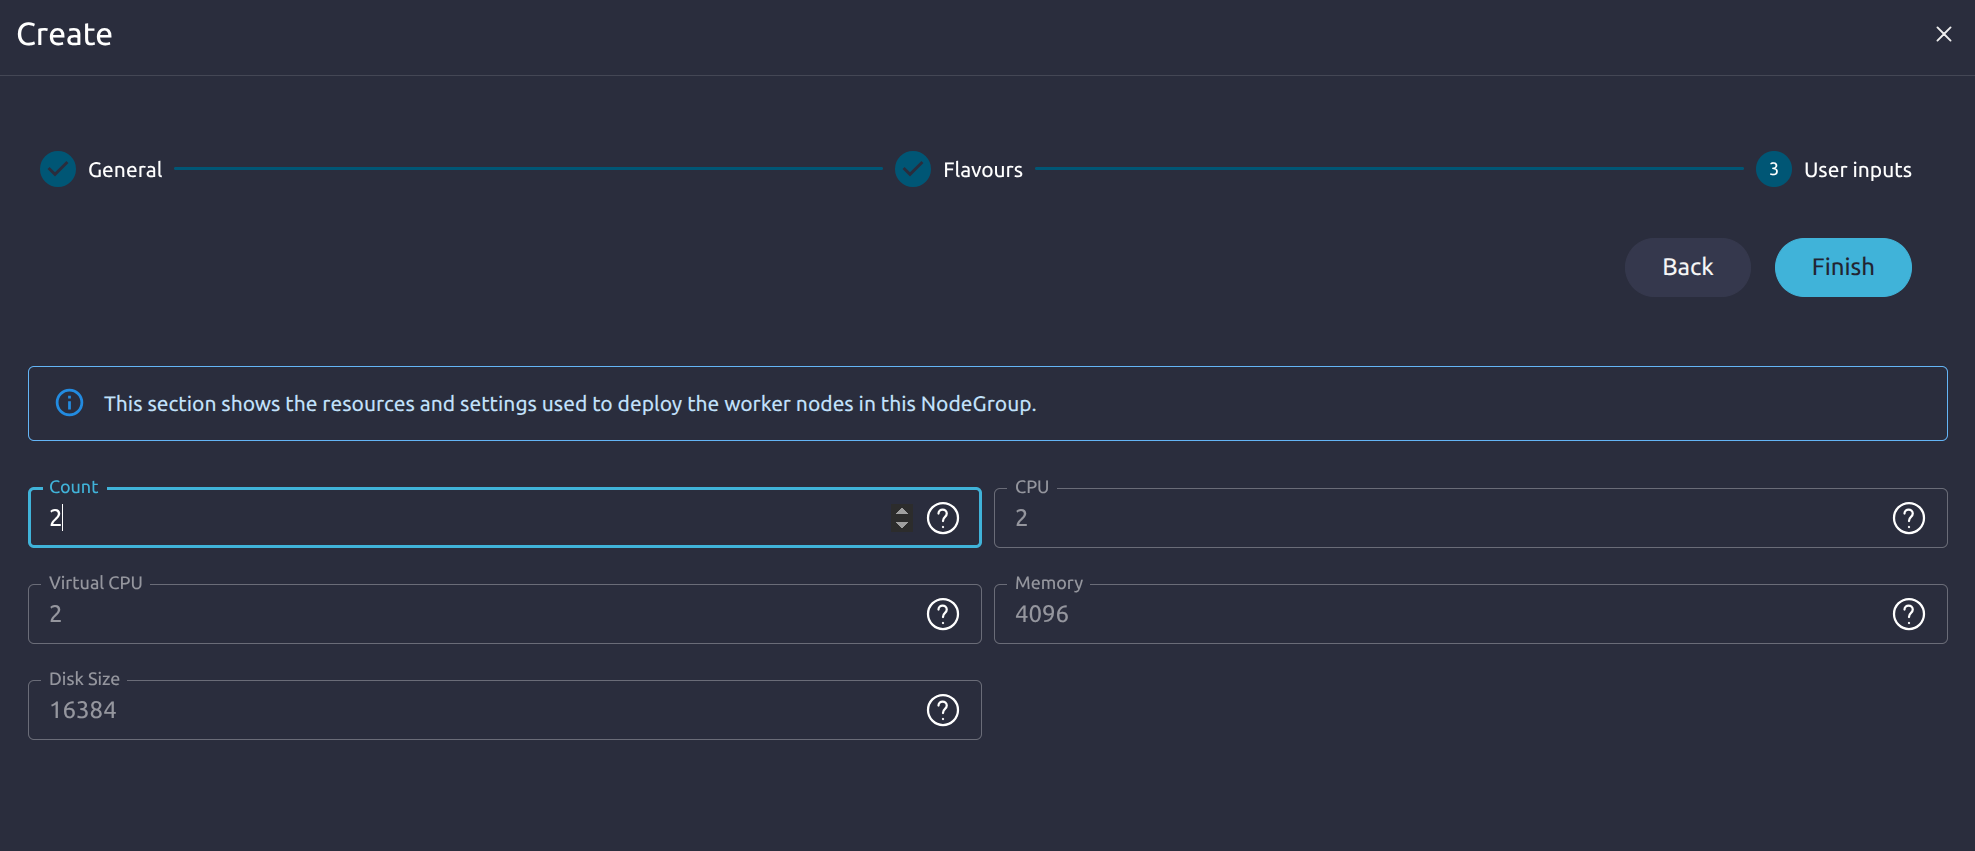
In User Inputs, set the number of worker nodes to create. For example, set Count to 2 to create two worker nodes. The remaining fields, such as CPU, Virtual CPU, Memory, and Disk Size, are populated from the selected flavour.
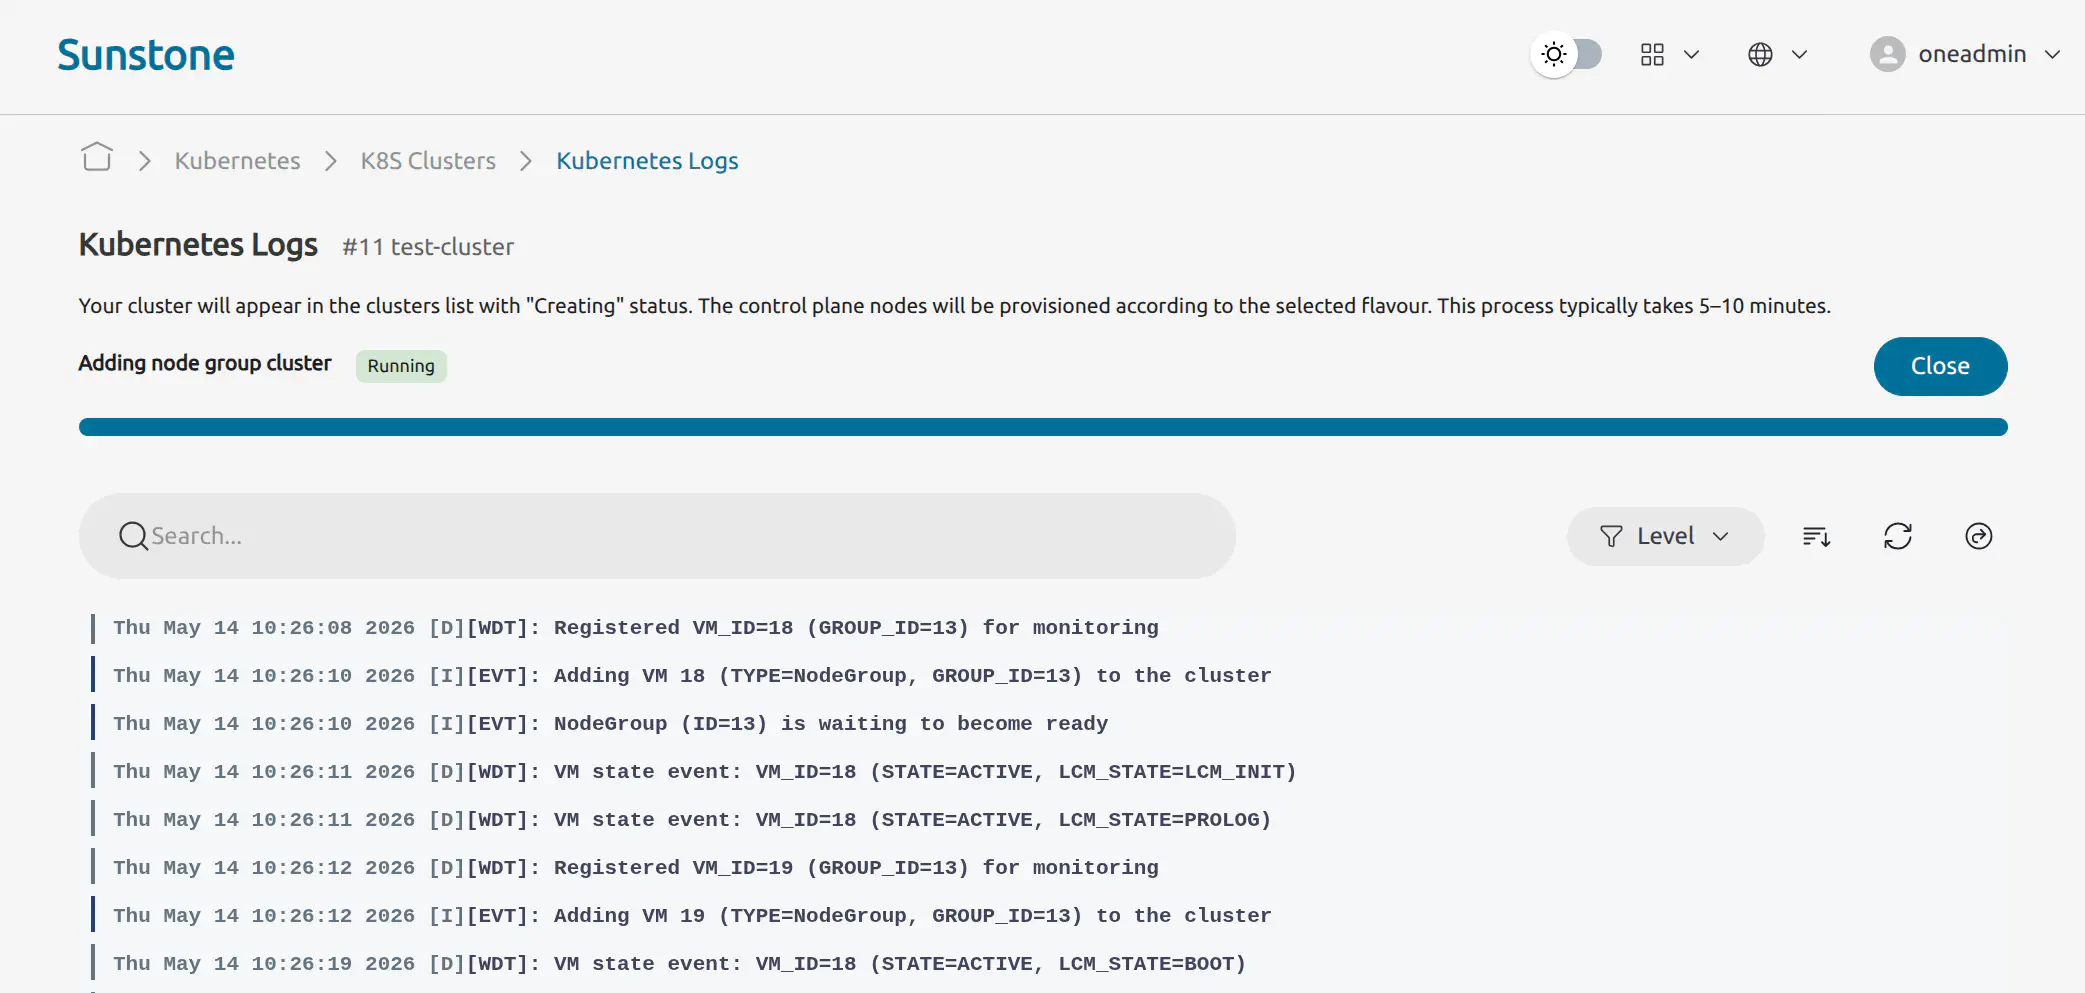
After finishing the wizard, you will be redirected to the Kubernetes Logs view, where you can monitor the node group provisioning process.
Wait until the node group reaches the RUNNING state and the K8s Cluster returns to RUNNING.
From the OpenNebula Front-end machine command line, verify the new worker nodes with:
KUBECONFIG=./kubeconfig kubectl get nodes
Example output:
NAME                         STATUS   ROLES           AGE   VERSION
test-cluster-control-plane   Ready    control-plane   15m   v1.31.4
test-cluster-worker-1        Ready    <none>          3m    v1.31.4
test-cluster-worker-2        Ready    <none>          3m    v1.31.4
Validate Workload Deployment and Service Connectivity
After the K8s Cluster nodes are in the Ready state, you can deploy a simple workload to verify that the K8s Cluster is functioning correctly.
Create a test NGINX pod:
KUBECONFIG=./kubeconfig kubectl run nginx-test --image=nginx:stable --restart=Never
Expected output:
pod/nginx-test created
Check the pod status:
KUBECONFIG=./kubeconfig kubectl get pod nginx-test -o wide
Expected output:
NAME         READY   STATUS    RESTARTS   AGE   IP            NODE
nginx-test   1/1     Running   0          27s   10.244.5.46   worker01
This confirms that the K8s Cluster can schedule and start a workload on a worker node.
Expose the pod as a service:
KUBECONFIG=./kubeconfig kubectl expose pod nginx-test --port=80 --target-port=80 --name=nginx-test
Create a temporary curl pod to test in-cluster service connectivity:
KUBECONFIG=./kubeconfig kubectl run curl-test --image=curlimages/curl:latest \
           --rm -it --restart=Never -- curl -I http://nginx-test
Expected output:
HTTP/1.1 200 OK
Server: nginx/1.30.0
Date: Wed, 06 May 2026 08:56:45 GMT
Content-Type: text/html
Content-Length: 896
Last-Modified: Tue, 14 Apr 2026 13:10:11 GMT
Connection: keep-alive
ETag: "69de3cb3-380"
Accept-Ranges: bytes

pod "curl-test" deleted from default namespace
A 200 OK response confirms that the NGINX pod is running and reachable through the Kubernetes service. Completing this quick-start guide validates that basic workload scheduling, pod networking, DNS-based service discovery, and in-cluster connectivity are all working.
Next Steps
Once you have completed this quick-start guide, you can move on to deploying K8s Clusters for real use cases. Next, read the Core Concepts Guide to familiarize yourself with key OneKS concepts. Then consult the following references for more specific operation details:
GIVE FEEDBACK
Was this resource helpful?
Glad to hear it
Sorry to hear that