Validate the miniONE Environment
Categories:
A previous tutorial in this section details how to deploy OpenNebula on-premises with miniONE, the simple-to-use installation and deployment tool. This page provides:
- An overview of the resources automatically created during that installation
- An example of what you can do with this type of installation – in this case, installing a Virtual Machine from the OpenNebula Marketplace
Installed Resources
The installation described in Deploy OpenNebula On-premises with miniONE automatically installs and configures the following resources:
- A KVM Host on the local machine
- A virtualization Cluster to which the Host belongs
- Datastores for storing files and Virtual Machine images
- A Virtual Network for the Virtual Machines
Below you will find brief descriptions for these resources, with examples of their visual representation in the Sunstone UI and links to complete references for each resource.
Hosts
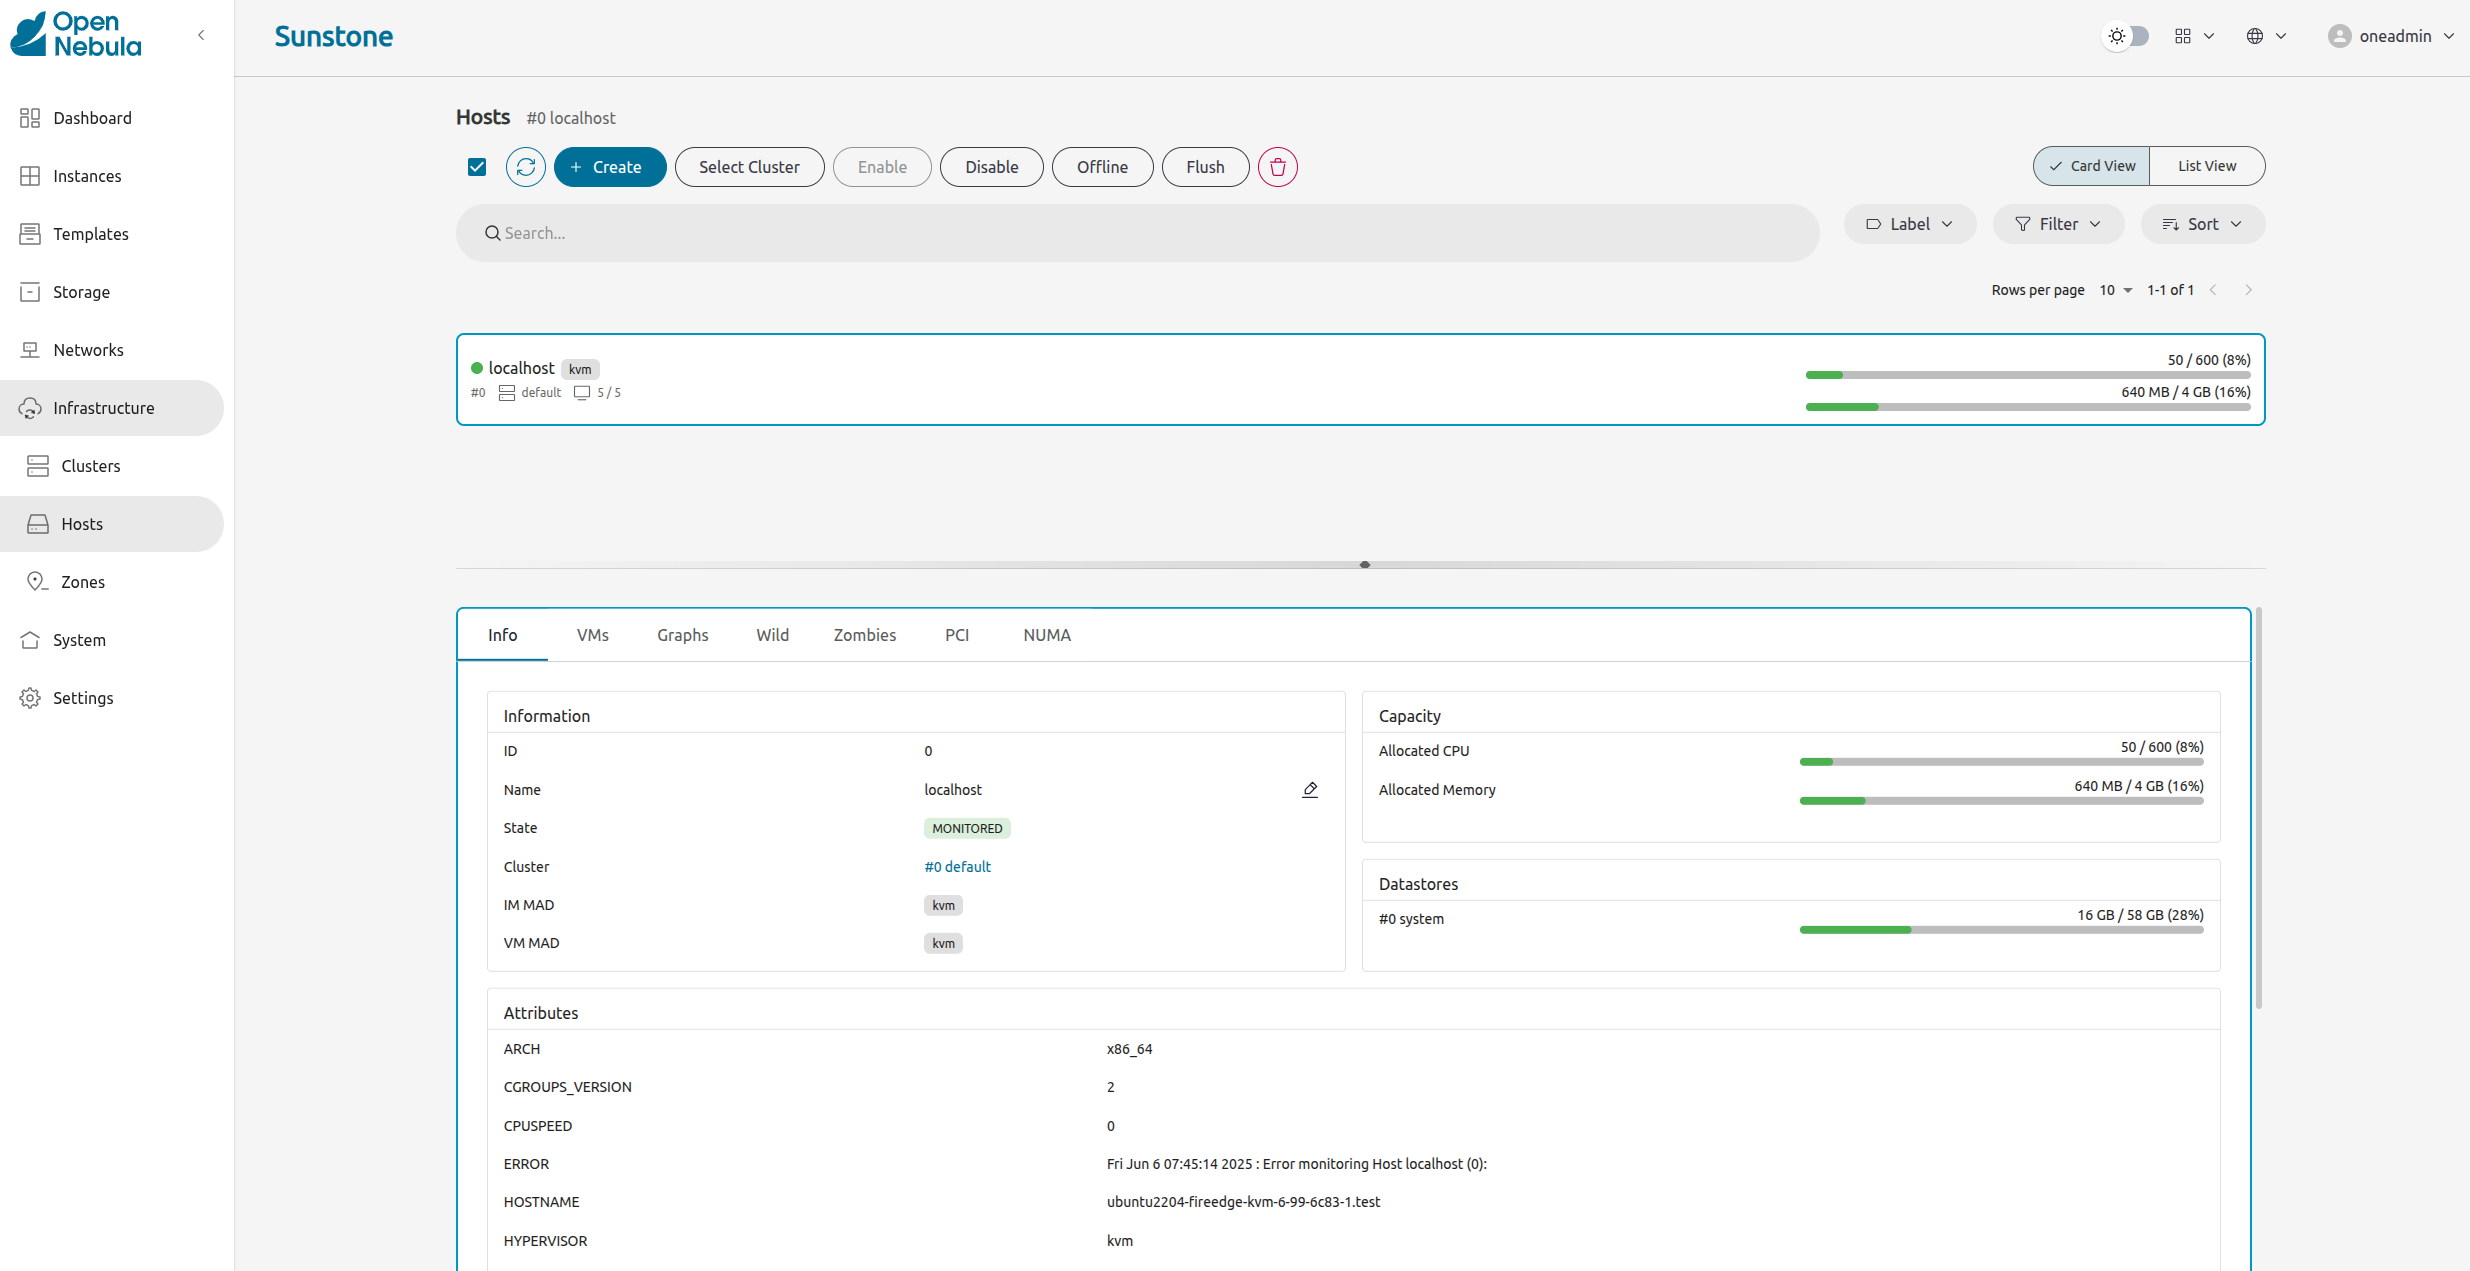
A Host is any entity that is capable of running a VM or a container. Besides running them, it retrieves all monitoring information. A Host has two important attributes:
VM_MAD: the virtualization technology used on the Host.IM_MAD: the driver that retrieves all monitoring metrics from the Host.
As mentioned above, miniONE installs a KVM Host.
The screenshot below displays the information about the Host. The important information here is:
- The State of the Host: MONITORED indicates that the Host is currently being monitored.
- The Attributes section displays the monitoring metrics.
- The tabs to the right of the Info tab display additional information, such as the VMs running on the Host.
The basic operations you can perform on the Host are:
- Offline: take the Host totally offline.
- Disable: disable the Host, for example to perform maintenance operations.
- Enable: enable the Host, so that OpenNebula monitors it and it switches back to MONITORED state.
For a complete overview of Hosts management, see Hosts.
Cluster
A cluster is the main object that groups all the physical resources and ensures that everything works correctly in terms of scheduling and the resources required. In this very simple scenario the cluster includes only the local KVM Host, the Virtual Network, and datastores.
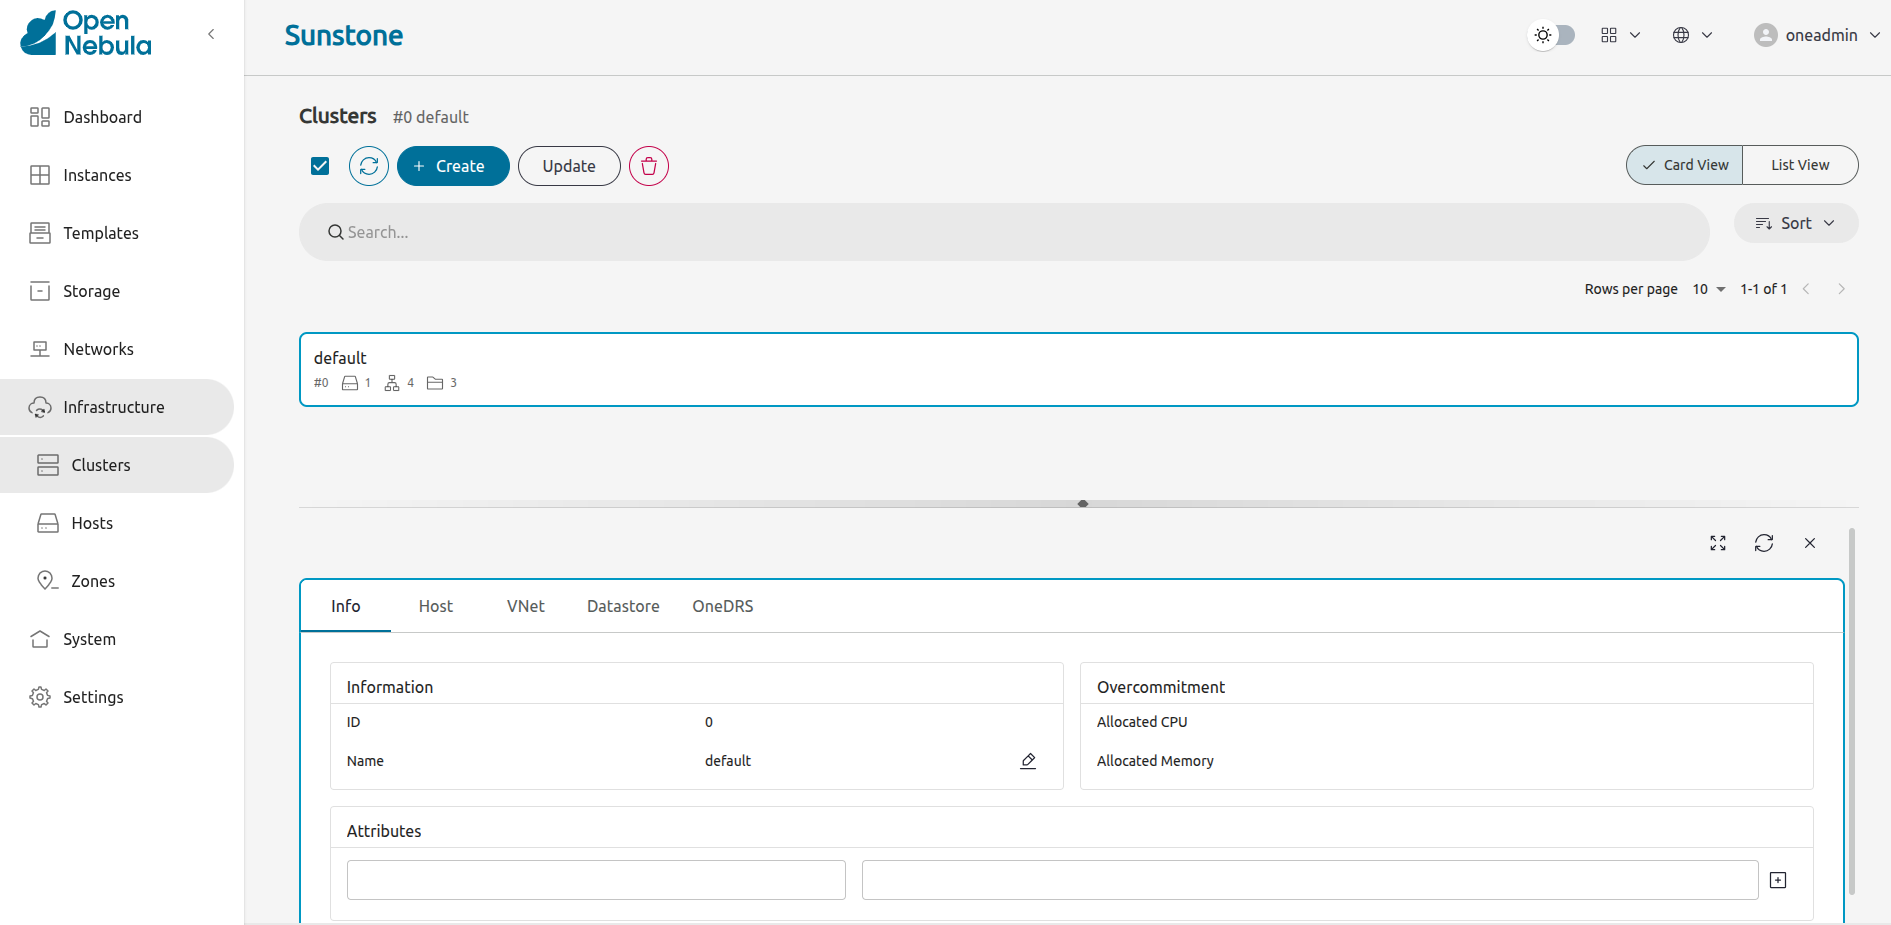
For a complete overview of Cluster management, see Clusters.
Datastores
There are three types of datastores:
- System: contains the information of running VMs, such as disks or context CD-ROM.
- Image: stores the images in your cloud.
- Files: Stores plain files used in contextualization or VM kernels used by some hypervisors.
In the on-prem Cluster created by miniONE, the default datastore is the Image datastore.
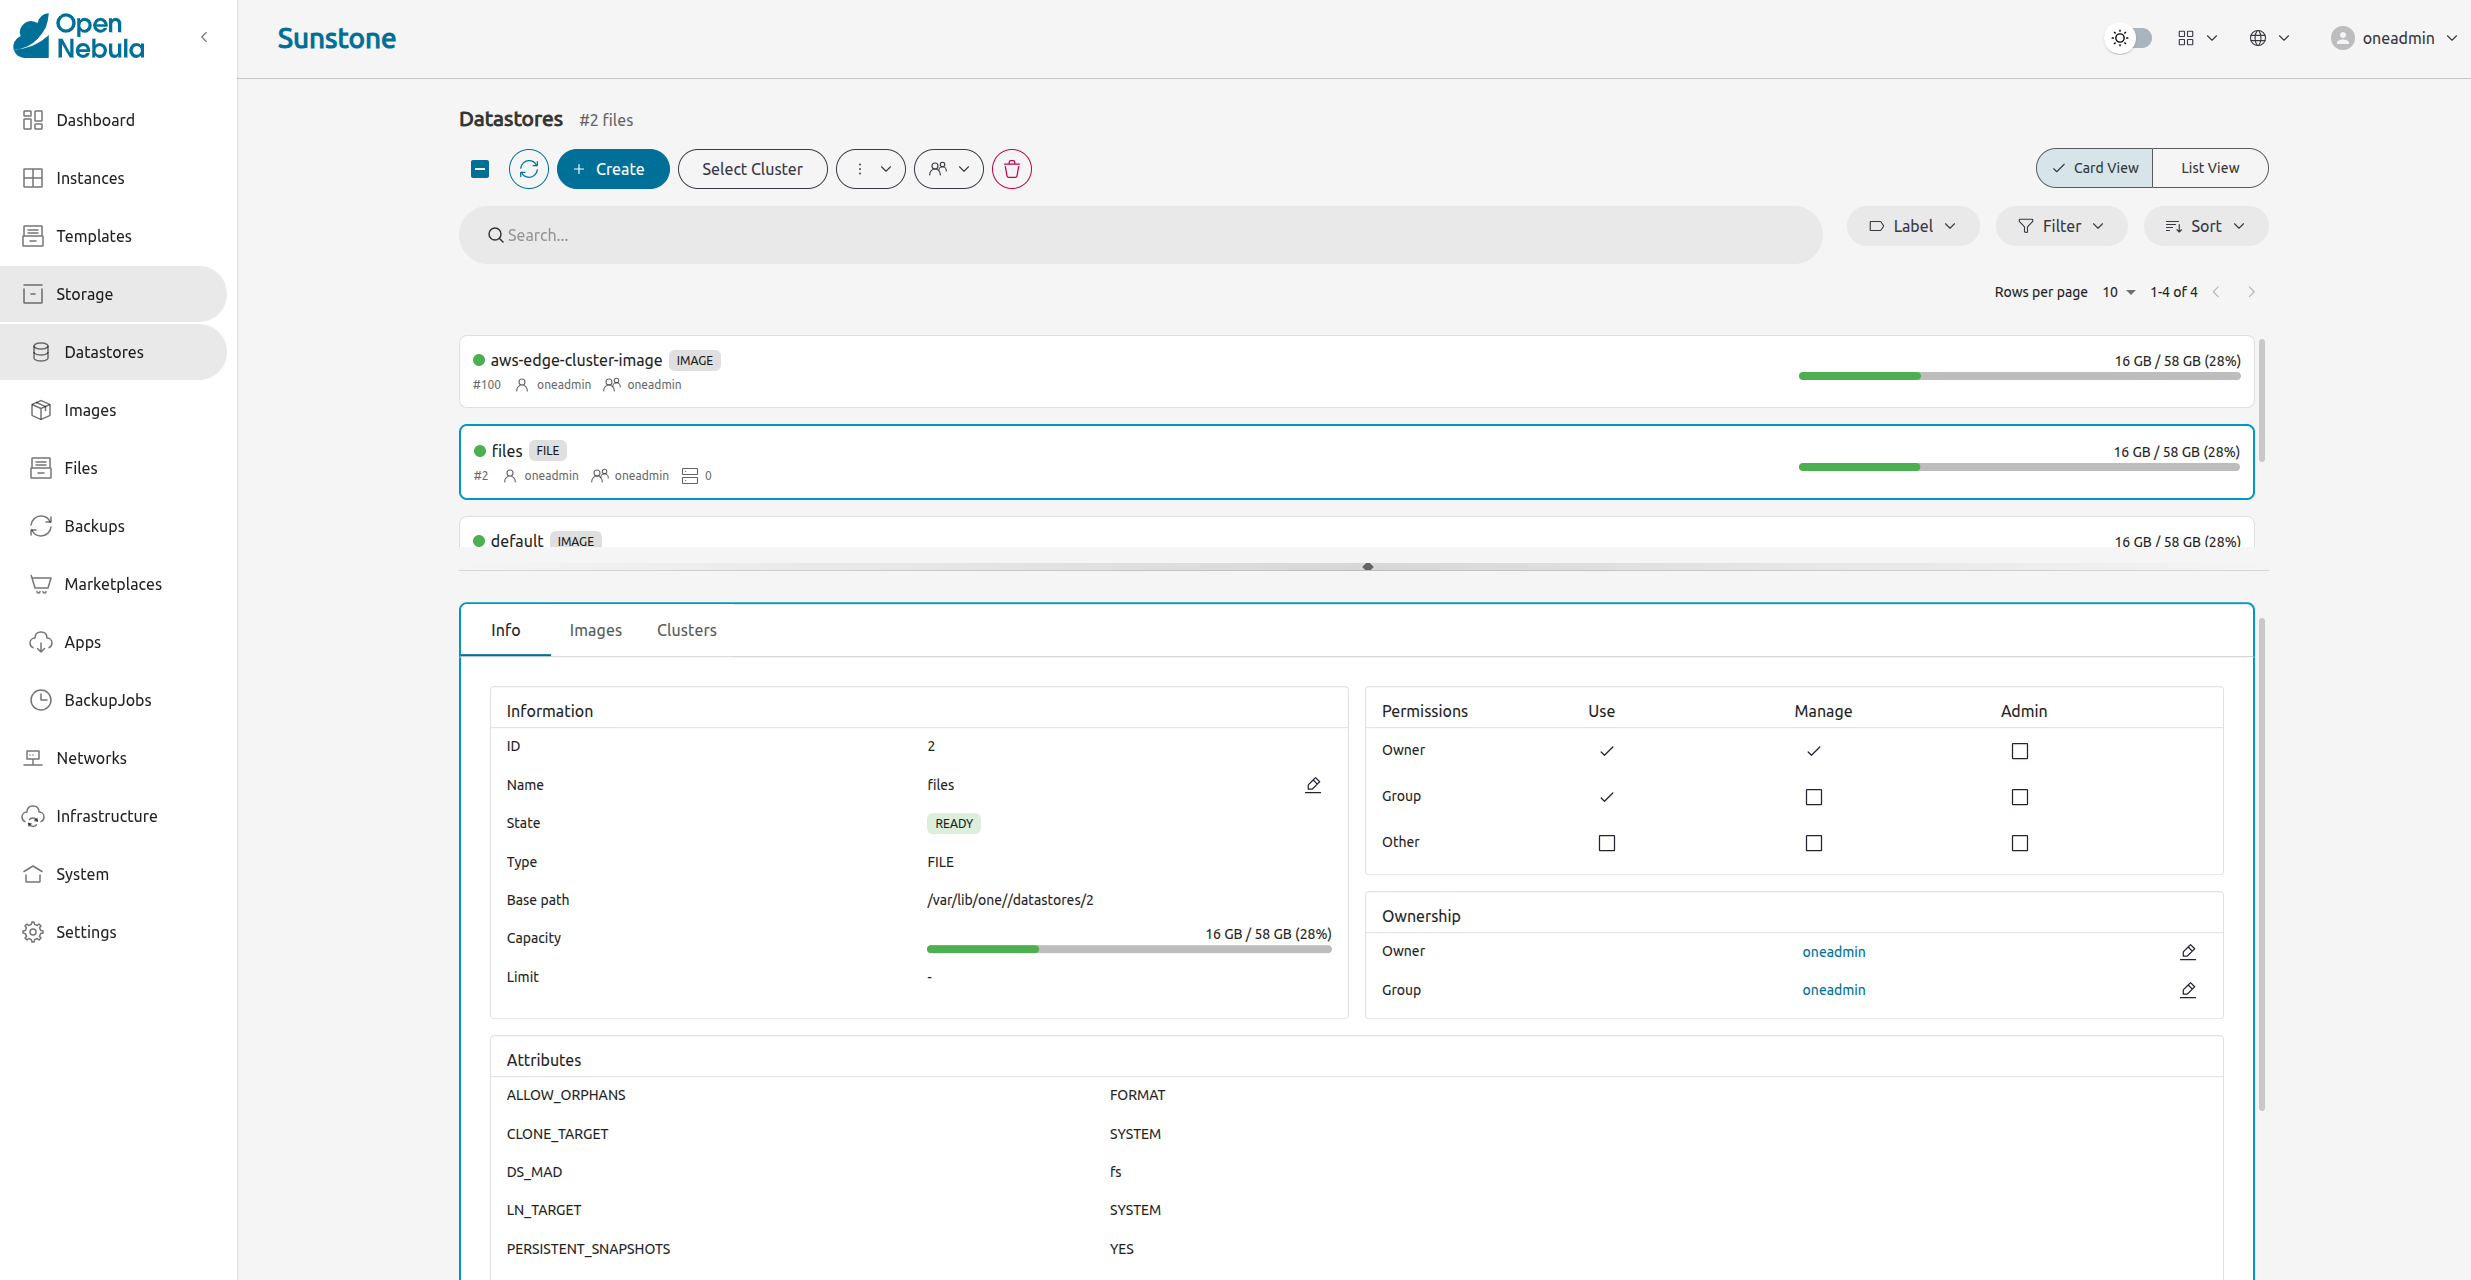
For a complete overview of Datastore management, see Datastores.
Virtual Networks
A Virtual Network in OpenNebula basically resembles the physical network in the data center. Virtual Networks allow VMs to have connectivity between them and with the rest of the world. The default miniONE installation creates a private network, by default called vnet with a base address of 172.16.100.1, with access to public networks via NAT.

For a complete overview, see Virtual Network Templates.
Downloading and Deploying a Virtual Machine
If you followed the Deploy OpenNebula On-prem with miniONE, guide, you will have already locally deployed the Virtual Machine bundled by default with the miniONE installation. In this section we will download a Virtual Machine from the OpenNebula Public Marketplace and deploy it on the local KVM hypervisor created by miniONE.
We’ll follow these high-level steps:
- Download the WordPress appliance from the OpenNebula Marketplace.
- Instantiate the Virtual Machine for the appliance.
- Verify the Installation by Connecting to WordPress.
 Important
As mentioned above, in this tutorial we’ll deploy to the Edge Cluster created previously in this Quick Start Guide. To complete this tutorial, you need the Edge Cluster up and running.Step 1. Download the WordPress Appliance from the OpenNebula Marketplace
The OpenNebula Public Marketplace is a repository of Virtual Machines and appliances which are curated, tested, and certified by OpenNebula.
To access the Marketplace, first log in to Sunstone on your OpenNebula Front-end, as user oneadmin.
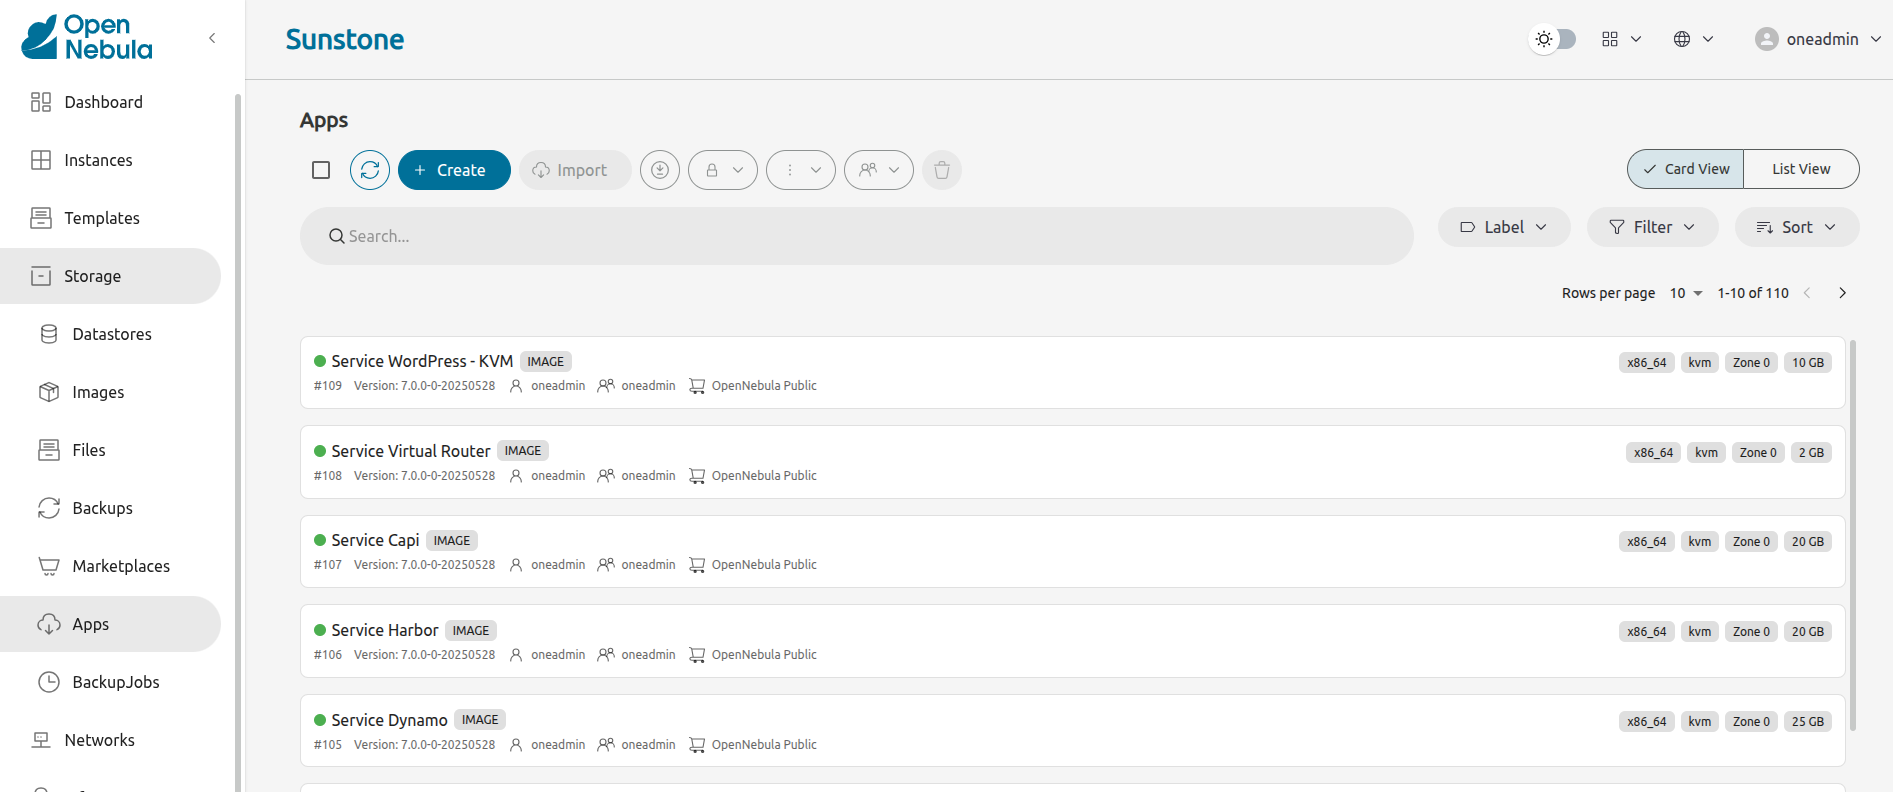
Open the left-hand pane (by hovering the mouse over the icons on the left), then select Storage, then Apps:
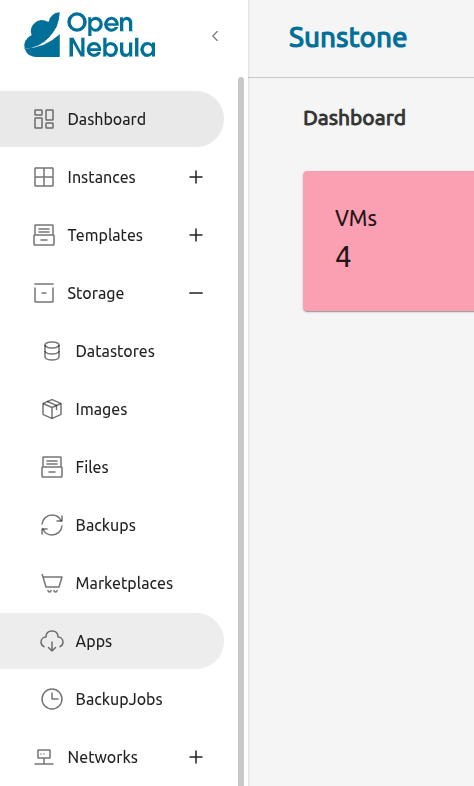
Sunstone will display the Apps screen, showing the first page of apps that are available for download:
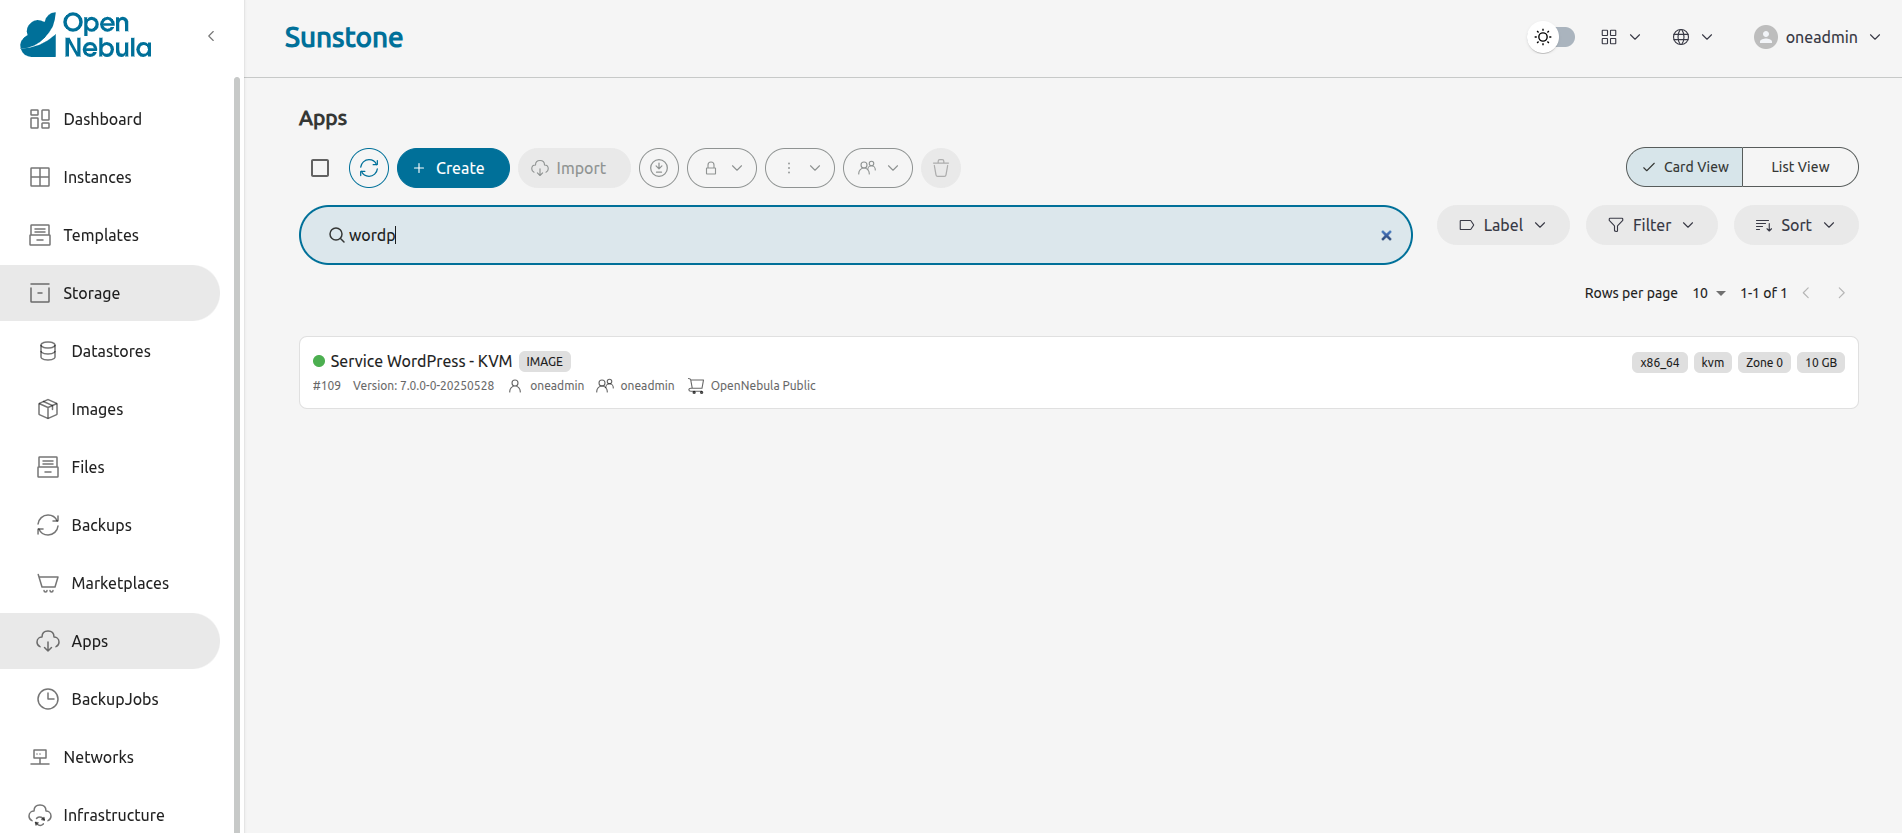
Search for the app called Service WordPress - KVM. If it’s not on the list, type wordpress in the search field at the top to filter by name:
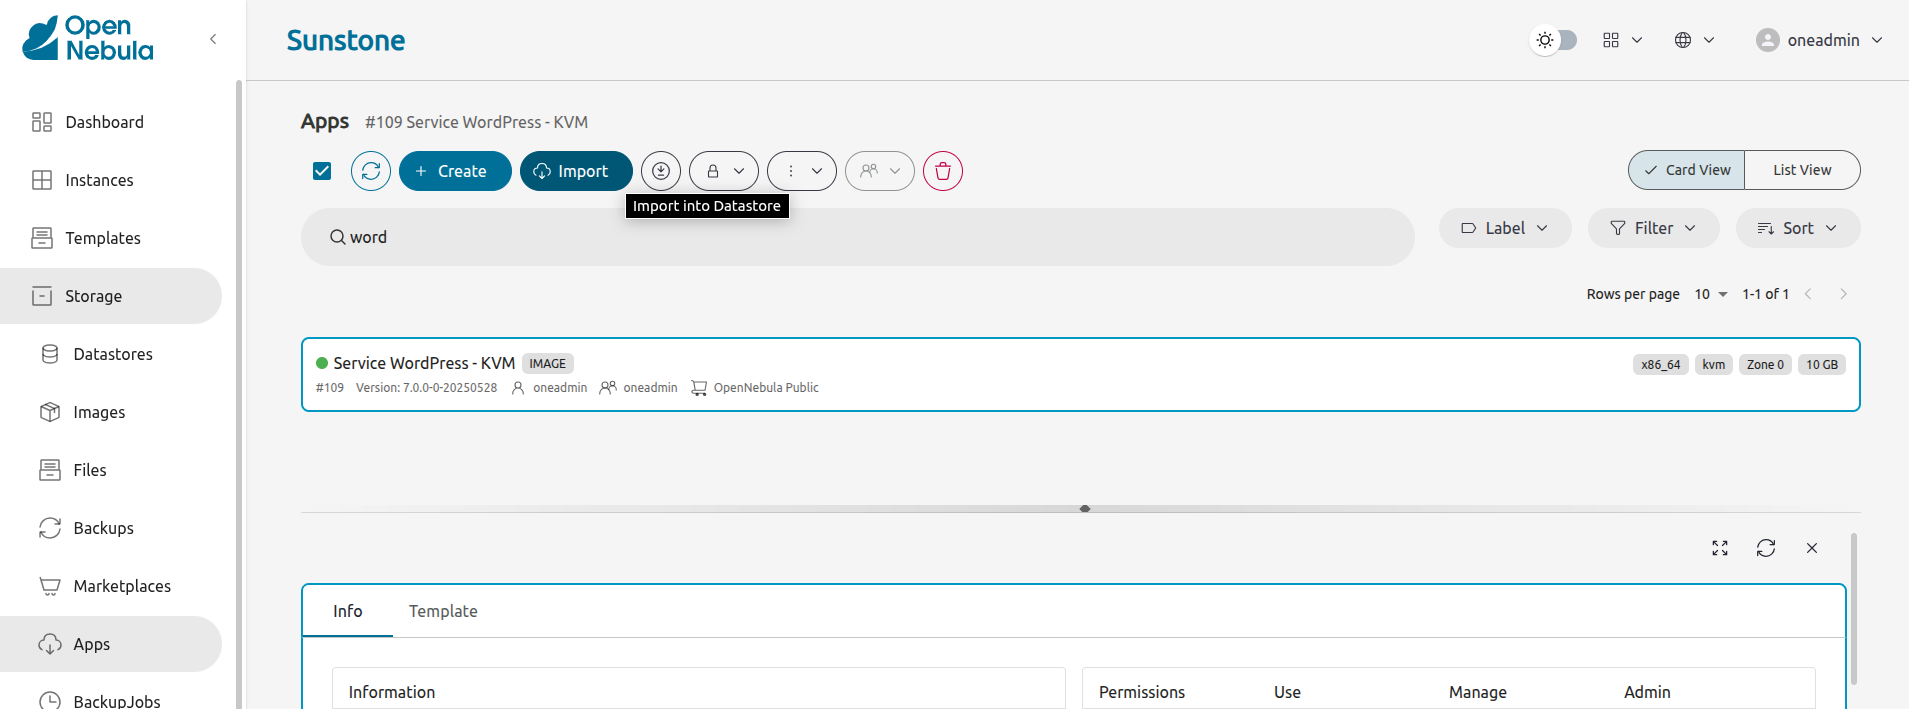
Click Service WordPress - KVM to select it, then click the Import into Datastore ![]() icon:
icon:
Sunstone will display the Download App to OpenNebula dialog:
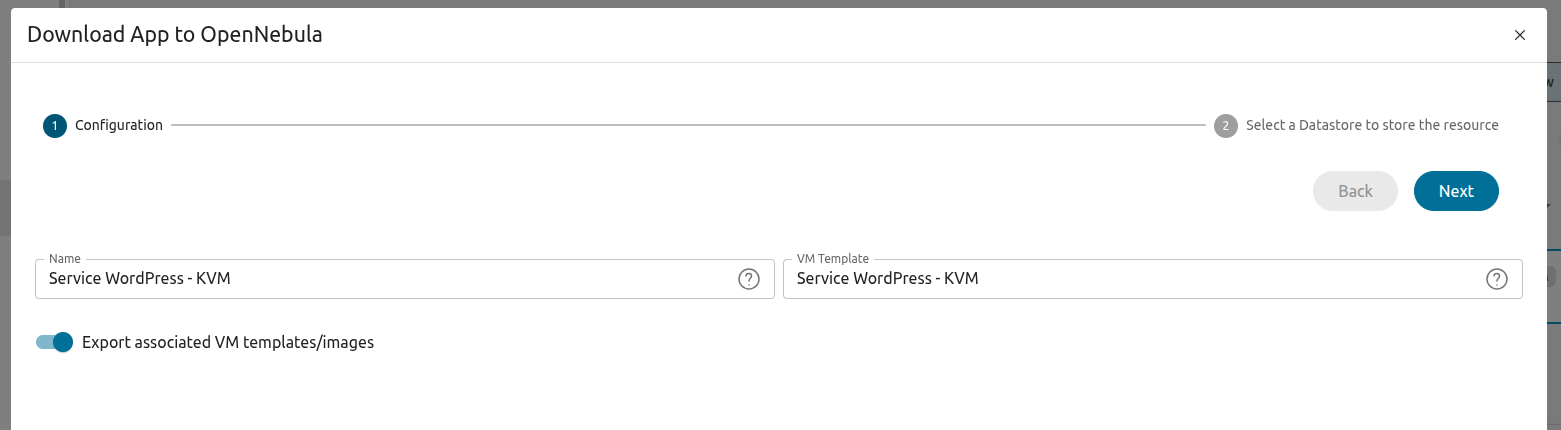
Click Next. The next screen prompts us to select a datastore, which in this case is the default Image datastore installed locally:
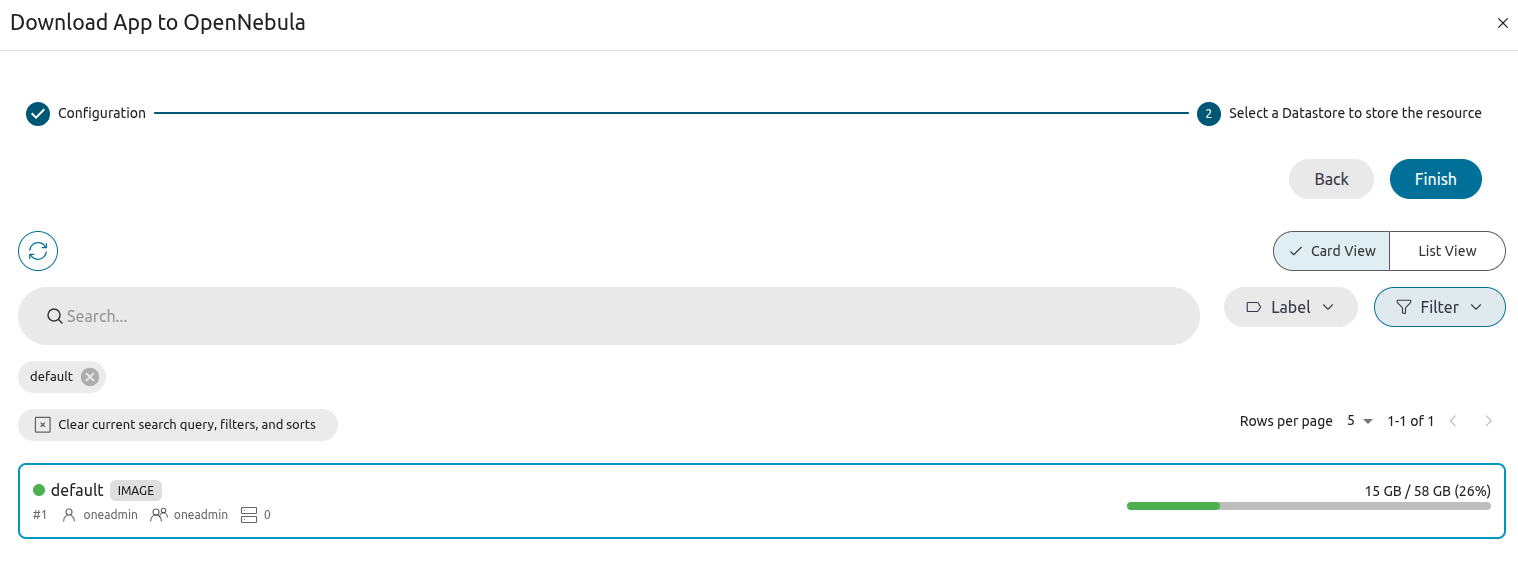
Click Finish. Sunstone will download the appliance template and display basic information for the appliance, shown below in the Info tab:
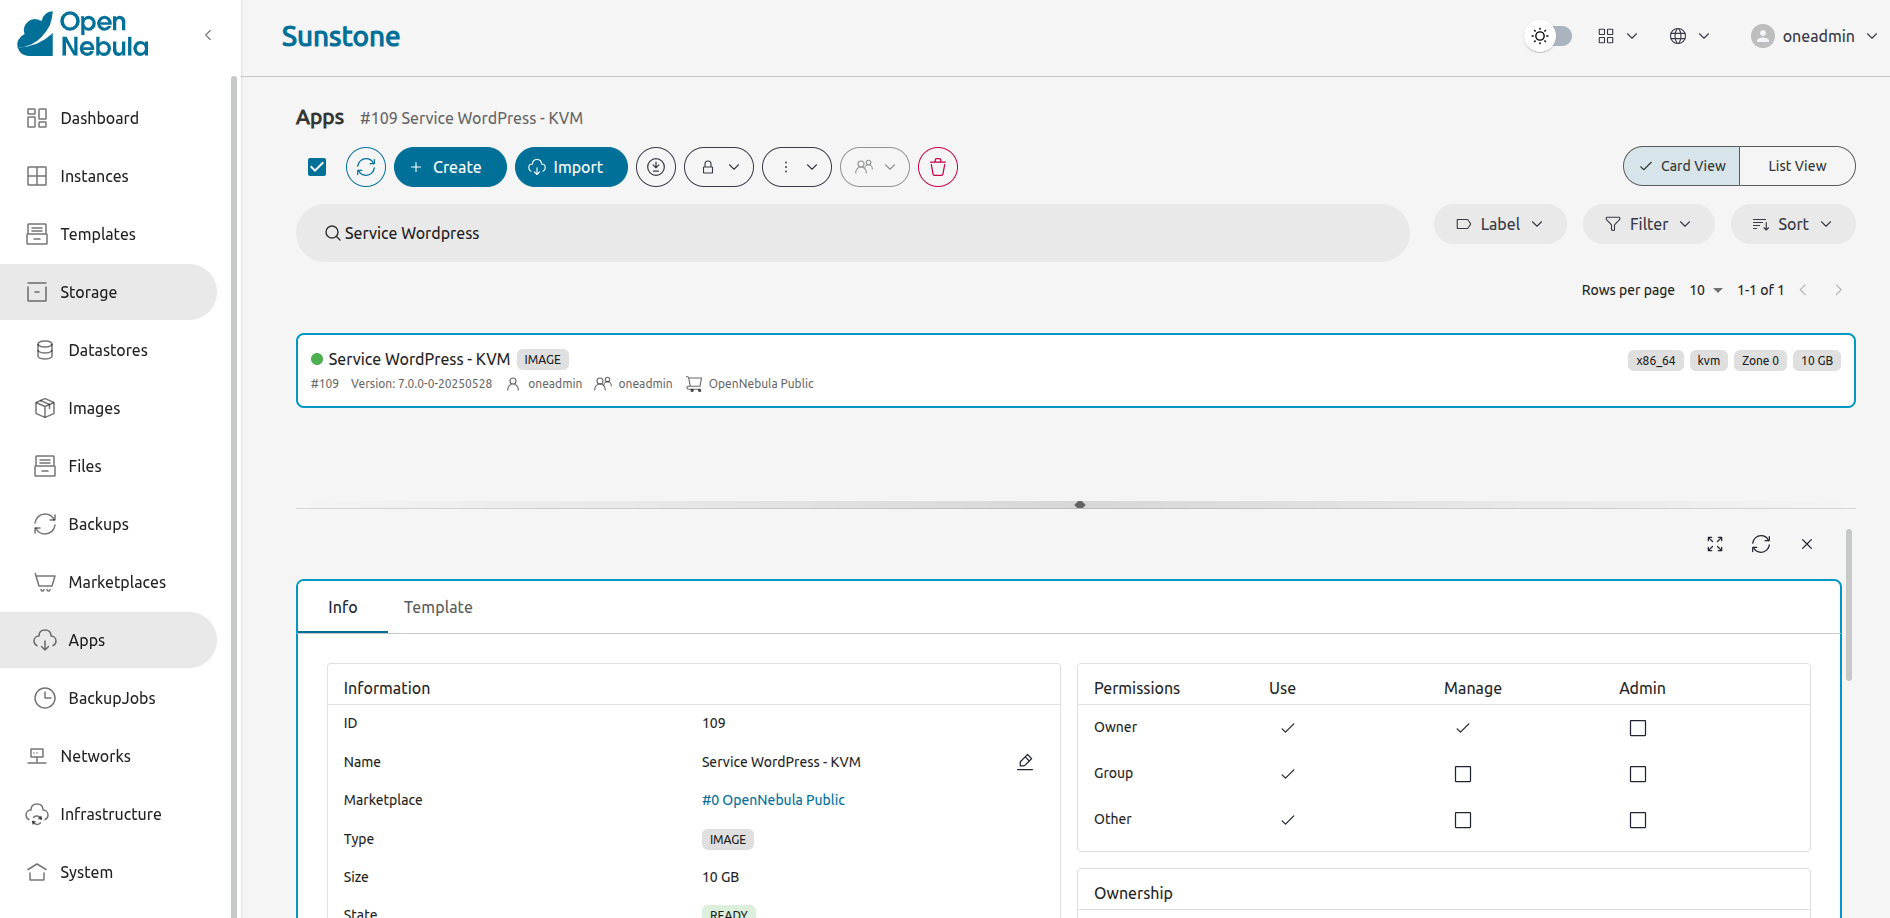
Wait for the appliance State to indicate READY. When it does, the VM will be ready to be instantiated.
Step 2. Instantiate the VM
The Wordpress appliance VM was imported as a Virtual Machine template. To instantiate, follow these steps:
In the left-hand pane click Templates, then VM Templates:
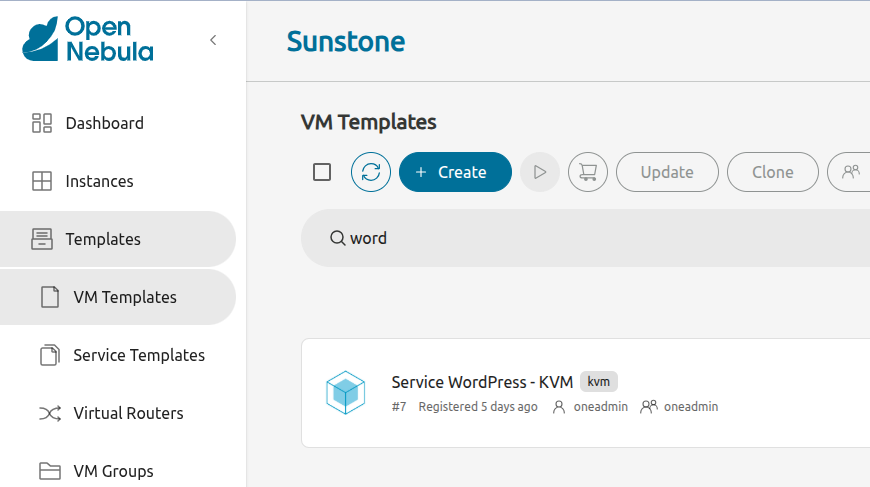
Select Service WordPress - KVM, then click the Instantiate ![]() icon at the top:
icon at the top:
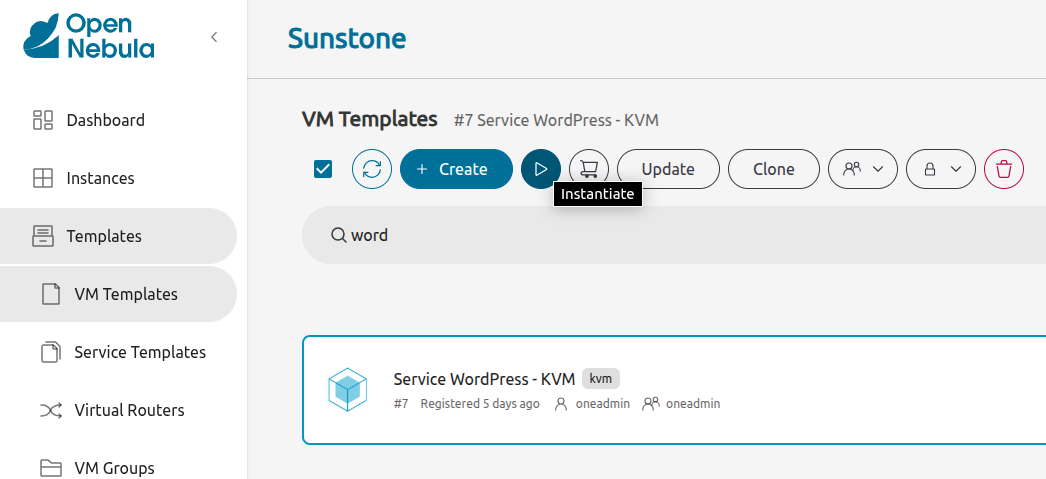
Sunstone will display the first screen of the Instantiate VM Template wizard:
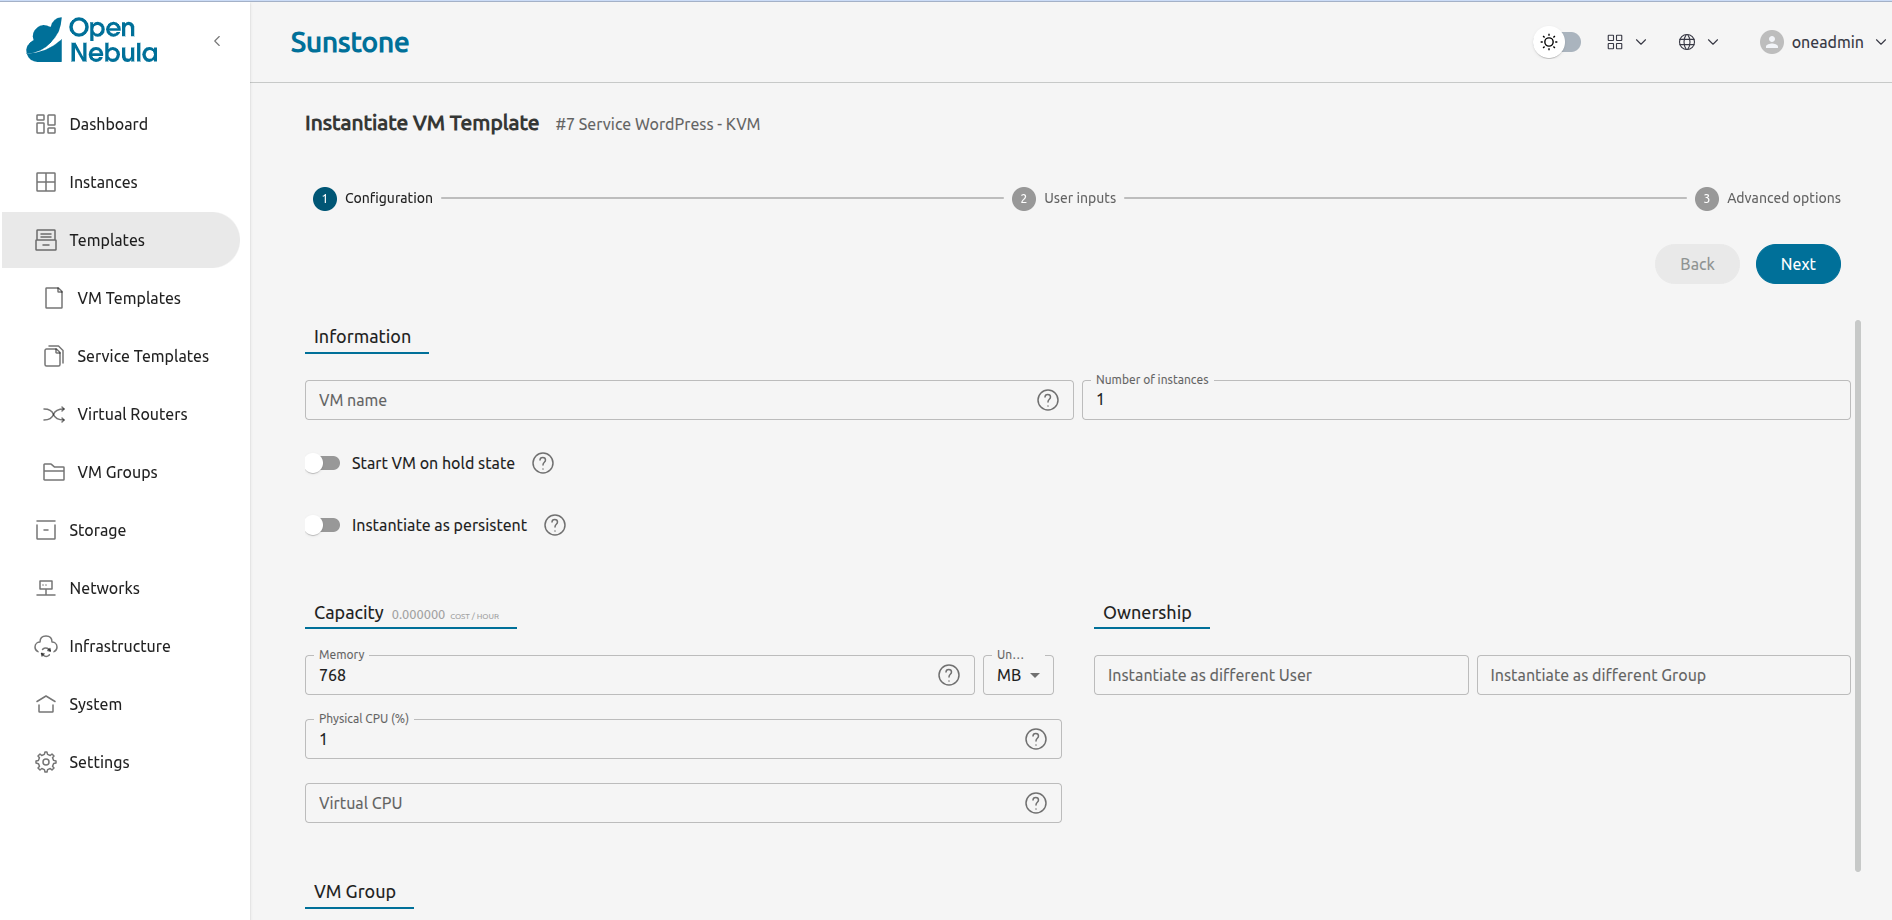
Feel free to modify the VM’s capacity according to your requirements, or leave the default values.
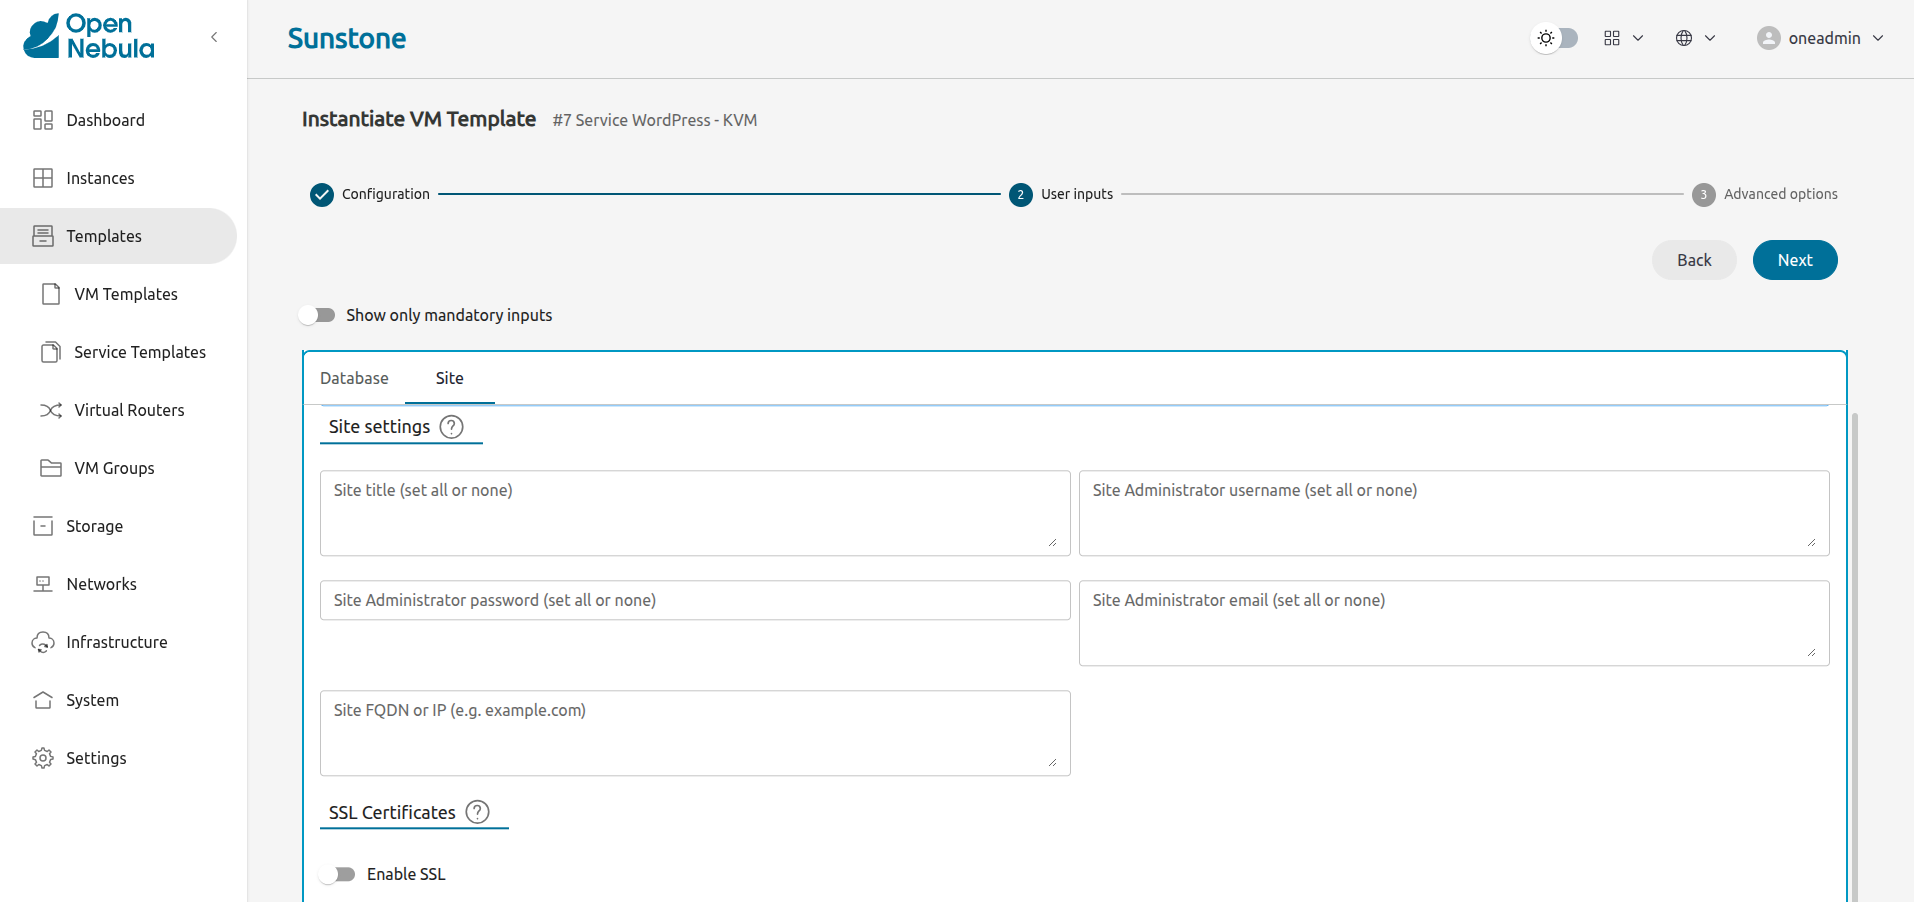
Click Next. Sunstone displays the User Inputs screen, where you can modify parameters such as the security credentials for the site administrator, or SSL certificates:
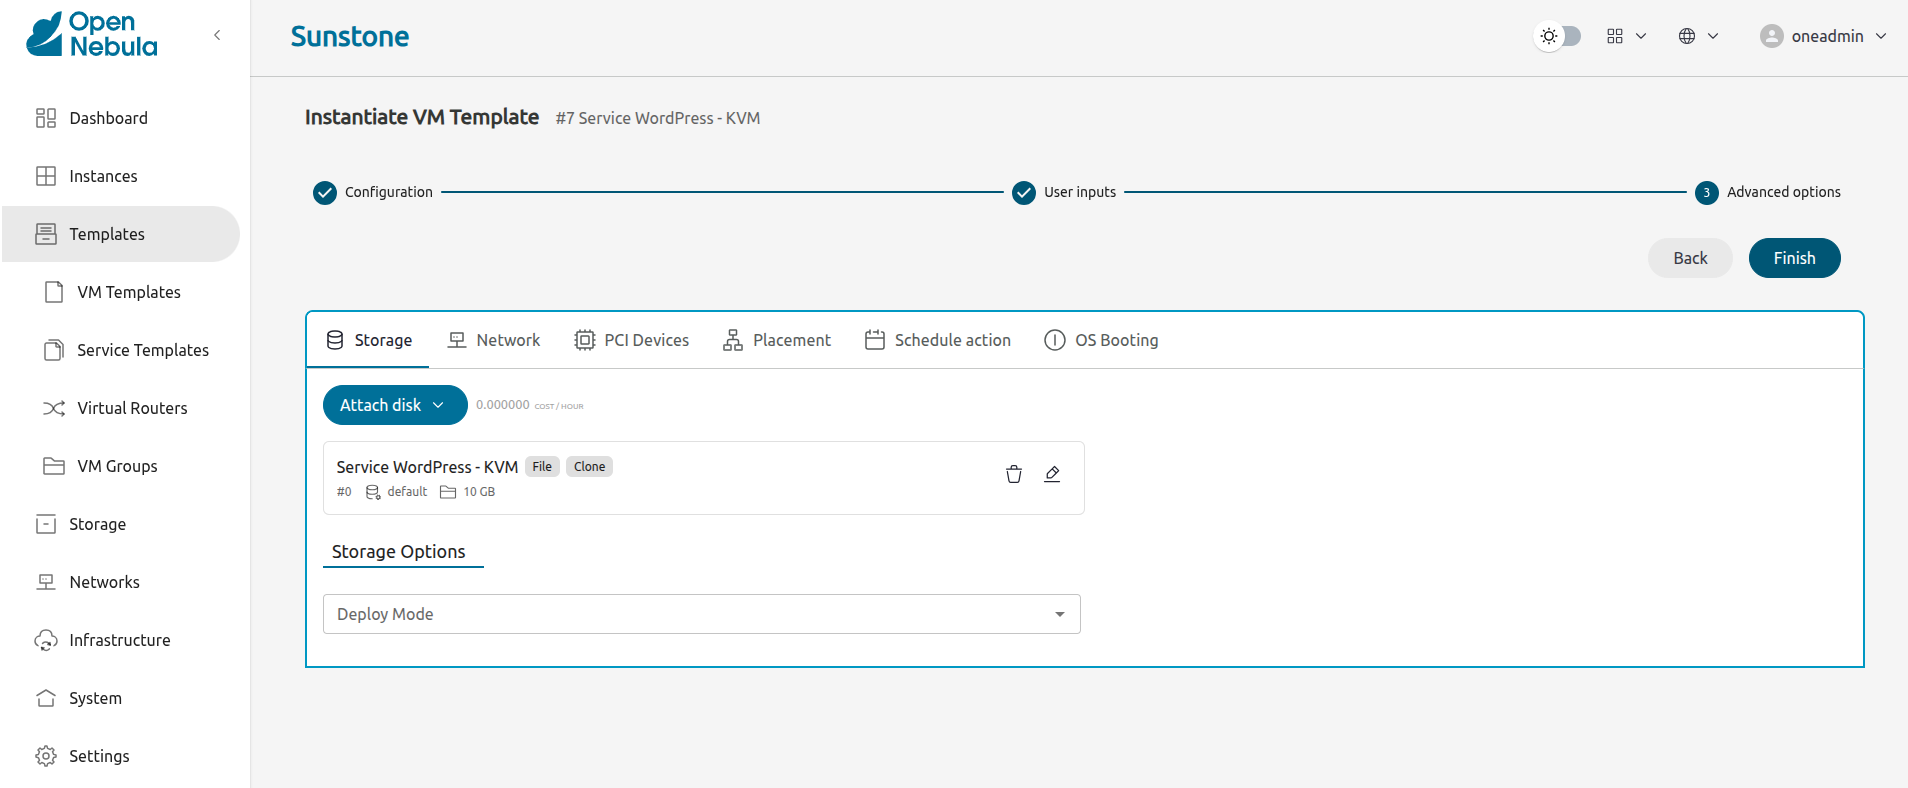
Click Next. Sunstone displays the last screen of the wizard, Advanced Options:
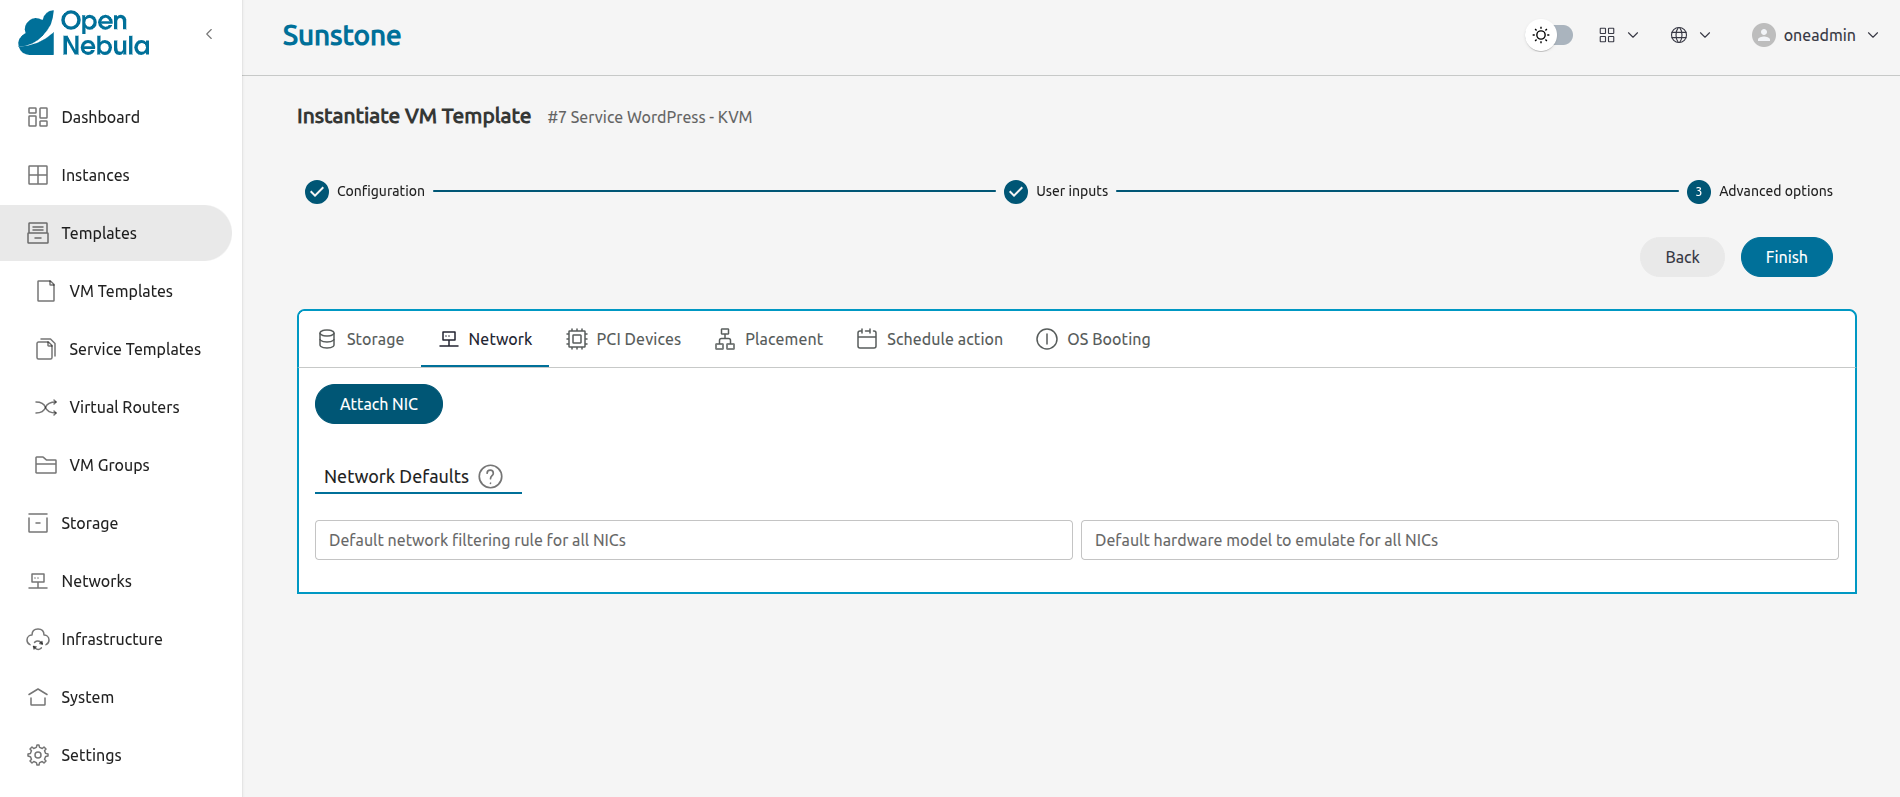
In this screen we need to specify what network the VM will connect to. Select the Network tab, then click the Attach NIC button:
Sunstone will display a wizard with network parameters:
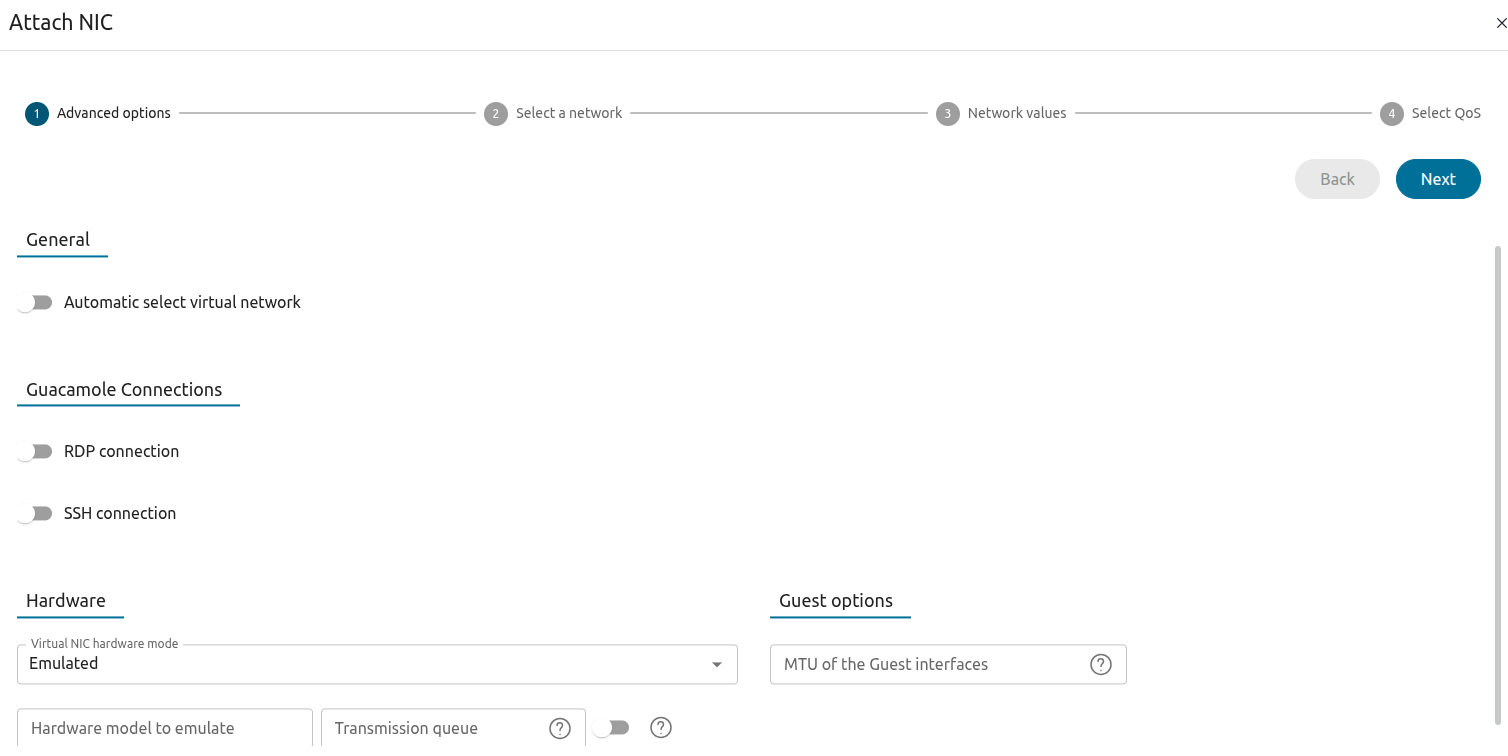
Click Next. Sunstone displays the Select a network screen:
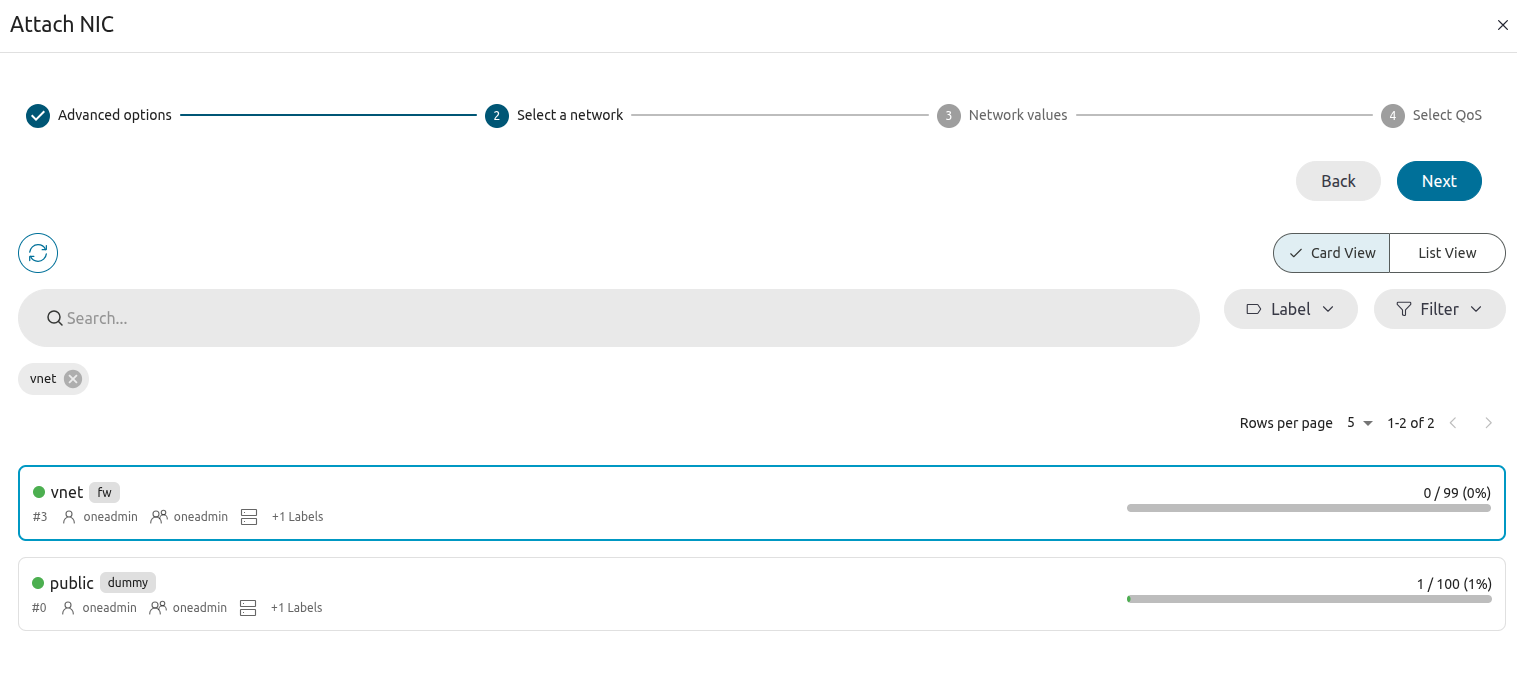
Click Next. Sunstone displays the Network values screen:
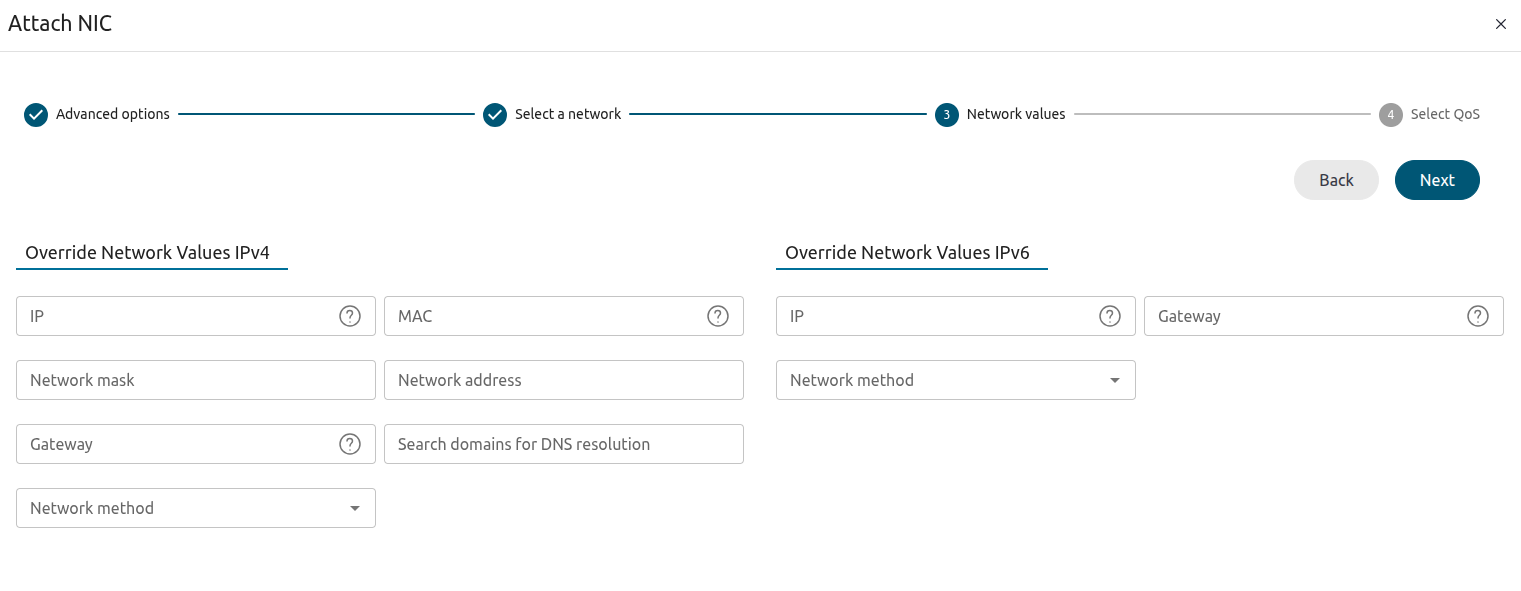
Select vnet, then click Next. Sunstone displays the final screen, Select QoS:
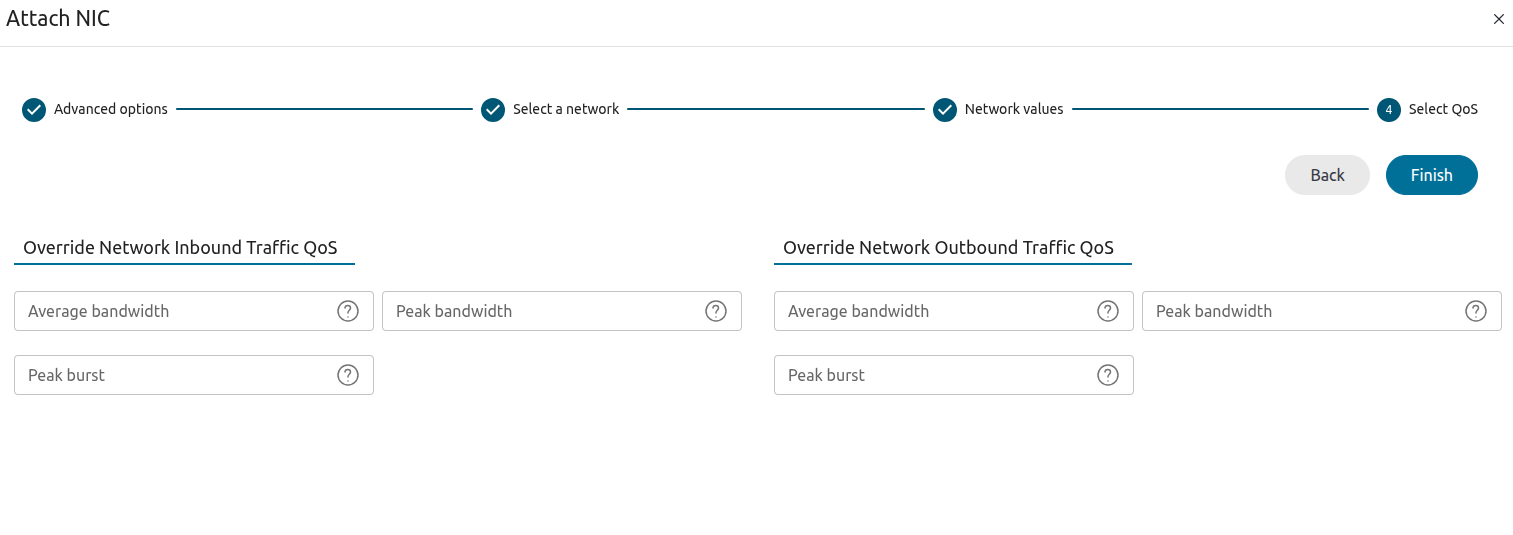
To instantiate the VM, click Finish. Sunstone will take you to the last screen of the Instantiate VM Template wizard. To deploy the VM, click Finish.
Sunstone will deploy the VM to KVM Host and display the VMs screen with the status of the VM. When the VM is running — as indicated by the green dot — it will be ready for your first login.
The image below shows the newly instantiated WordPress VM and the Alpine VM that was bundled by default with miniONE:
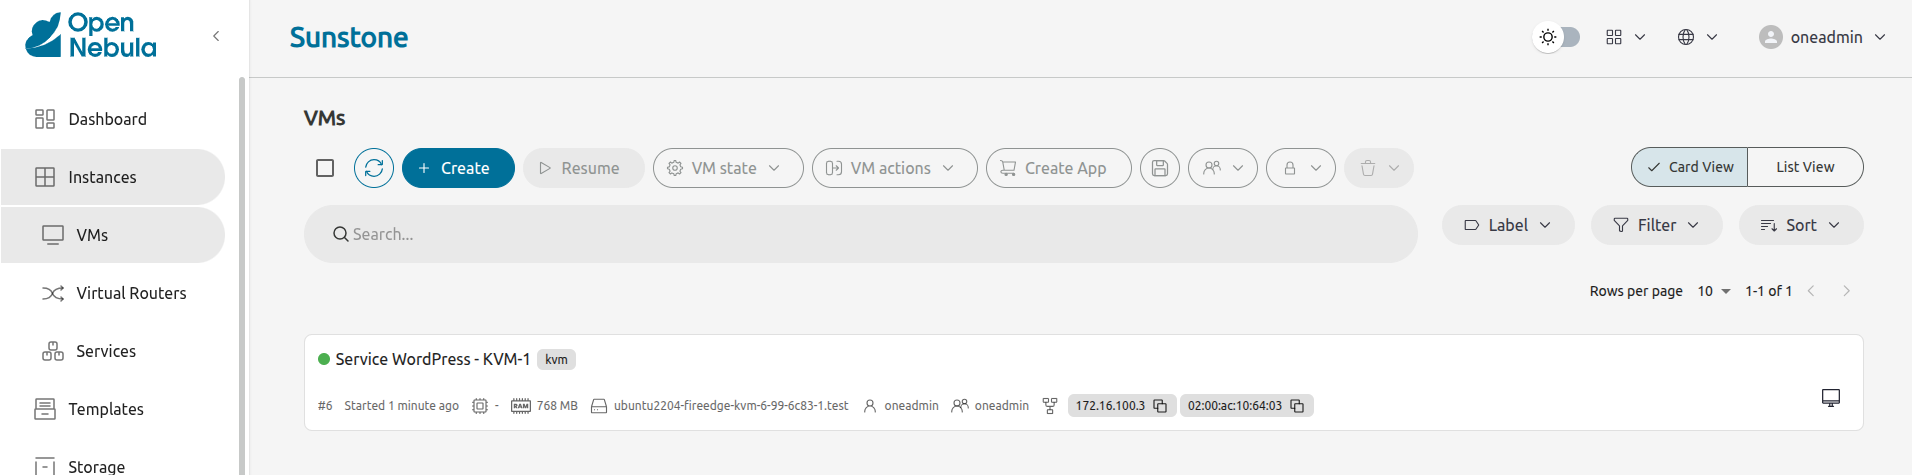
As you can see in the image above, its IP address is 172.16.100.3.
Step 3. Connect to WordPress
To log into WordPress, simply enter the IP address in your browser and you’ll be greeted by the famous five-minute WordPress installation process.
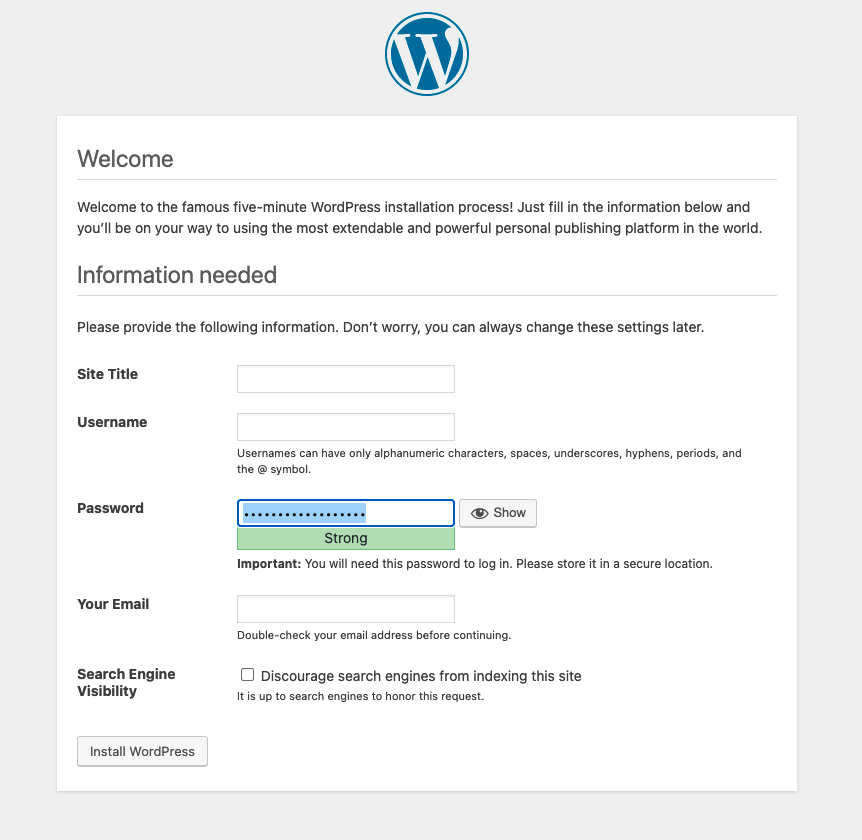
That’s it — you have a working OpenNebula cloud with a WordPress up and running. Congratulations!
We value your feedback
Was this information helpful?
Glad to hear it
Sorry to hear that