Deploy OpenNebula On-prem with miniONE
Categories:
In this tutorial, we’ll install an OpenNebula Front-end in under ten minutes, using miniONE, the installation tool provided by OpenNebula.
The miniONE tool is a simple script that allows you to install an OpenNebula Front-end with a single command. It installs quickly and easily and is a great tool for learning and evaluation. After running miniONE, all the OpenNebula services needed to use, manage and run the cloud will be installed on a single Front-end.
This tutorial covers installation of a Front-end and KVM hypervisor node on the local machine. The resulting installation uses a private IP for communication between the Front-end and Virtual Machines, so it is not suitable for deploying resources to remote infrastructure.
With this setup, during installation miniONE will:
- Install OpenNebula from the software packages
- Install a KVM hypervisor on the local machine
- Automatically download a Virtual Machine template for the Alpine Linux 3.20 OS from the OpenNebula Marketplace)
After installation, we will use the Sunstone UI to try out and manage these components.
To install an OpenNebula Front-end using miniONE, we’ll need to complete the following high-level steps:
- Ensure that the host server meets the installation requirements.
- Download and run the miniONE script.
- Verify the installation.
 Emulation
It is recommended to perform the installation on a machine capable of running KVM virtualization. If KVM virtualization is not available, miniONE will automatically fall back on QEMU emulation; however, running in full emulation mode will decrease performance. Tip
Tip
To quickly check that your machine is capable of KVM emulation, you can run the kvm-ok command:
kvm-ok
INFO: /dev/kvm exists
KVM acceleration can be used
On Debian-based Linux, you can install kvm-ok by installing the cpu-checker package.
Step 1: Verify Installation Requirements
To run the miniONE script, you will need a physical or virtual server with a fresh installation of a supported operating system, with the latest software updates and without any customizations. The server will need an internet connection to download software packages during installation.
- Supported operating systems:
- RHEL/AlmaLinux 8 or 9
- Debian 11 or 12
- Ubuntu 22.04 or 24.04
- Minimum hardware:
- 4 GiB RAM (16 GiB recommended for deploying a Kubernetes cluster)
- 80 GiB free disk space
- Configuration:
- Access to the privileged user (root) account
- An SSH server running on port 22
- Open ports:
- 22 (SSH)
- 80 (for the web UI)
This tutorial was tested on on Ubuntu 22.04 and 24.04.
Step 2: Download and Install miniONE
You can download miniONE from the GitHub repository.
To quickly download miniONE, run:
wget 'https://github.com/OpenNebula/minione/releases/latest/download/minione'
After downloading, open a terminal and use the sudo to become the root user. For example, run:
sudo -i
Go to the folder where you downloaded the miniONE script, by using the cd command:
cd <path/to/folder>
Next, ensure that the minione file has execute permissions:
chmod +x minione
To install miniONE, run as root:
./minione
The miniONE script will begin the installation, logging output to the terminal. Installation usually takes between one and two minutes. When it’s finished, miniONE shows a report with connection parameters and login credentials:
### Report
OpenNebula 7.0 was installed
Sunstone is running on:
  http://192.168.1.130/
Use following to login:
  user: oneadmin
  password: ZMCoOWUsBg
Finally we will force a refresh of the localhost status:
sudo -u oneadmin onehost sync --force
At this point, you have successfully installed miniONE. OpenNebula services should be running, and the system should be ready for your first login.
Step 3: Verify the Installation
We will verify the installation by logging in to OpenNebula’s Edge Sunstone GUI.
Point your browser to the Edge IP and port provided by the miniONE report, in this case 192.168.1.130:80, or simply to http://localhost. You should be greeted with the Sunstone login screen:
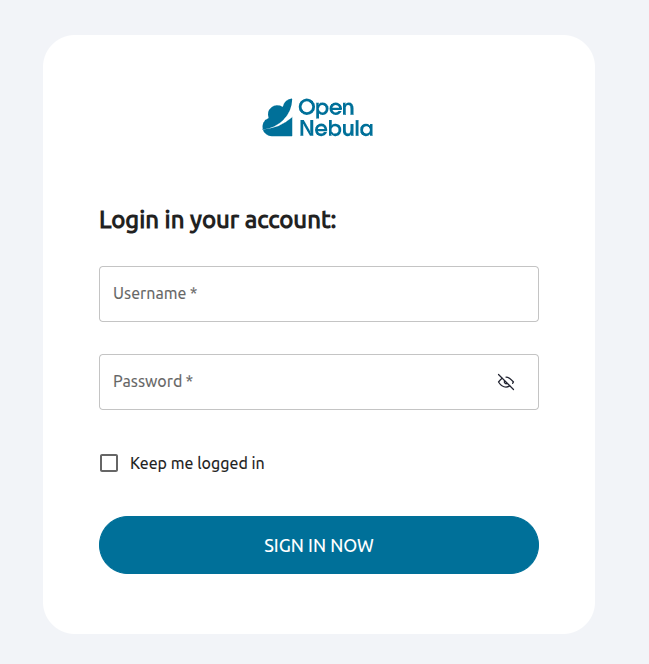
In the Username input field, type oneadmin. For Password, enter the password provided by miniONE at the end of the report (in this example, ZMCoOWUsBg) then press Enter or click SIGN IN.
The screen should display the Sunstone Dashboard:
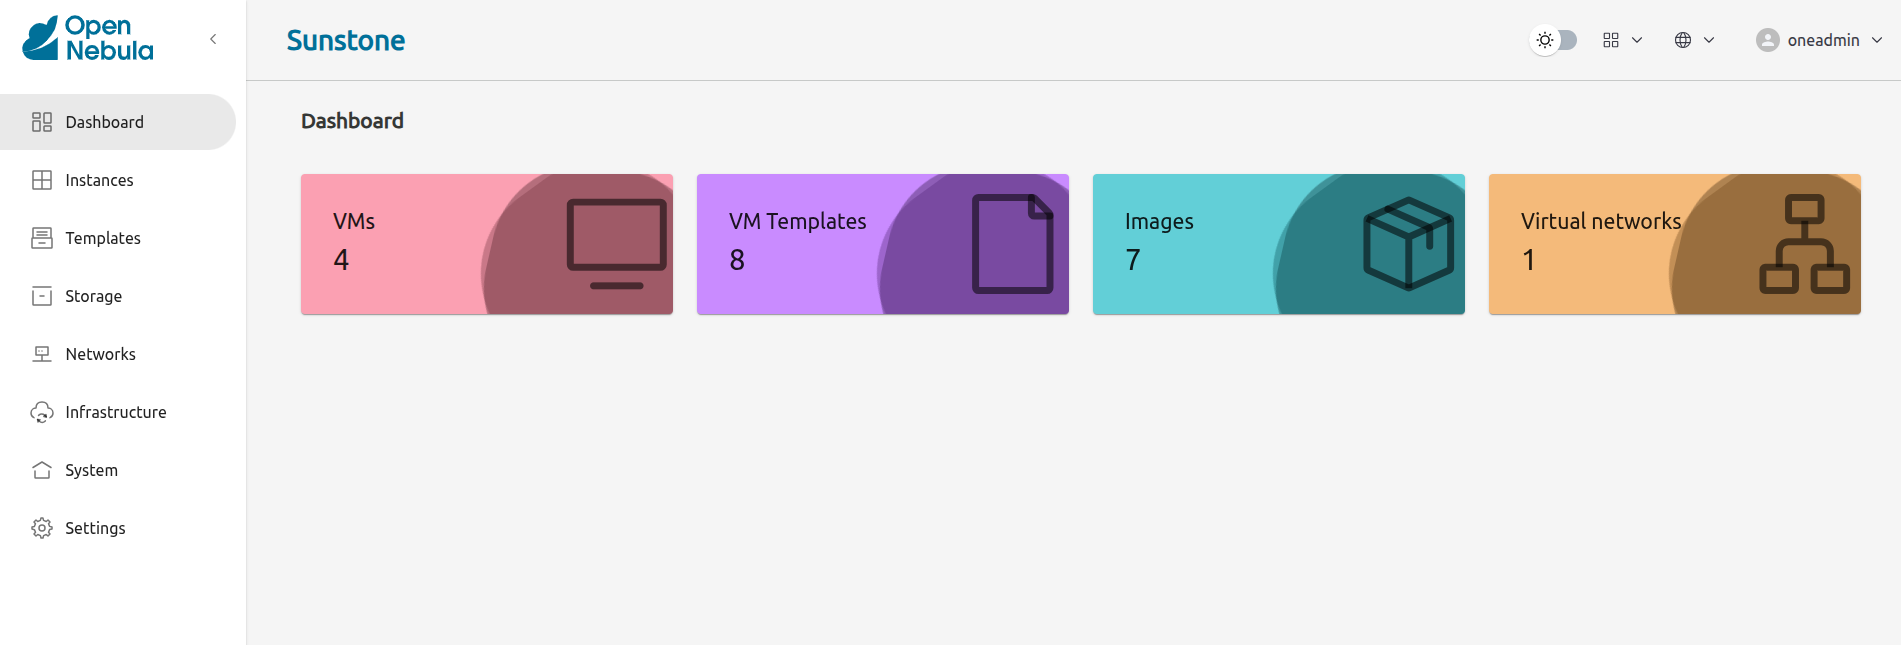
As you can see, the Dashboard indicates the following installed components:
- 1 VM template
- 1 image
- 1 virtual network
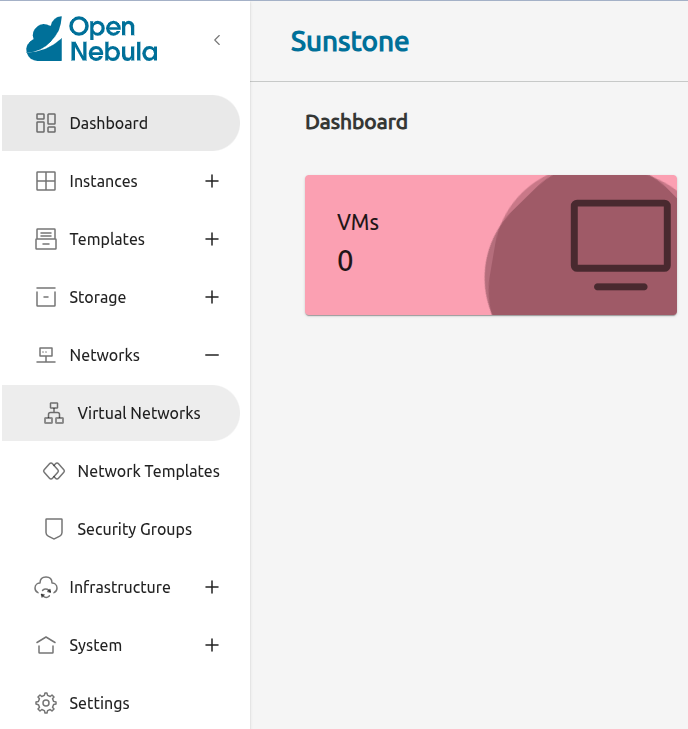
The installed virtual network is a bridged network attached to a local interface. To see this network, in Sunstone open the left-hand menu (by hovering the mouse over the left-hand pane), then click Networks –> Virtual Networks:
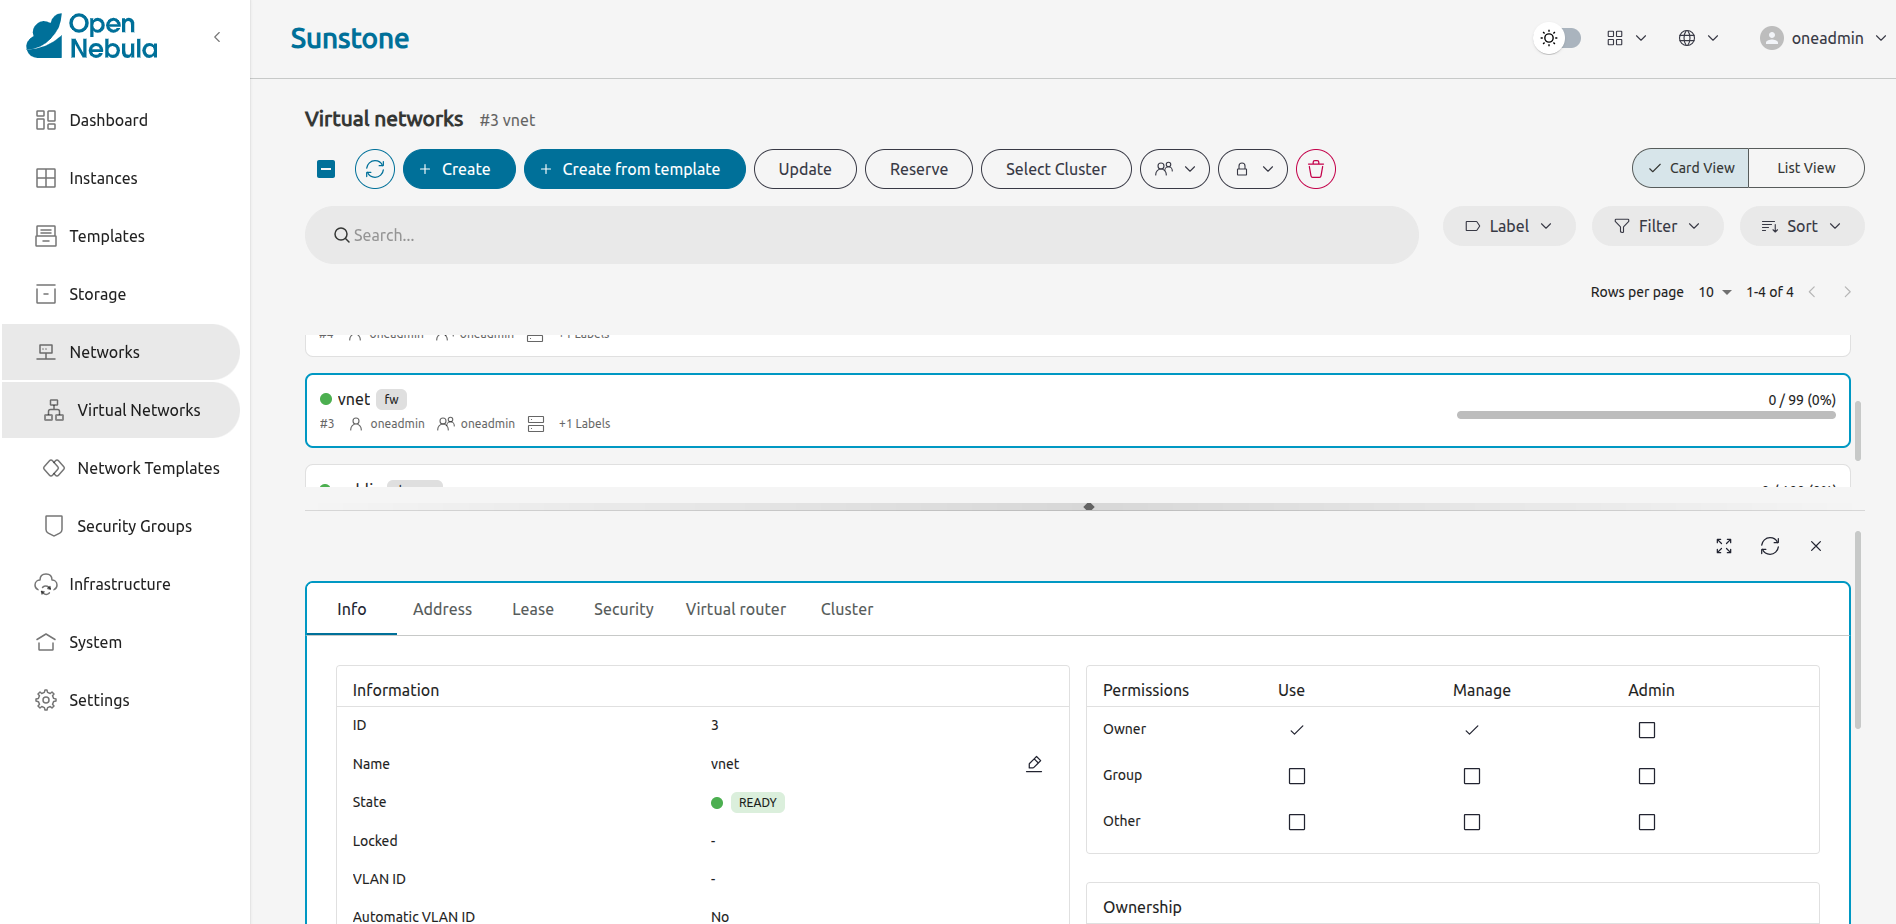
Sunstone should display the Virtual networks screen. Clicking the network name displays info tabs for the network:
During installation, a KVM virtualization host was automatically configured on the local server. To see the KVM host, in Sunstone open the left-hand menu, then click Infrastructure -> Hosts.
Deploying a Virtual Machine Locally
During installation, miniONE automatically downloaded the template for a Virtual Machine with Alpine Linux 3.20 preinstalled. Using the Sunstone UI, we can now instantiate this Virtual Machine on the local KVM host with a few clicks.
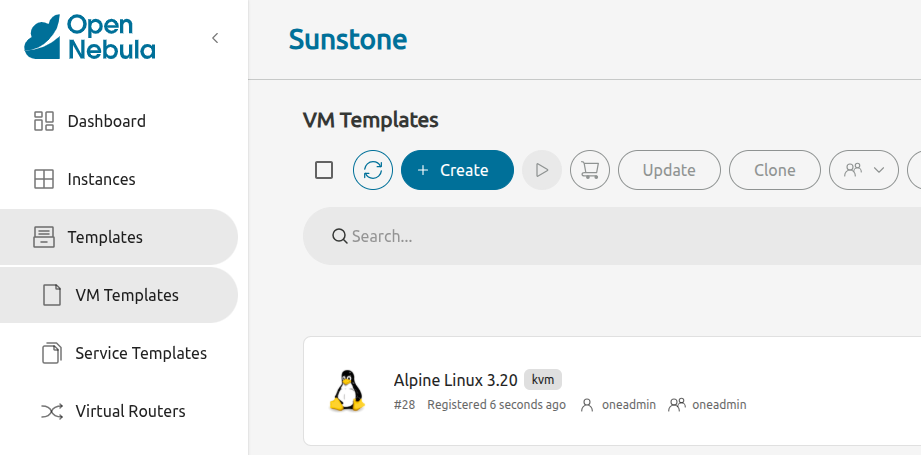
To deploy the Alpine Linux VM, go to Templates -> VM Templates. This screen displays a list of all VM templates installed on the system. In this case, only the Alpine Linux 3.20 template is installed:
To instantiate the VM template, click the template name, then click the Instantiate icon ![]() at the top.
at the top.
Sunstone will display the first screen of the Instantiate VM Template wizard:
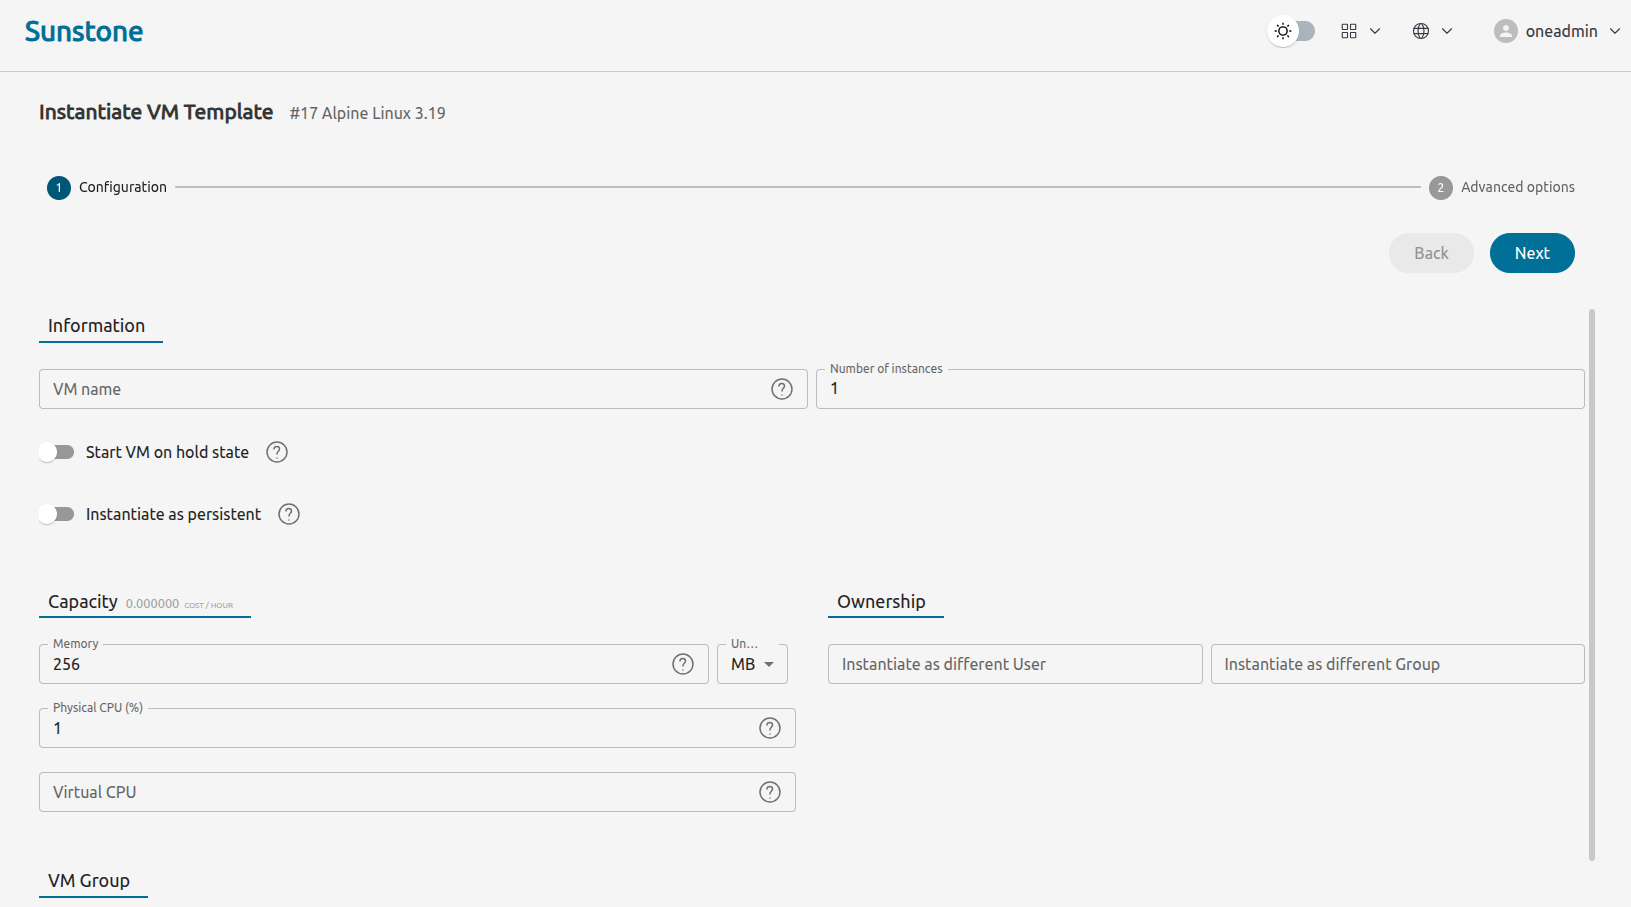
Feel free to modify the Capacity parameters if desired, or leave at their default values.
Click Next.
The next screen allows you to see and modify further parameters for the VM, including selecting the virtual network or scheduling actions.
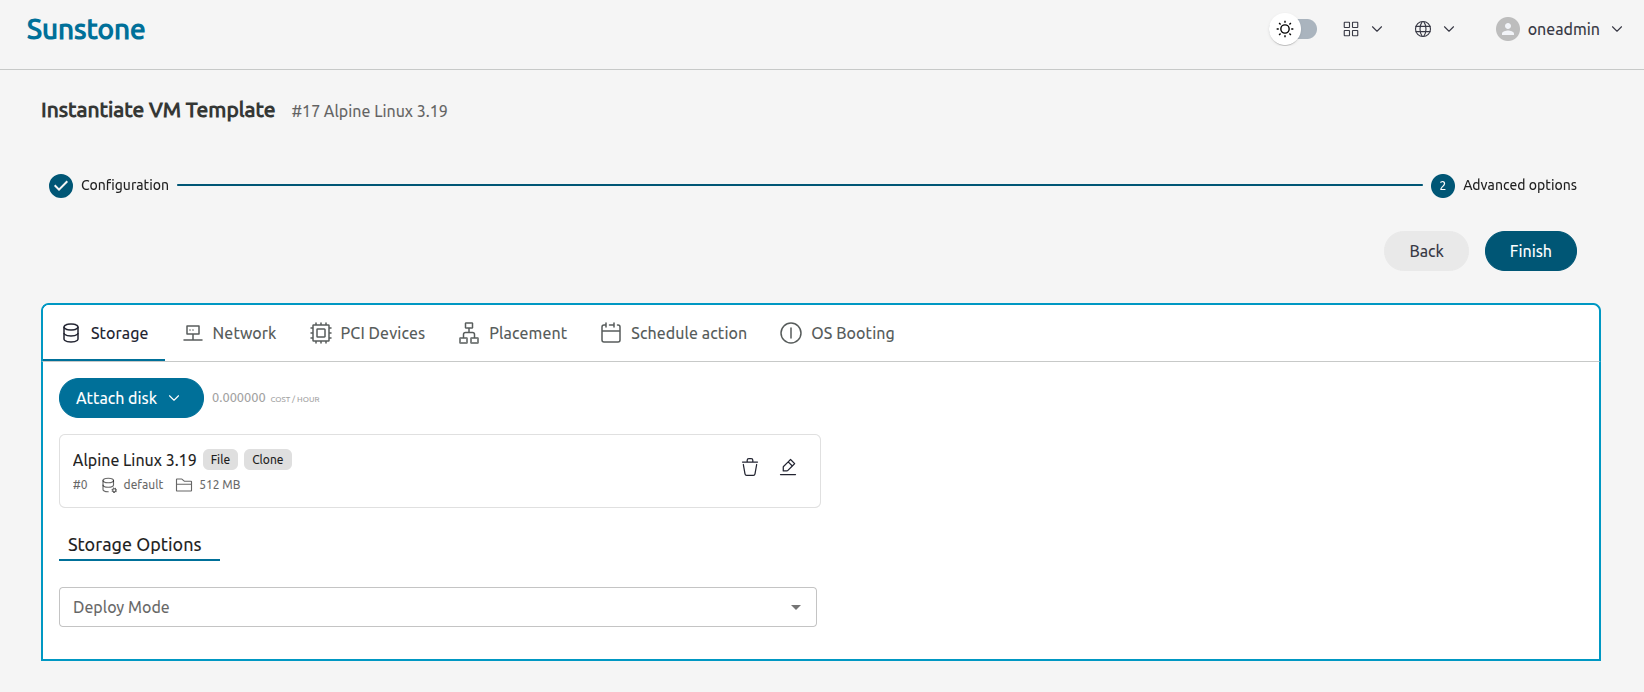
Click Finish.
OpenNebula will instantiate the VM template. For the Alpine Linux VM, this should take just a few seconds. Once instantiation is complete, Sunstone should display the Instances -> VMs screen, with the Alpine Linux VM as the sole instance:
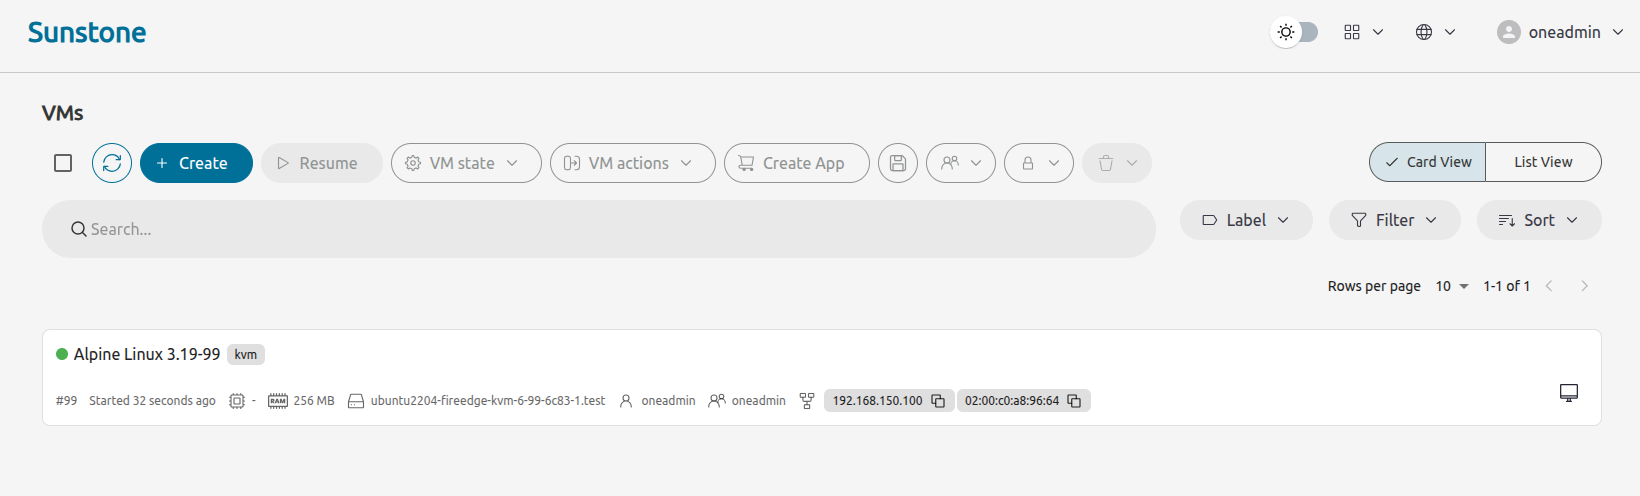
The green dot to the left of the VM name indicates that the VM is running. Note that you may need to click the Refresh icon ![]() at top left for the VM to display the running state.
at top left for the VM to display the running state.
Logging into the Virtual Machine
The quickest way to log into the VM is by VNC, available directly in Sunstone. Just click the VNC icon ![]() and Sunstone should display the VM boot messages screen directly in your browser.
and Sunstone should display the VM boot messages screen directly in your browser.
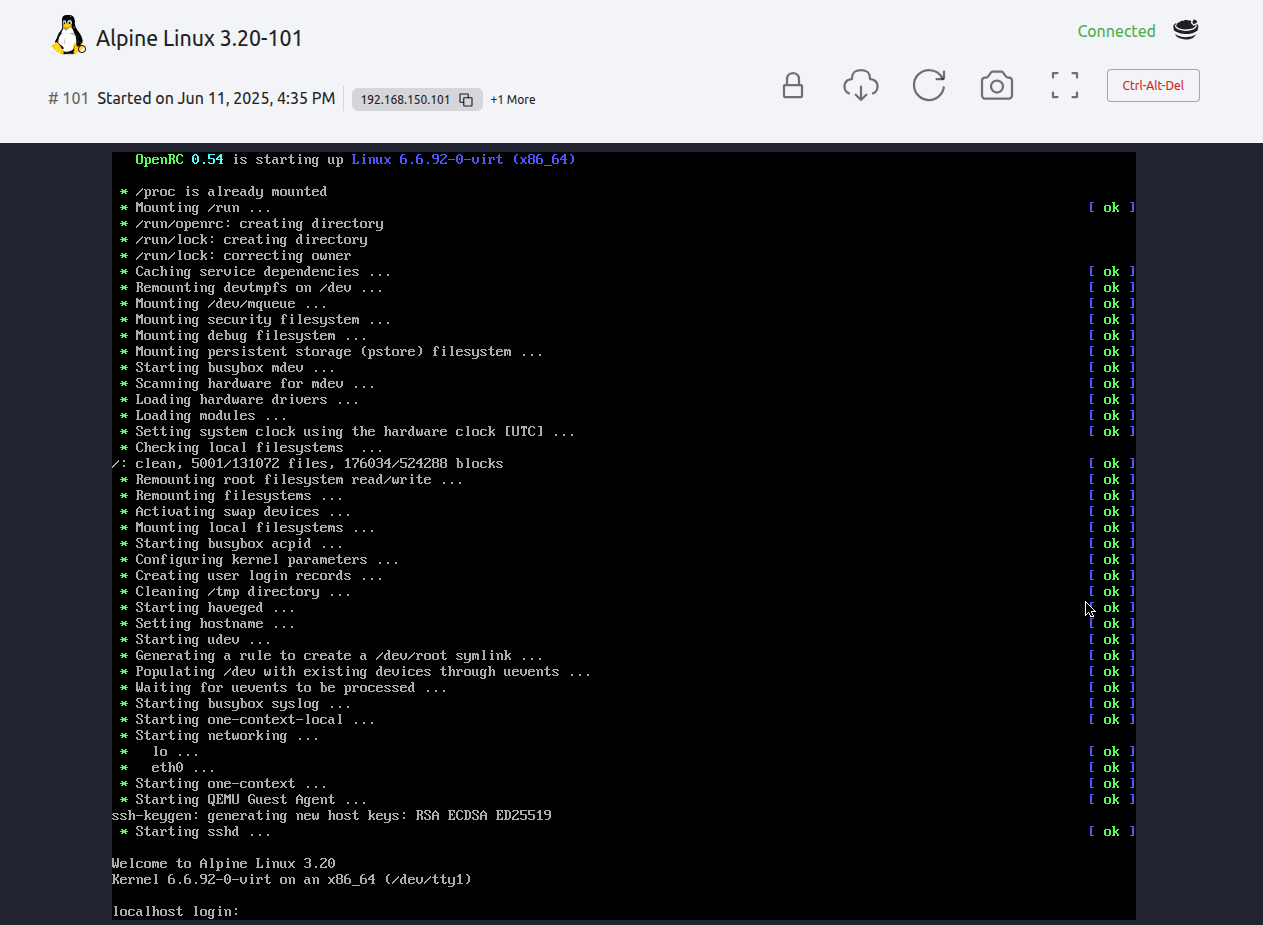
Log in as root with password opennebula.
Congratulations! You’ve installed an OpenNebula Front-end with a KVM hypervisor and virtual network, then deployed a Virtual Machine.
To explore the resources in the environment you’ve just created, see Validate the miniONE Environment — where additionally you can learn how to quickly download virtual appliances from the OpenNebula Marketplace and deploy them to your new cloud.
We value your feedback
Was this information helpful?
Glad to hear it
Sorry to hear that