NVIDIA vGPU & MIG
Configuring the hypervisor for NVIDIA® vGPU and MIG (Multi-Instance GPU) capabilities facilitates centralized management, flexibility in resource allocation, and enhanced security isolation across all virtualized GPU workloads.
BIOS
You need to check that the following settings are enabled in your BIOS configuration:
- Enable SR-IOV
- Enable IOMMU
Note that the specific menu options where you need to activate these features depend on the motherboard manufacturer.
NVIDIA Drivers
The NVIDIA drivers are proprietary, so you will probably need to download them separately. Please check the documentation for your Linux distribution. Once you have installed and rebooted your server you should be able to access the GPU information as follows:
$ lsmod | grep vfio
nvidia_vgpu_vfio       57344  0

$ nvidia-smi
Wed Feb  9 12:36:07 2022
+-----------------------------------------------------------------------------+
| NVIDIA-SMI 510.47.03    Driver Version: 510.47.03    CUDA Version: N/A      |
|-------------------------------+----------------------+----------------------+
| GPU  Name        Persistence-M| Bus-Id        Disp.A | Volatile Uncorr. ECC |
| Fan  Temp  Perf  Pwr:Usage/Cap|         Memory-Usage | GPU-Util  Compute M. |
|                               |                      |               MIG M. |
|===============================+======================+======================|
|   0  NVIDIA A10          On   | 00000000:41:00.0 Off |                    0 |
|  0%   52C    P8    26W / 150W |      0MiB / 23028MiB |      0%      Default |
|                               |                      |                  N/A |
+-------------------------------+----------------------+----------------------+

+-----------------------------------------------------------------------------+
| Processes:                                                                  |
|  GPU   GI   CI        PID   Type   Process name                  GPU Memory |
|        ID   ID                                                   Usage      |
|=============================================================================|
|  No running processes found                                                 |
+-----------------------------------------------------------------------------+
Enable the NVIDIA vGPU
 Warning
The following steps assume that your graphic card supports SR-IOV. If not, please refer to official NVIDIA documentation in order to activate vGPU.Finding the PCI
$ lspci | grep NVIDIA
41:00.0 3D controller: NVIDIA Corporation Device 2236 (rev a1)
In this example the address is 41:00.0. We now need to convert this to transformed-bdf format by replacing the colon and period with underscores, in our case: 41_00_0. Now we can obtain the PCI name and the full information about the NVIDIA GPU (e.g., max number of virtual functions):
$ virsh nodedev-list --cap pci | grep 41_00_0
pci_0000_41_00_0
$ virsh nodedev-dumpxml pci_0000_41_00_0
<device>
    <name>pci_0000_41_00_0</name>
    <path>/sys/devices/pci0000:40/0000:40:03.1/0000:41:00.0</path>
    <parent>pci_0000_40_03_1</parent>
    <driver>
        <name>nvidia</name>
    </driver>
    <capability type='pci'>
        <class>0x030200</class>
        <domain>0</domain>
        <bus>65</bus>
        <slot>0</slot>
        <function>0</function>
        <product id='0x2236'/>
        <vendor id='0x10de'>NVIDIA Corporation</vendor>
        <capability type='virt_functions' maxCount='32'/>
        <iommuGroup number='44'>
        <address domain='0x0000' bus='0x40' slot='0x03' function='0x1'/>
        <address domain='0x0000' bus='0x41' slot='0x00' function='0x0'/>
        <address domain='0x0000' bus='0x40' slot='0x03' function='0x0'/>
        </iommuGroup>
        <pci-express>
        <link validity='cap' port='0' speed='16' width='16'/>
        <link validity='sta' speed='2.5' width='16'/>
        </pci-express>
    </capability>
</device>
Enabling Virtual Functions
 Important
You need to perform this operation every time you reboot your server.$ # /usr/lib/nvidia/sriov-manage -e slot:bus:domain.function
$ /usr/lib/nvidia/sriov-manage -e 00:41:0000.0
Enabling VFs on 00:41:0000.0
If you get an error while doing this operation, please double check that all the BIOS steps have been correctly performed. If everything goes well, you should get something similar to this:
$ ls -l /sys/bus/pci/devices/0000:41:00.0/ | grep virtfn
lrwxrwxrwx 1 root root           0 Feb  9 10:37 virtfn0 -> ../0000:41:00.4
lrwxrwxrwx 1 root root           0 Feb  9 10:37 virtfn1 -> ../0000:41:00.5
lrwxrwxrwx 1 root root           0 Feb  9 10:37 virtfn10 -> ../0000:41:01.6
...
lrwxrwxrwx 1 root root           0 Feb  9 10:37 virtfn30 -> ../0000:41:04.2
lrwxrwxrwx 1 root root           0 Feb  9 10:37 virtfn31 -> ../0000:41:04.3
Configuring QEMU
Finally, add the following udev rule:
$ echo 'SUBSYSTEM=="vfio", GROUP="kvm", MODE="0666"' > /etc/udev/rules.d/opennebula-vfio.rules

# Reload udev rules:
$ udevadm control --reload-rules && udevadm trigger
Check full NVIDIA documentation here.
(Optional) Using MIG-backed vGPU for GPU partitioning
MIG (Multi-Instance GPU) allows partitioning a single GPU into multiple isolated GPU instances. This is useful for running multiple workloads delivered with a guaranteed Quality of Service (QoS) through hardware-level isolation.
Important
Note: Only certain NVIDIA GPUs support vGPU on MIG instances (e.g., H100). Other GPUs may not support MIG-backed vGPU. Always check your GPU model and driver version before attempting this setup. To check MIG-supported GPUs, refer to NVIDIA’s official documentation.For more information about MIG and additional configuration resources, refer to the NVIDIA documentation here.
- Enable MIG Mode
Enable MIG on a specific GPU (example: index 0):
$ nvidia-smi -i 0 -mig 1
Enabled MIG Mode for GPU 00000000:e1:00.0
All done.

$ nvidia-smi -i 0 -q | grep "MIG Mode" -A1  # Check MIG status
    MIG Mode
        Current                           : Enabled
Important
Depending on the GPU model, a GPU reset or system reboot may be required after enabling MIG mode.- List Available MIG Profiles
The MIG profile specifies the exact configuration by which a physical GPU is subdivided into multiple, independent slices. Each profile specifies the fraction of GPU compute and memory.
List the available MIG Profiles with the command below. After the command, you will see an output sample:
$ nvidia-smi mig -lgip
+-----------------------------------------------------------------------------+
| GPU instance profiles:                                                      |
| GPU   Name             ID    Instances   Memory     P2P    SM    DEC   ENC  |
|                              Free/Total   GiB              CE    JPEG  OFA  |
|=============================================================================|
|   0  MIG 1g.12gb       19     7/7        10.62      No     16     1     0   |
|                                                             1     1     0   |
+-----------------------------------------------------------------------------+
|   0  MIG 1g.12gb+me    20     1/1        10.62      No     16     1     0   |
|                                                             1     1     1   |
+-----------------------------------------------------------------------------+
|   0  MIG 1g.24gb       15     4/4        21.50      No     26     1     0   |
|                                                             1     1     0   |
+-----------------------------------------------------------------------------+
|   0  MIG 2g.24gb       14     3/3        21.50      No     32     2     0   |
|                                                             2     2     0   |
+-----------------------------------------------------------------------------+
|   0  MIG 3g.47gb        9     2/2        46.12      No     60     3     0   |
|                                                             3     3     0   |
+-----------------------------------------------------------------------------+
|   0  MIG 4g.47gb        5     1/1        46.12      No     64     4     0   |
|                                                             4     4     0   |
+-----------------------------------------------------------------------------+
|   0  MIG 7g.94gb        0     1/1        92.62      No     132    7     0   |
|                                                             8     7     1   |
+-----------------------------------------------------------------------------+
Based on the output, you can use profile IDs to split the GPU on instances.
- Create MIG Instances
Enabling MIG makes partitioning possible, in this step create the GPU Instances (GIs) and Compute Instances (CIs) to define and activate those partitions. The -cgi option creates both in a single command.
Examples (H100 94GB):
- Create 2 homogeneous instances:
$ nvidia-smi mig -cgi 19,19 -C
Successfully created GPU instance ID 2 on GPU 0 using profile MIG 1g.12gb (ID 9)
Successfully created compute instance ID 0 on GPU 0 GPU instance ID 2 using
 profile MIG 1g.12gb (ID 19)
Successfully created GPU instance ID 1 on GPU 0 using profile MIG 1g.12gb (ID 9)
Successfully created compute instance ID 0 on GPU 0 GPU instance ID 1 using
 profile MIG 1g.12gb (ID 19)
- Create 3 heterogeneous instances:
$ nvidia-smi mig -cgi 14,14,19 -C
Successfully created GPU instance ID 3 on GPU 0 using profile MIG 1g.12gb (ID 9)
Successfully created compute instance ID 0 on GPU 0 GPU instance ID 3 using
 profile MIG 1g.12gb (ID 19)
Successfully created GPU instance ID 2 on GPU 0 using profile MIG 2g.24gb (ID 9)
Successfully created compute instance ID 0 on GPU 0 GPU instance ID 2 using
 profile MIG 2g.24gb (ID 14)
Successfully created GPU instance ID 1 on GPU 0 using profile MIG 2g.24gb (ID 9)
Successfully created compute instance ID 0 on GPU 0 GPU instance ID 1 using
 profile MIG 2g.24gb (ID 14)
You can add more instances later as long as GPU resources are available. To check available profiles, use the nvidia-smi mig -lgip command.
Similarly, you can remove specific instances (see step 5) to free resources and reconfigure the partitioning without resetting the whole GPU.
Each MIG instance you create will be represented as a vGPU profile by the NVIDIA driver. When assigning vGPUs to VMs, these profiles appear as selectable devices corresponding to the MIG slices you configured.
Important
After creating new MIG partitions, profiles take time to update depending on the monitoring configuration; this time depends on the installation’s monitoring configuration. To update the profiles immediately, run the onehost forceupdate <hostid> command. Important
Created MIG instances (GPU/Compute Instances) are not persistent across a GPU reset or reboot.- Inspect MIG Partitioning
Use the following commands to show existing MIG partitioning:
$ nvidia-smi mig -lgi   # list existing GPU instances
+-------------------------------------------------------+
| GPU instances:                                        |
| GPU   Name             Profile  Instance   Placement  |
|                          ID       ID       Start:Size |
|=======================================================|
|   0  MIG 1g.12gb         19       13          6:1     |
+-------------------------------------------------------+
|   0  MIG 2g.24gb         14        3          0:2     |
+-------------------------------------------------------+
|   0  MIG 2g.24gb         14        4          2:2     |
+-------------------------------------------------------+
|   0  MIG 2g.24gb         14        5          4:2     |
+-------------------------------------------------------+

$ nvidia-smi -L     # list existing devices
GPU 0: NVIDIA H100 NVL (UUID: GPU-81495ec7-da36-8ea5-9f7d-5804aa3fef20)
  MIG 2g.24gb     Device  0: (UUID: MIG-7839bf6f-ba33-59f0-89eb-01c8d8c4134d)
  MIG 2g.24gb     Device  1: (UUID: MIG-433a63e2-53a4-58c0-9b8d-a4dba3eb8f36)
  MIG 2g.24gb     Device  2: (UUID: MIG-34fa791a-69d2-560b-969f-f2aa1d900c44)
  MIG 1g.12gb     Device  3: (UUID: MIG-dbf12406-b888-52e8-80ee-025b6412f6e4)
- Destroy MIG Instances
To remove MIG partitions, destroy Compute Instances (CI) first, then GPU Instances (GI):
$ nvidia-smi mig -dci -i <GPU_ID> -gi <GI_ID> -ci <Compute_ID>
$ nvidia-smi mig -dgi -i <GPU_ID> -gi <GI_ID>
Using the vGPU
Once the setup is complete, you can follow the general steps for adding PCI devices to a VM. For NVIDIA GPUs, please consider the following:
- OpenNebula supports both the legacy mediated device interface and the new vendor-specific interface introduced with Ubuntu 24.04. The vGPU device configuration is handled automatically by the virtualization and monitoring drivers. The monitoring process automatically sets the appropriate mode for each device using the
MDEV_MODEattribute. - The NVIDIA vGPU configuration is based on a profile which defines the vGPU’s characteristics and hardware capabilities. This profile is retrieved from the drivers by the monitoring process, allowing you to select the one that best suits your application’s requirements. When using MIG, each MIG instance you created appears as a separate vGPU profile.
The following example shows the monitoring information for a NVIDIA vGPU device:
$ onehost show -j 13
...
    "PCI_DEVICES": {
    "PCI": [
      {
        "ADDRESS": "0000:41:00:4",
        "BUS": "41",
        "CLASS": "0302",
        "CLASS_NAME": "3D controller",
        "DEVICE": "2236",
        "DEVICE_NAME": "NVIDIA Corporation GA102GL [A10]",
        "DOMAIN": "0000",
        "FUNCTION": "4",
        "MDEV_MODE": "nvidia",
        "NUMA_NODE": "-",
        "PROFILES": "588 (NVIDIA A10-1B),589 (NVIDIA A10-2B),590 (NVIDIA A10-1Q),591 (NVIDIA A10-2Q),592 (NVIDIA A10-3Q),593 (NVIDIA A10-4Q),594 (NVIDIA A10-6Q),595 (NVIDIA A10-8Q),596 (NVIDIA A10-12Q),597 (NVIDIA A10-24Q),598 (NVIDIA A10-1A),599 (NVIDIA A10-2A),600 (NVIDIA A10-3A),601 (NVIDIA A10-4A),602 (NVIDIA A10-6A),603 (NVIDIA A10-8A),604 (NVIDIA A10-12A),605 (NVIDIA A10-24A)",
        "SHORT_ADDRESS": "41:00.4",
        "SLOT": "00",
        "TYPE": "10de:2236:0302",
        "UUID": "e4042b96-e63d-56cf-bcc8-4e6eecccc12e",
        "VENDOR": "10de",
        "VENDOR_NAME": "NVIDIA Corporation",
        "VMID": "-1"
      }
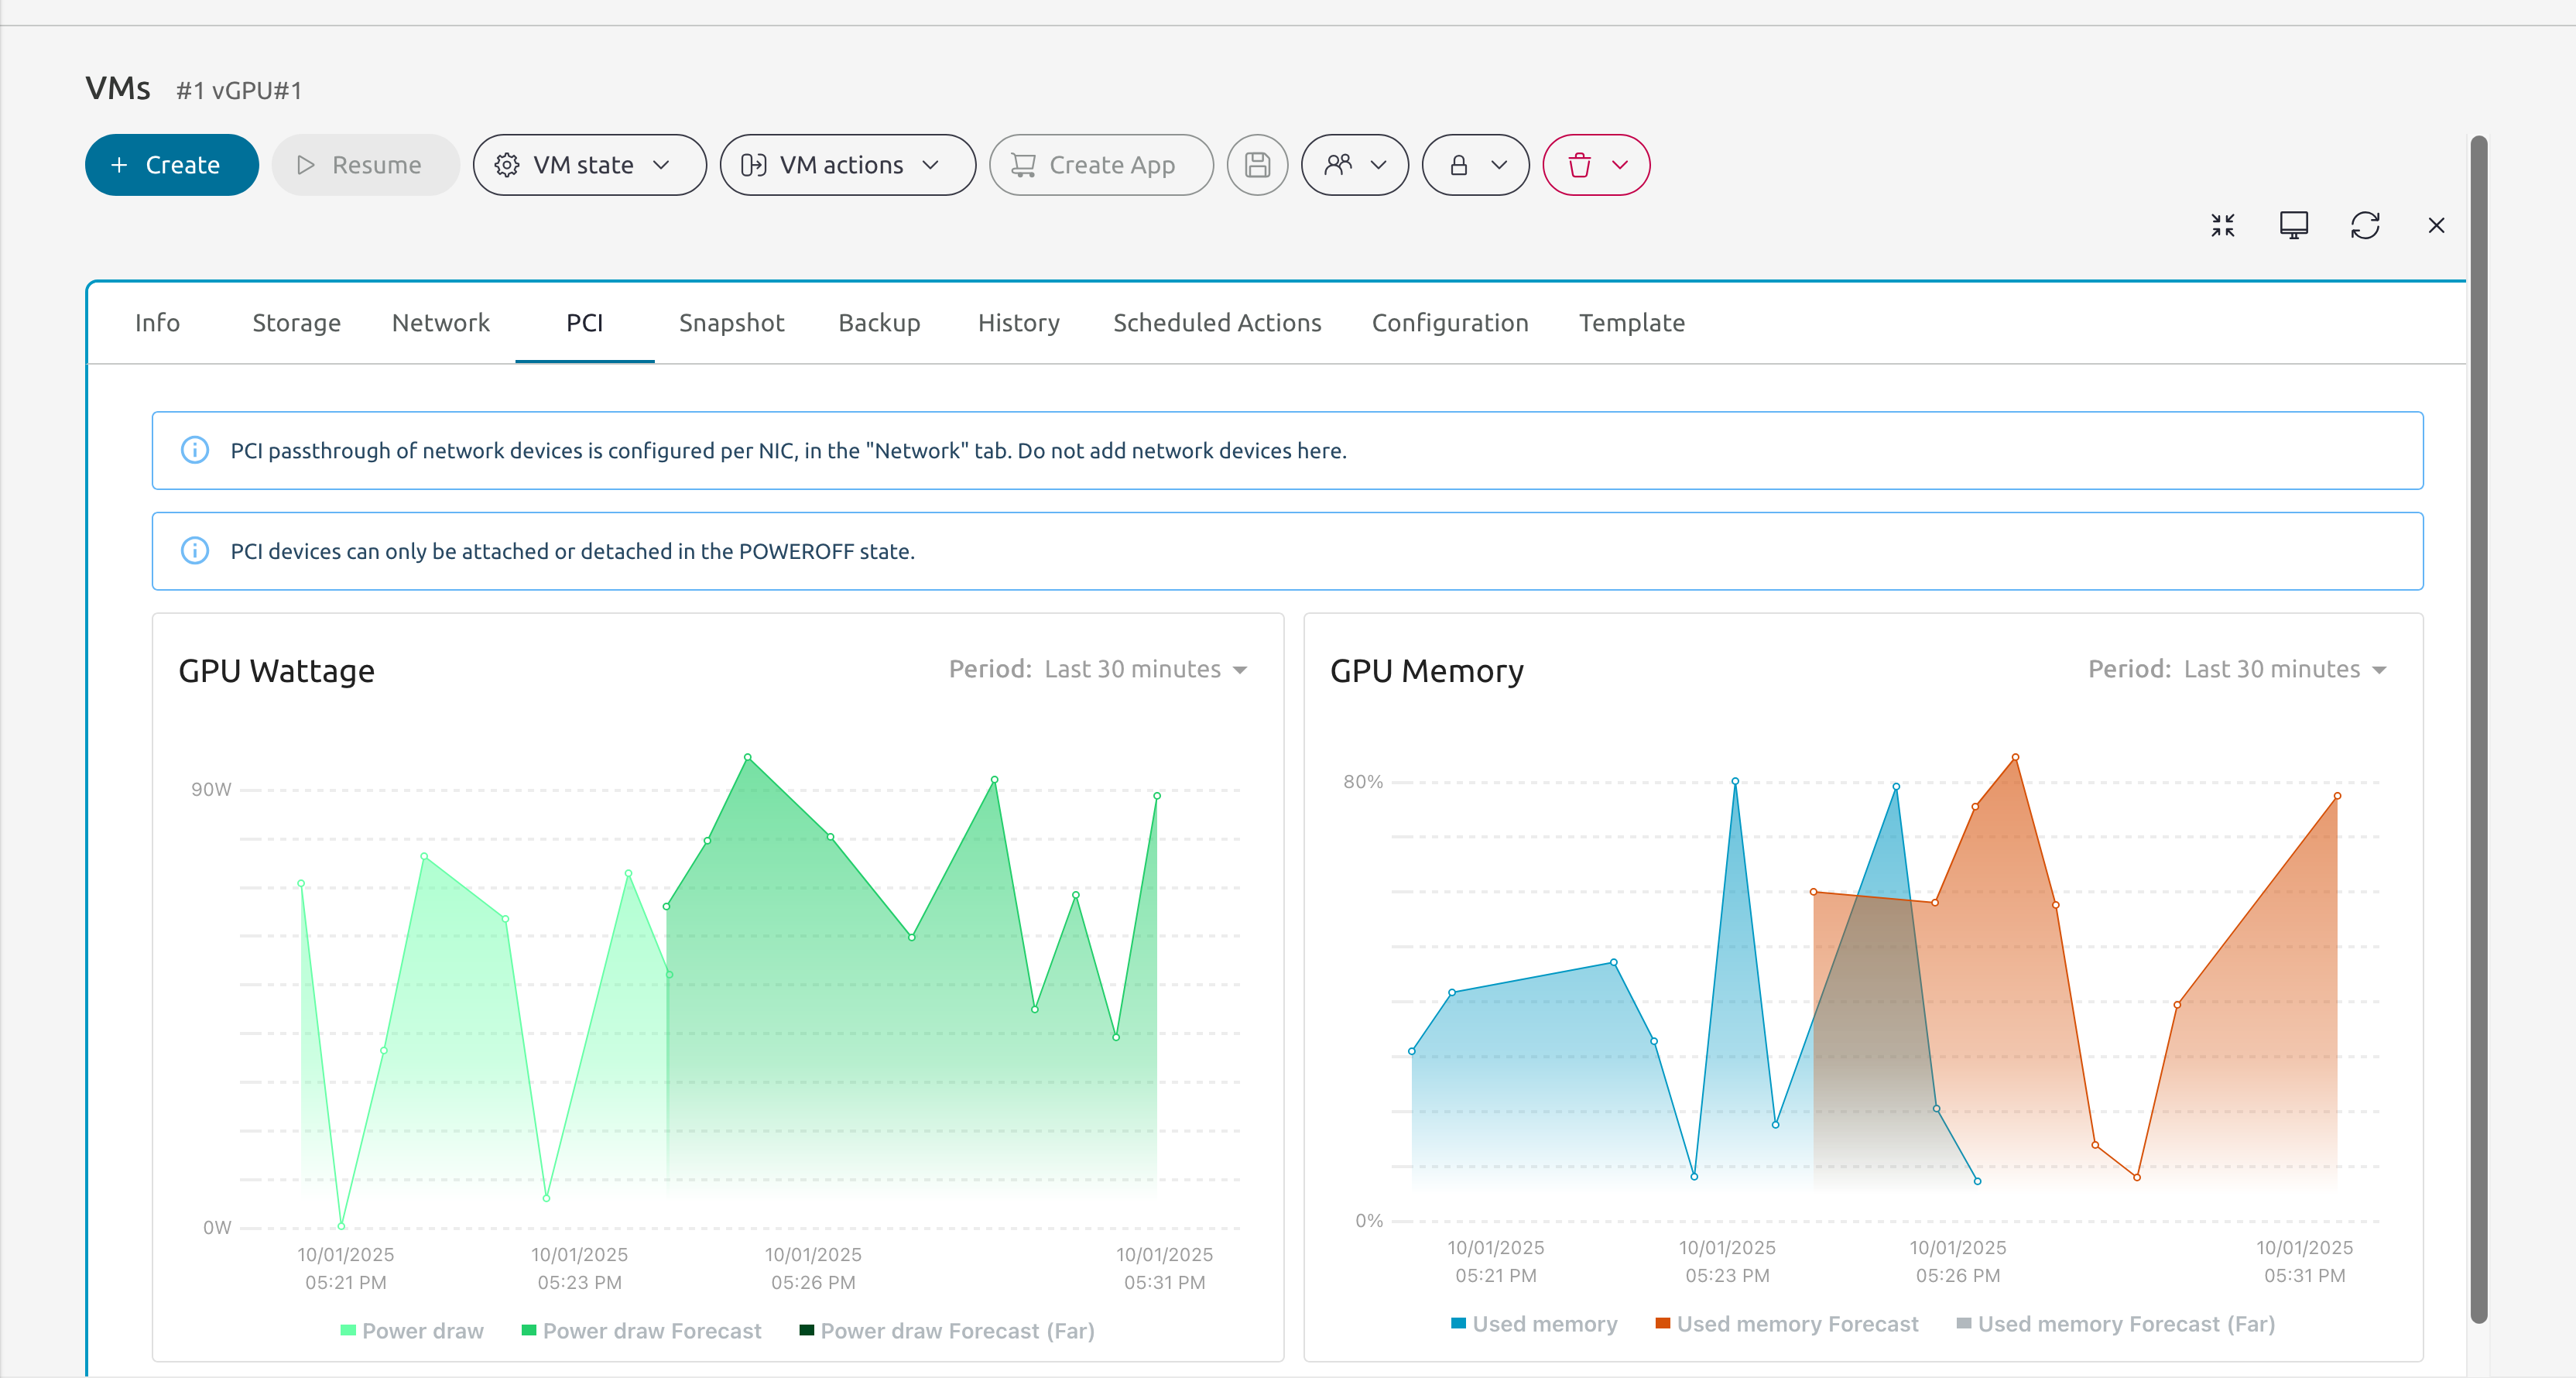
This monitoring information is also available under the VMs PCI tab in the instances section.
Important
When using NVIDIA cards, ensure that only the GPU (for PCI passthrough) or vGPUs (for SR-IOV) are exposed through the PCI monitoring probe. Do not mix both types of devices in the same configuration.We value your feedback
Was this information helpful?
Glad to hear it
Sorry to hear that