Deploy OpenNebula on AWS with miniONE
Overview
In this tutorial, we will install an OpenNebula Front-end and a KVM hypervisor node on an AWS bare metal instance in under ten minutes using the miniONE installation tool from OpenNebula.
miniONE is a straightforward tool for deploying an evaluation version of OpenNebula. After running the miniONE script, all the OpenNebula services needed to use, manage and run a small cloud deployment will be installed on a single AWS instance.
This tutorial covers installation of a Front-end and KVM hypervisor node on an AWS instance. To complete the procedures detailed in the following Kubernetes quickstart guides it is necessary to complete this installation using a c5.metal “bare metal” AWS instance.
During this tutorial we will complete the following steps:
- Launch a properly configured
c5.metalinstance on AWS. - Access the AWS instance command line through SSH.
- Download and run the miniONE installation script.
- Verify the installation.
- Instantiate a Virtual Machine (VM) with Alpine Linux.
Once you have completed this tutorial, you will have an evaluation version of OpenNebula installed on your AWS instance and you will understand how to use the Sunstone user interface to instantiate a VM.
Before Starting
To complete this tutorial, you need to login to a remote Linux AWS instance via SSH. If you are using MacOS or Linux, you can acheive this through a native terminal. If you are working on a Windows machine, you need to install an SSH client application such as PuTTY.
Step 1. Prepare a Virtual Machine Instance in AWS
If you don’t already have an AWS account, create one. Login to the AWS console then Navigate to the EC2 dashboard and choose your region.
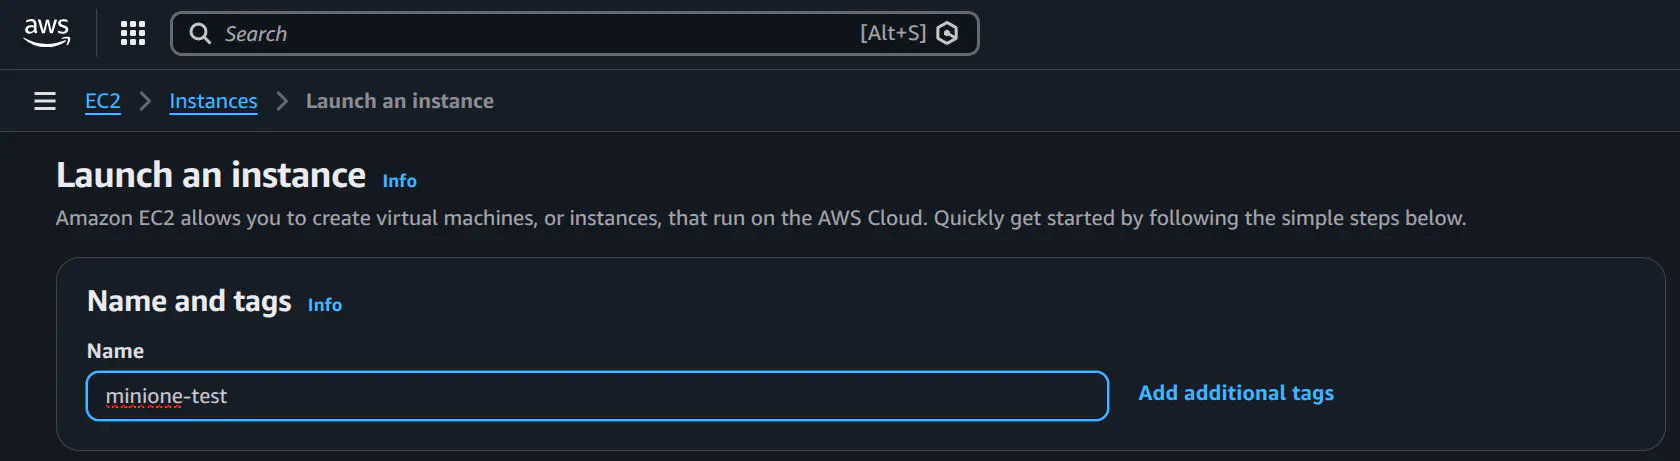
Click on Launch instance, this will take you to the Launch Instance Wizard. In the name and tags section enter an appropriate and memorable name such as minione-test:
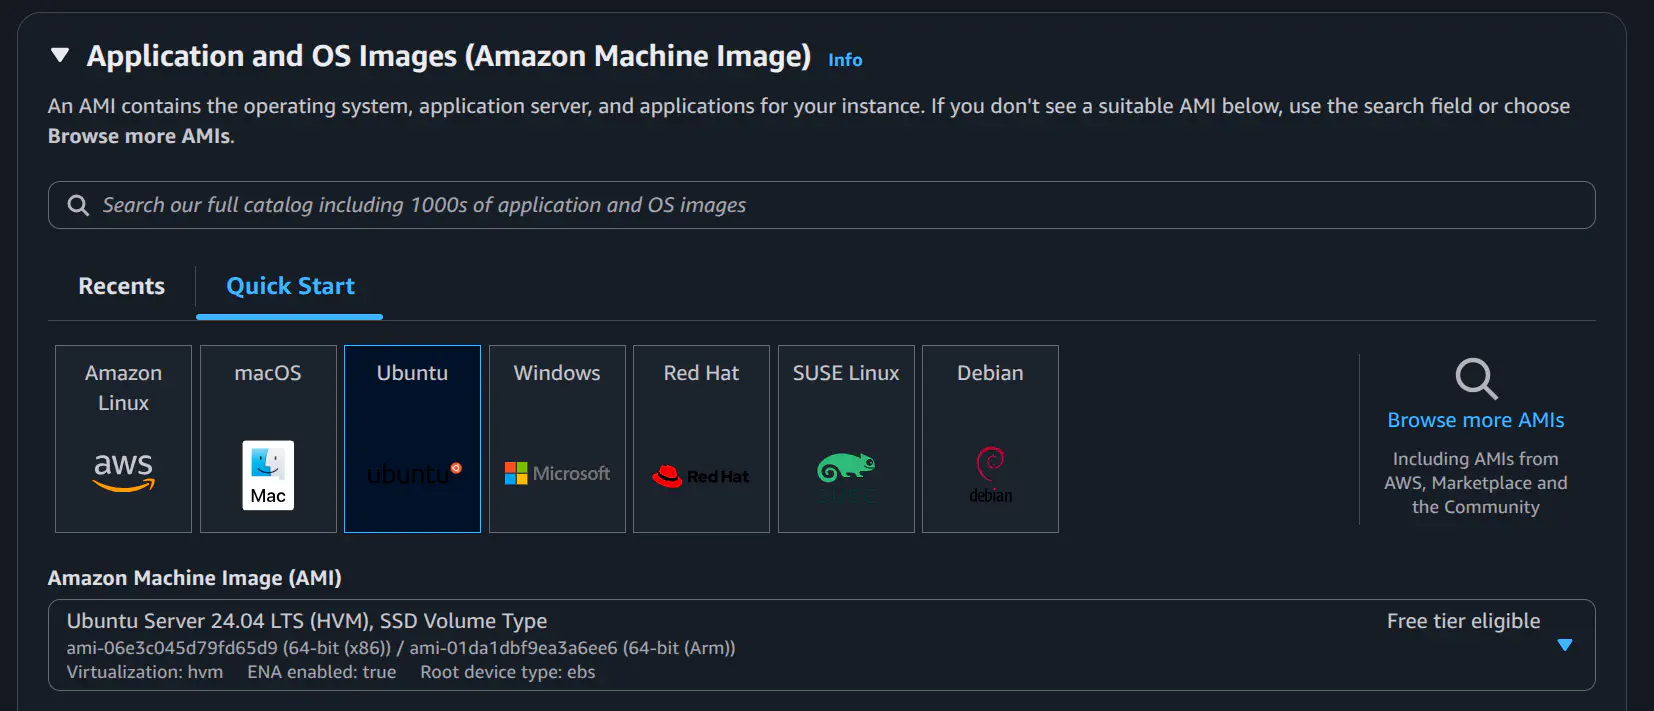
Choose the Ubuntu Server 24.04 LTS (HVM), SSD Volume Type Amazon Machine Image (AMI). Leave the architecture as 64-bit (x86):
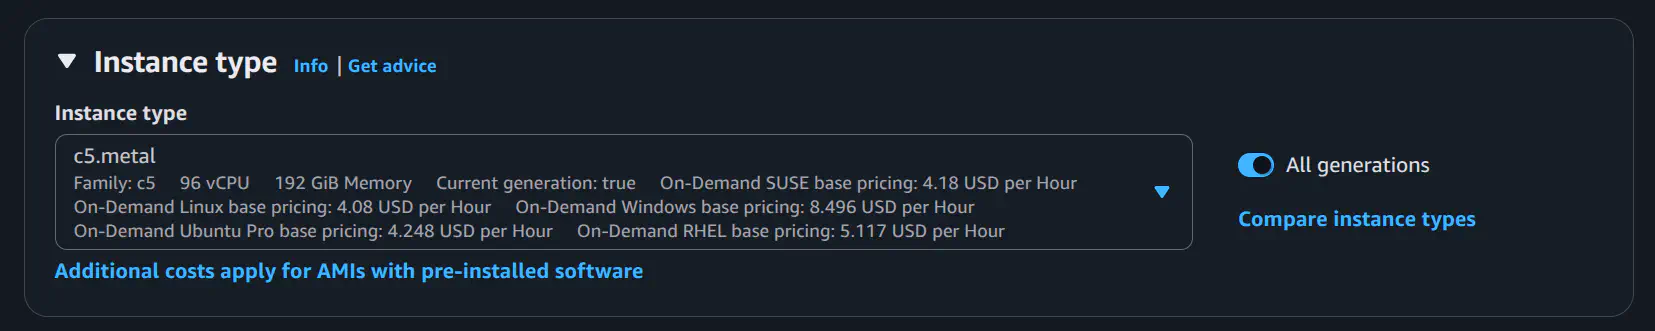
Choose the c5.metal instance type:
If you don’t already have a key pair (a .pem or .ppk file), select Create new key pair in the Key pair (login) section. Choose a sensible name for the key pair, it cannot be renamed later. You may either use your name or a context such as minione-admin. Select EC25519 for Key pair type and choose the format:
.pem(Linux/Mac).ppk(Windows with PuTTY).
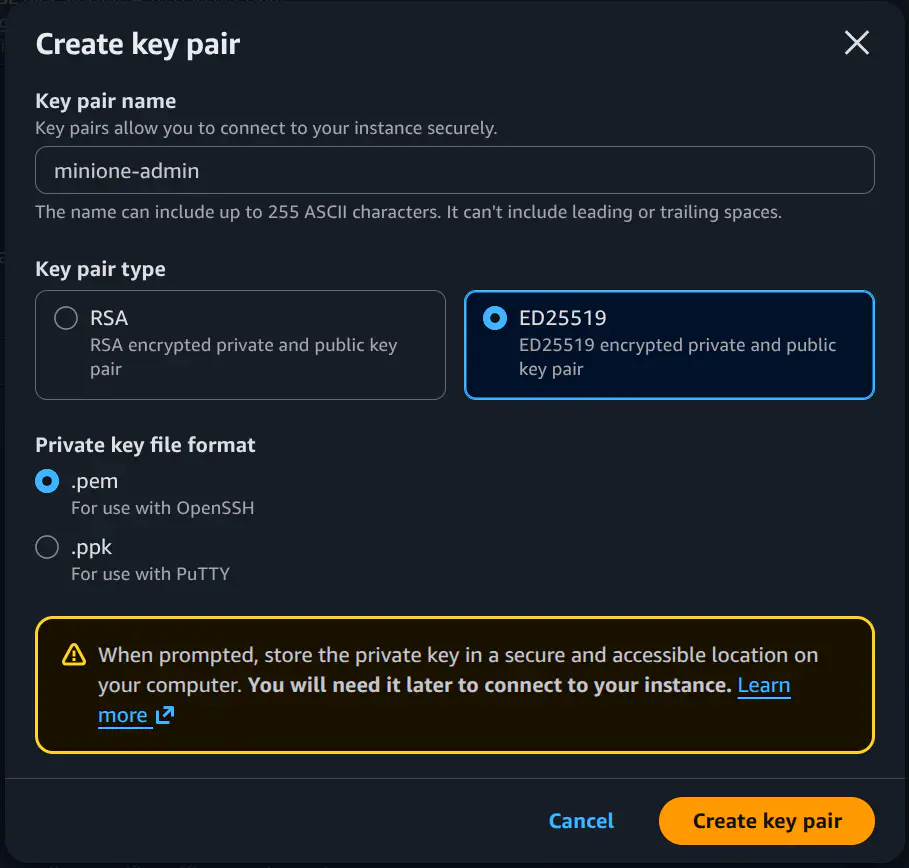
Click Create key pair. A .pem or .ppk file will be downloaded to your computer through the browser. Store the key in a secure and memorable location on your local machine, you will need it to access the AWS instance. It is recommended to change the permissions on the file such that only your user can access the key file.
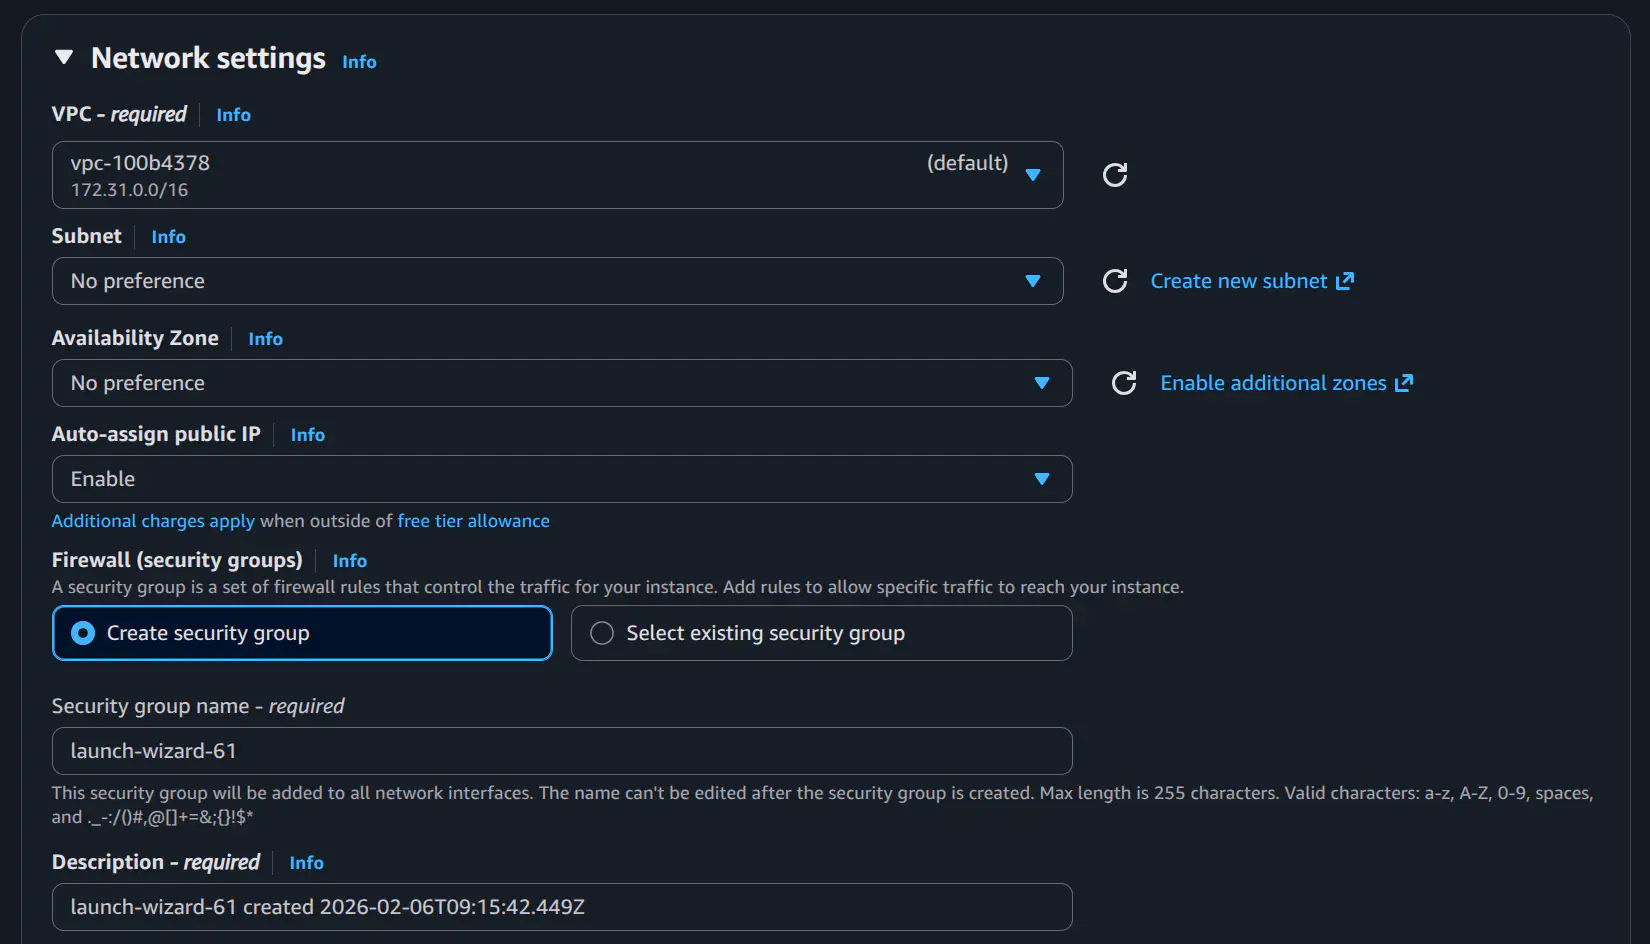
In Network settings click Edit in the top right corner of the section and select Create security group:
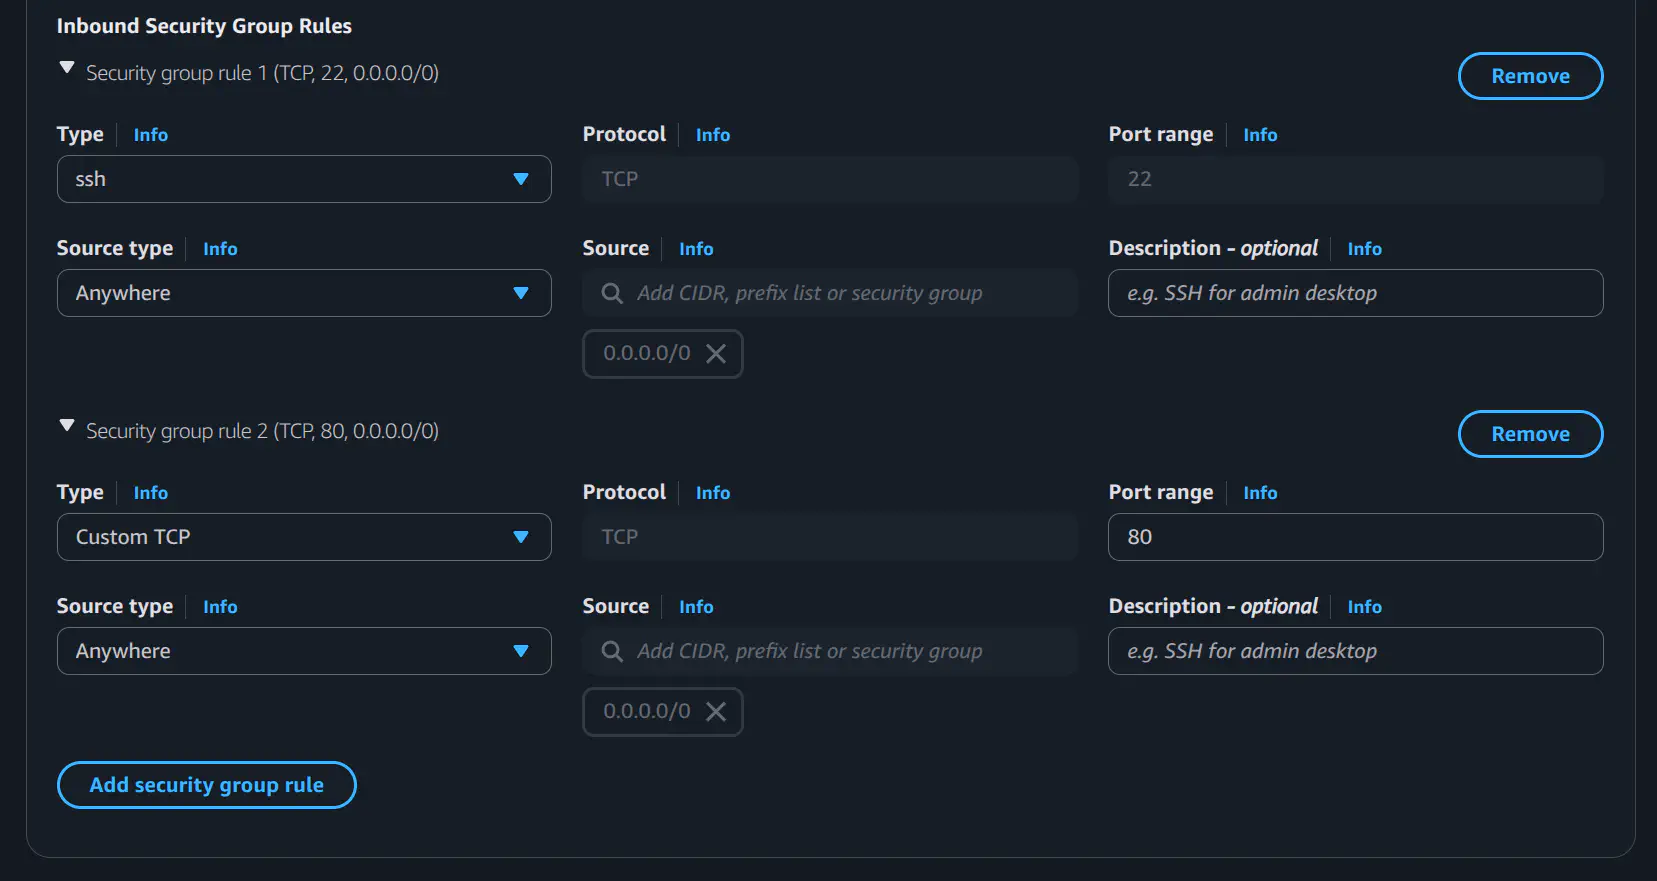
In the section labelled Inbound Security Group Rules click Add security group rule (leave the existing settings for port 22). In the Port range field enter port 80 and change the Source type field to Anywhere.
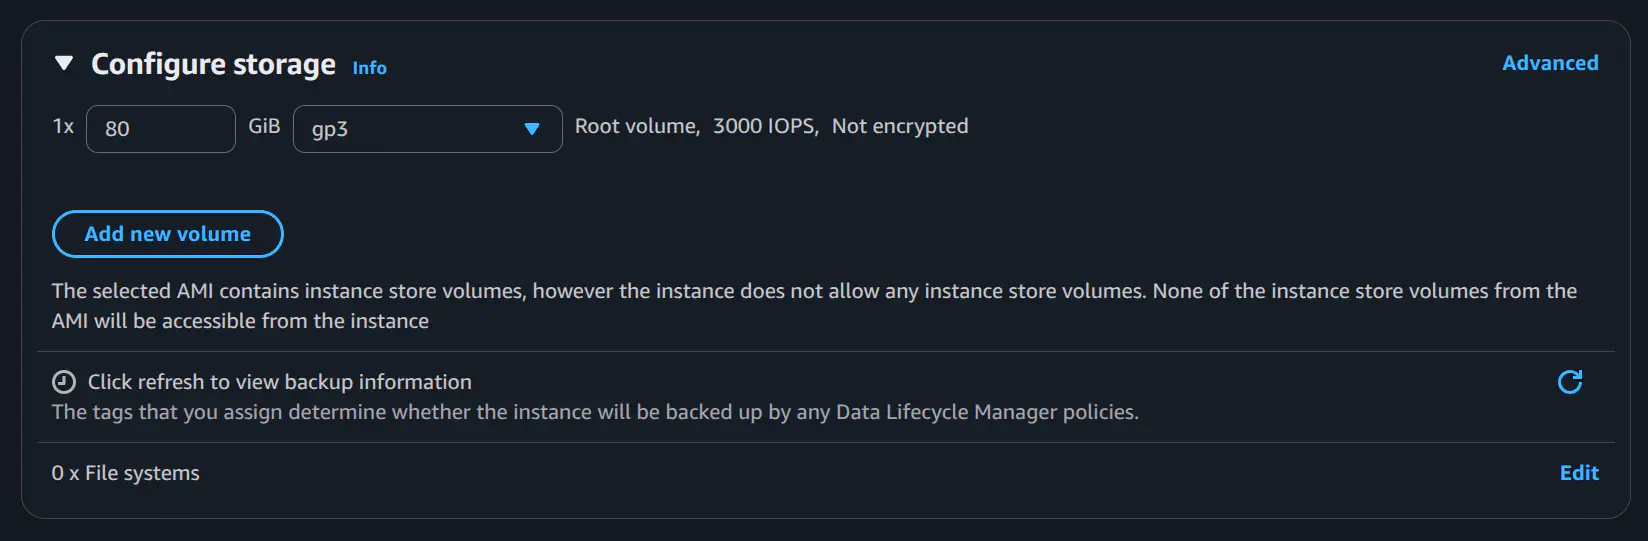
In the Configure storage section select 80 GiB of gp3 storage. You do not need to edit the Advanced details section.
Now click Launch instance. AWS will now schedule your instance. Note that c5.metal instances can take several minutes to be scheduled depending on availability and account settings. Contact your DevOps team or system administrator if you have trouble launching your instance.
Step 2. Access the AWS Instance through SSH
To access the command line of your newly created AWS instance, you must use SSH or PuTTY. When you launch your AWS instance, it will be assigned a public IPv4 address. You can find this in the instance details page of your new instance. Locate your instance by going to EC2 -> Instances -> Instances. Locate your instance in the list using the name you entered earlier and scroll horizontally to the Public IPv4 Address column. This is the address you will use to access your instance in the following commands.
Linux:
Open a terminal and enter the following command, replacing the IP and location of the PEM file:
ssh <public IP of the AWS instance> -l ubuntu -i <PEM file>
For example:
ssh 3.143.176.142 -l ubuntu -i ~/.ssh/minione-admin.pem
Windows:
Open a command prompt
putty.exe ubuntu@<public IP of the AWS instance> -i <PEM file>
For example:
putty.exe ubuntu@3.143.176.142 -i minione-admin.ppk
Step 3. Update the VM Operating System
Once you have logged in to the VM as user ubuntu, use the sudo command to switch to the root user (no password is required):
sudo -i
Then, update the system to its latest software packages by running the following command:
apt update && apt upgrade
After updating, you may need to restart the VM to run the latest kernel. Check the output of the apt upgrade command for lines similar to the following:
Pending kernel upgrade!
Running kernel version:
  6.8.0-1012-aws
Diagnostics:
  The currently running kernel version is not the expected kernel version 6.8.0-1014-aws.
In this example, a restart is required to upgrade to kernel version 6.8.0-1014-aws.
If you receive a message indicating that the kernel is up-to-date, you may skip the following restart procedure and continue with step 4. Otherwise, to restart the VM, run:
shutdown -r now
You will be immediately logged out of the VM as it restarts. Wait a few moments for the VM to finish rebooting, then login again using the same procedure as before. After logging back into the VM, you can check the running kernel version with:
uname -a
For example, in this case:
$ uname -a
Linux ip-172-31-3-252 6.8.0-1014-aws #15-Ubuntu SMP Thu Aug  8 19:13:06 UTC 2024 x86_64 x86_64 x86_64 GNU/Linux
Your AWS VM is now ready. In the next step we’ll download the miniONE script to the VM and run the installation.
Step 4: Download and install miniONE
From the command line of your AWS VM instance, use the sudo command to become the root user (this will not require a password):
sudo -i
Download the miniONE installation script to your current directory:
wget 'https://github.com/OpenNebula/minione/releases/download/v7.0.1/minione'
Now make the minione script executable:
chmod +x minione
Run the miniONE installation script:
./minione
--password option to enter a secure and memorable password of your own: ./minione --password <password>The miniONE script executes the installation while logging output to the terminal. Installation usually takes between one and three minutes. Once finished, miniONE displays a report in the terminal with connection parameters and login credentials:
### Report
OpenNebula 7.0 was installed
Sunstone is running on:
  http://[omitted]/
FireEdge is running on:
  http://[omitted]
Use following to login:
  user: oneadmin
  password: lCmPUb5Gwk
Make sure to save these credentials somewhere secure (including the IP address), you will need them to login to the Sunstone UI.
Synchronize the Host
Once installation is finished, synchronize the KVM Host on the AWS VM instance.
Switch to the oneadmin user:
su - oneadmin
Sync the KVM Host:
onehost sync --force
Verify that the host is in sync:
onehost list
The host may take several minutes to synchronize. continue running the onehost list command until the STAT column of the output displays on:
  ID NAME                       CLUSTER    TVM      ALLOCATED_CPU      ALLOCATED_MEM STAT
   0 localhost                  default      0      0 / 9600 (0%)   0K / 188.5G (0%) on
At this point, you have successfully installed miniONE. OpenNebula services should be running, and the system should be ready for your first login.
Step 5: Verify the Installation
Now verify the installation by logging in to OpenNebula’s Sunstone UI.
Point your browser to the Edge IP and port provided by the miniONE report, which is normally the same as the public IP of the AWS instance. You should be greeted with the Sunstone login screen:

In the Username input field, type oneadmin. For Password, enter the password provided by miniONE at the end of the report (in this example, ZMCoOWUsBg) then press Enter or click SIGN IN NOW.
The screen will display the Sunstone Dashboard:
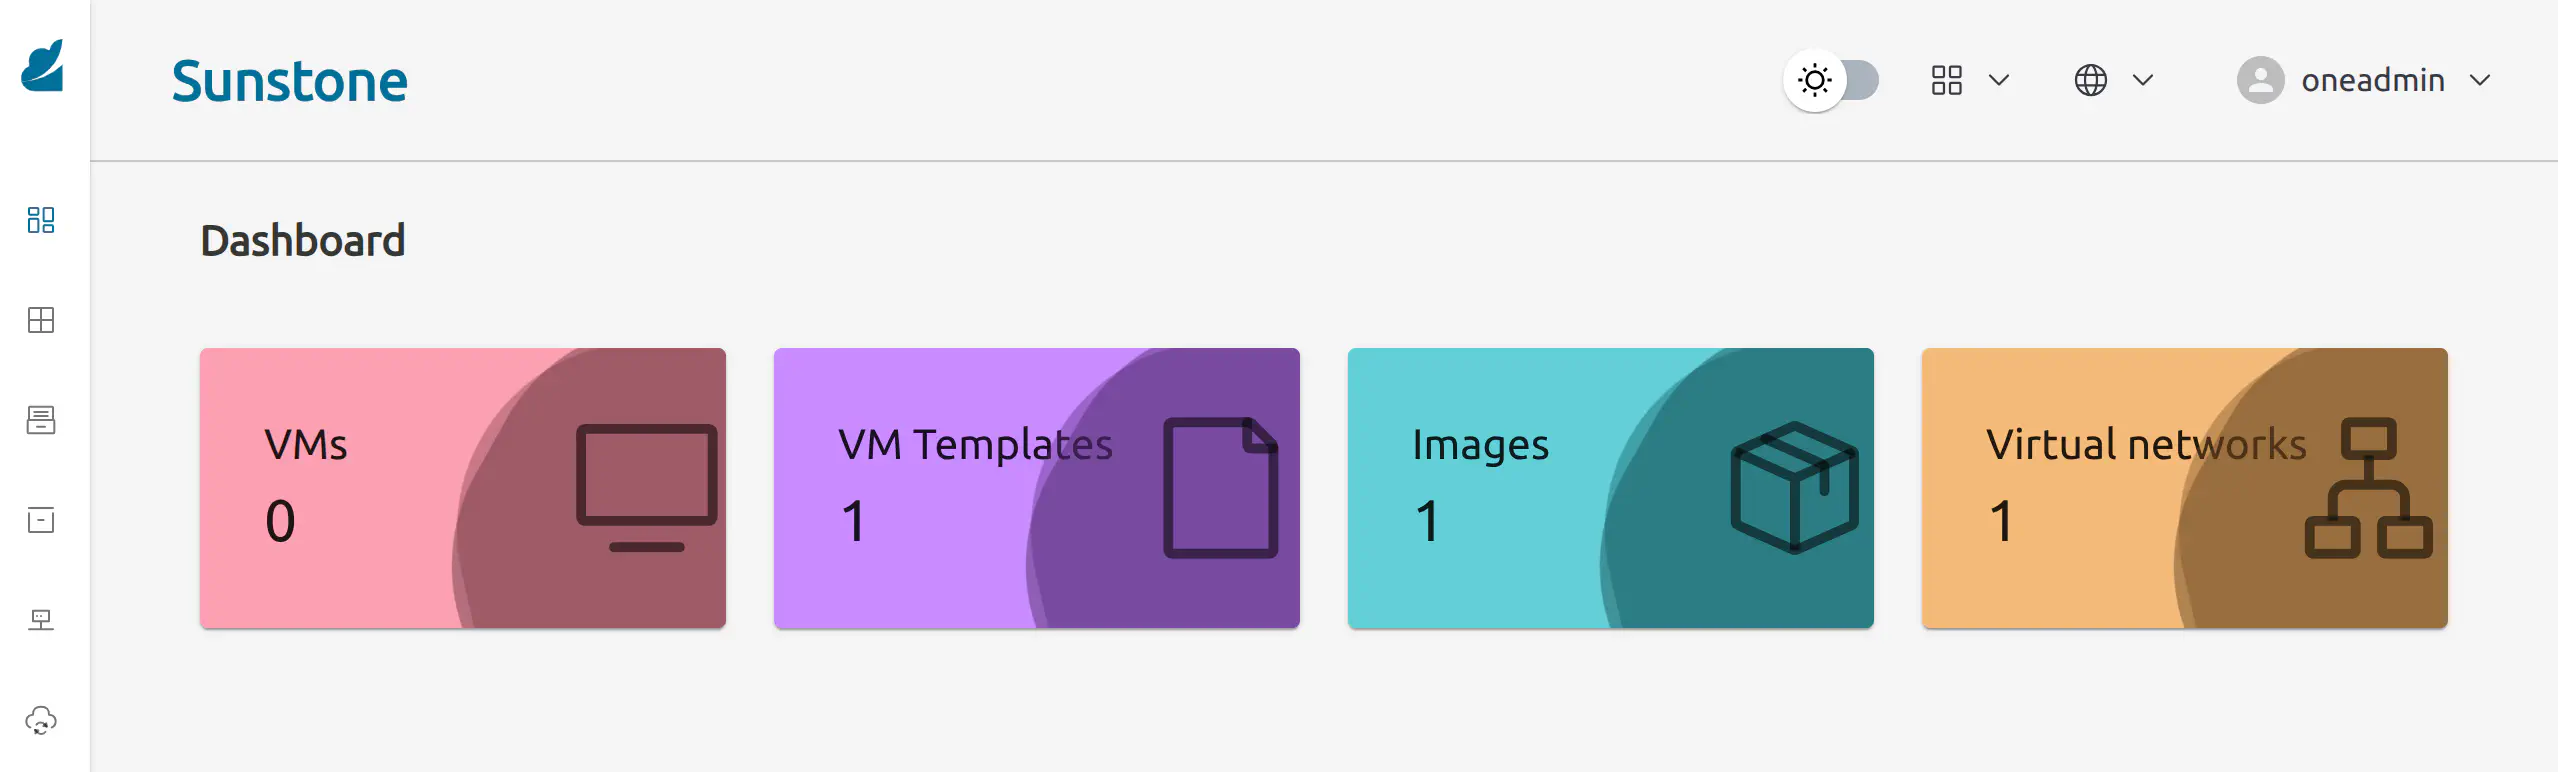
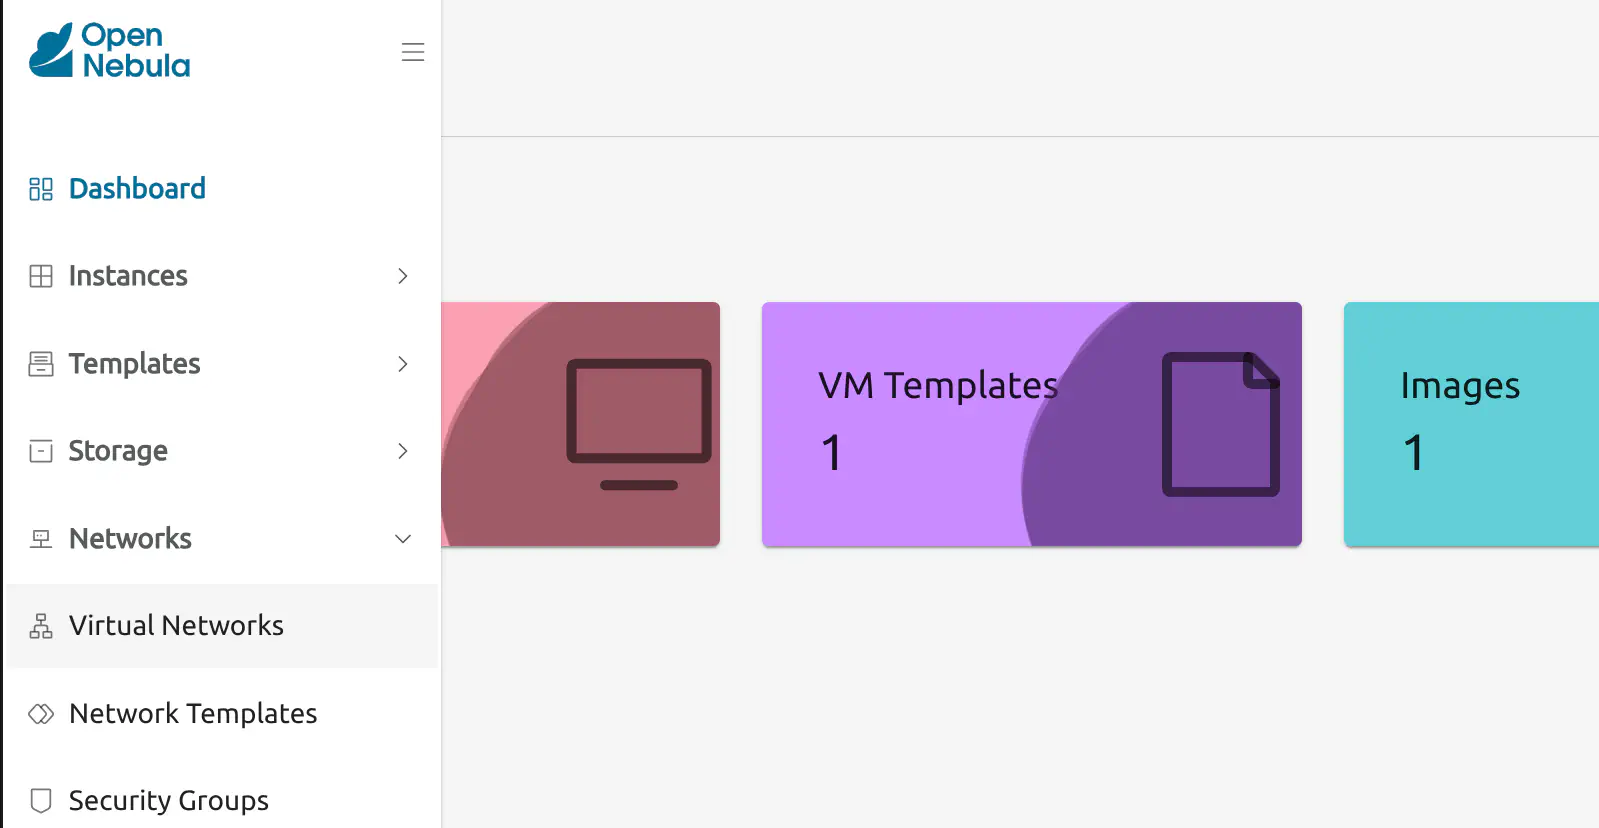
As you can see, the Dashboard indicates the following installed components:
- 1 VM template
- 1 image
- 1 Virtual Network
The existing Virtual Network is a bridged network attached to a local interface named vnet. To inspect this network, in Sunstone open the left-hand menu (hover the mouse over the left-hand sidebar), then click Networks –> Virtual Networks:
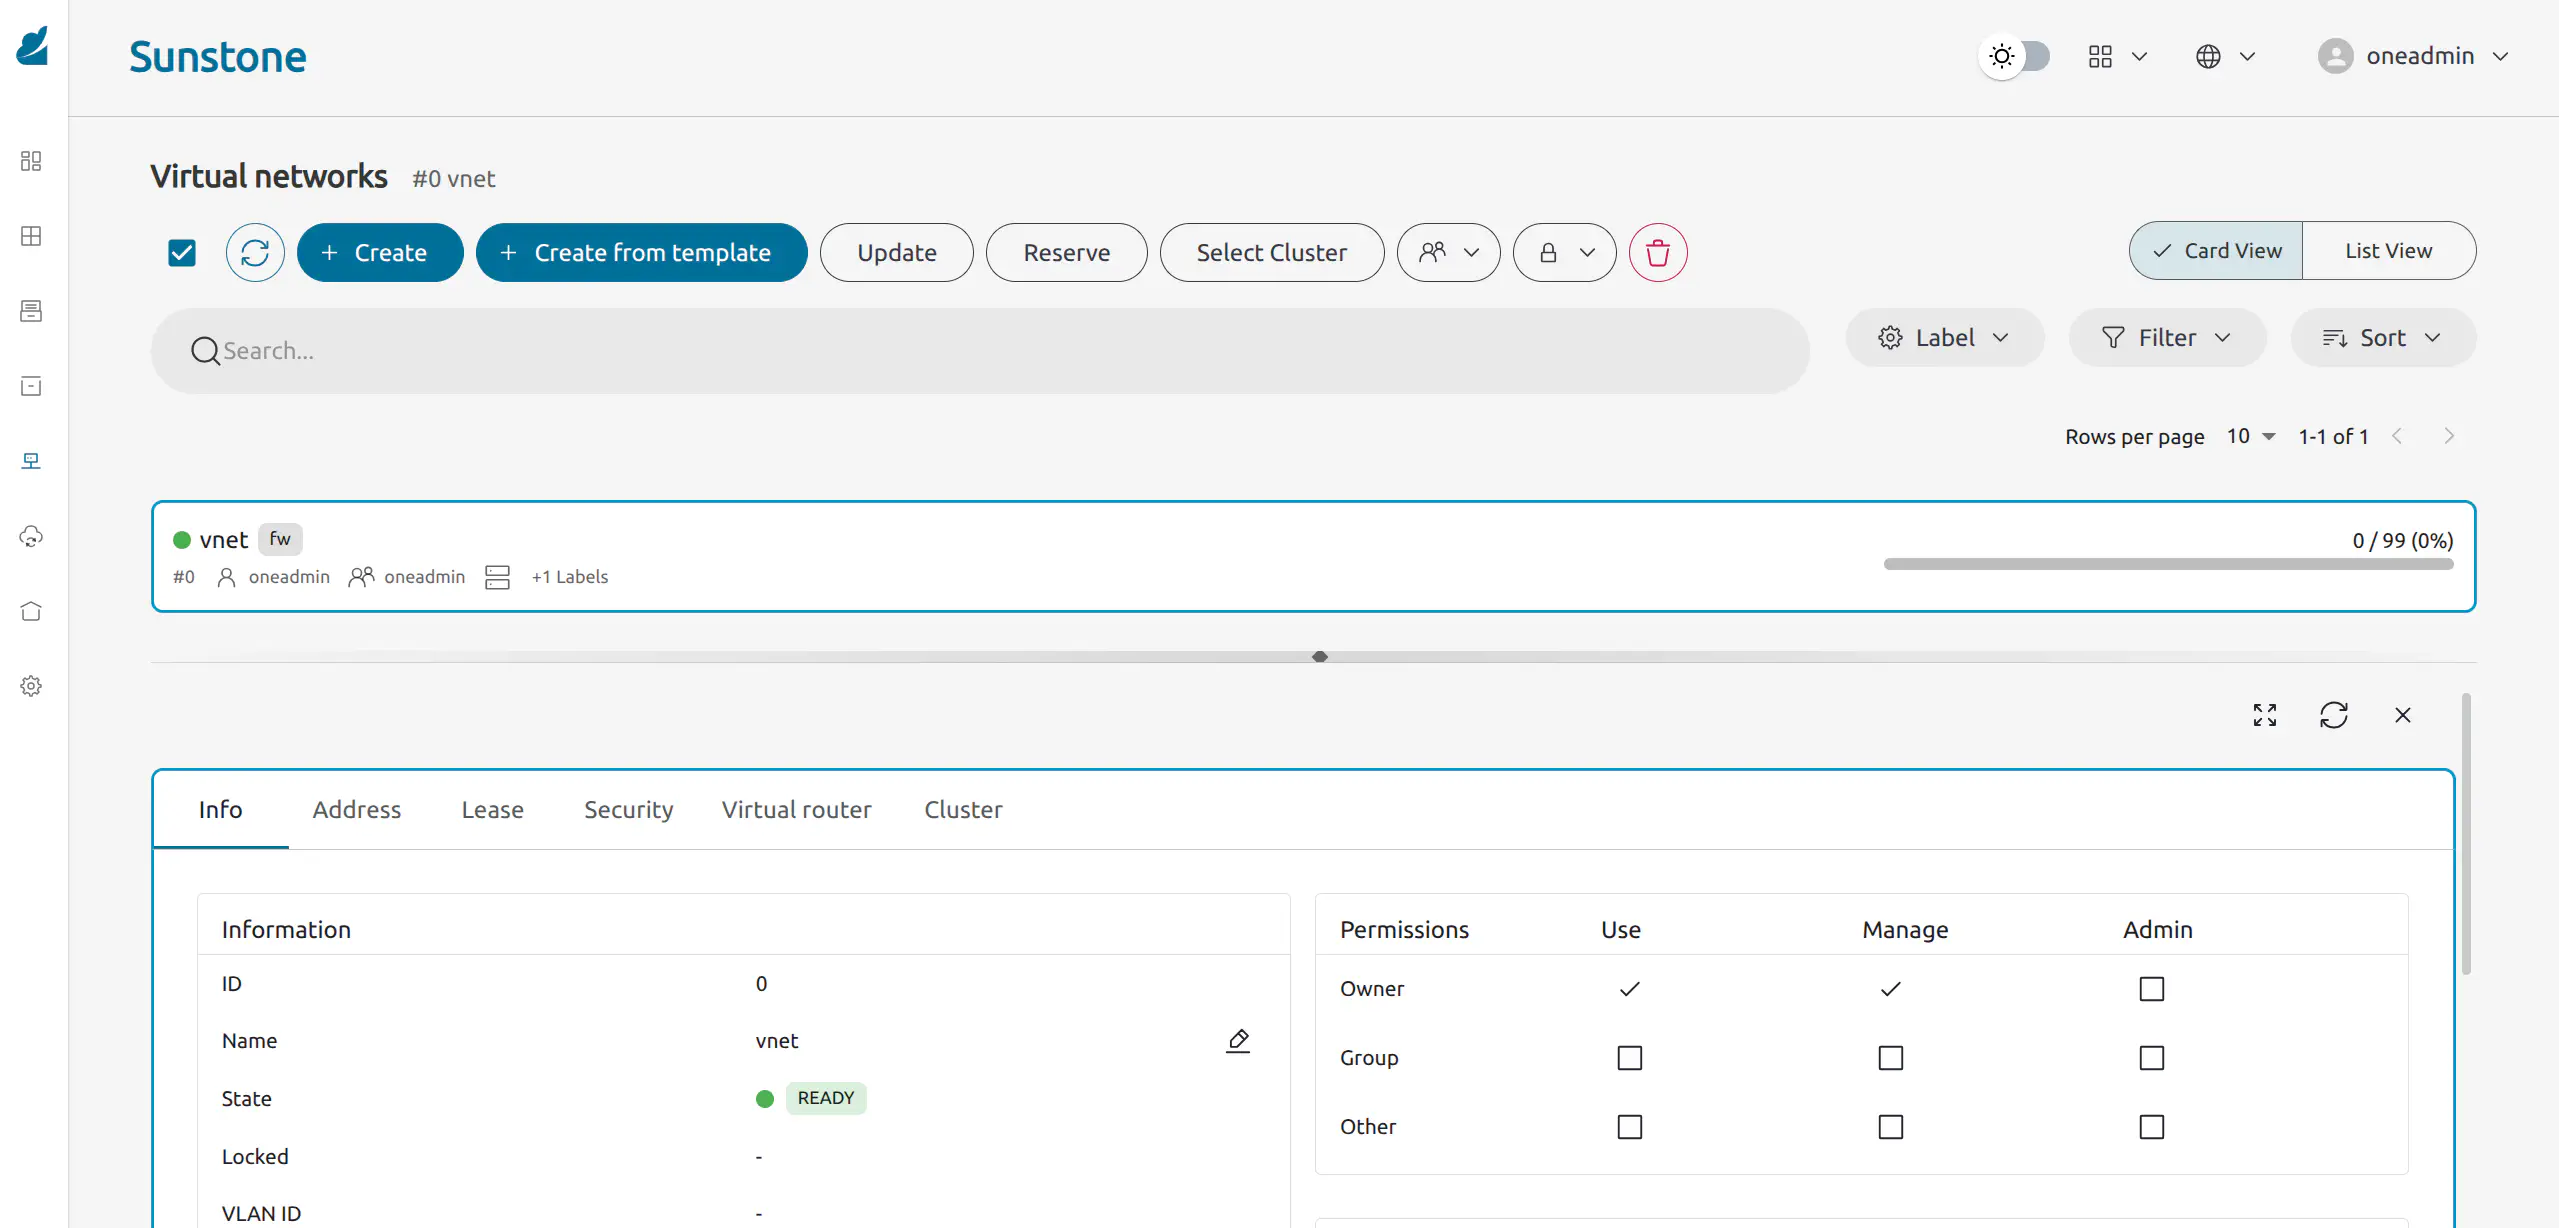
Sunstone will display the Virtual networks screen. Click the item labelled vnet to display information about this network:
During installation, a KVM virtualization host was automatically configured on the local machine. To inspect the KVM host, in Sunstone open the left-hand menu, then click Infrastructure -> Hosts.
Step 6: Deploying a Virtual Machine on the AWS instance
miniONE automatically downloaded the template for a VM with Alpine Linux 3.20 preinstalled. Through the Sunstone UI, we can now instantiate this VM on the local KVM host with a few clicks.
To deploy the Alpine Linux VM, in the left-hand sidebar go to Templates -> VM Templates. This screen displays a list of all VM templates installed on the system. In this case, only the Alpine Linux 3.20 template is installed:
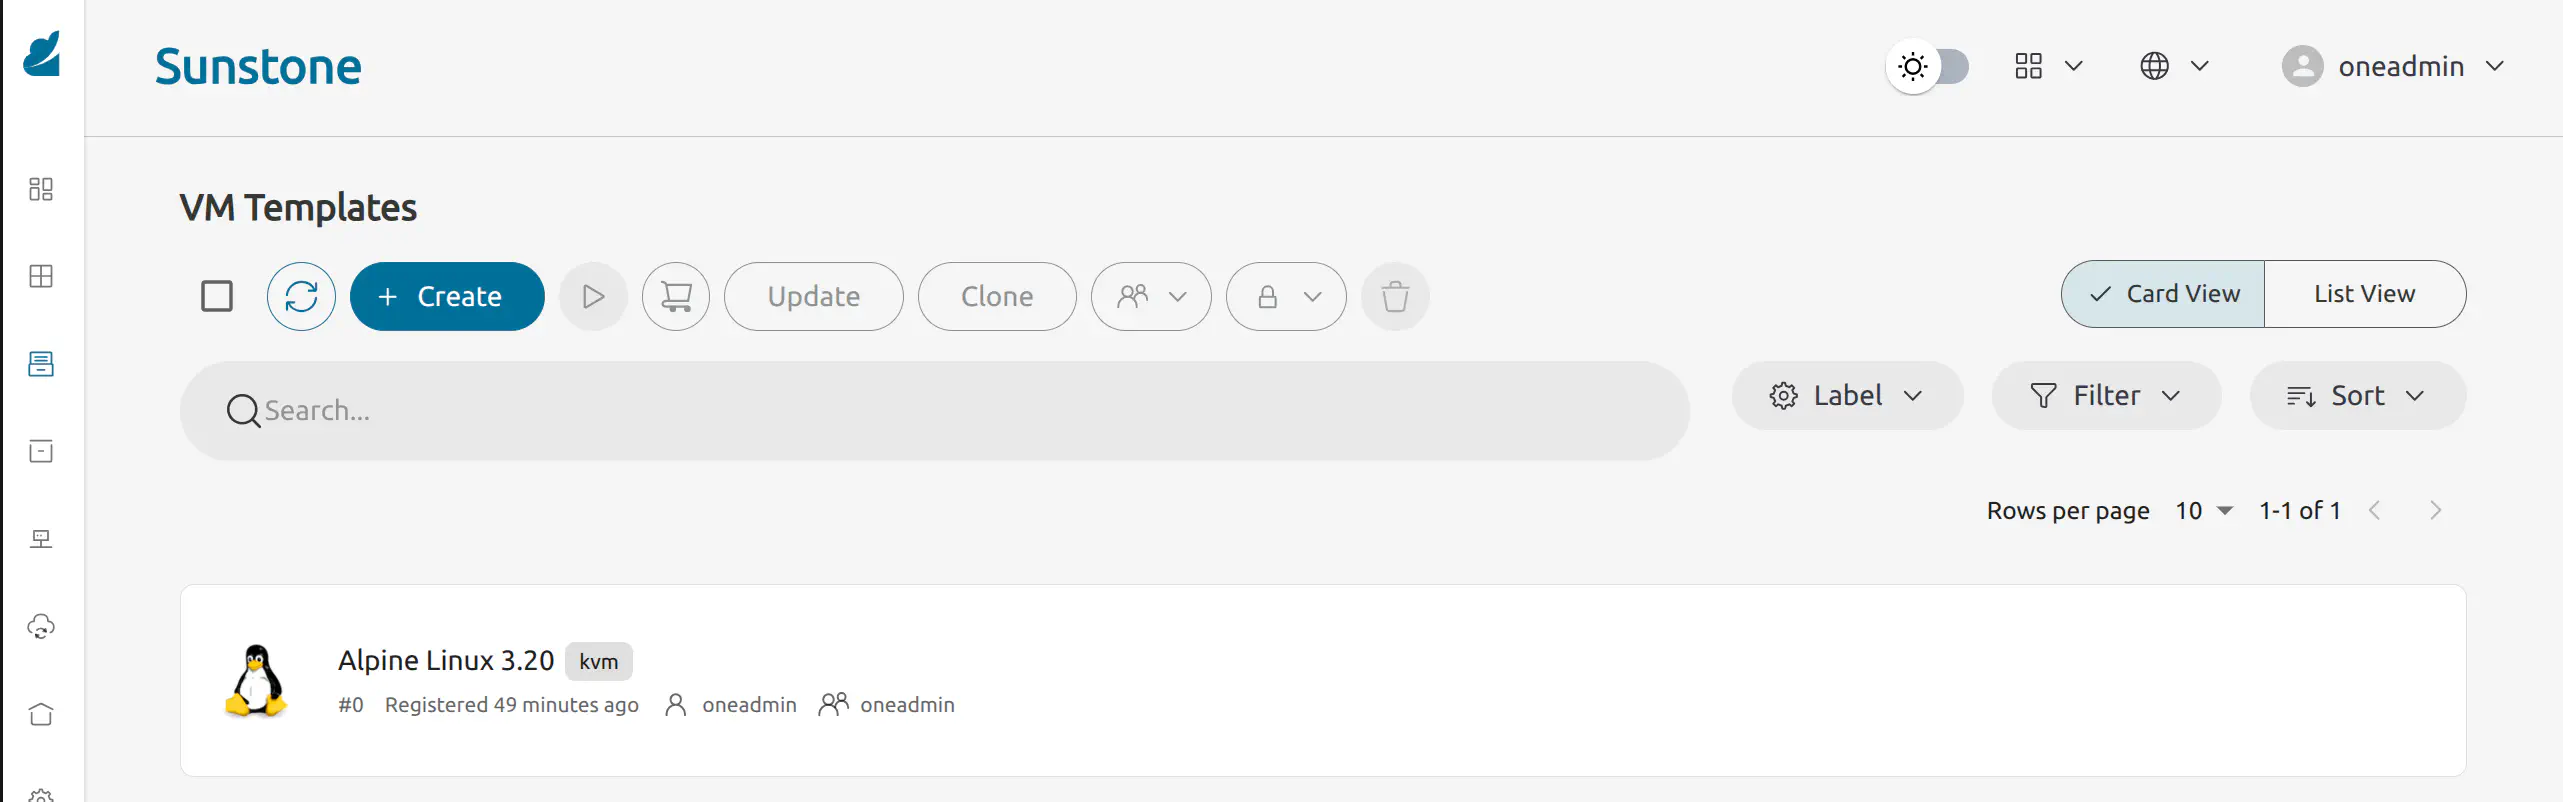
To instantiate the VM template, click the template item and click the Instantiate icon at the top.
Sunstone will display the first screen of the Instantiate VM Template wizard:
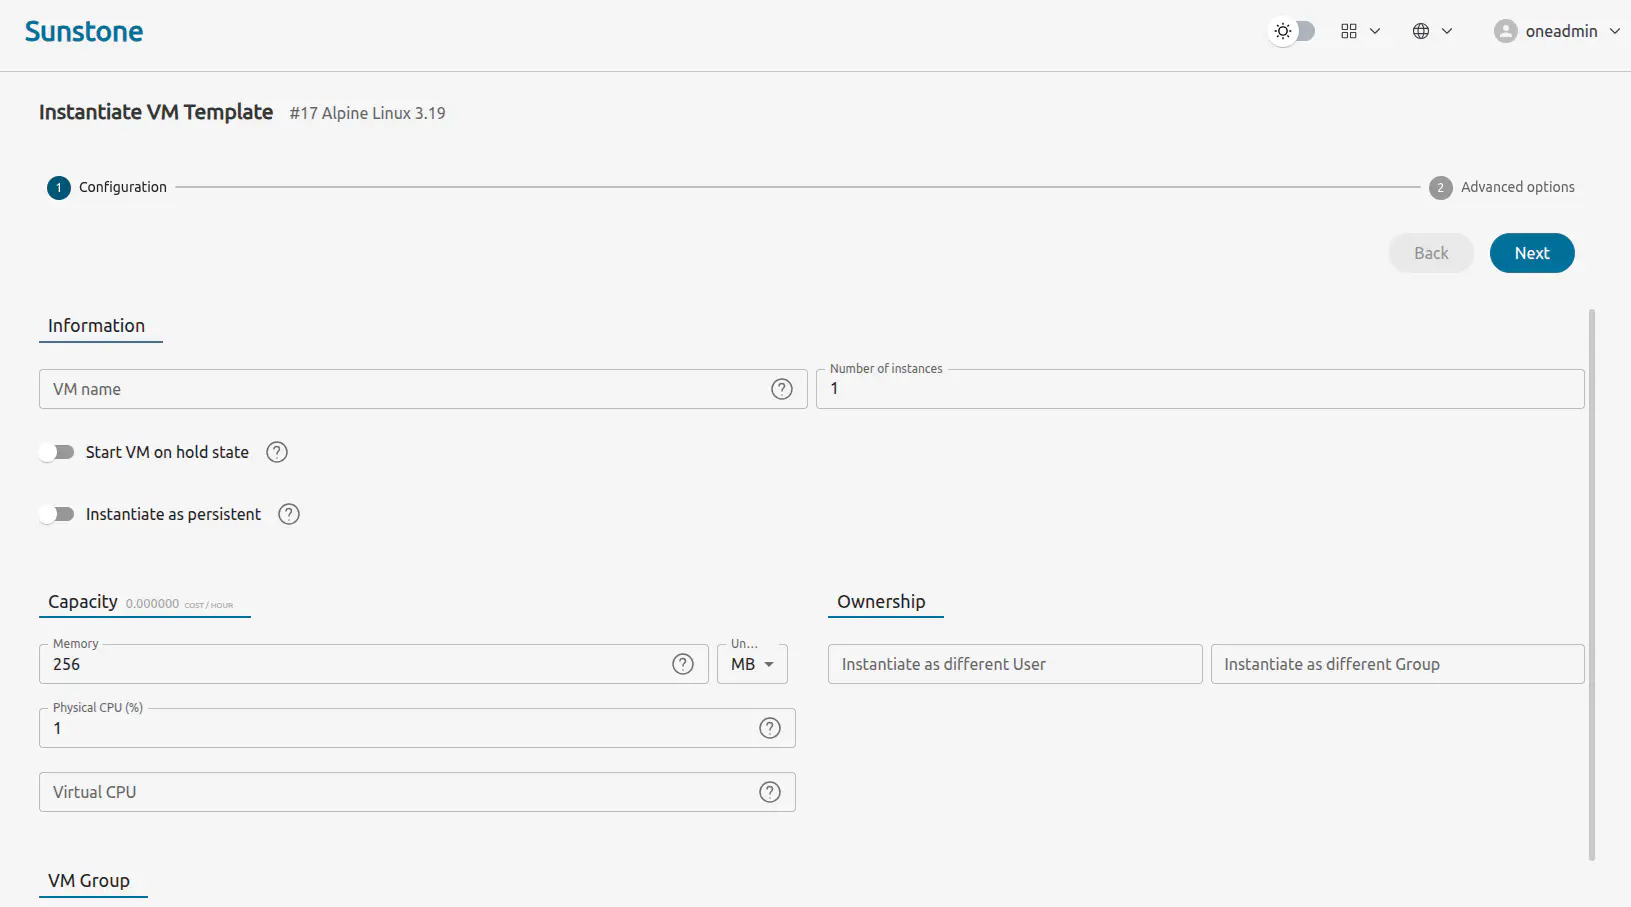
Leave the Capacity, Ownership and VM Group parameters with their default values. Click Next.
The next screen allows you to see and modify further parameters for the VM, including selecting the Virtual Network or scheduling actions.
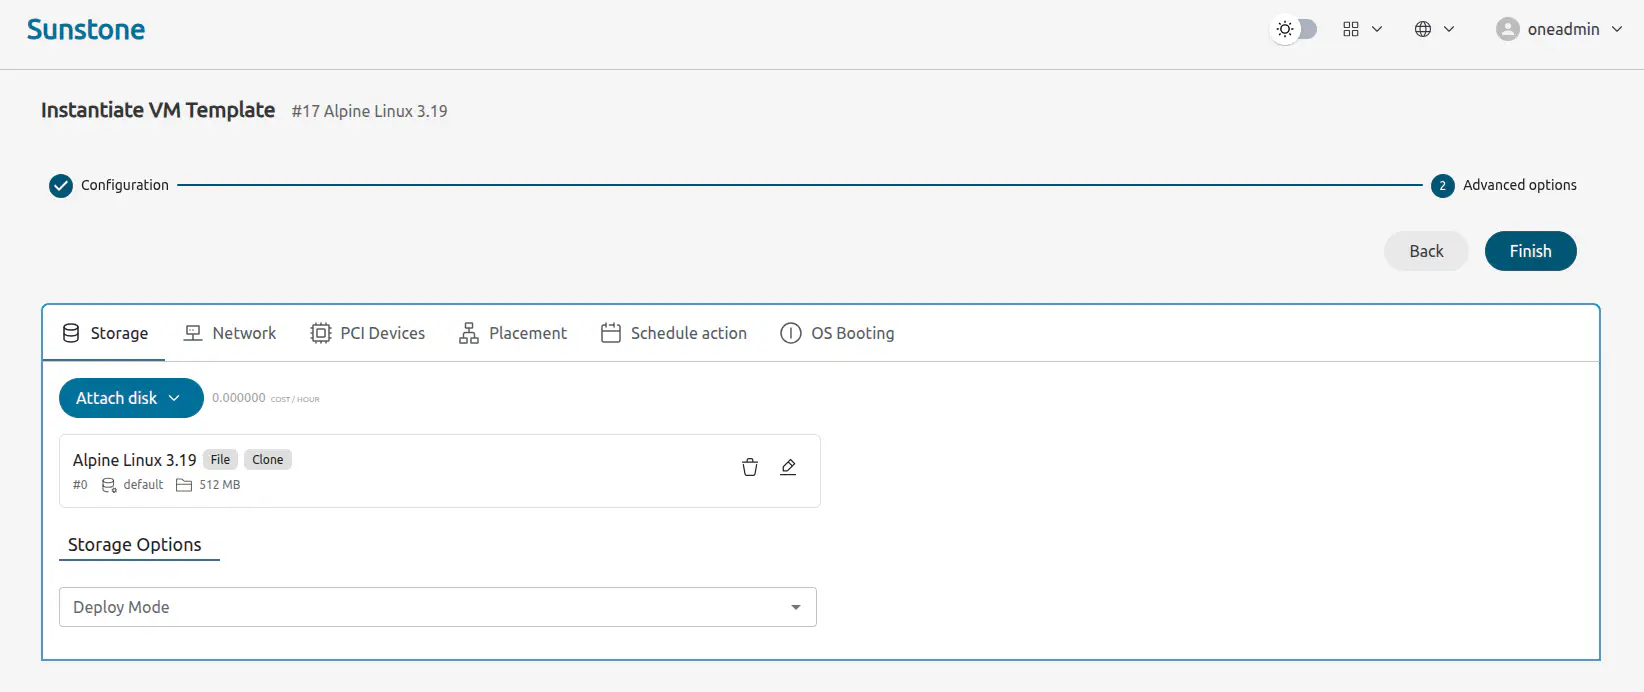
Click Finish.
OpenNebula will instantiate the VM template. For the Alpine Linux VM, this should take just a few seconds. Once instantiation is complete, Sunstone should display the Instances -> VMs screen, with the Alpine Linux VM as the sole instance:
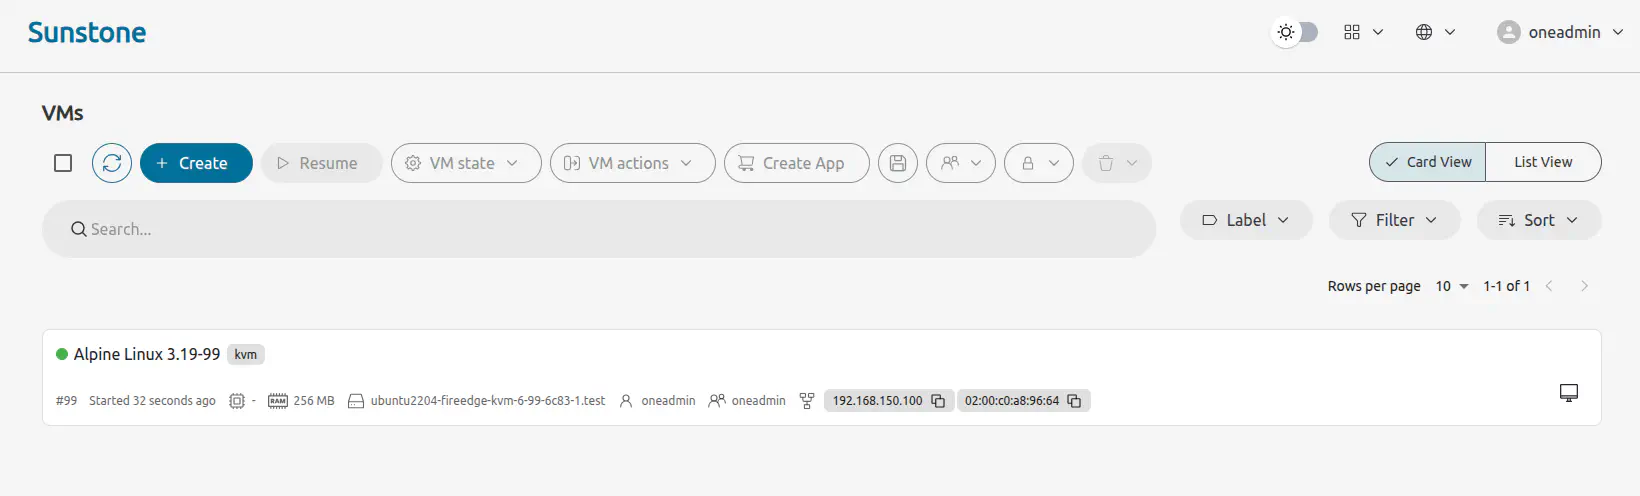
The green dot to the left of the VM name indicates that the VM is running. Note that you may need to click the Refresh icon
Logging into the Virtual Machine
The quickest way to login to the VM is by VNC, available directly in Sunstone. Just click the VNC icon and Sunstone will display the VM boot messages screen directly in your browser in another tab.
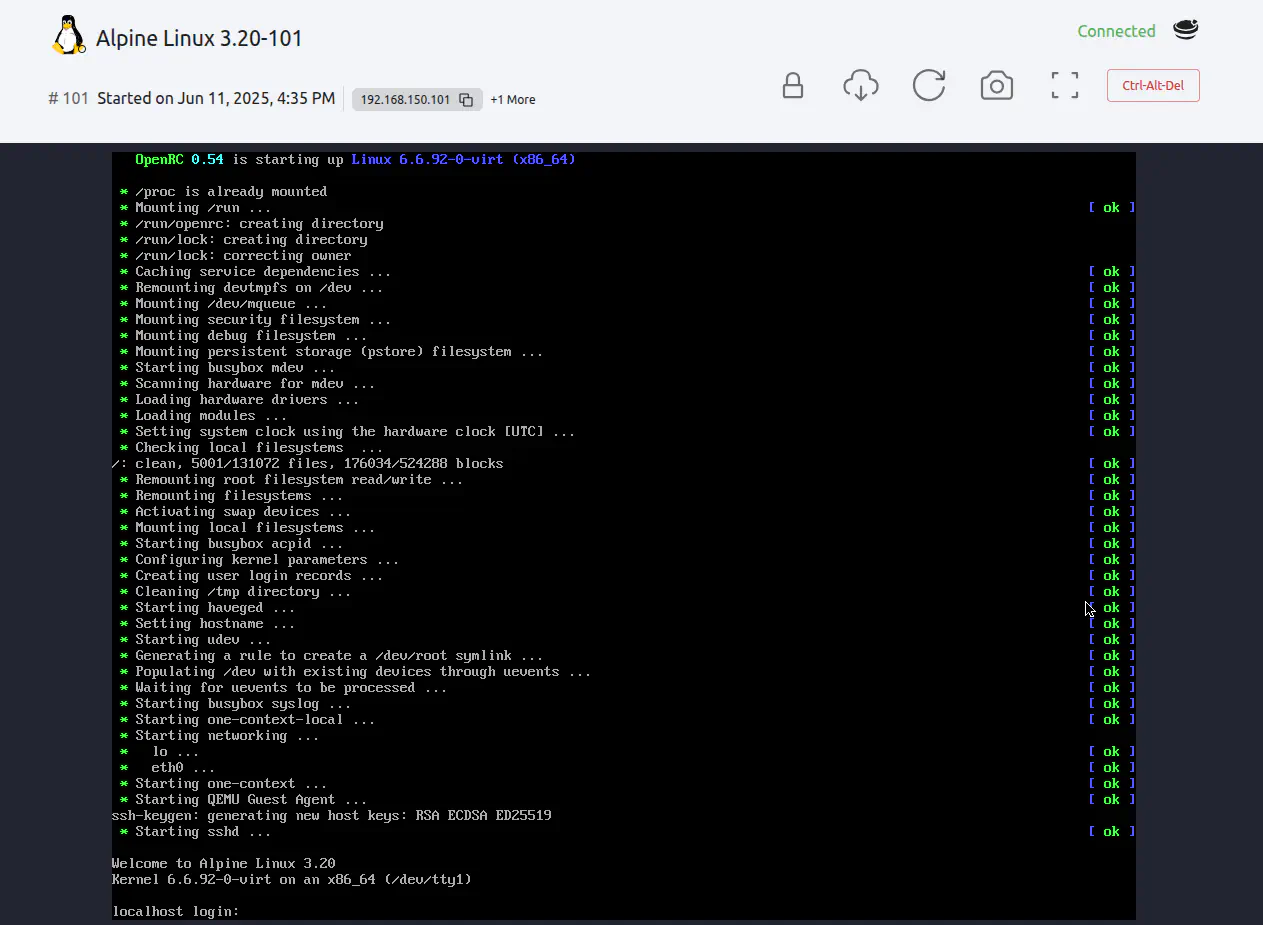
Login as root with password opennebula. You can then use the command line to explore the VM and run processes:
- Try running
ping 1.1.1.1to test the internet connection - Try running
topto see the processes running on the machine
Congratulations! You’ve now installed an OpenNebula Front-end on an AWS instance with a KVM hypervisor and Virtual Network, then deployed a VM.
Next Steps
Now that you have a working miniONE OpenNebula installation, we suggest that you explore OpenNebula’s functionality further with the following guides:
- Deploy a WordPress virtual machine
- Deploy a Kubernetes cluster with the OneKE appliance
- Deploy a Kubernetes cluster using Rancher and the Cluster API
- Further validate your miniONE installation and learn how to download appliances from the OpenNebula Marketplace
GIVE FEEDBACK
Was this resource helpful?
Glad to hear it
Sorry to hear that